Hello Stampin’ Friends ~
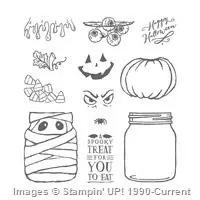
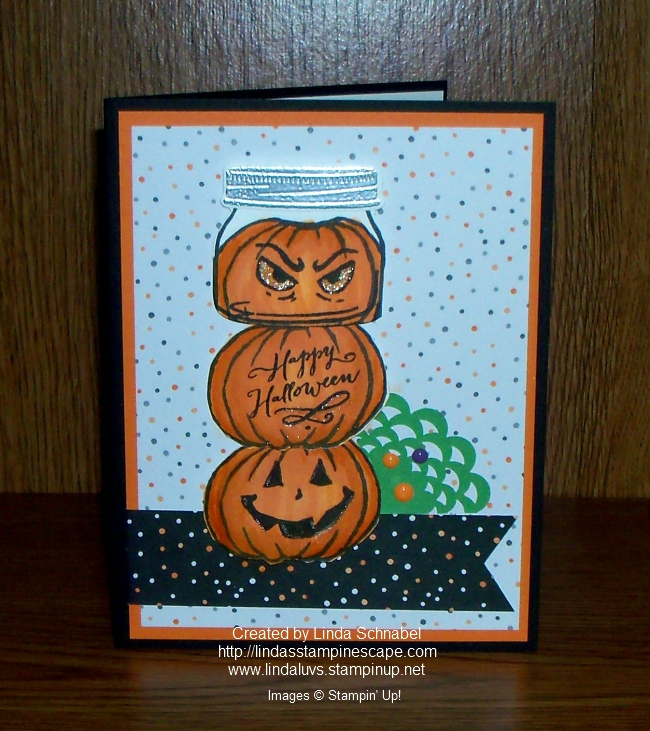
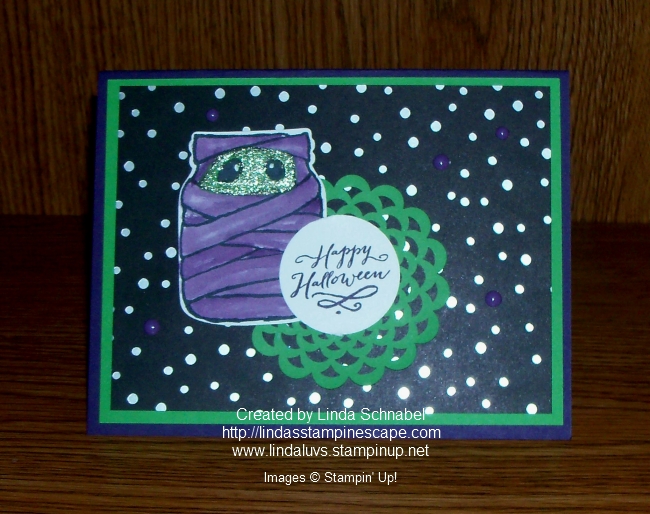
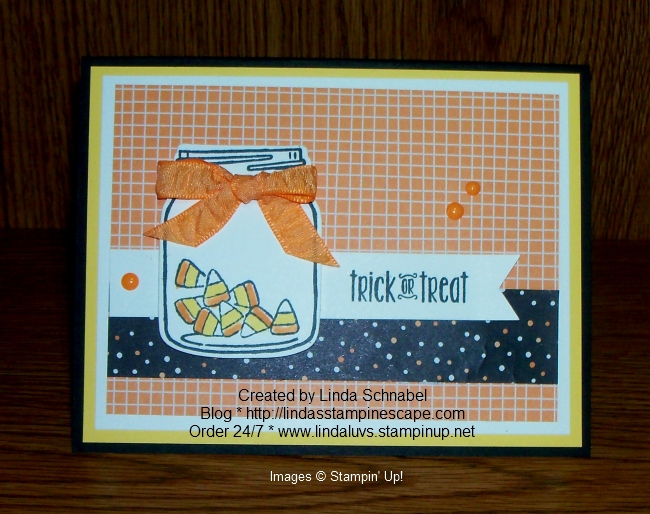
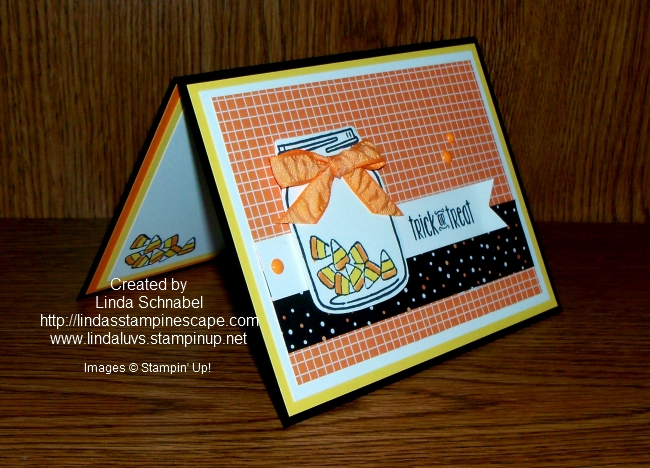
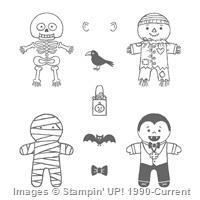
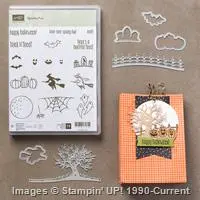
Hoping your having a wonderful Wednesday! I must say, I’m having quite a bit of fun creating all of these different Halloween cards with the “Jar of Haunts” stamp set. I know my grandkids are going to love them!! I’m thinking my grandson Aaron will like this one … green slime will make him smile (he’s such a boy!)
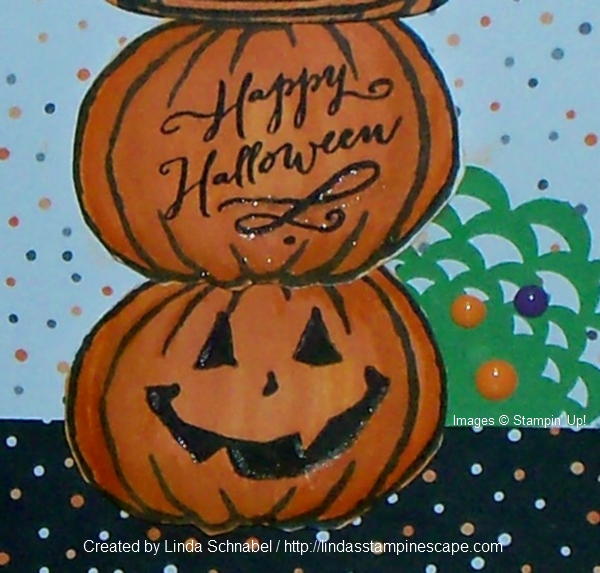
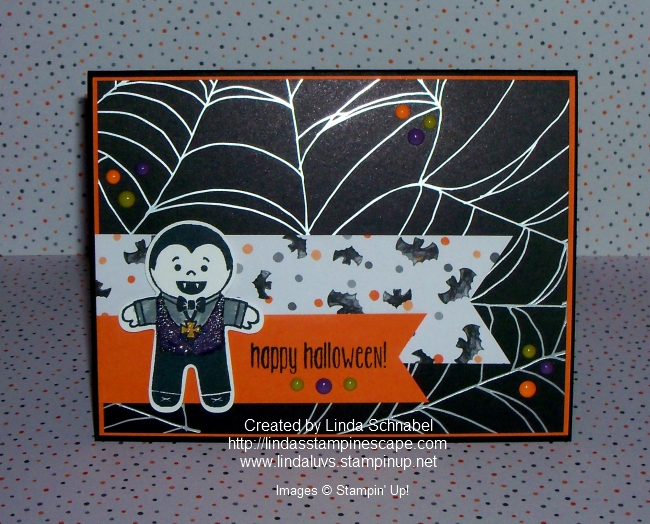
There was your warning message … I went on the scary side today. My card features green slime, eyeballs and tombstones!

For the green slime I actually mixed the Cucumber Crush ink with my Wink of Stella and painted the slime in the jar and on the pumpkin. The eyeballs come in blue, brown and green and are very bloodshot!
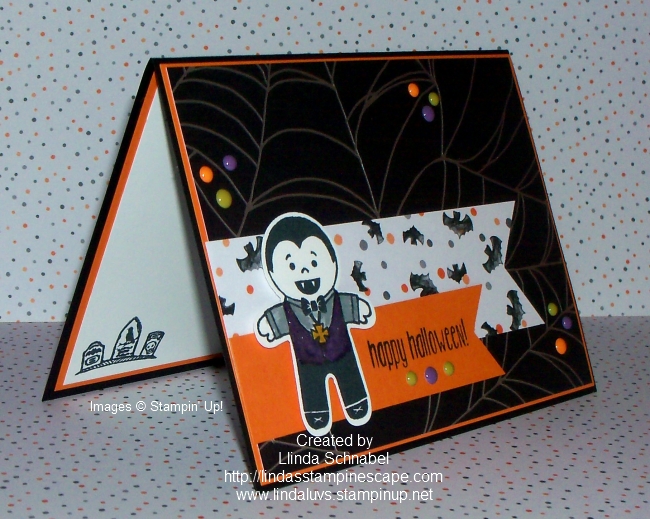
Sorry I used a discontinued punch for my tombstone but it really worked out well. Then I sponged it a little to create an aged look.
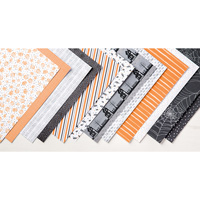
The background is the silver webbed specialty paper from the Halloween Nights Designer Specialty paper. I admit that I “fussy cut” the pumpkin and the stem … but other than that the card went together quickly.
If you think it looks creepy here … you should see it in person, the flash makes it sparkle a bit too much, it really looks errie – I just love it!! lol
Have yourself a wonderful Wednesday and I’ll be back tomorrow with day 5 (the last day) of my Jar of Haunts card parade.
Thanks for following along ~

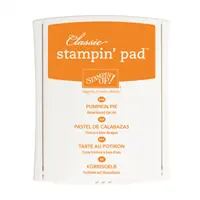
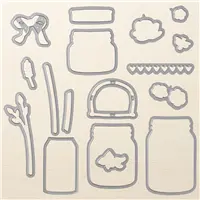
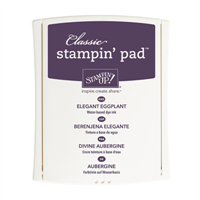
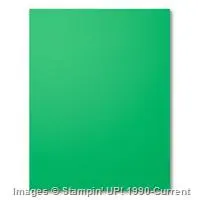
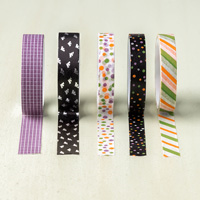
TODAY’S STAMPIN’ SUPPLY LIST …