Hello Stampin’ Friends ~
For the past week, I’ve been sharing samples from our Meant to Be Bundle in preparation for Valentines Day. However, don’t let hearts just be for one day of the year … we should share our hearts and kindness everyday. We need a kinder world.
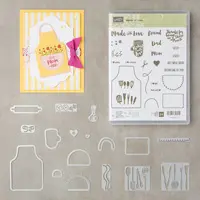
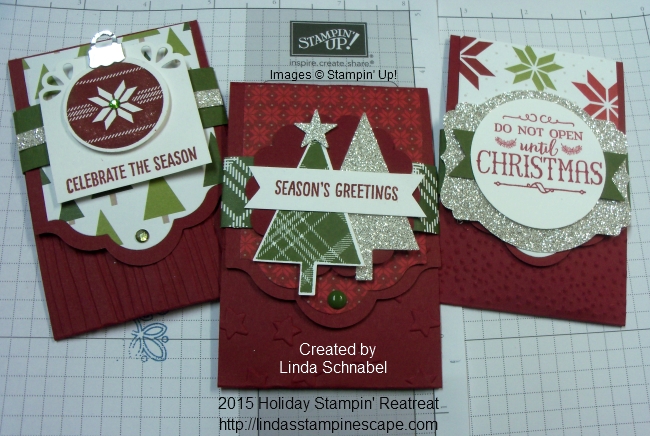
Today I am going to review the many cards, and you’ll also notice the sprinkling of Sale-a-bration items included on the cards. I think you will be “amazed” at all of the different styles of cards and projects you can create with this wonderful bundle … and with this bundle, you qualify for a FREE Sale-a-Bration item!!
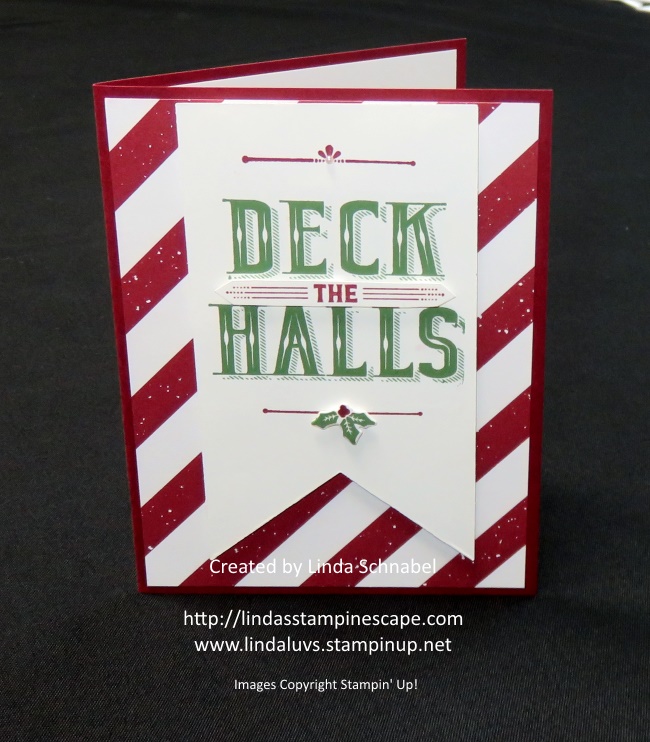
I start with the very basic of cards … Stamp, Paper and Ink! Super simple, great for our new stampers.

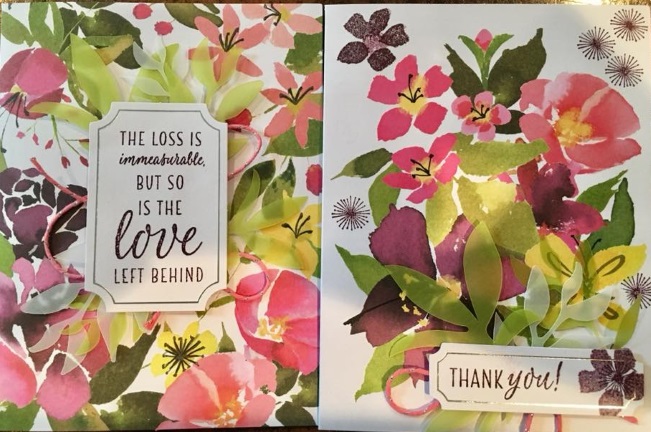
Simply stamped in Lovely Lipstick ink on Whisper White cardstock. My next card is also simple but very pretty …

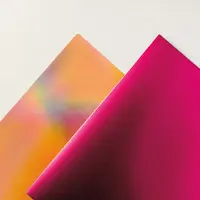
This cards adds a little more dimension when we simply add layers. Our greeting is backed with the Lovely Lipstick Foil paper which is found in the Sale-a-Bration catalog and can be yours with this bundle or a $50 purchase.
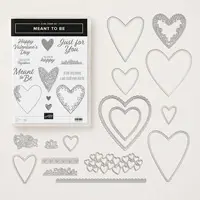
The next card introduces the BigShot and the coordinating dies in the Meant to Be Bundle …

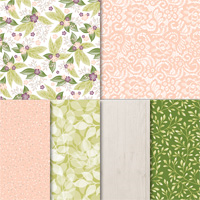
This card is also very easy to make … just add the beautiful All My Love Designer Series paper. The cute little white hearts are cut from the dies included in the bundle. Many of the dies in this set include the stitched look and the scallops edges.
The next card uses the same little white hearts … and they are stamped in Flirty Flamingo. Works well with our flirty background, which is another pattern from the All My Love Designer paper.
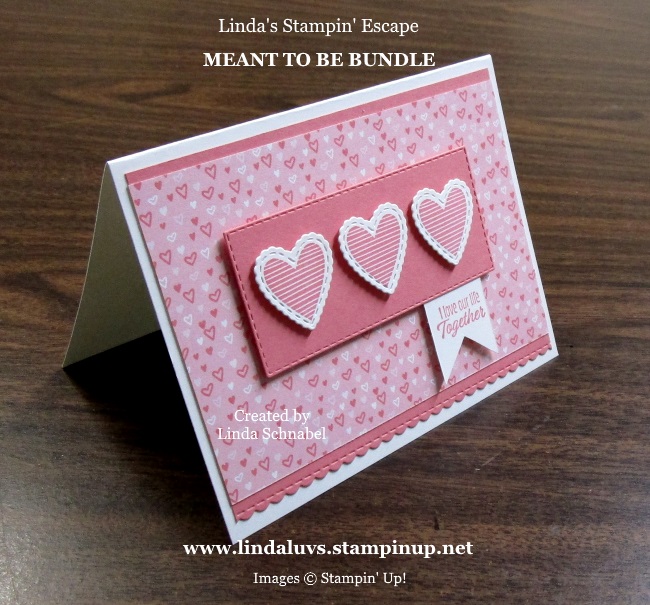
The cute scalloped edge on the bottom is yet another die from the coordinating die set in this bundle. I did introduce the new Stitched Rectangle dies … these are located in the new Occasions Catalog. You could easily change the greeting on this card to Welcome a Baby, a Sweet Sixteen or a birthday card … possibilities are endless.
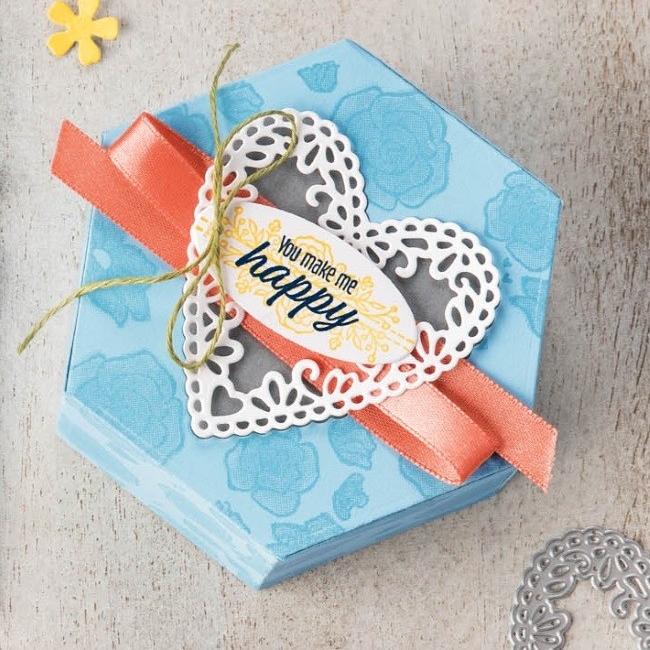
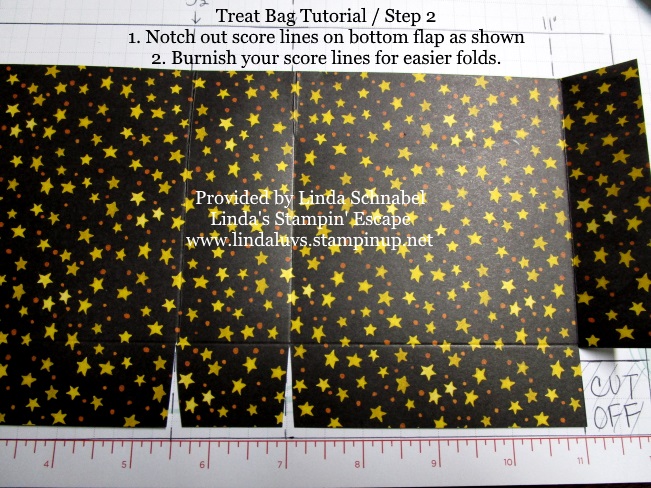
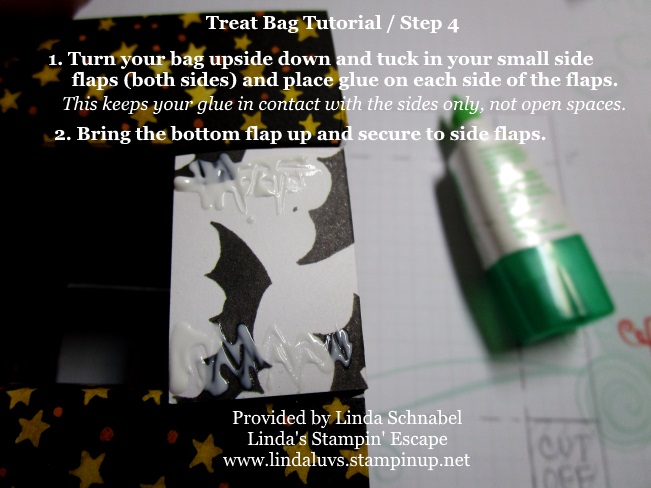
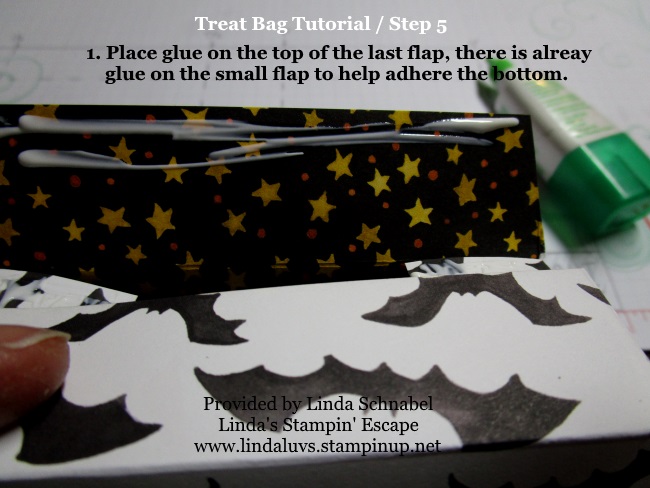
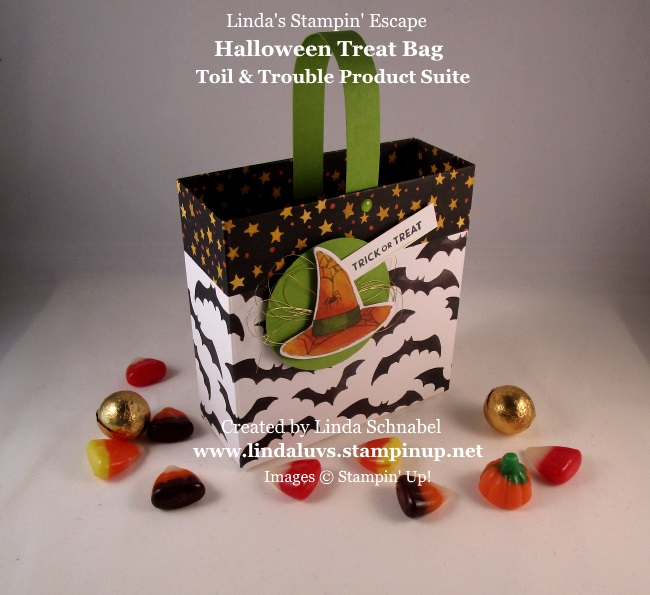
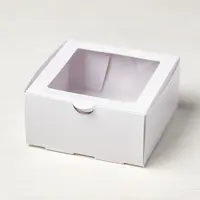
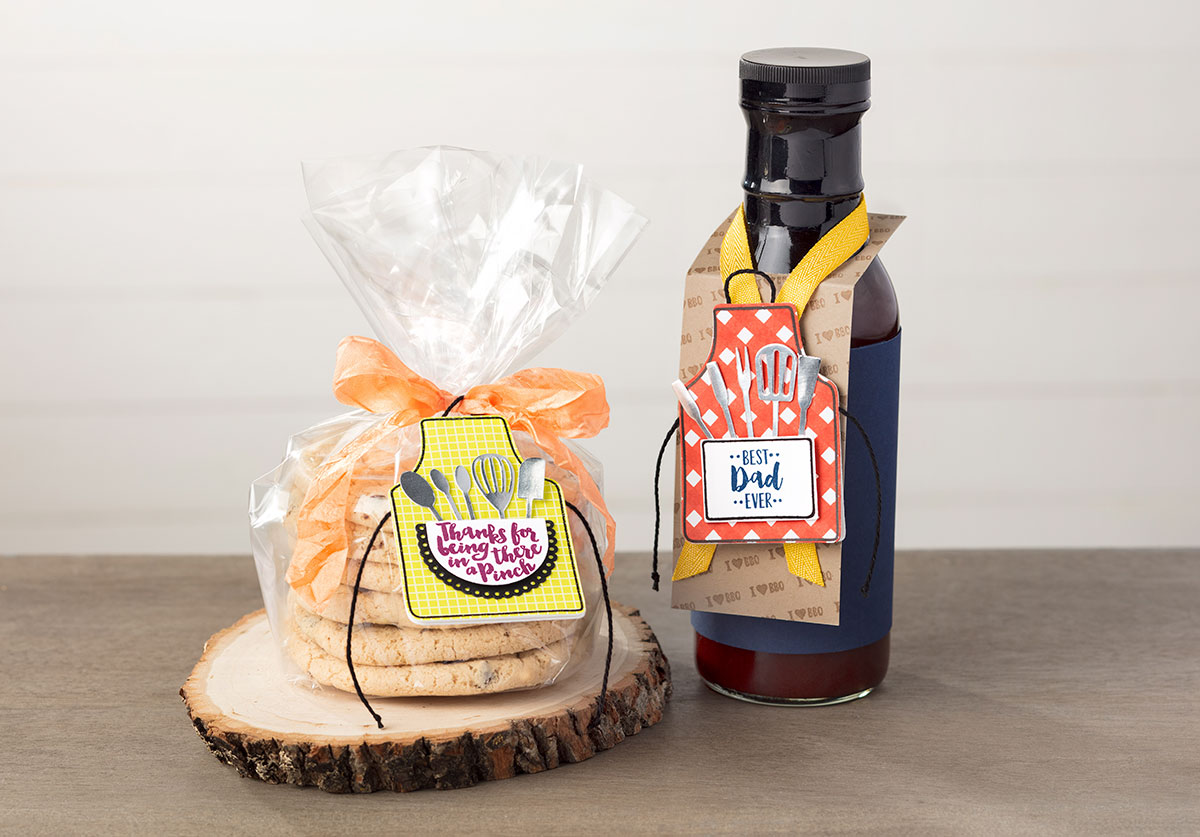
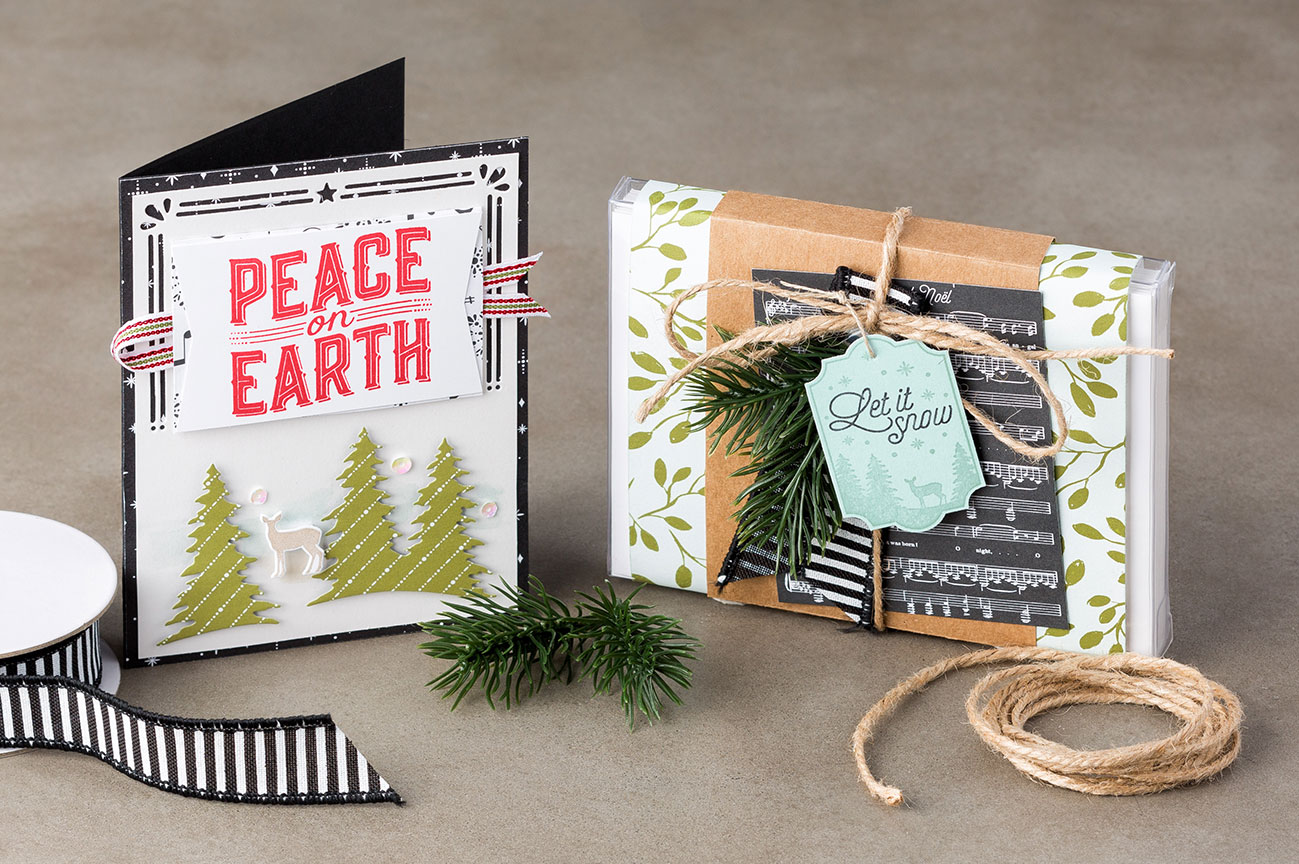
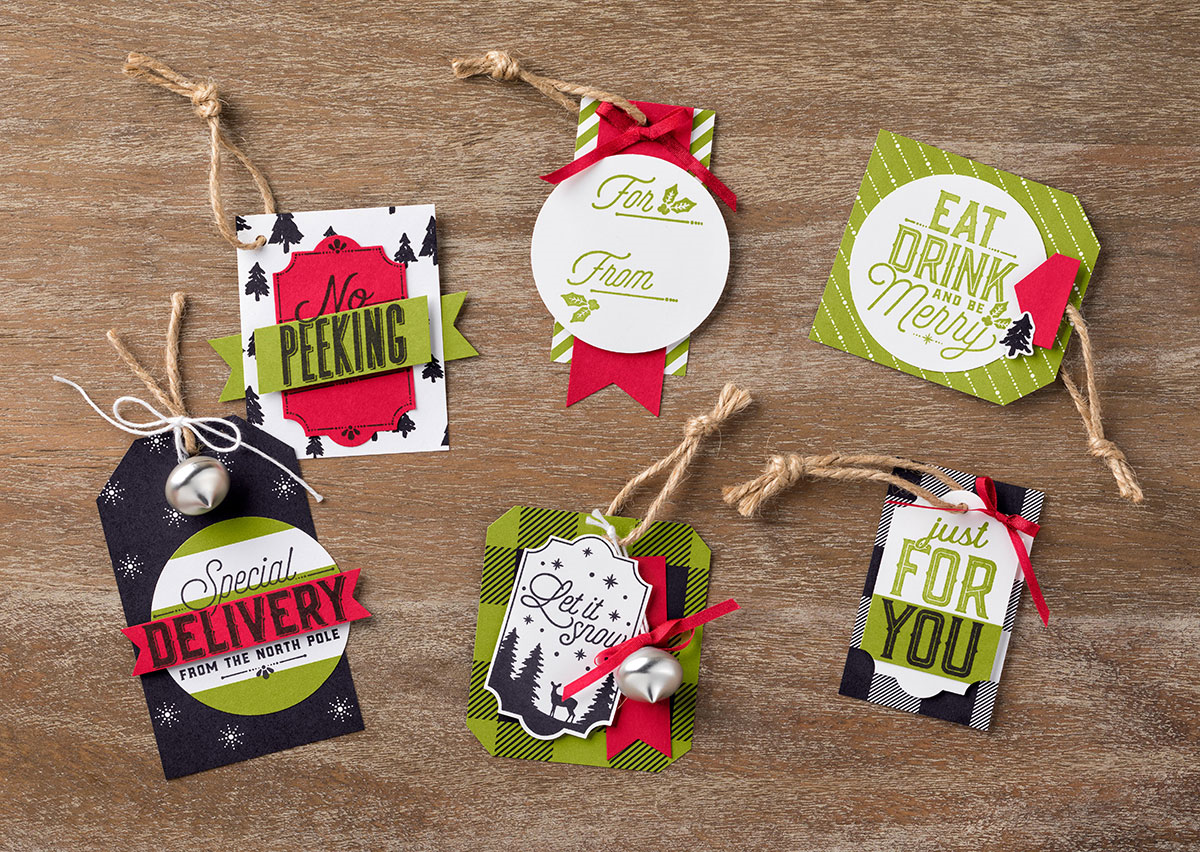
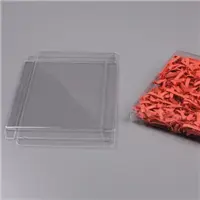
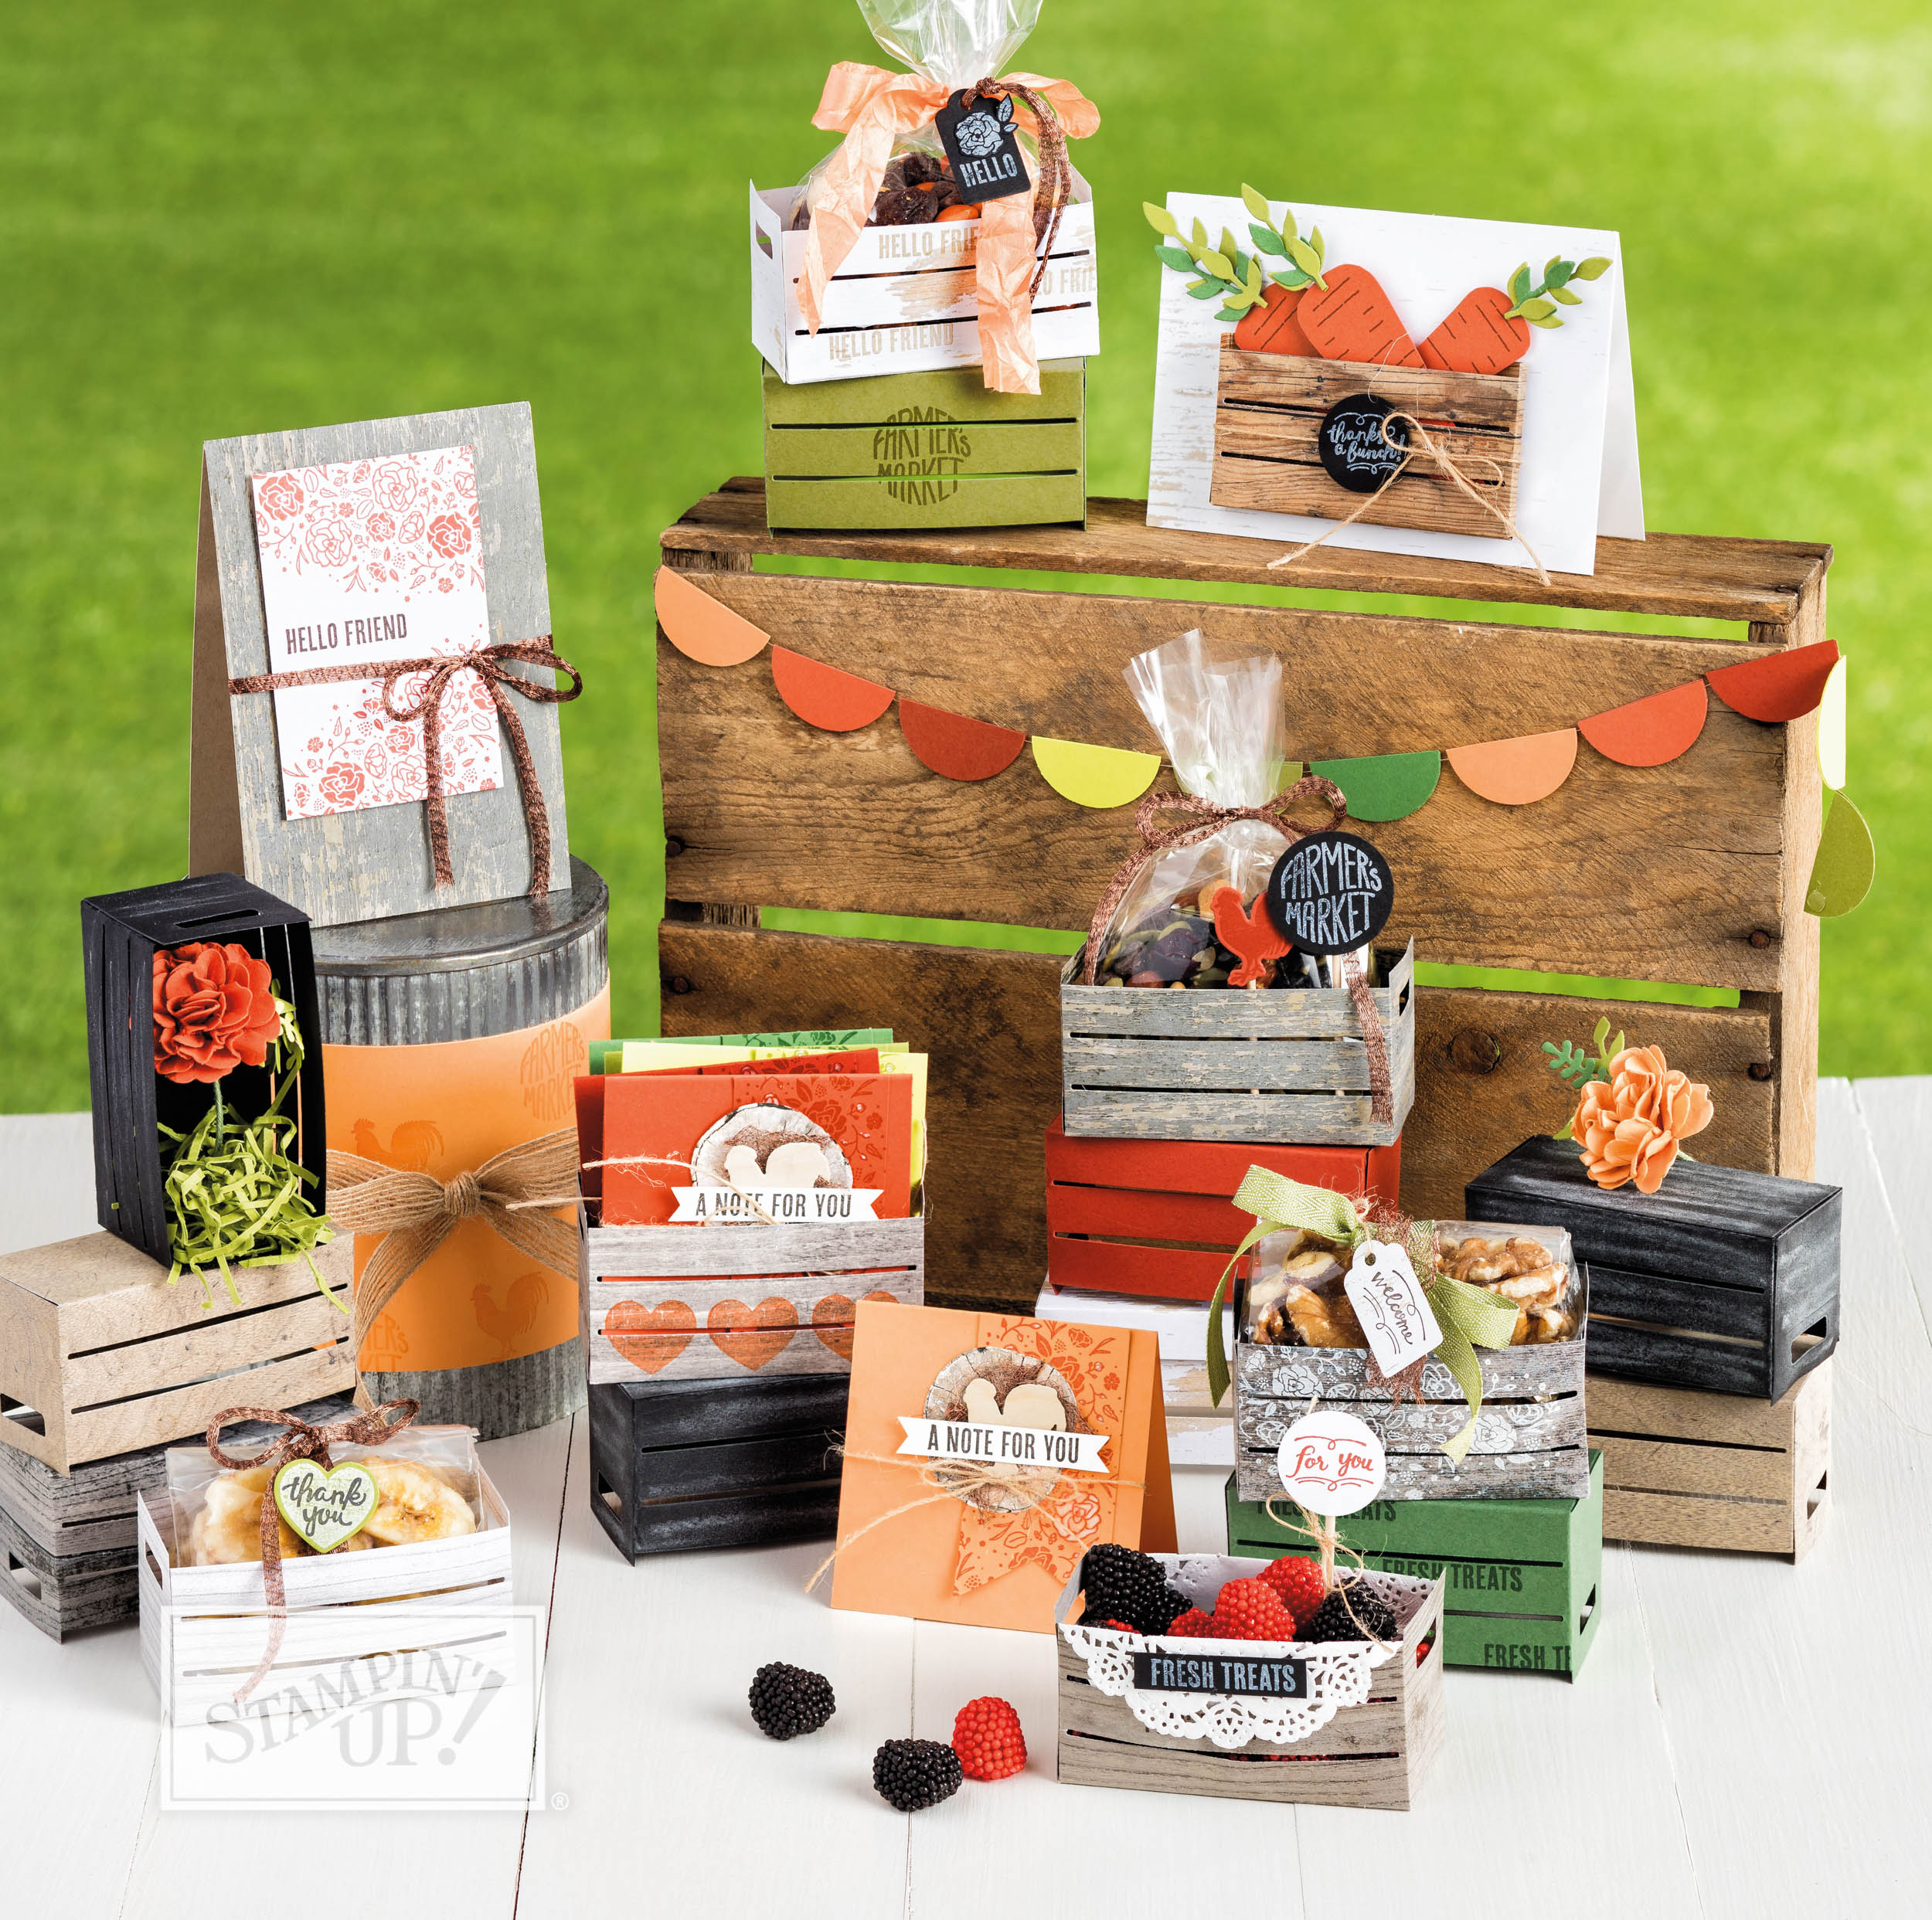
If you’re looking for treat boxes for your children’s upcoming Valentines party or a cute little gift for a neighbor or co-worker, here are some great ideas (You’ll see these in the Occasions Catalog) …

My next card features more of the dies, the one I’m using here actually cuts 2 hearts with one roll of the BigShot…

Again I am using the All My Love Designer paper and the Sale-a-Bration Lovely Lipstick Foil paper. I also embossed my heart with the Tufted Embossing Folder … how cute is that!!
And my card from yesterday, the Grapefruit Grove foil paper is highlighted and actually comes in the same package as the Lovely Lipstick … both of these beautiful papers for FREE.

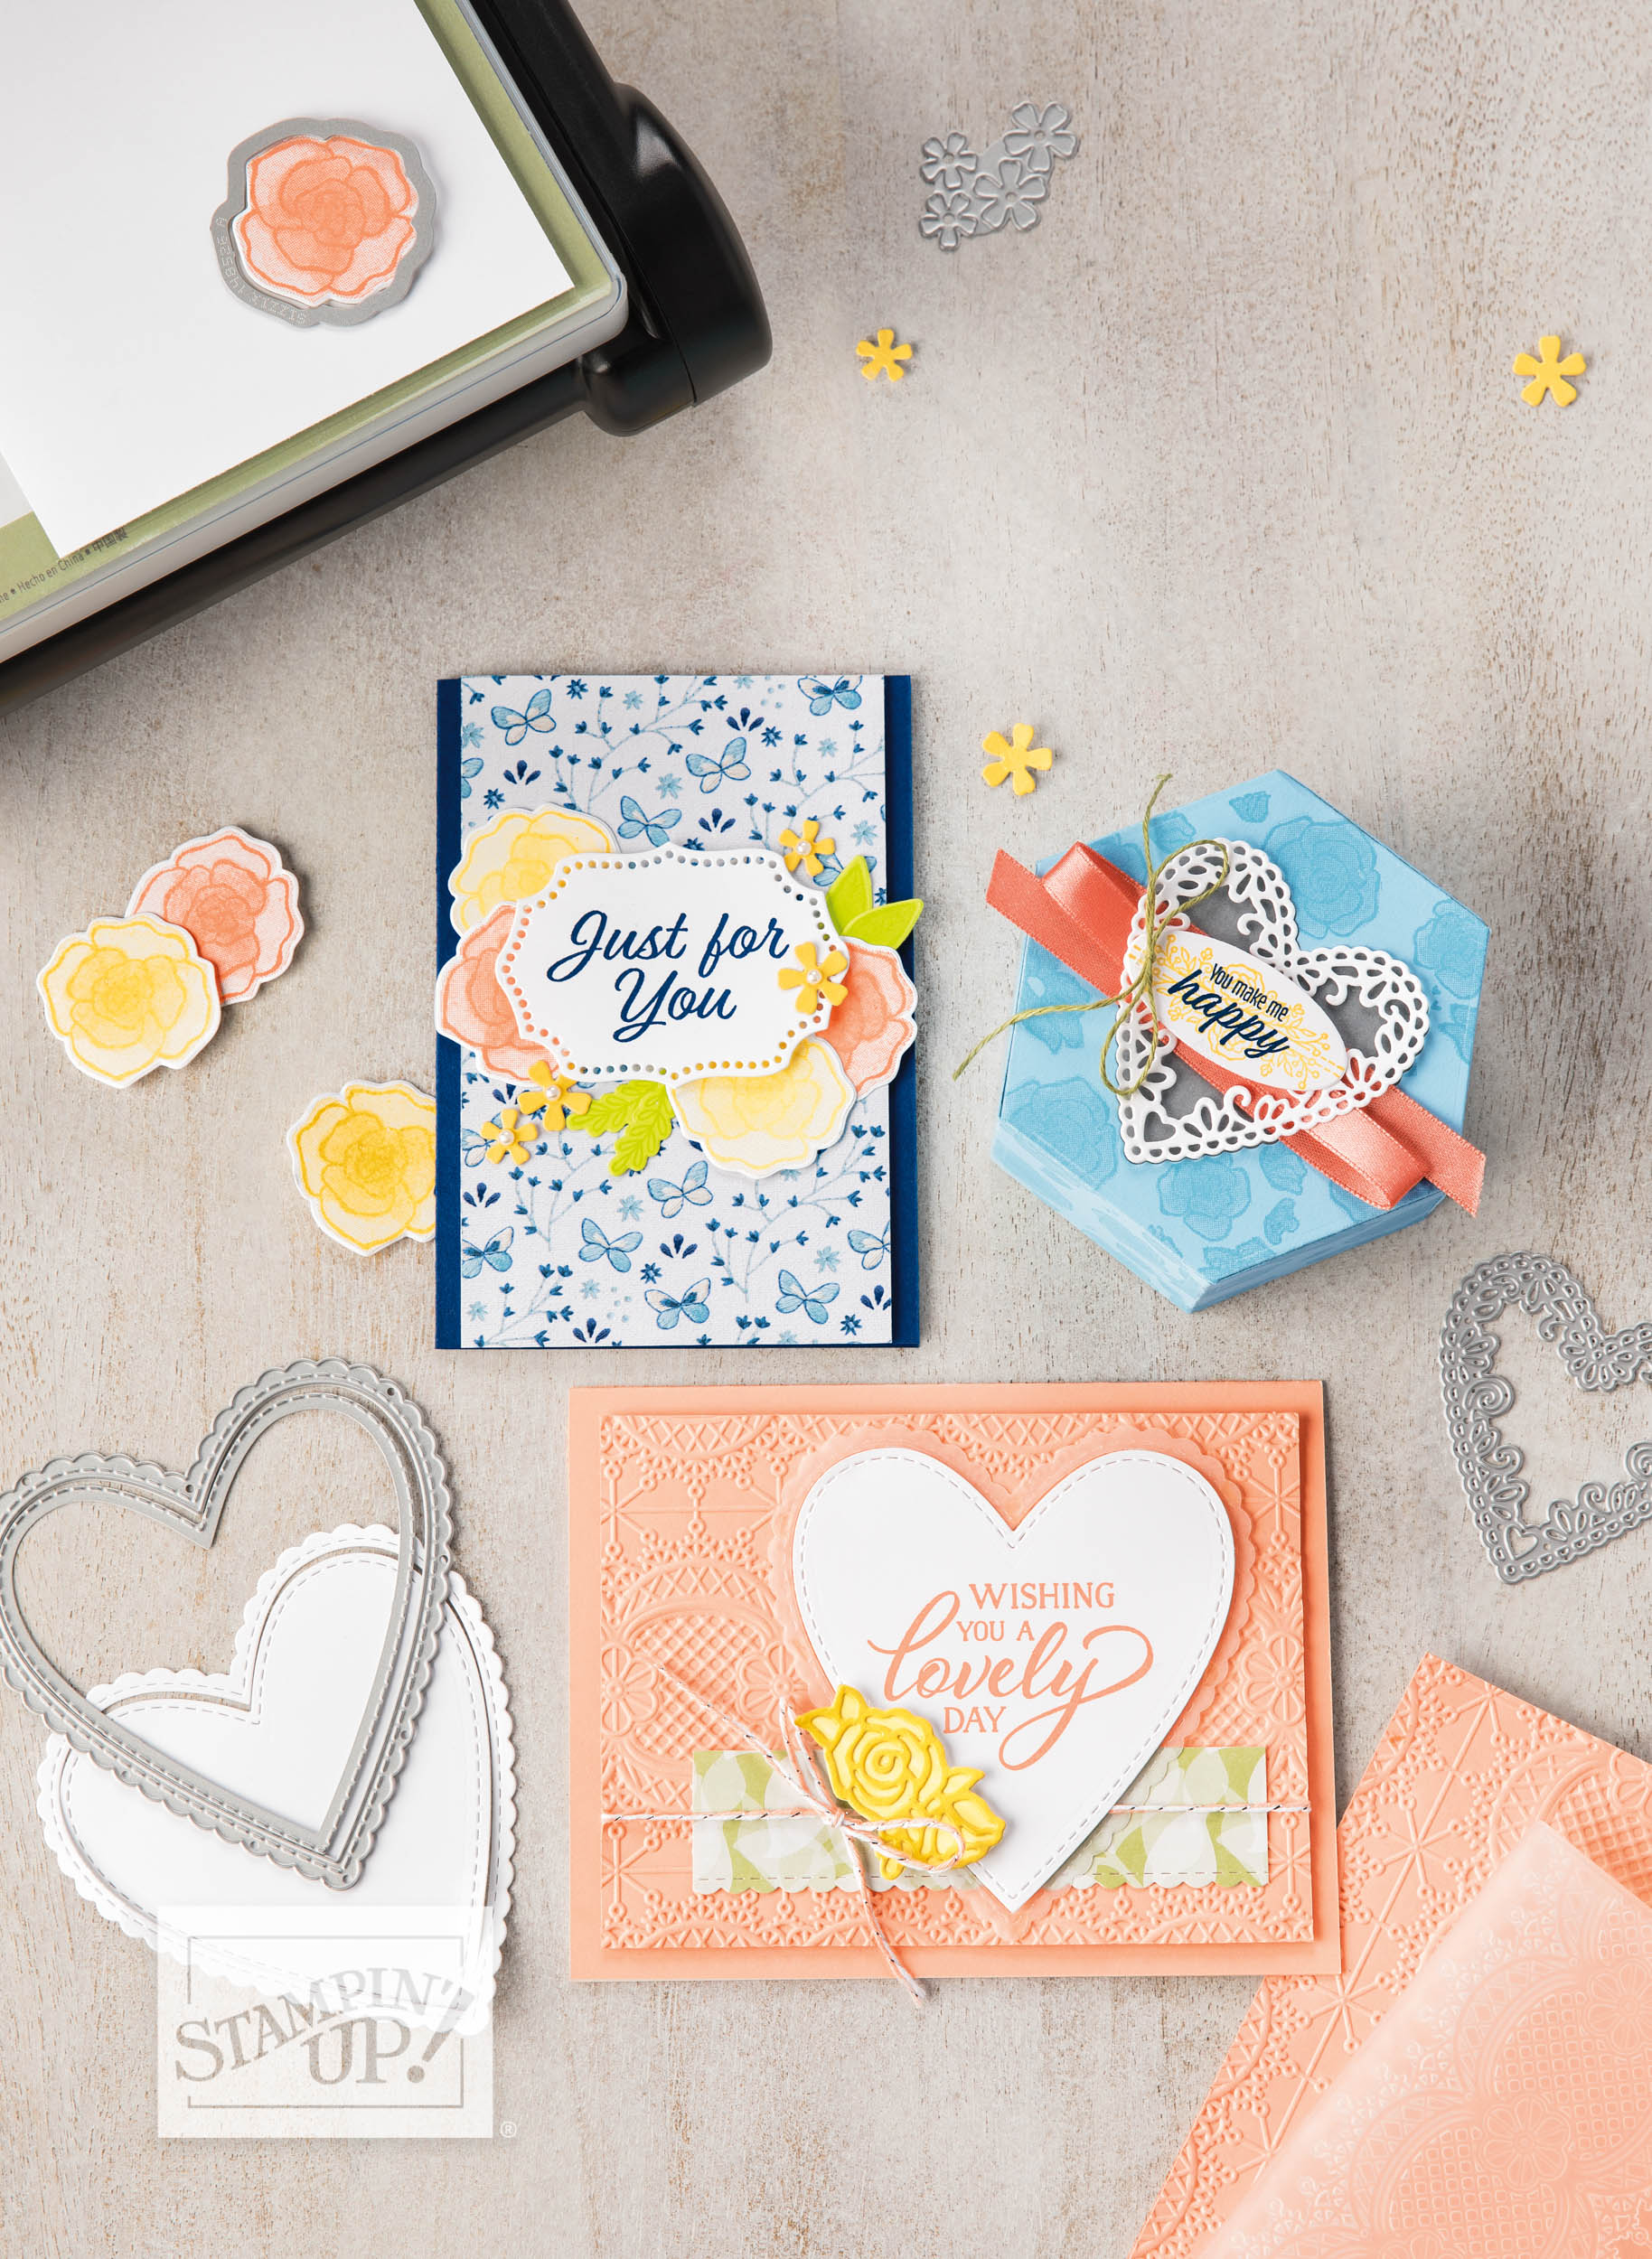
This card uses the largest of the heart dies and the beautiful little flower die that is also included in the die set. The ribbon is also available in the Sale-a-bration catalog and comes in a package of 5 colors!! The background is actually vellum designer paper that comes from the Floral Romance Special paper … in the Occasions Catalog.
So many different styles … and from simple beginnings for our newest stampers to lots of beautiful layers and the BigShot. Don’t forget all the amazing projects and treat boxes you can also make.
I thank you for joining me today … I have another for you tomorrow, so stop back and check it out.
Till then, have yourself an amazing Monday!!

BASIC SUPPLY LIST FOR THESE CARDS …