Hello Stampin’ Friends,
Today my card share is very special to me as I celebrate 2 birthdays in my family. My granddaughter Cassie, and my sister Ruthie. It has been almost 3 years since my sister lost her battle with pancreatic cancer … and I miss her everyday.
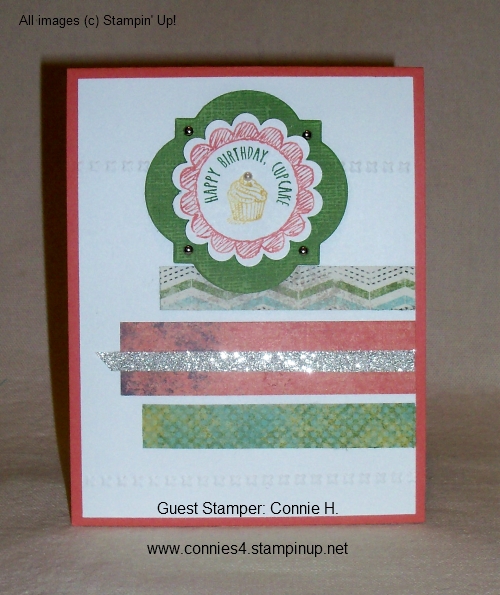
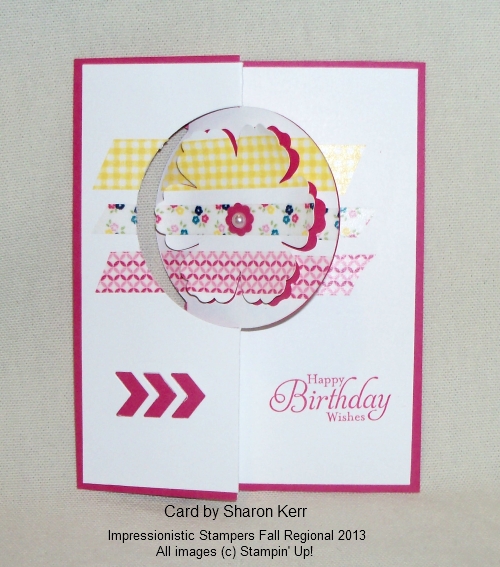
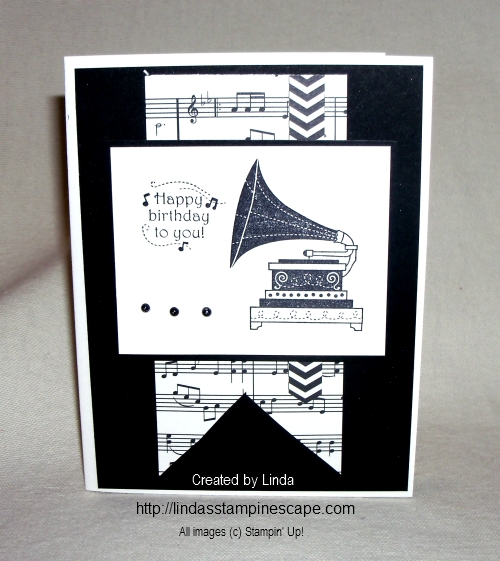
I wanted to create a fun, hip card that represents them both, and to celebrate each of them today.
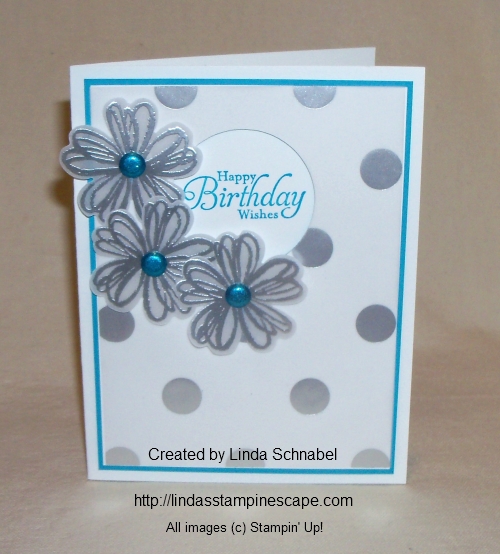
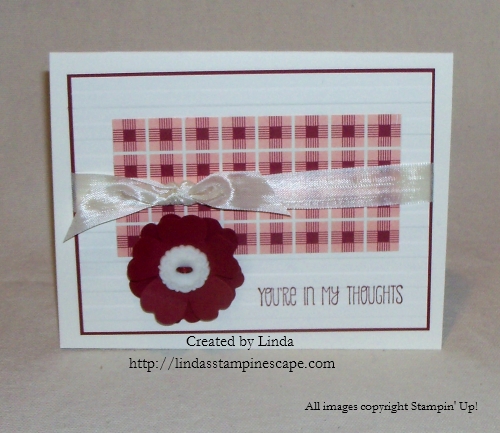
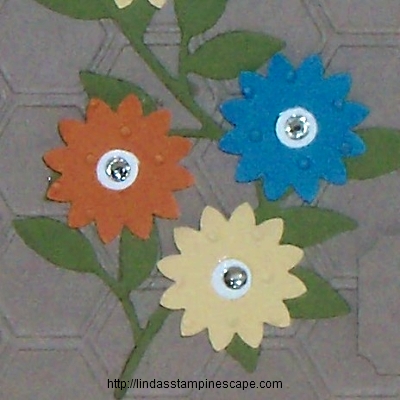
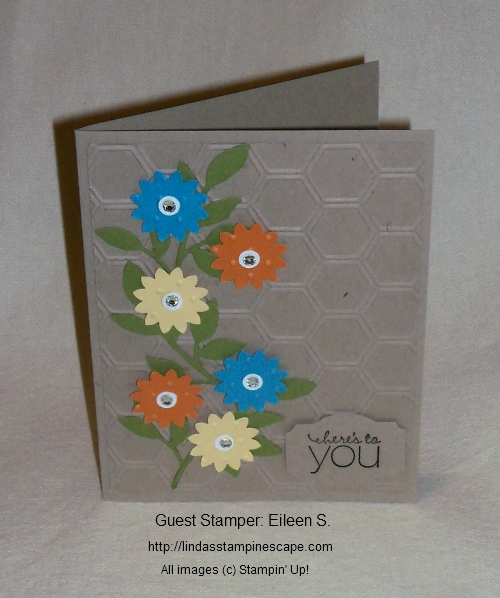
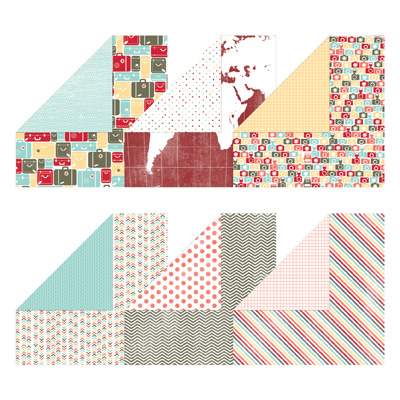
I began with the “Fancy Foil Designer Vellum” Polka Dots and knew I had to add flowers, because both of them love flowers. Gardeners at heart I think! The flowers are from the “Flower Shop” stamp set.
I have to tell you … I love this vellum because it really hides the adhesive well! Especially the dots and the stripes! Glue dots work well for the heart vellum.
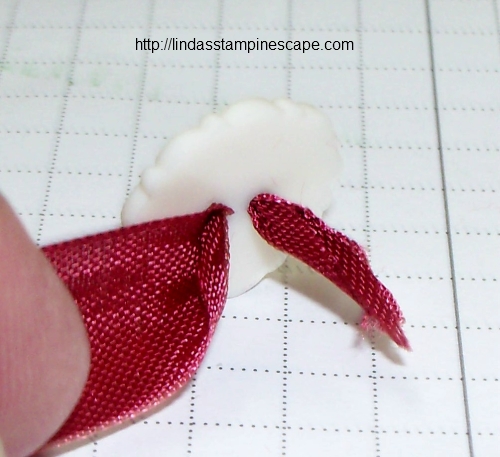
I embossed the flowers in silver and punched them out using the “Pansy” punch. I am so happy they make coordinating punches and I no longer have to cut them out by hand!

I wanted a “POP” of color so I added Tempting Turquoise. The turquoise and silver reminds me of the southwest – ahhhh, someplace warm!!
After layering the velum, whisper white, and turquoise, I punched out the center with the 1-3/4″ circle punch. Then the entire piece was popped up (adhered) to the base card with stampin’ dimensionals. I did this to create an added dimension for the greeting.
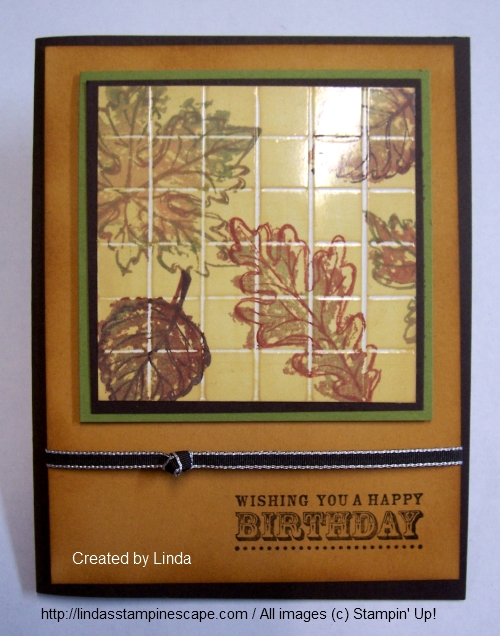
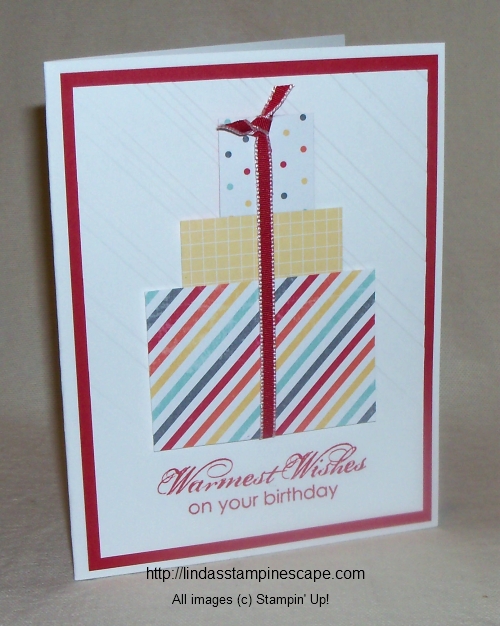
The birthday greeting comes from the stamp set “Simply Sketched”… it is a Hostess set.
FYI … now is a good time to host a stampin’ party … Sale-a-bration begins in 2 days! Hostesses get an extra $30 with a qualifying sales (it’s easy … I’ll help you get there!)
I wanted to add a bit more color, so I added the “Brights – Glimmer Brads” to the flowers. Each flower was popped up with a stampin’ dimensional and placed around the circle. I think I got the fun and hip card I was after.
Thank you for stopping by today.
Have a beautiful day.

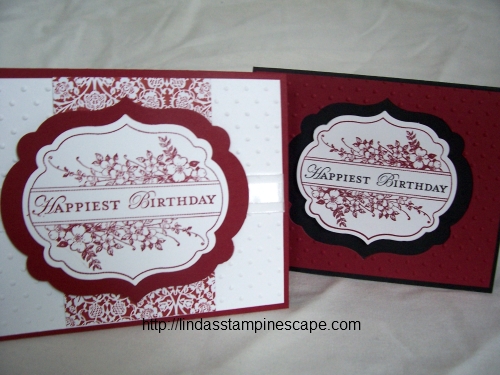
Just had to share this shot of the card when the flash made it shine! That truly is how “shiny” it is … Sometimes photos don’t always do a card justice. The supply list is just below this photo.
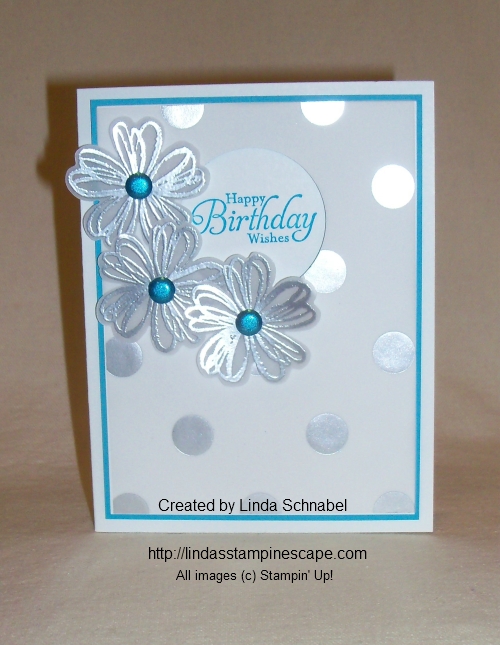
Here is a list of supplies used for today’s card …
|
ITEM |
PRICE |
DESCRIPTION |
|
$23.95 |
Flower Shop Stamp Set – WOOD |
|
|
$17.95 |
Flower Shop Stamp Set – CLEAR |
|
|
$10.95 |
Fancy Foil Designer Vellum – Silver |
|
|
$4.75 |
Silver Embossing Powder |
|
|
$29.95 |
Heat Gun |
|
|
$16.95 |
1-3/4”” Scallop Circle Punch |
|
|
$15.95 |
Pansy Punch |
|
|
$4.95 |
Brights – Glimmer Brads |
|
|
Hostess |
FREE |
Simply Sketched Stamp Set |