Halloween Wreath

Hello Stampin’ Friends ~

I am thrilled to share my “Arrange a Wreath” card with you today as promised in yesterdays post… I had so much fun playing with this, and I have only begun! I’ll be posting the class details this weekend.

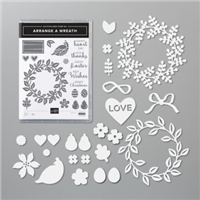
Today’s card uses the wreath dies as the focal point …

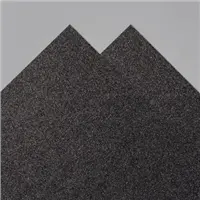
The Black Glitter paper and Pumpkin Pie cardstock were cut with the “elm” style leaf and the Granny Apple Green was cut with the “oak” style leaves (this is the best way I can describe them).

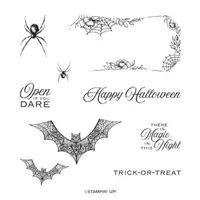
The “Happy Halloween” comes from the Hallows Night Magic stamp set and was stamped on Granny Apple Green using my Stamparatus to double stamp it so it appears darker …
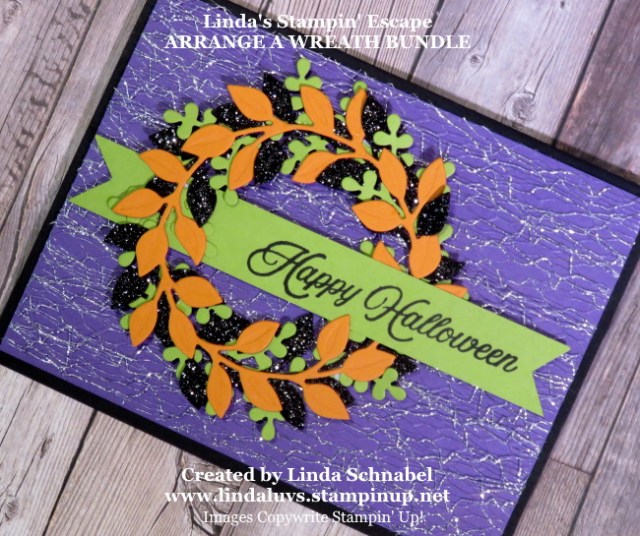
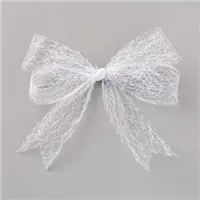
The background was fun and super easy to make … I began with the Gorgeous Grape Cardstock and layered the fantastic Metallic Mesh Ribbon over the top … it creates a creepy web looking background.

It adds cool texture and a little sparkle, pairs so sweetly with the Black Glitter paper ….
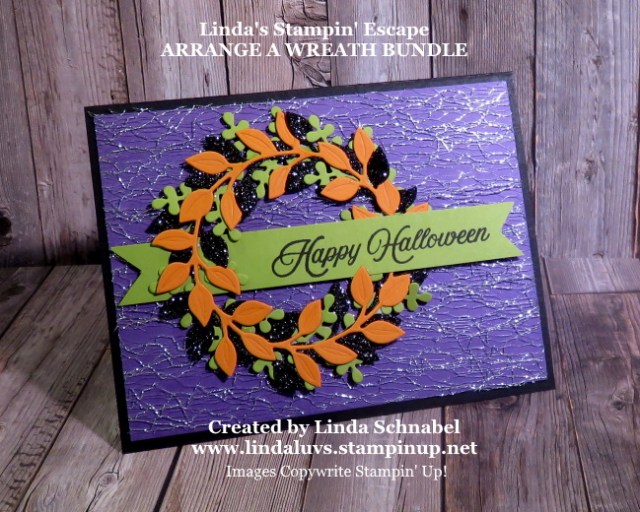
My final step to the card is to attach the wreath. I used the Mini Stampin’ Dimensionals so they would not show through the wreath. It adds another layer of dimension and completes the card …
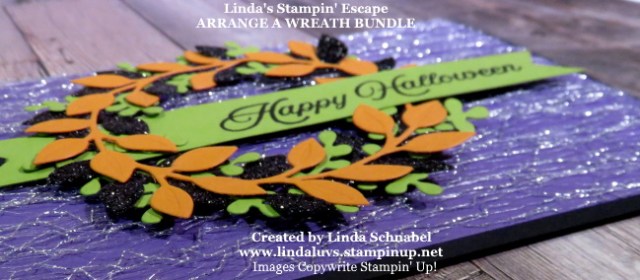
I love the bright colors from the wreath against the Gorgeous Grape and Metallic Mesh Ribbon, it really does give you that Halloween feel.

I hope you enjoyed today’s card as much as I enjoyed and had fun making it.

Have yourself a great day and enjoy the beginning of your weekend.

Thank you for joining me today ~

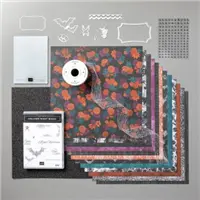
TODAY’S STAMPIN’ SUPPLY LIST … If you liked the products used in today’s projects, I have links for you below. Just click on the item you would like more information on, or to begin your shopping. It will take you directly to my website. Thank you ♥ 
Halloween Banner Fun …

Hello Stampin’ Friends,

This morning I was looking around on Pinterest and noticed one of my cards from 2013 was still getting hits … Yes!! That is cool, makes me happy that my card inspires people. Here it is ….

You can see the original post HERE. Today I have taken the same layout I used on the original card and updated it using the Magic in this Night Suite.

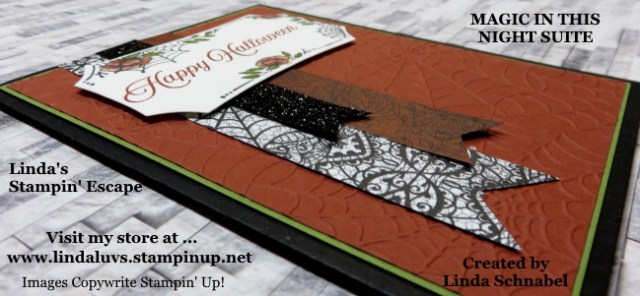
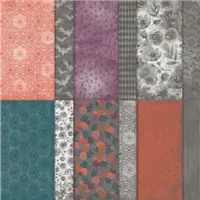
I chose 3 patterns from the Magic in this Night Designer Series paper creating my Halloween Banners …. One strip is 1″ … then 3/4″ and the last is 1/2″ wide. I used the Triple Banner punch to punch the ends … then I layered them as shown on the card.

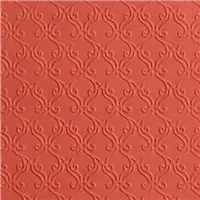
I started with a Basic Black base and then Cajun Craze which I ran through the NEW Stampin’ Cut & Die machine (man, does that work nice!!) using the Cobweb 3-D embossing folder. This was then layered onto a piece of Old Olive… just to add a pop of color.

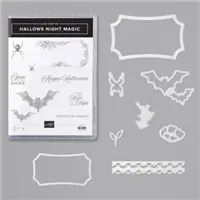
For my greeting, I chose the pretty frame from the Hallows Night Magic Stamp Set which I stamped with the Tuxedo Black Momento Ink and then colored with the Stampin’ Write markers. The “Happy Halloween” was stamped with Cajun Craze and the entire piece was popped up with the Stampin’ Dimensionals.

I must say … I love this Halloween suite, one of the prettiest I’ve ever seen! Did you ever think Halloween to be …. pretty?!

Thank you for hanging out and waiting for today’s post! Much appreciated.

Enjoy your day ~

TODAY’S STAMPIN’ SUPPLY LIST … If you liked the products used in today’s projects, I have links for you below. Just click on the item you would like more information on, or to begin your shopping. It will take you directly to my website. Thank you ♥ 
Festive “Halloween” Corners …

Hello Stampin’ Friends,

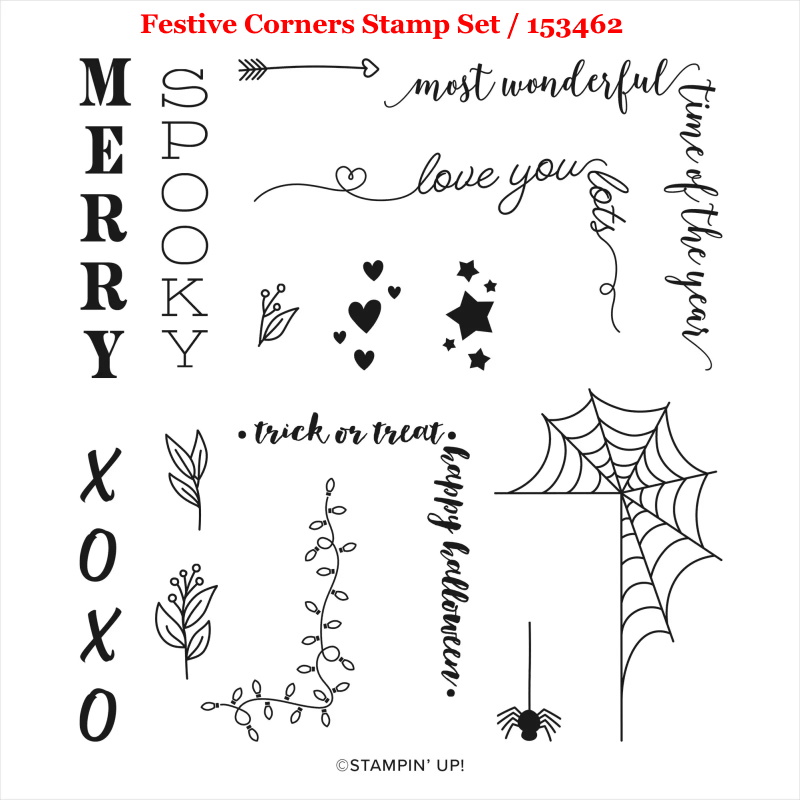
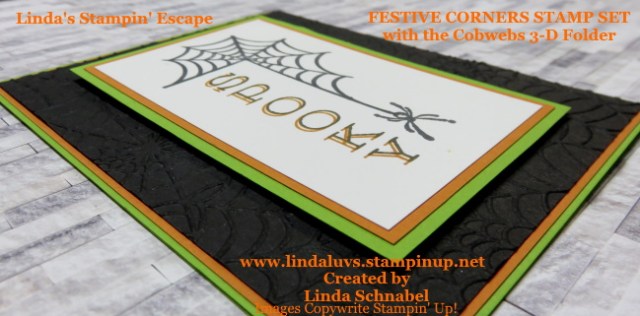
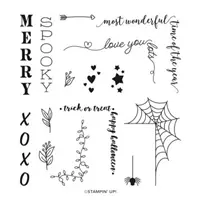
I had so much fun making yesterday’s “So Very Merry” card that I thought I would make another … Halloween. The Festive Corners stamp set is filled with fun holiday sentiments. I bought it to decorate my envelopes but found it to be so much more ….

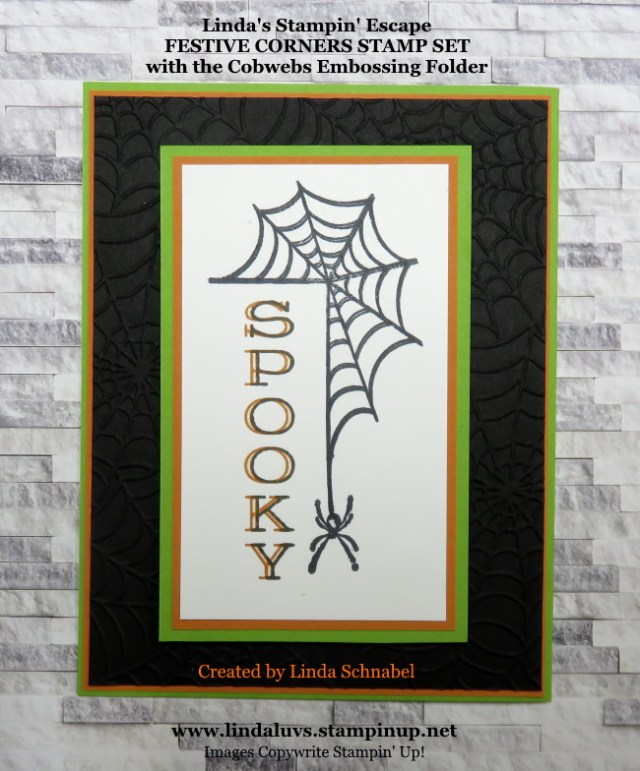
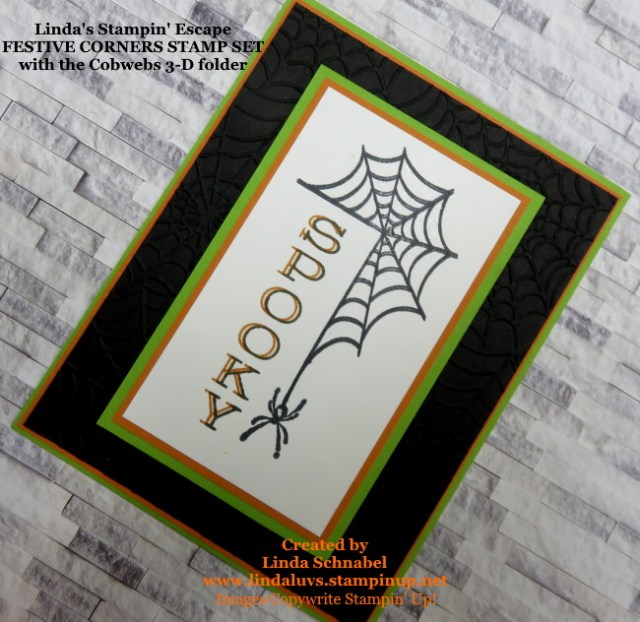
Today’s card started out as a simple Halloween card … I used my Stampartus to ensure the correct placement of my greeting to my spider web. Then I thought it needed a bit more … so I moved my stamped cardstock “ever so slightly” and stamped again!! Now I got a shadowy effect … how cool is that!

I used the hauntingly real spider from the Hallows Night Magic Stamp set … I wanted that “spooky” effect! To make it even more spooky … I used the Wink of Stella between the webs and in the open areas (very small) between the double stamped “spooky”.

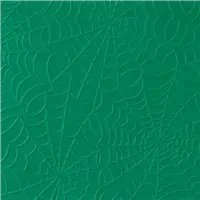
I wish the Wink of Stella showed up in the pictures … but the Cobwebs from the Cobwebs 3-D embossing folder show up perfectly and adds some fun texture to this card. This was such a fun and easy card to make.

To finish off the card, I popped up the layered stamped images up with our Stampin’ Dimensionals. The color pallet I used today was …

Are YOU ready for Halloween? Autumn is my favorite season … the warm days and cool crisp nights, and the smell in the air. Love it!

Hope you enjoyed today’s card … if so, please feel free to LIKE my post or comment below.

Thank you and have a wonderful day ~

TODAY’S STAMPIN’ SUPPLY LIST … If you liked the products used in today’s projects, I have links for you below. Just click on the item you would like more information on, or to begin your shopping. It will take you directly to my website. Thank you ♥ 

Magic in this Night reflection …

Hello Stampin’ Friends ~

Hope you are doing well … I’m great. Today and tomorrow I am attending the Stampin’ Up! Leadership Summit. We were to gather in New Orleans but the venue was cancelled due to Covid, so we’re going virtual. Hoping to learn more about that so I can share in more ways than ever before!

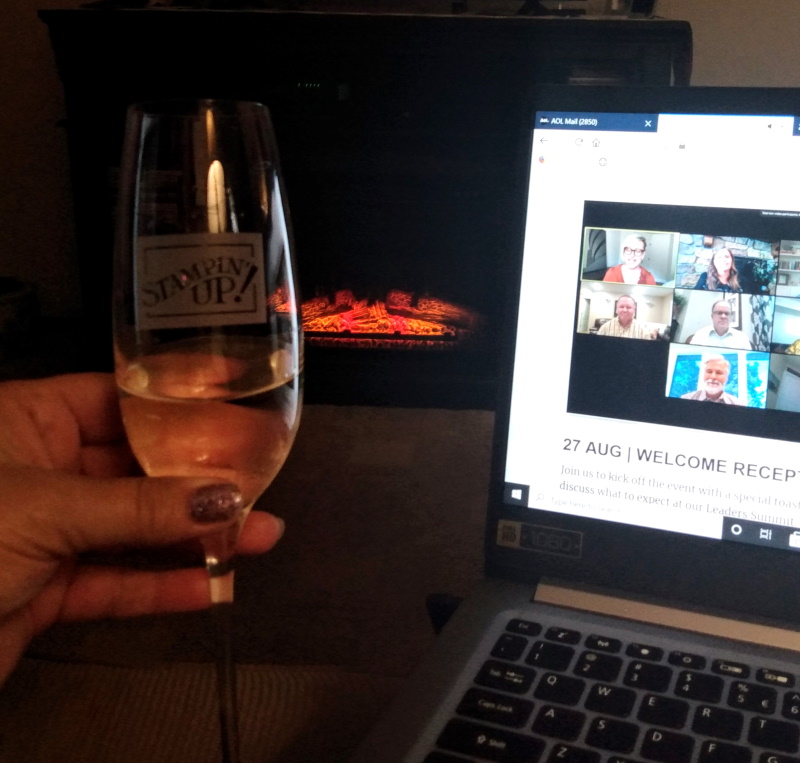
Prior to our Summit Stampin’ Up! sent us a little gift for of all places … Tiffany’s!! I will admit, it brought tears to my eyes. #leaderssummit

Yesterday we all gathered around our computers / laptops for the Welcome Reception and were told to bring our “gift” along so we could toast the kick off of the summit …

I’m so excited and can’t wait to hear the presenters, find out where the next Incentive Trip will be and to “be in the know” of what’s is coming for us next. I’ll be sure to share anything I can!

Today I’d like to invite you to take a walk back with me through the hauntingly tempting “Magic in this Night” product suite. Let’s see the many looks this one suite can create ….

Starting out super simple with the beautiful designer paper, a little pop of color and a couple of punches to highlight the greeting … oh yes, let’s not over look the stunning Metallic Mesh Ribbon! You can CLICK HERE to view the original post of this card.

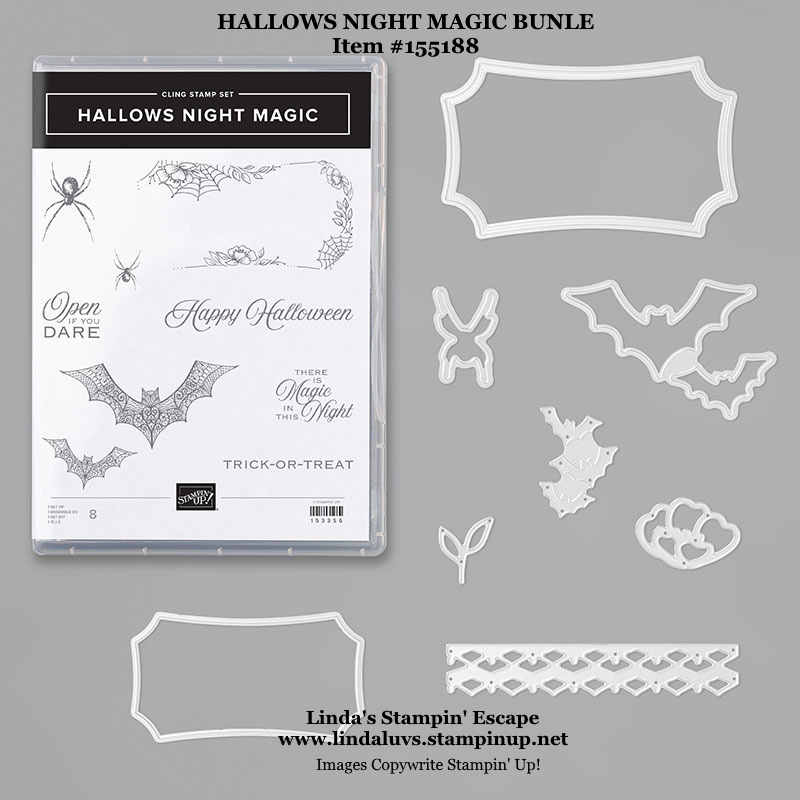
Stepping it up a bit by introducing the Hallows Night Bundle dies …

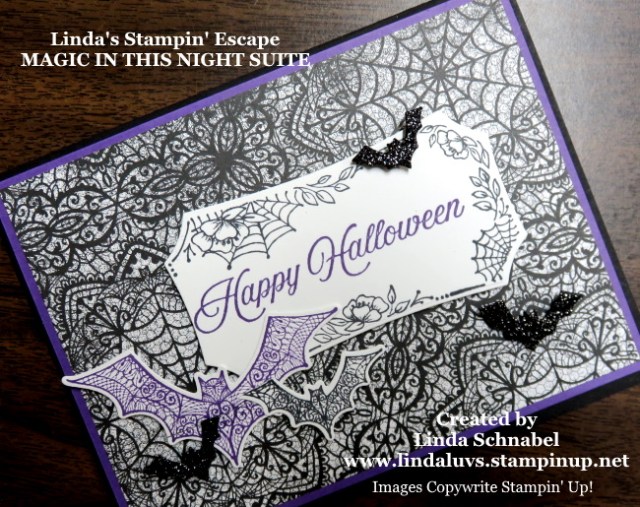
In Basic Black and Gorgeous Grape added to the stunning designer paper, this Halloween card has gone Gothic with a flair! You can read how this card was HERE … just click that link. The patterned bats are beautiful and I added a few “glitter” bats to enhance it further.

This card uses some of the same dies but by switching out the designer paper pattern, it changes the entire look ….

I like all 5 of the cards I’m sharing with you today, however I think this one is my favorite … it’s kind of sexy for a Halloween card! I share the tips on creating this card – just CLICK HERE to view. I love this pattern in the Magic in the Night Designer paper, I believe it would be beautiful on other holidays as well as Halloween.

A Halloween Kitty for you ….

They tell us to watch out for black cats but how can you resist this cute little kitty. Yet another pattern from the Magic in the Night Designer paper sets the stage for our card (Read More Here) Fun and simple and perfect for your feline lovin’ friends.

Here’s the last one …. for today anyway!

I’ve gone a bit batty on this one … with the designer paper and the die cut bats this quick -n- easy card would be a treat for anyone who loves to celebrate Halloween. You can read the full details HERE.

I’m sure you could come up with some of your own amazing cards, I’m just here to share some inspiration. I love Halloween … it’s the fun holiday, and I love watching the kids get dressed up and trick or treating.

Thanks for stopping by today. Hope yours is a good one.

TODAY’S STAMPIN’ SUPPLY LIST … If you liked the products used in todays projects, I have links for you below. Just click on the item you would like more information on, or to begin your shopping. It will take you directly to my website. Thank you ♥ 
Trick or Treat

Hello Stampin’ Friends ~

I had so much fun whipping together yesterdays Black Cat card that I whipped another one together for today. I have used yet another of the patterns in the Magic In This Night Designer Series paper …

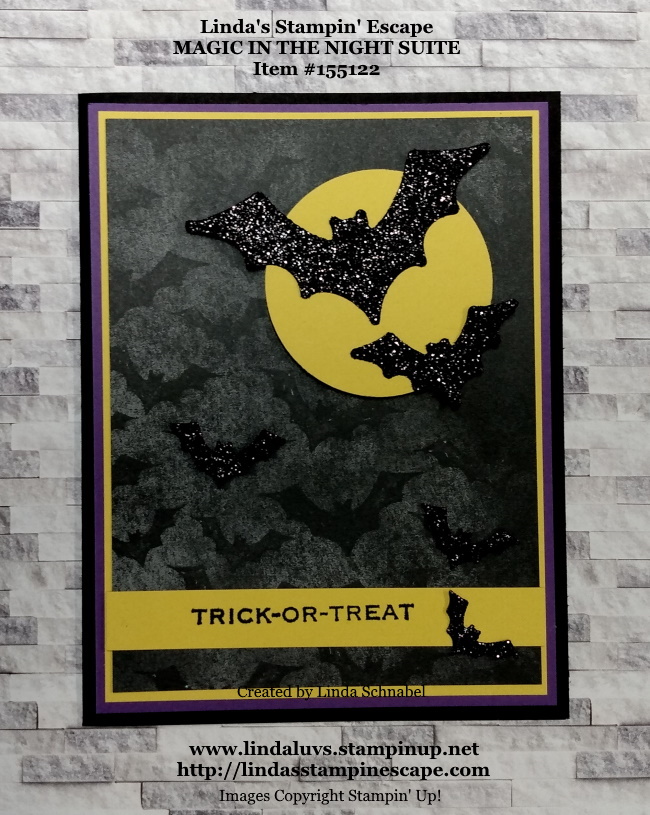
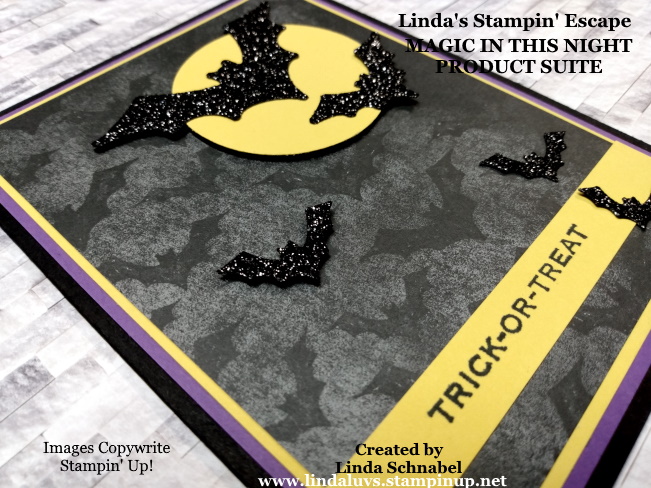
Today it’s the “bats” that reign supreme … by far not my favorite mammal, but they make for great Halloween cards! Once choosing the bat designer paper my color pallet was simple; Basic Black, Whisper White, Daffodil Delight for our Moon and Gorgeous Grape for a pop of color!

What this color pallet doesn’t show is the Black Glitter paper which was used for our bats ….

What is so cool is my die cut bats from the Halloween Magic dies from the Hallows Night Bundle actually align and fit within the bats on my designer paper.

With a few of the Mini Stampin’ Dimensionals to pop up the bats … our card now has some fun dimension and depth! Makes them look like they are really flying around.

A simple greeting and the card is complete! I know I’ll be sharing more from this product suite, it’s so fun to use. Are you a Halloween fan?

Thank you for stopping by today, looking forward to the week ahead and I’ll be sharing more about that later.

Have a wonderful day ~

TODAY’S STAMPIN’ SUPPLY LIST … If you liked the products used in todays projects, I have links for you below. Just click on the item you would like more information on, or to begin your shopping. It will take you directly to my website. Thank you ♥ 
Simply Sunday: Cat’s Magic

Hello Stampin’ Friends,

Today I’d like to share a little Black Magic with you … in the form of a kitty! I have another sweet -n- simple Halloween card created with the “Magic in the Night” product suite.

I’m using yet another pattern from the Magic in this Night Designer Series Paper …

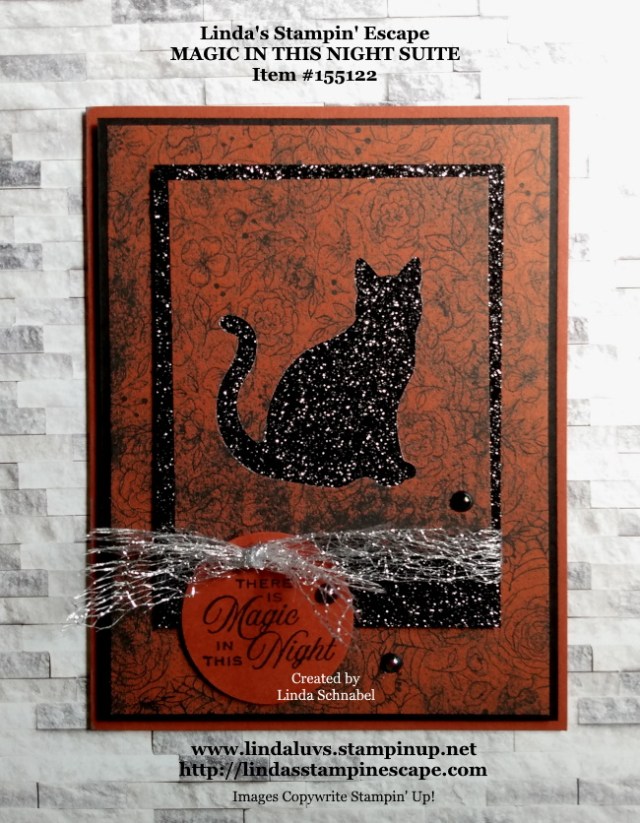
This card is layered with magical delights! The base is Cajun Craze and coordinates with the Magic in this Night Designer Series Paper pattern I chose and the Black Glitter paper.

The Magic in this Night Designer Series Paper is layered to create an mystical focal point … our Black Cat! Basic crating at it’s best, punches! The cat punch exposes the Black Glitter paper beneath …

The greeting was stamped in Tuxedo Black Momento ink and punched out with the 1-1/2″ Circle Punch and then tucked under the Metallic Mesh Ribbon… the sparkle from the ribbon dances with the glittering of our Black Cat.

All of the elements from the Magic in this Night Suite Collection are coordinated perfectly to add a touch of spooky elegance to all our project. My card today was completed by adorning it with the Iridescent Pearls … oooh they are striking!

You can check out all the Magic in the Night Designer Paper HERE along with my first card with this suite… OR my Gothic Halloween card in Pretty Peacock which you can find by clicking HERE!

Thank you for joining me today on a spooky trail of Halloween Haunts and a little Black Magic from our pretty little kitty!

Have a great day ~

TODAY’S STAMPIN’ SUPPLY LIST … If you liked the products used in todays projects, I have links for you below. Just click on the item you would like more information on, or to begin your shopping. It will take you directly to my website. Thank you ♥ 
Simply Sunday: Open if you Dare

Hello Stampin’ Friends ~

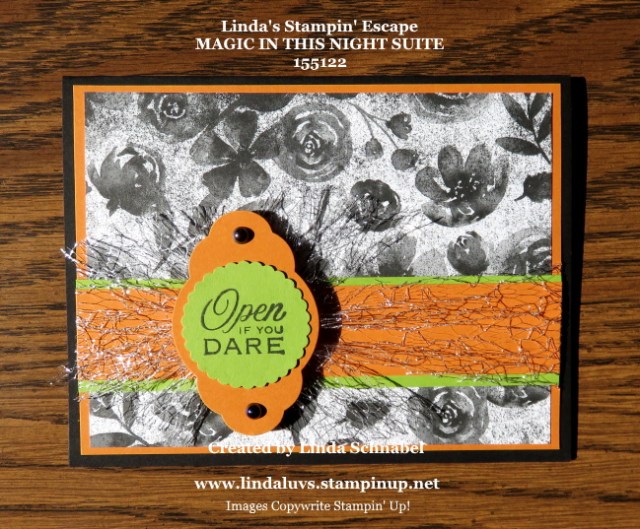
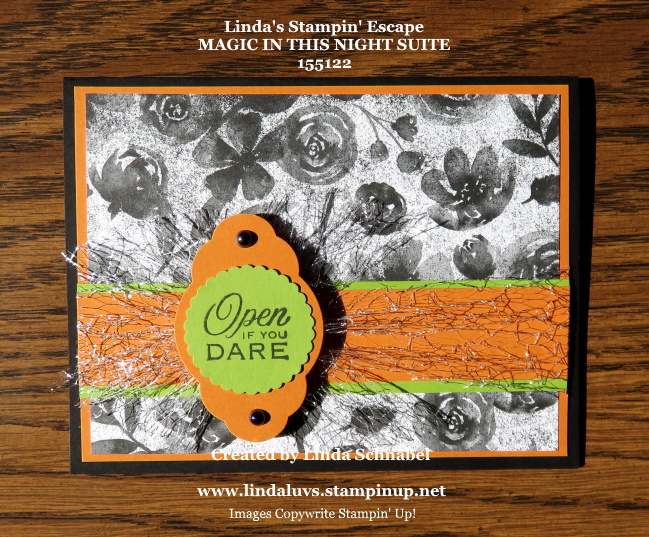
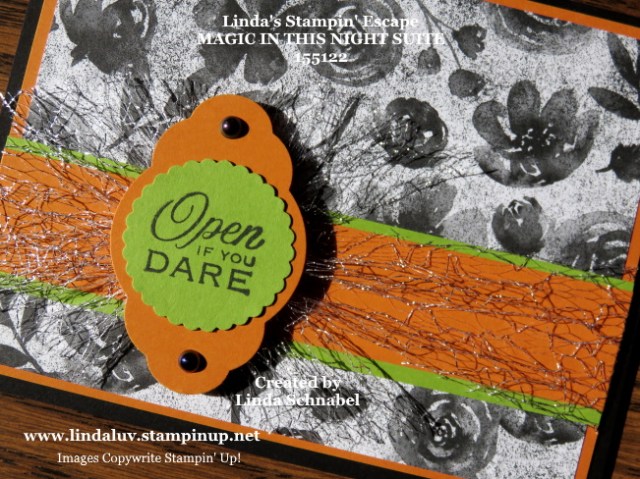
A sunny Sunday here today paired with one more card share from the amazing “Magic in this Night” suite. I’m beginning by simply flipping over the designer series pattern from yesterday to a floral surprise.

I’m also going back to more traditional Halloween colors by using Basic Black, Pumpkin Pie and Granny Apple Green … these layers of color are sure to make the Magic in this Night designer paper stand out.

A band of color across the front was used to also highlight the Metallic Mesh Ribbon. A big bow was created to nest my greeting on and make it pop! I stamped the “Open if you Dare” from the Hallows Night Magic stamp set on Granny Apple Green and backed with Pumpkin pie. You can use any combination of punches or layer with any one of our beautiful layering dies.

Today’s Simply Sunday card was completed with the Iridescent Pearls … they are so cool, and fit in with this product suite perfectly. This is the last of my Magic in the Night series of cards for a bit, but I’ll be back with more as time get closer to Halloween.

I also want to let you know that my OnLine store is getting a “facelift” and should be easier to use. I’m so excited! This covid has tied my hands to in-home classes but I’ll keep sharing here, on my facebook page and more …

I’ll be back tomorrow with another great project. Thank you for taking time out of your Sunday to join me today.

TODAY’S STAMPIN’ SUPPLY LIST … If you liked the products used in todays projects, I have links for you below. Just click on the item you would like more information on, or to begin your shopping. It will take you directly to my website. Thank you ♥ 
Halloween Gothic Night

Hello Stampin’ Friends ~

I am so excited to share today’s card with you … it is my second card creation from the “Magic in this Night” suite. Along with all the hauntingly stunning images from this suite, I will be sharing a neat technique with you.

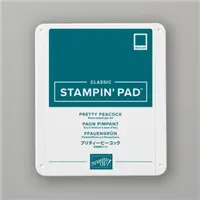
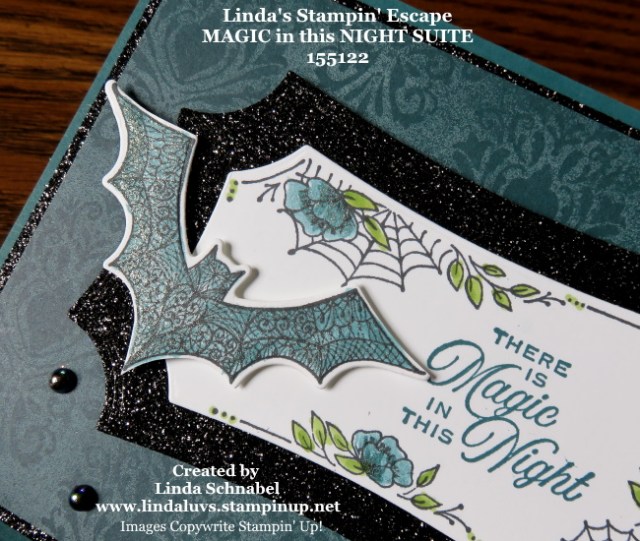
Yesterday I used basic Halloween colors so today I focused on the color pallet in the suite, and I fell in love! My card base and designer paper pattern are the Pretty Peacock … the richness of this color and the delicate images in the stamp set turned this into a WOW card ….

I chose the Pretty Peacock design that reminded me of wallpaper in a grand Queen Anne home from days gone by. I wanted to add the feeling of “Magic in this Night” so I matted the designer paper with the Black Glitter paper… before mounting it, I cut out the mat for my greeting border from the center (perfect paper saving technique).

I stamped the border and wanted to add color to it but also wanted that “shimmer” so I used this simple by over looked technique: I began by tapping my ink pad onto a clear block … then get the Wink of Stella pen. I used my Wink of Stella as a paint brush and picked up the ink from the block and painted my flowers. I love this technique of coloring my flowers, you can add more ink to darken where wanted.

I also colored in my bat with the ink and Wink of Stella… this technique just adds to the magic of this card. The leaves were colored with the Granny Apple Green Stampin’ Blends Duo.

The sentiment was stamped with Pretty Peacock into the border and then die cut. Once cut, I secured it onto the black glitter paper using the Tombo glue … it works best on glitter paper.

This assembly was popped up to create some dimension, and then the bat was also popped up! I could not resist adding the Iridescent Pearls and I’m glad I did because it really balanced and completed the card (and they are pretty!).

Are you a Halloween fan? And what do you prefer … the fun, the scary, or an elegant look of Halloween?

I thank you for stopping by today to check out my creation. Enjoy your day!

TODAY’S STAMPIN’ SUPPLY LIST … If you liked the products used in todays projects, I have links for you below. Just click on the item you would like more information on, or to begin your shopping. It will take you directly to my website. Thank you ♥ 
Magic in this Night

Hello Stampin’ Friends ~

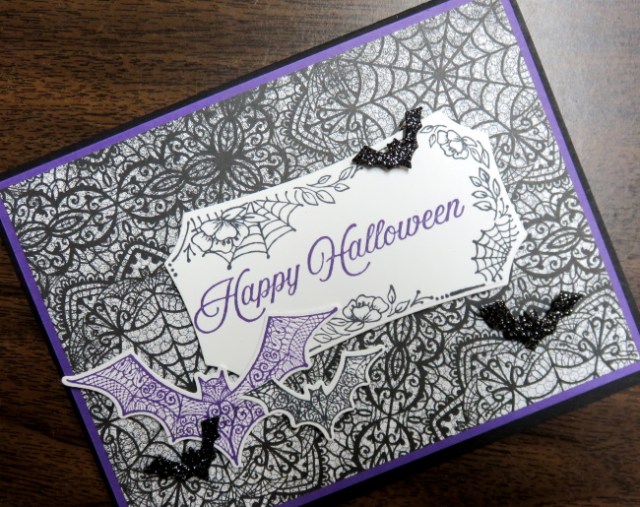
It’s Friday and I have a frighteningly beautiful card to share with you today. It’s created from the Magic in the Night Suite from the new Mini Catalog. I’m mailing today but for those who live close to me … schedule a time with me to pick up your new mini!!

The Magic in this Night Suite will add a touch of spooky elegance to your projects with detailed imagery and striking colors, just check out the designer paper …

This image has an empty alt attribute; its file name is 153517g.jpg

The color pallet for the Magic in the Night designer paper is; Pretty Peacock, Blackberry Bliss, Cajun Craze and Basic Black. The pattern I used is the same as the Cajun Craze pattern on top but in Black. The lace is pretty and perfect for dressing up my card.

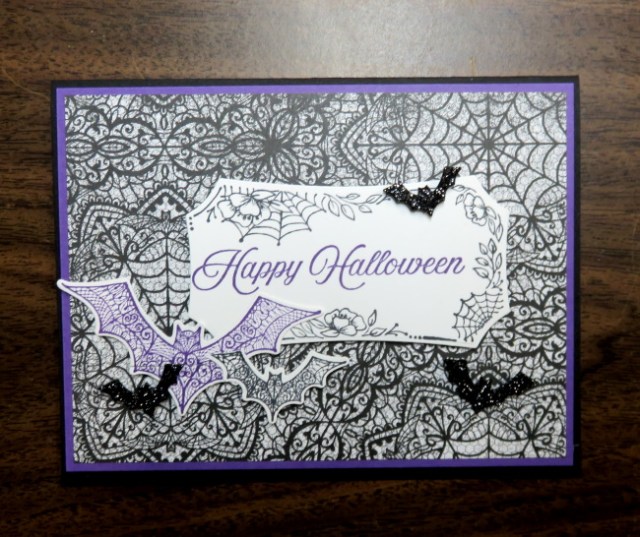
I backed (matted) my designer paper with a traditional Halloween color of purple, in our world known as Gorgeous Grape! The two detailed bats are on one stamp but far enough apart to ink them separately … which is what I did. They are then cut out with the coordinating dies.

I used the coordinating dies to cut my greeting out as well which is framed with the stunning frame …

The cute little bats are also die cut from the Halloween Magic Dies using the amazing Black Glitter paper … one cut and done, because these three bats are all on one die!

Just looking at this card gives me even more ideas for creating hauntingly beautiful cards for this Halloween season … and I’m sure I’ll find more to use some of these items than on Halloween!

Thank you for hanging out for me today and taking a peek into the new Mini catalog full of Holiday goodies!

Have a great day, and I hope you have a wonderful weekend planned.

Here is a list of the products used on these cards … Find out more information about these products by clicking on the image … or you can begin your shopping from here as well. Thank you!

Curvy Keepsake Cuties …

Hello Stampin’ Friends ~

Thought we’d have a little fun today seeing some fun and creative ways to use your Mini Curvy Keepsake die …

Let’s start are weekend with a little sparkle!!  These cute little treat keepers are so quick -n- easy to make and you can use any of our four glimmer papers, and don’t stop there … you can also use the beautiful foils we have too.

Another quick -n- easy way to create cute holiday treat boxes is using some of the beautiful designs in our Designer Series papers. We have many beautiful holiday papers right now …

This designer paper has retired but I find it’s a great way to use up my papers and put a smile on anyone’s face!  Who wouldn’t love getting such a cute little gift …


If you missed my latest creation with the Monster Bash Designer Series paper … These little cuties are to die for (well, not literally) your trick or treaters, co-workers or friends will be thrilled.


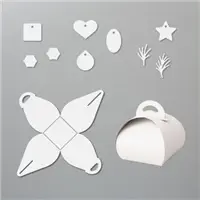
Mini Curvy Keepsakes Box Dies 150644

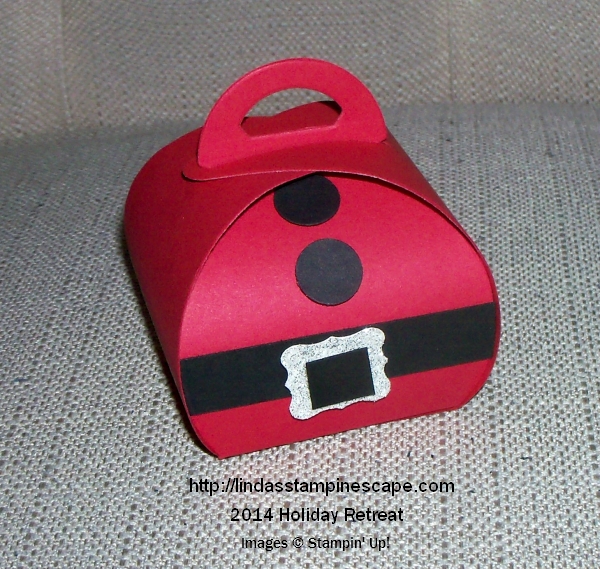
Last but not least is a real treat keeper designed for the biggest gift giving time … Christmas.  Can I get a little “Ho … Ho… Ho”  Simple to create with just a few punches, my Santa Curvy Keepsake will even fit in the stocking.  Making it with cardstock, makes it a little more durable.

These would be so cute on the fireplace mantle … on a co-workers desk, where ever Santa would leave a little treat.  A nice chocolate truffle fits perfectly in the Mini Curvy Keepsake box!

Have fun creating these quick -n- easy little treat boxes for every occasion … they make perfect little gifts around the table for baby showers, brides maids, Thanksgiving … you get the picture.  I have a list of supplies below that I used to create these cuties.

Thank you for joining me this “rainy” Friday … just glad it’s not snow!

Have a great weekend ~

Here is a supply list for some of the items shown above … 


Monster Bash ….

Hello Stampin’ Friends ~

I hope you have been enjoying my parade of Halloween cards and treat containers. Halloween is such a fun holiday to decorate for and it suits kids of all ages! If you scroll down … on the lower right hand side you will find my Halloween Creations all posted nicely on the side for you to view!! It’s a great way to see them all.  If your looking for specific items and directions, just type in “Halloween” or “Monster Bash” into the search box and it will pull up all the posts relating to your search.

Here are some of Stampin’ Up!s creations …

Don’t be afraid to contact me if you need help placing your Halloween order.  Here’s a cute little video to watch …

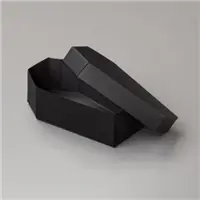
If you pop on over to my Linda’s Stampin’ Escape Facebook page you can view a video on how to make the cute coffin you see above.  Let me know what I can do for you.

Thank you for stopping by today …

Enjoy your day.

TODAY’S STAMPING SUGGESTIONS for Your Halloween Creations …


Trick or Treaters Delights …

Hello Stampin’ Friends ~

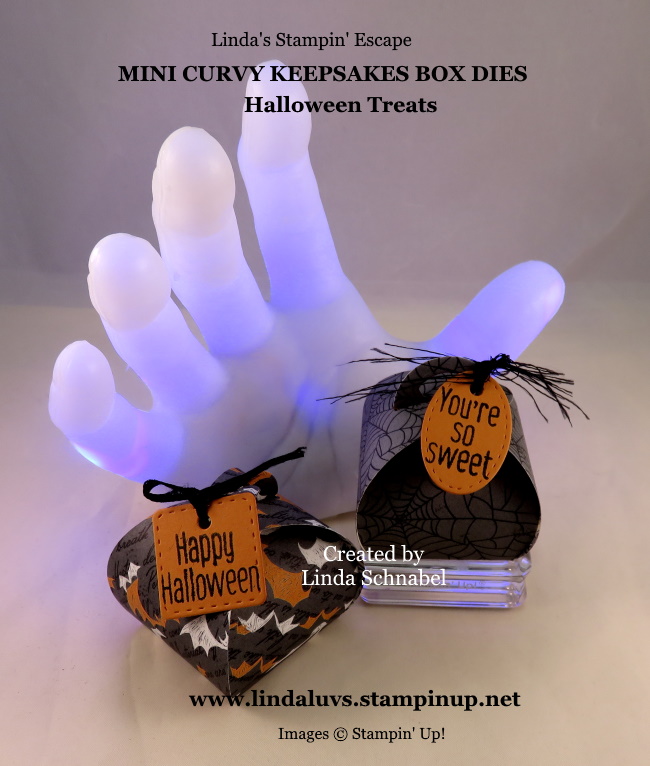
I always love to create special little packaging for my trick or treaters … I don’t get many where I live now so it’s mainly my grandkids!  This year I will create a custom die-cut keepsakes box in record time using the Mini Curvy Keepsakes Dies.  You’d be surprised what can fit into these cute mini boxes.  I cut my boxes out with the Monster Bash Designer Series Paper.  This designer paper  provides a fresh take on favorite Halloween characters and themes.

I was thrilled to see that the set of dies included tags … so I used two of them and teamed it up with the “To Every Season” stamp set.  To every season . . . there is a time for bats, a time for snow, and a time for love. Combine the greetings and images from the To Every Season Stamp Set for tags, treat packaging, or whatever is in season.  I paired it perfectly with the Mini Curvy Keepsakes Dies … these are two tools in my stamping arsenal that will be used all year long.

No craft stash is complete without the essential black ink pad… the Tuxedo Black Memento Ink Pad. You’ll love the coverage this ink gives, and that is why I not only used it in todays tags but in all my projects using the Stampin’ Blends.

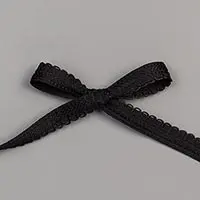
he silly ties are from the on my tags are from the Black Scallop Ribbon … on the bat container I cut the edge off the ribbon to attach it and for the one with the spider webs, I actually pulled the rest of the ribbon apart and tied on the shreds!! Like that it looks like spider webs!! lol

Your trick or treaters are going to fall in love with these cute little boxes and you’ll love that they’ll be done quicker than it takes to make a witches brew!

Thank you for hanging out with me today. Enjoy your day.

TODAY’S STAMPING SUPPLY LIST …


Hauntingly Cute Hand Sanitizer Gift Box

Hello Stampin’ Friends ~

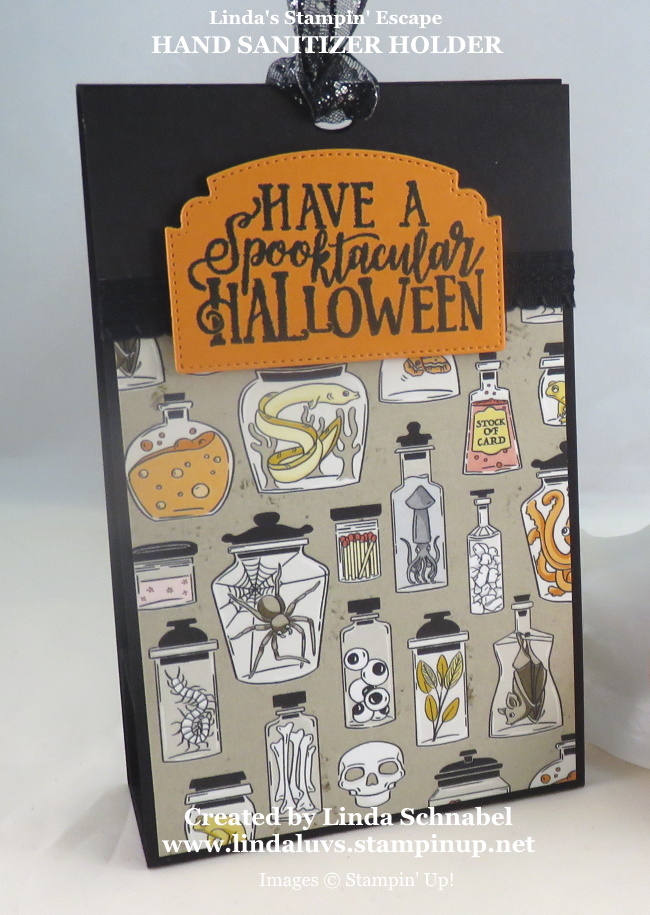
Hope you had a nice weekend and got a chance to check out the Halloween projects I shared yesterday … a card and a treat box! For some, Halloween is all about the candy, for others, they like to hand out practical gifts.  What would you think about creating something that makes those “practical” gifts more fun?  I have a cute little wrap for hand sanitizers that is quick -n- easy to make.

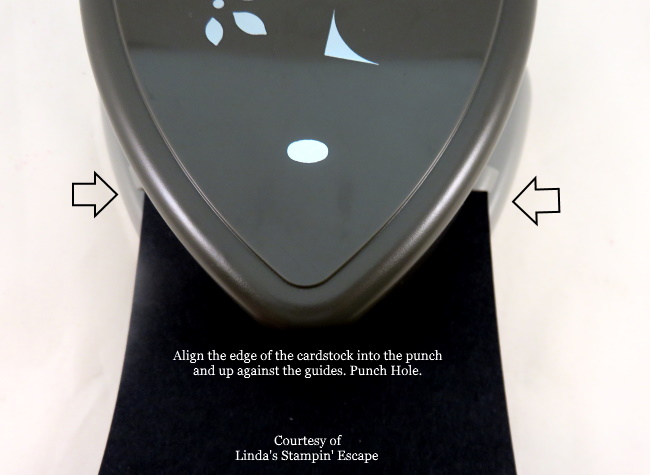
Let’s begin with the outer wrap.  Start with an 11″ x 3″ piece of cardstock.  Score the cardstock at 4-7/8″ and 6-1/8″ … these measurements will ensure the insert sits nicely in the wrap.  Then punch both ends, this will be used to for your ribbon and to close the top.

Attach a piece of 2-3/4″ x 3-1/2″ of designer paper… I used Monster Bash. We finished off the top edge of the designer paper by attaching a piece of ribbon over it and trimming off the edges.

Stamp your greeting and cut out with a favorite die or punch.  I used the coordinating die from the Spooktacular Bash Bundle and pop it up with the new black Stampin’ Dimensionals.

Set your outer wrap aside for now … it’s time to create your inner (inset) piece.  Cardstock should measure 4-1/2 x 2-7/8″ … score at 1″ – 2″ – 3″ and 4″.  Using the smallest of the scallop ovals, place it between the the two score lines closest to the 1/2″ flap. (See photo below).

Once the whole is cut out, you will need to glue the 1/2″ flap to the opposite side to create a box.  The hole needs to be facing up … add glue to the bottom (opposite side with the hole) and set it into the outer wrap between the score lines.  Now you can tuck your Hand Sanitizer into the scallop oval hole.  The Bath & Body Works small hand sanitizers fit perfectly into the oval.

This would make a cute teachers gift, thank you gifts, get well ? Any reason … flu season is coming and why not be prepared and be the cool mom on the block!  This is also a great way to use up some of that designer paper you’ve been hording … lol.

Have some fun creating these cute Halloween gifts for your ghoul friends and then make some more for just for the fun of it … Christmas is coming too!

Thanks so much for joining me today … Let me know if you liked this project, I’d love to hear what you think … just message below.

I also have a supply list below to make your shopping easy, just click on any image for more information or to begin shopping with me.

Just a reminder … Today is the last day of the Buy 3 / Get 1 FREE Designer Papers …

Have a great Monday!

TODAY’S STAMPING SUPPLY LIST …

.


Simply Sunday: Dancin’ in the Moonlight

Hello Stampin’ Friends ~

And a happy Sunday to you! Are you ready for some fun today? I’ve got a playful combination of products to share with you today… the Monster Bash product suite and the September 2019 Paper Pumpkin: Bone Appétit.

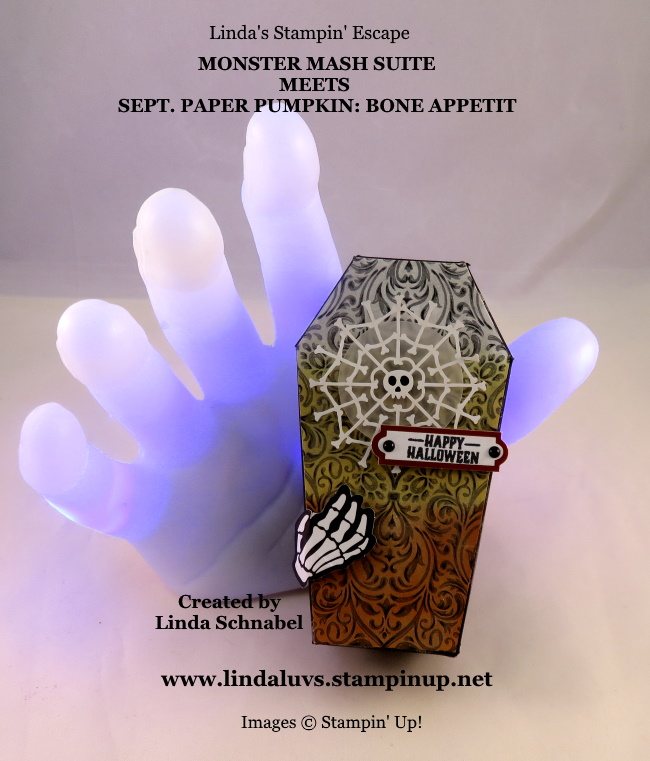
Let’s begin with the Coffin Boxes … such a fun way to share a special treat with your trick or treaters this year. I used the beautiful scroll design from our Monster Bash designer paper,  Now grab your sponge dauber and your Daffodil Delight and Pumpkin Pie ink pads.  I sponged on these colors to create a candy corn look directly onto my designer paper.  Little Wink of Stella to give it some shimmer.

Next I  pulled out my Bone Appétit Paper Pumpkin and adhered the vellum circle onto my lid. I took the new BLACK (I just love them) Stampin’ Dimensionals and used it to pop up my skeleton web … not only does it pop up but it give you the “dark sockets” in the skull! A bit creepy!

I added a little greeting direct from the Paper Pumpkin kit and the enamel embellishments are from our Monster Bash Suite. Then I thought it would be cute to give the recipient of this crafty little gift a “hand” … lol

With the same supplies and sponging technique, I created a coordinating card …

I just love these little skeletons and thought it would be cute to have them dancin’ across the card. These little guys are die cut images, as is the tag.  Did you know that if you subscribe for the October kit … you could then purchase this kit too!!  Past kits are available to purchase when you are a current Paper Pumpkin subscriber!

The holiday season will be here before we know it. And along with putting up the Christmas tree and spending snowy nights by the fire, many of my Paper Pumpkin subscribers will be looking forward to opening their holiday kit. Christmastime papercrafting with Paper Pumpkin has become an annual tradition!

Let’s take one last peek at our Halloween themed Paper Pumpkin and Monster Bash combination … I had a blast making these, and I’m sure my grandkids are going to love them!

Thank you for sharing a part of your Sunday with me. Hope you enjoyed my projects.

Have a wonderful day ~

TODAY’S STAMPING SUPPLY LIST …


Monster Bash Double Z-Fold Card

Hello Stampin’ Friends ~

So glad we’re such ghoul friends … that is our frightfully fun greeting on todays Halloween card which highlights the Spooktacular Bash Bundle. I’ve also showcased three (3) patterns from our Monster Bash Designer Series paper and in a fun Double Z-Fold card …

I started with a Paper Pumpkin base which coordinates perfectly with our designer paper.  The first pattern has all our ghoul friends featured on it and is attached to the first panel of our card.  The second pattern is a pair of our ghoul friends which were fussy cut and attached to front band of the “Z” which our greeting was stamped with the Spooktacular Stamp Set.

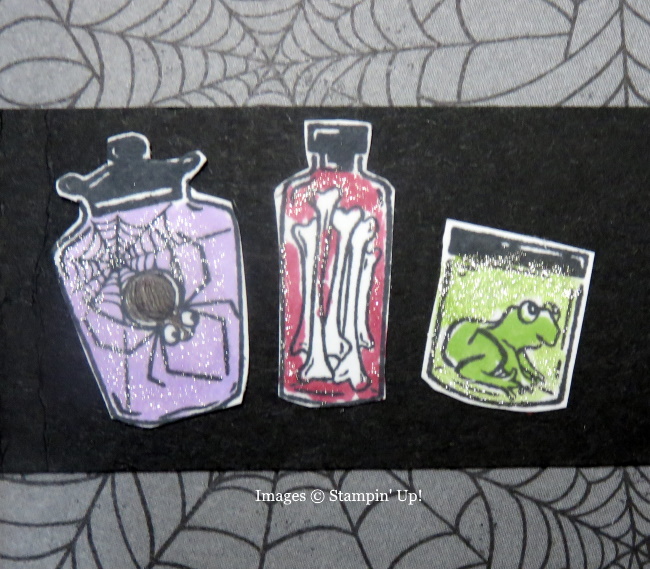
Inside our card you will find the creepy “Spider Web” pattern … with the “Double Z-Fold” card you get a sneak peek of this pattern because of the unique way it is folded. You will also find our eerie apothecary jars filled with ghoulish delights! Colored with our Stampin’ Blends and magically dazzled with a touch of our Wink of Stella.  The ingredients in the jar are a bit “bone-chilling” if I do say so myself!

This product suite is so fun to work with and a great addition to your Halloween decorating arsenal.  You will be seeing even more samples so stay tuned!

Have a frightfully fun Friday and thanks so much for your visit to my blog today.

TODAY’S STAMPIN’ SUPPLY LIST …