Hello Stampin’ Friends ~
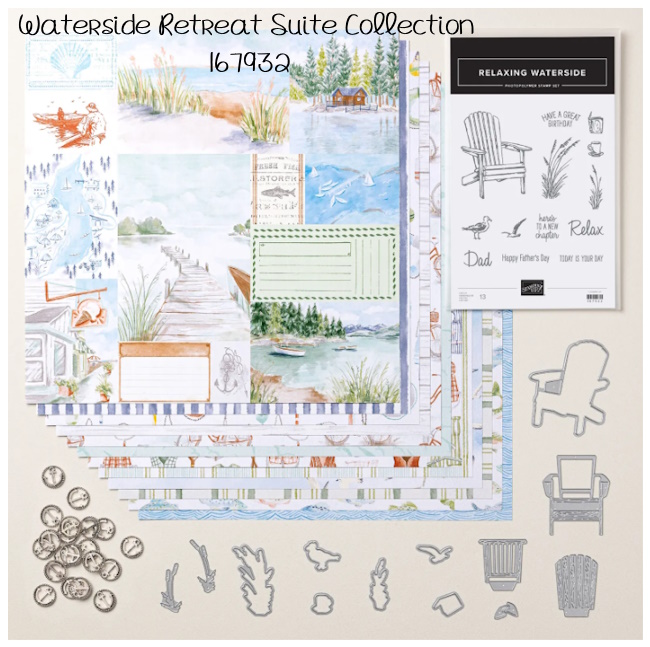
Escape to a quiet moment on the shore with the Waterside Retreat Suite Collection. This beautiful new suite, arriving in the upcoming catalog this May, captures the breezy simplicity of a lakeside getaway. With serene imagery of lounge chairs, open books, sailboats, gentle waters, and peaceful shoreline scenes, it invites us to slow down and create cards that bring comfort, encouragement, and heartfelt connection.
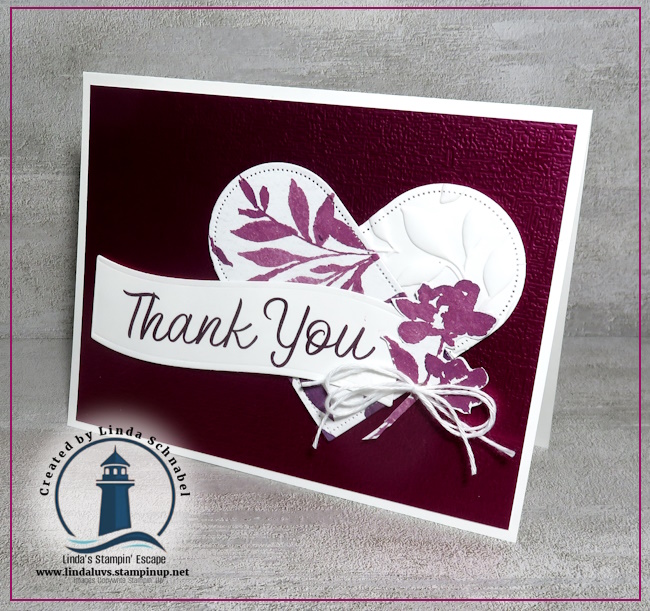
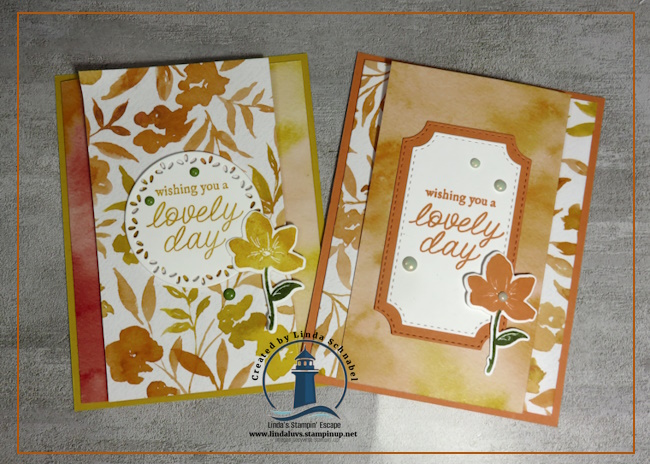
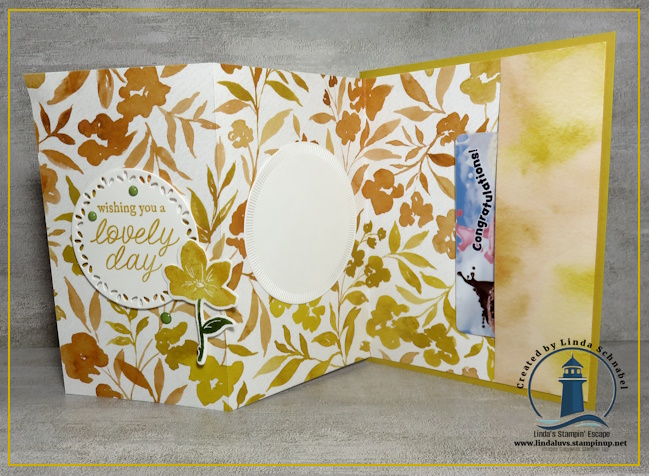
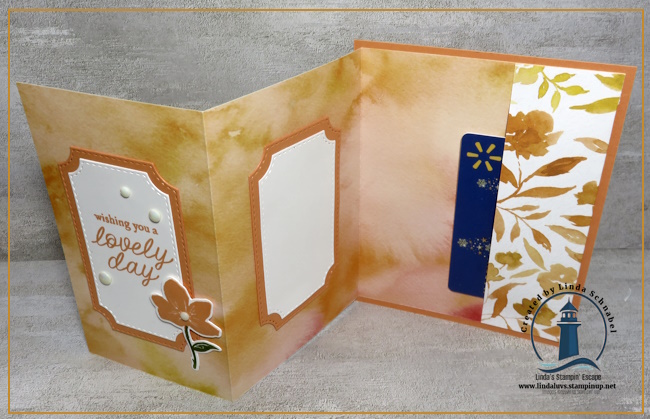
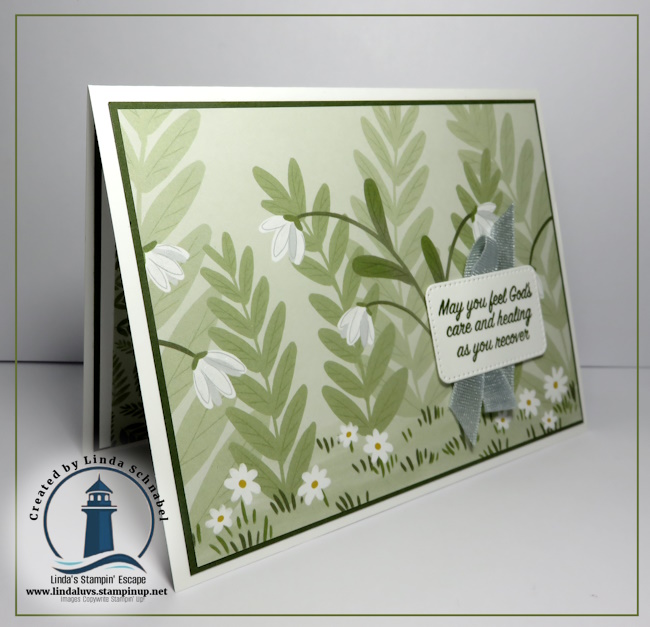
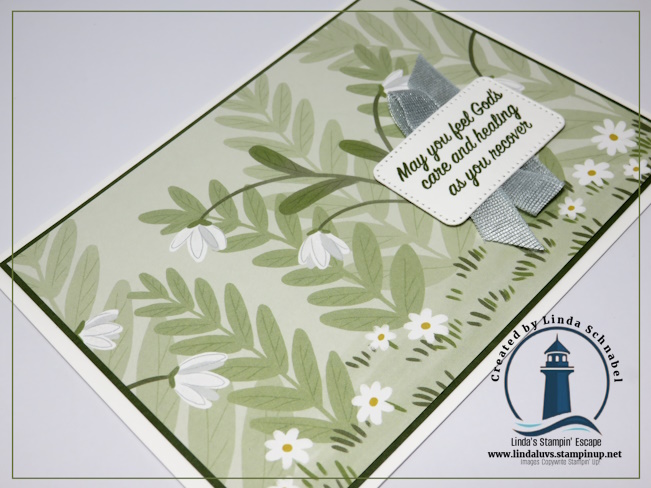
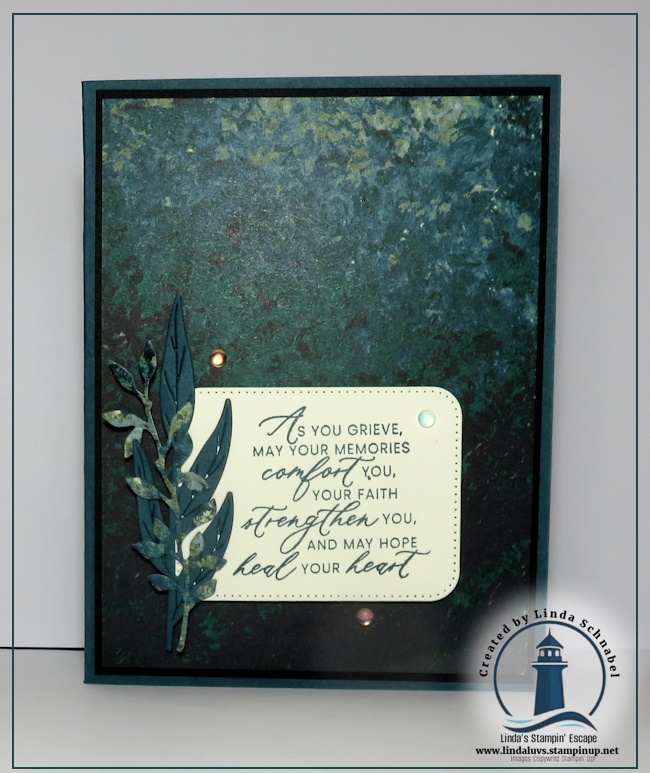
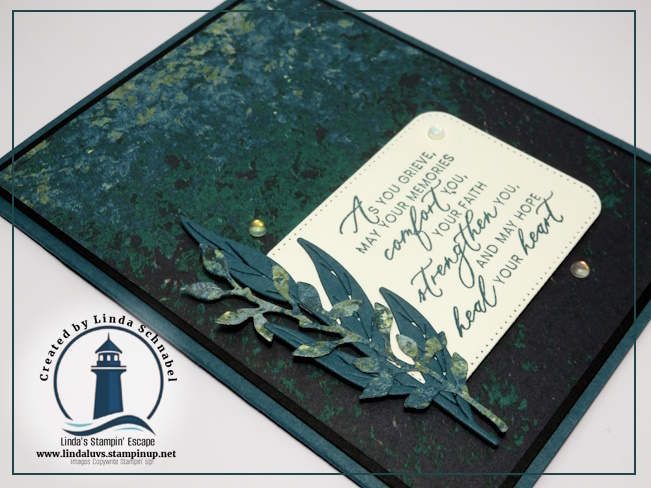
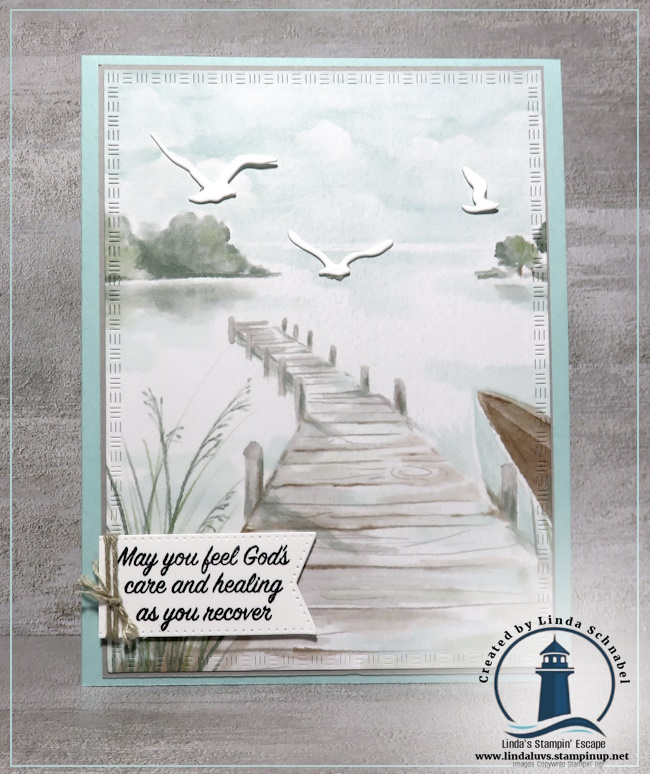
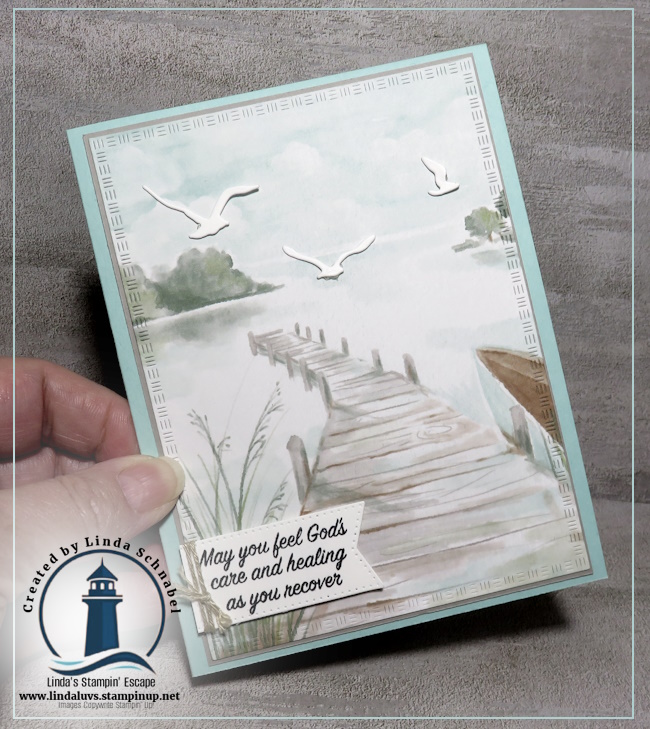
Today, I’m delighted to share a handmade card inspired by this tranquil collection. My card highlights the stunning designer paper, which beautifully depicts a misty lakeside dock scene, instantly setting a peaceful and reflective tone. To enhance the sense of movement and life, I added delicate bird dies soaring across the sky, bringing dimension and a touch of nature to the card. The sentiment, created using the Prayers & Promises stamp set, offers a message of comfort and healing: “May you feel God’s care and healing as you recover.” This makes the card especially meaningful for sending encouragement during times when a gentle reminder of care is needed.
The calming colors and serene imagery of the Waterside Retreat Suite make it perfect for sympathy, thinking-of-you, masculine, encouragement cards or lakeside fun. Its versatility ensures it will quickly become a favorite for creating heartfelt projects that resonate with both the sender and the recipient.
Adding to the excitement, this suite coordinates beautifully with this month’s Paper Pumpkin kit, titled Lakeside Retreat. The kit includes exclusive designs and elements that complement the suite, allowing you to expand your creative possibilities and enjoy perfectly coordinated projects.
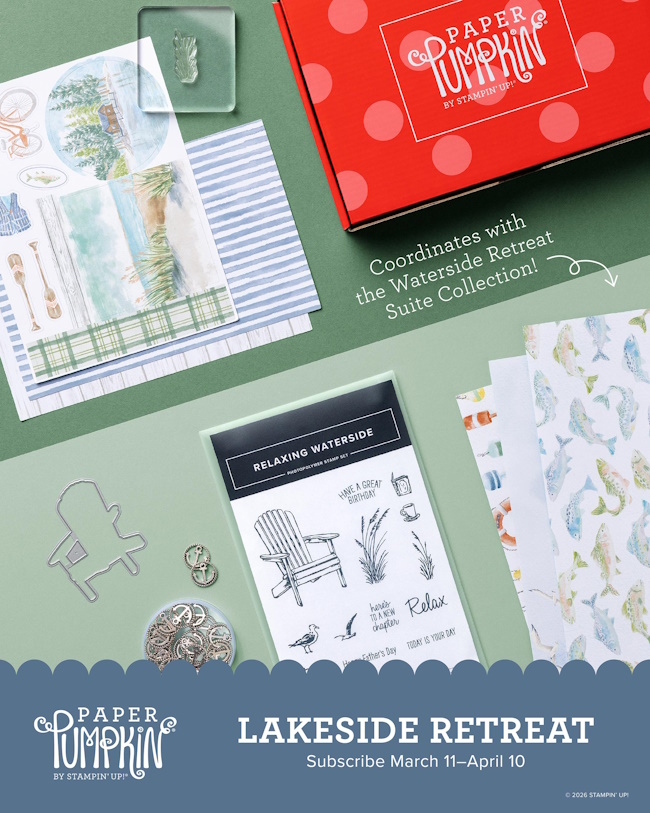
🚨 Important Reminder: Today is the final day to subscribe to receive this special Paper Pumpkin kit! If you love the peaceful lakeside theme, you won’t want to miss the opportunity to add these coordinating elements to your crafting collection. Subscribing ensures that this exclusive kit is delivered right to your door, ready to inspire your next creative escape.
As you look ahead to the new catalog release in May, be sure to add the Waterside Retreat Suite to your wish list. Its tranquil charm and versatility make it a timeless addition to any crafter’s collection.
Thank you for stopping by today. I hope this card inspires you to take a moment for yourself and enjoy the peaceful creativity that stamping brings. Be sure to subscribe to Paper Pumpkin before the day ends, and get ready to create your own lakeside escape!
Happy Stamping!
Linda