Simply Snowflakes! Christmas cards on a budget …

Hello Stampin’ Friends ~

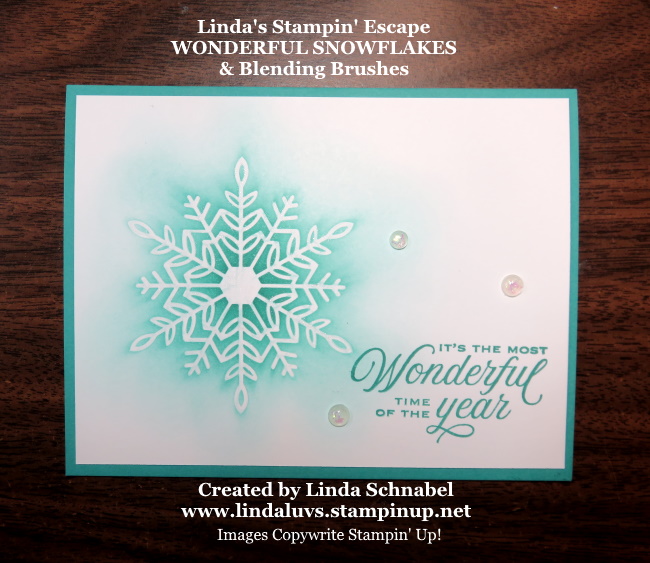
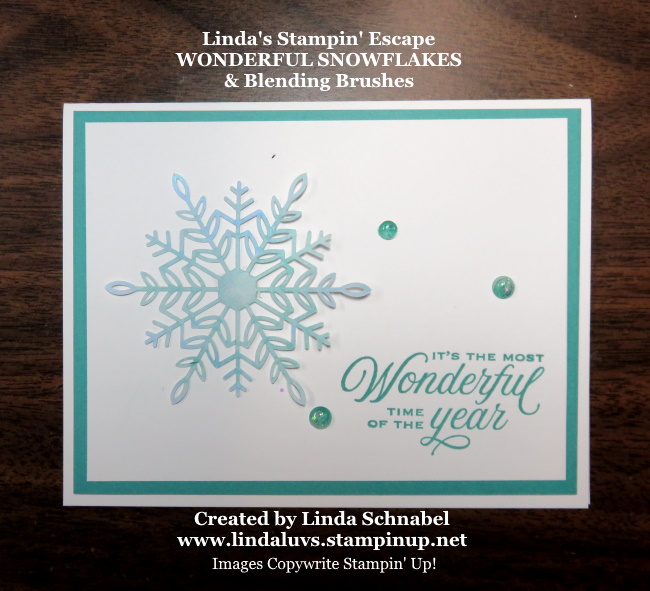
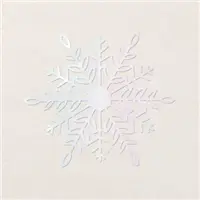
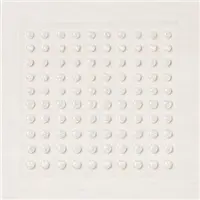
Today, I will use the Wonderful Snowflakes from the Whimsy Wonder Suite … I’ll show you how your Blending Brush magically transforms your Snowflakes and Cards in my video!!  These are great Christmas Cards for anyone on a budget! .

Let’s start with the first cards created by using our Snowflake and Blending Brushes to leave a negative images. Once you see all the cards, the video will show you exactly how they were done ….

I wish you could see the Wink of Stella on this card, it really highlights the snowflake. Make sure you watch the video so you can see all the tips and techniques.

The second card was created with the Wonderful Snowflake that was used for our last card. This way you will get 2 cards from every snowflake … or 48 cards. And the pack of 24 Wonderful Snowflakes is only $6.00 (it’s a steal)

The last card is for those of you who want to make a clean and simple card that is pretty and ready to send in just minutes. You’ll get 24 cards using this method …

You will want to watch the video as it shows you how simple the cards are to create, and how budget friendly this layout truly is. I even talk about how you break down the costs.

Enjoy the video and please let me know if you have any questions …

Thank you for stopping by and spending a part of your day with me. I hope the rest of your day is wonderful ~

TODAY’S STAMPIN’ SUPPLY LIST … If you liked the products used in todays projects, I have links for you below. Just click on the item you would like more information on, or to begin your shopping. It will take you directly to my website. Thank you 

Simply Sunday: Spooky!

Hello Stampin’ Friends ~

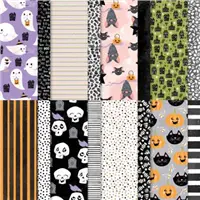
Are you a fan of Halloween? Fun Halloween or Scary Halloween … some of us like to be scared but some of us can’t resist the cuteness overload of the Cute Halloween Designer Series paper from the Stampin’ Up! Aug. – Dec. Mini Catalog. (Formally the Holiday Catalog) Yes .. that is what it’s called.

Last time I believe I share some sweet little ghosts with you, however today I’ve gone a bit batty! Really now … who would ever think bats are cute? But these little guys adorned with shades of Flirty Flamingo and Highland Heather, well .. they are hard to resist!

I simply cut my bats and adjoining circles using the Layering Circle Dies … together they create a fun layout that is easy on they eyes and works well with out polka dot background, which by the way also comes from the Cute Halloween Designer paper.

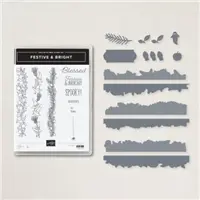
My greeting comes from the Festive & Bright Bundle also from our Mini Catalog. I simply stamped it onto a piece of scrap and tucked it in between my circles (they also come from the designer paper …

There will be no toil & trouble creating this card because the fun patterns on the Cute Halloween Designer paper and this simple layout will have you making these quicker than a witches brew!

Thank you for stopping by and spending a part of your Sunday with me. I hope the rest of your day is peaceful~

TODAY’S STAMPIN’ SUPPLY LIST … If you liked the products used in todays projects, I have links for you below. Just click on the item you would like more information on, or to begin your shopping. It will take you directly to my website. Thank you 

Together creates the Merriest Moments

Hello Stampin’ Friends ~

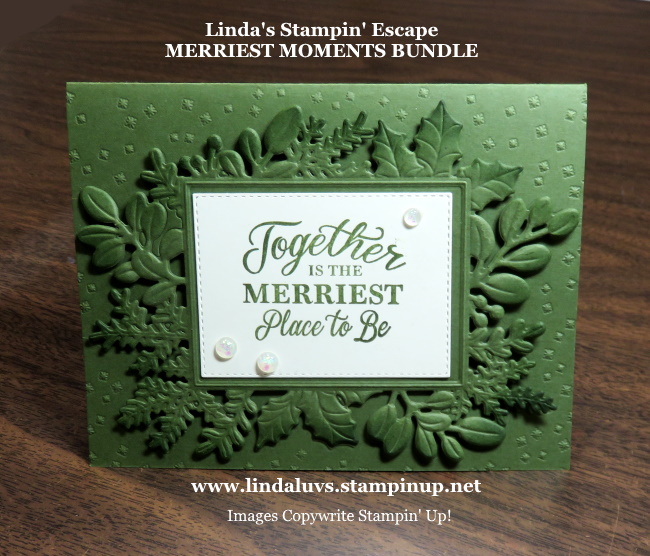
When do you start making your Christmas cards? Some of my stamping friends are just choosing their designs, while others are done! Oh my! I am not that prepared … teehee! Today I have a most wonderful card to share with you, and I’ve used an amazing bundle which has some unique qualities and I’ll walk you through them.

This is really a simple layout but the uniqueness of this bundle makes it look like you’ve slaved the afternoon away, when in fact, you’ll just run it the your Cut & Emboss machine a few times and you’ve created something magical … and that is what Christmas is to me.

You will begin with two pieces of Mossy Meadow cardstock … one for your card base 8-1/2″ x 5-1/2″ and your front piece 5-1/2″ x 4-1/4″. Both of these pieced will be run through your Cuti & Emboss machine. When doing the card base it’s easiest if you have your score line for the fold done first so you can align the edge of your folder to the score line.

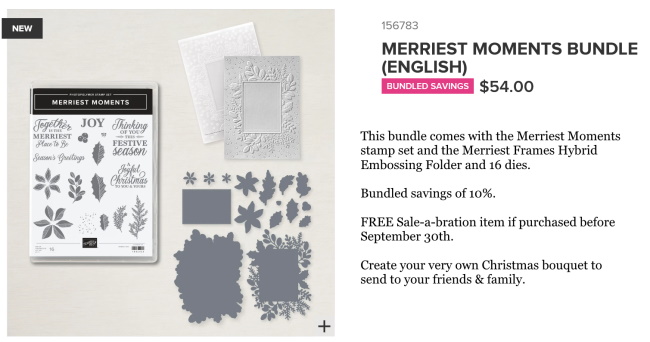
Once you have both pieces embossed, set aside the card base and take the quarter sheet and die cut it using the “largest open die” …. it will nest nicely onto the embossed image. And yes, this bundle comes with the embossing folder, dies and stamp set.
Now that the front is die cut, you will notice that it also layers nicely onto the embossed half of the card base, but before you attach it (we used dimensionals) use your sponge daubers and add some Mossy Meadow ink onto the edges … this gives you some dimension by adding a soft touch of the same color.

The greeting comes from our bundled stamp set and was stamped onto Very Vanilla cardstock in Mossy Meadow, and die cut with the die included with our bundle … it fits perfectly in the framed space! To complete the card we added some Opal Rounds to add a touch of glitz for the holidays.

This special bundle is so fun to use, and you’ll be creating wonderful holiday cards for your friends & family in no time. And the sentiment says it all during the holidays … Together is the Merriest Place to be!

Thank you for dropping in and checking out my blog. Enjoy your day~

TODAY’S STAMPIN’ SUPPLY LIST … If you liked the products used in todays projects, I have links for you below. Just click on the item you would like more information on, or to begin your shopping. It will take you directly to my website. Thank you 

Friday Fun: More Pinwheel Tower Cards!

Hello Stampin’ Friends ~

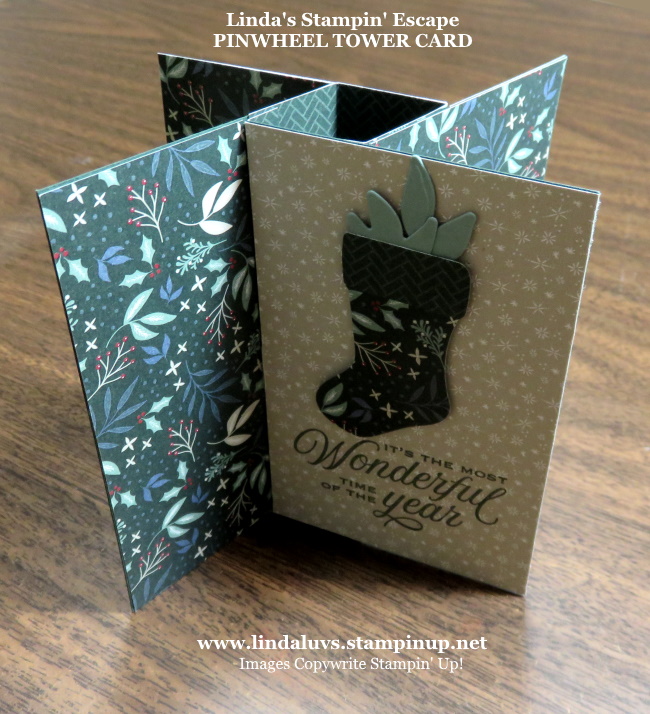
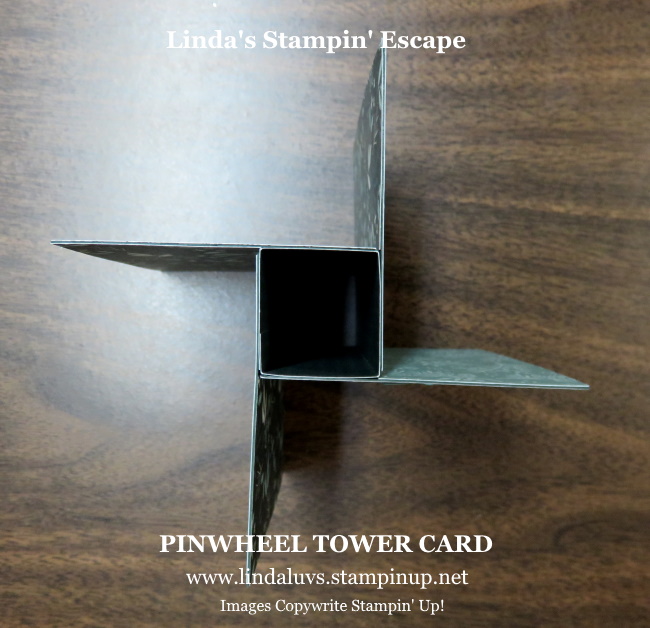
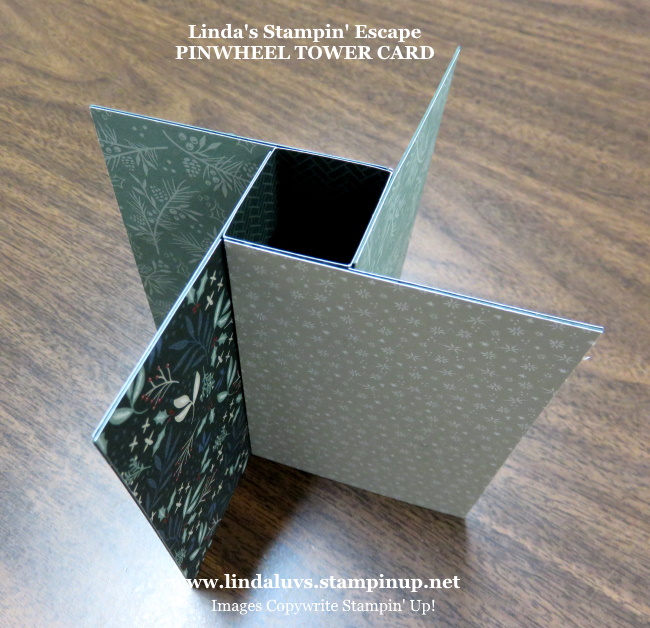
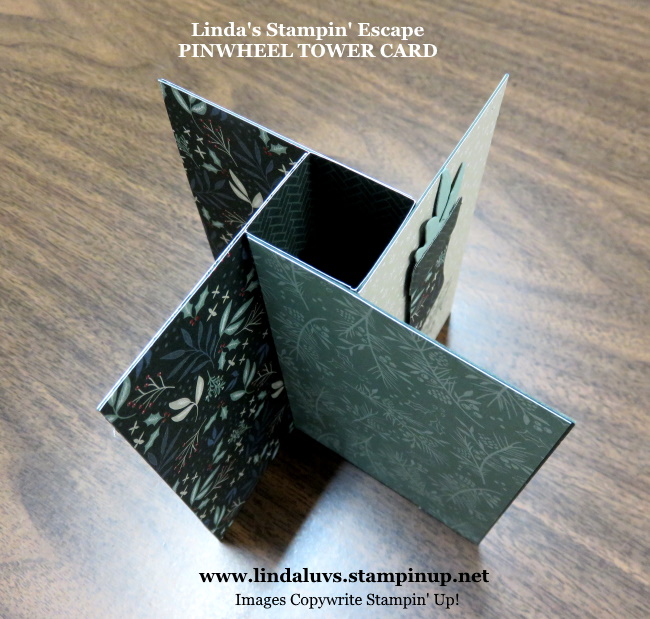
I’m back with more Pinwheel tower cards. I’ll be sharing the video replay of the Pinwheel Tower card again for our new viewers … it has the dimensions you need to create your own.

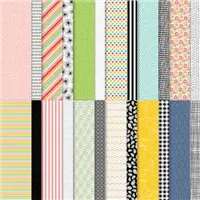
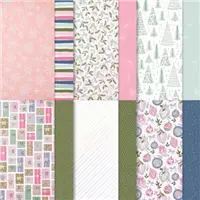
Let’s begin with the cute Pattern Party Designer paper with all it’s adorable patterns. In the video you heard me say that this has color on one side and black and white on the other, so….

For a pop of color, I did the Ombre technique using Bermuda Bay ink and my Blending Brush. I love how it turned out. I did “each side” as it lays flat the same … not intermingling the designer paper like I did on the other cards. So one side is Ombre and the other is ….

With some of the leftover Basic Black cardstock, I created a “pocket” to tuck in some money or a gift card into it!

Here are the dimensions for the Pinwheel Tower Card …

  • Tower: 4-1/4″ x 4-1/4″ … Score at 1″ – 2″ – 3″ and 4″ which leaves 1/4″ flap to secure the tower.
  • Cut 4 pieces of cardstock 4-1/4″ x 2-3/4″. These pieces will be attached to the tower.
  • Designer paper cut 4 @ 4″ x 2-1/2″ plus four slim pieces cut at 4″ x 1-1/2″.

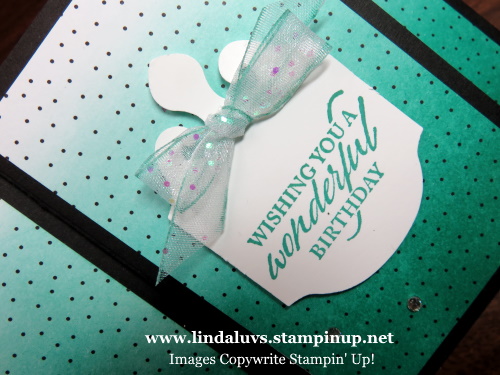
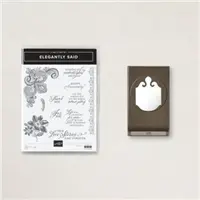
I used the Elegantly Said bundle for my greeting as I did on one of the other cards, and I dyed the edges of the Glitter Organdy Ribbon to coordinate and add a hint of color to the tag.

My next card highlights the stunning Expressions in Ink Designer Paper… The pattern was cut to flow around the entire card. I simply can not resist beautiful designer paper … it turns a “fun fold” card into something elegant …

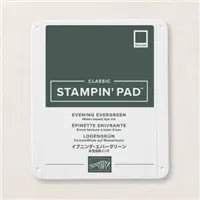
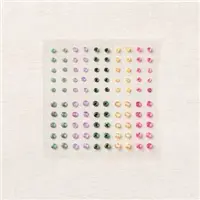
I used the Create with Friends stamp set and stamped my greeting in Evening Evergreen … I adorned the card with the 2021-23 In-Color Gems, also the Evening Evergreen.

STAMPIN’ TIP: You save designer paper when cutting a 12″ x 12″ at the 4″ dimension instead of the 4-1/4″ because the 4″ cuts equally and the other leaves leftover.

Here is the video

I hope you enjoyed these additional cards. Thank you for joining me today ….

Have a wonderful weekend!

Here is a list of supplies used to create today’s cards. You can click on any one of them to view the product and get more details. It will take you directly to my store so you may begin shopping for the items you need. Thank You ❤

The PINWHEEL TOWER Cards

Hello Stampin’ Friends ~

I’m so excited to share the Pinwheel tower cards and more with you today. I’ll be sharing the video replay of last nights Facebook LIVE which shares 3 different versions of the Pinwheel Tower card with the dimensions you need to create your own.

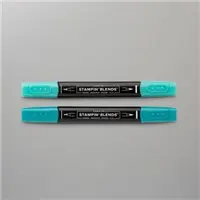
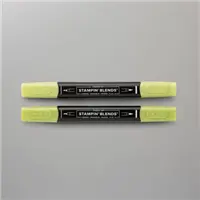
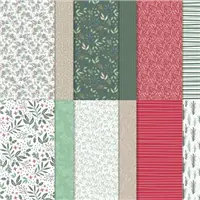
Let’s begin with the cute Pattern Party Designer paper with all it’s adorable patterns. I teamed it up with the Elegantly Said bundle. I used the Granny Apple Green Stampin’ Blends to color the Opal Rounds and White Glitter Organdy Ribbon.

This photo shows a piece of designer paper with a “pocket” to tuck in some $$ or a gift card!

Here are the dimensions for the Pinwheel Tower Card …

  • Tower: 4-1/4″ x 4-1/4″ … Score at 1″ – 2″ – 3″ and 4″ which leaves 1/4″ flap to secure the tower.
  • Cut 4 pieces of cardstock 4-1/4″ x 2-3/4″. These pieces will be attached to the tower.
  • Designer paper cut 4 @ 4″ x 2-1/2″ plus four slim pieces cut at 4″ x 1-1/2″.

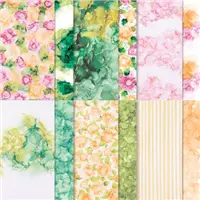
My next card highlights the Whimsy & Wonder Designer Paper and the Blushing Bride Frayed Grosgrain Ribbon. I simply can not resist this designer paper and it turns a “fun fold” card into something elegant …

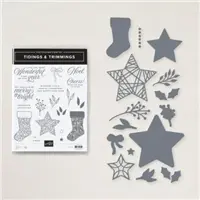
My last card is the Tidings & Trimmings bundle from the Tidings of Christmas suite in the Annual Catalog (the big book) The “Noel” used on my Whimsy Wonder card comes from this bundle as well … I love the color combination of this paper.

The dimensions for the designer paper are different on this card because I have “no border” around the edges. Here are those dimensions: Designer paper cut 4 @ 4-1/4″ x 2-2/3″ plus four slim pieces cut at 4-1/4″ x 1-3/4″.

STAMPIN’ TIP: You save paper when cutting a 12″ x 12″ at the 4″ dimension instead of the 4-1/4″ because the 4″ cuts equally and the other leaves leftover.

Here is the video

I hope you enjoyed the video and the cards. I will be sharing the “other card” mentioned in the video with you tomorrow.

Thank you for joining me today, and last night if you caught this LIVE!

Here is a list of the products I used on my cards. You may click on any one for more information on the product, or to begin shopping so you can start making these adorable cards. Thank you.

Introducing the Pinwheel Tower Card

Hello Stampin’ Friends ~

Today I’d like to invite you to join me tonight for my Technique Tuesday LIVE on Linda’s Stampin’ Escape Facebook page. I will be highlighting the Pinwheel Tower Card and will show you step by step how fun and easy this card is to create …

I’m excited to share this card with you tonight at 6:30 pm CT … You’ll see different designs and how you can create different “looks” for this fun fold.

Looking forward to seeing you tonight at 6:30 on my Linda’s Stampin’ Escape Facebook page. You’ll have the dimensions you need to start creating right away… you’ll have a blast making these cards!

Thank you for stopping by today, I’ll see you tonight.

Simpy Sunday: Painted Christmas Suite

Hello Stampin’ Friends,

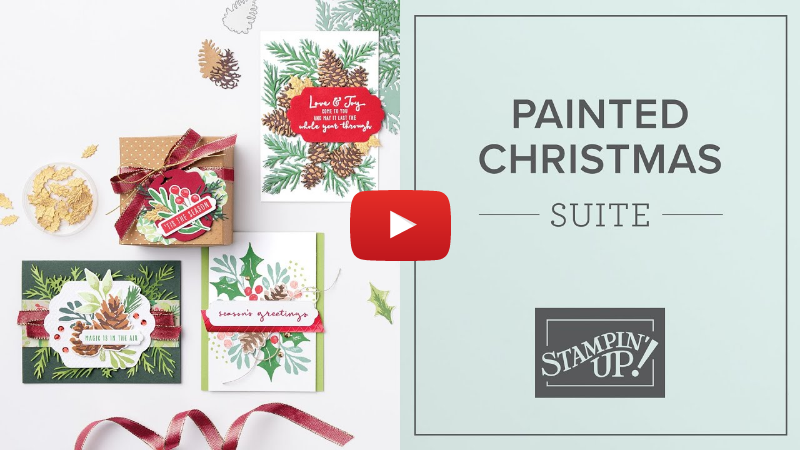
Today I have several samples highlighting the Painted Christmas Suite!! I know I said I was going to post the “Hope” Paper Pumpkin but I will be back with some sweet samples for you!

July-December 2021 Mini Catalog - PAINTED CHRISTMAS SUITE
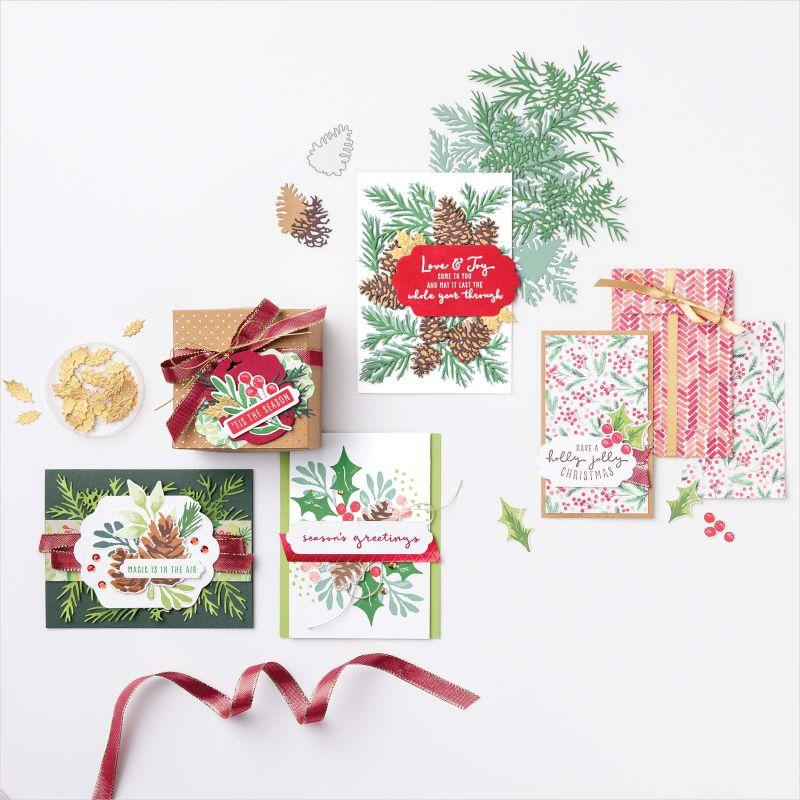
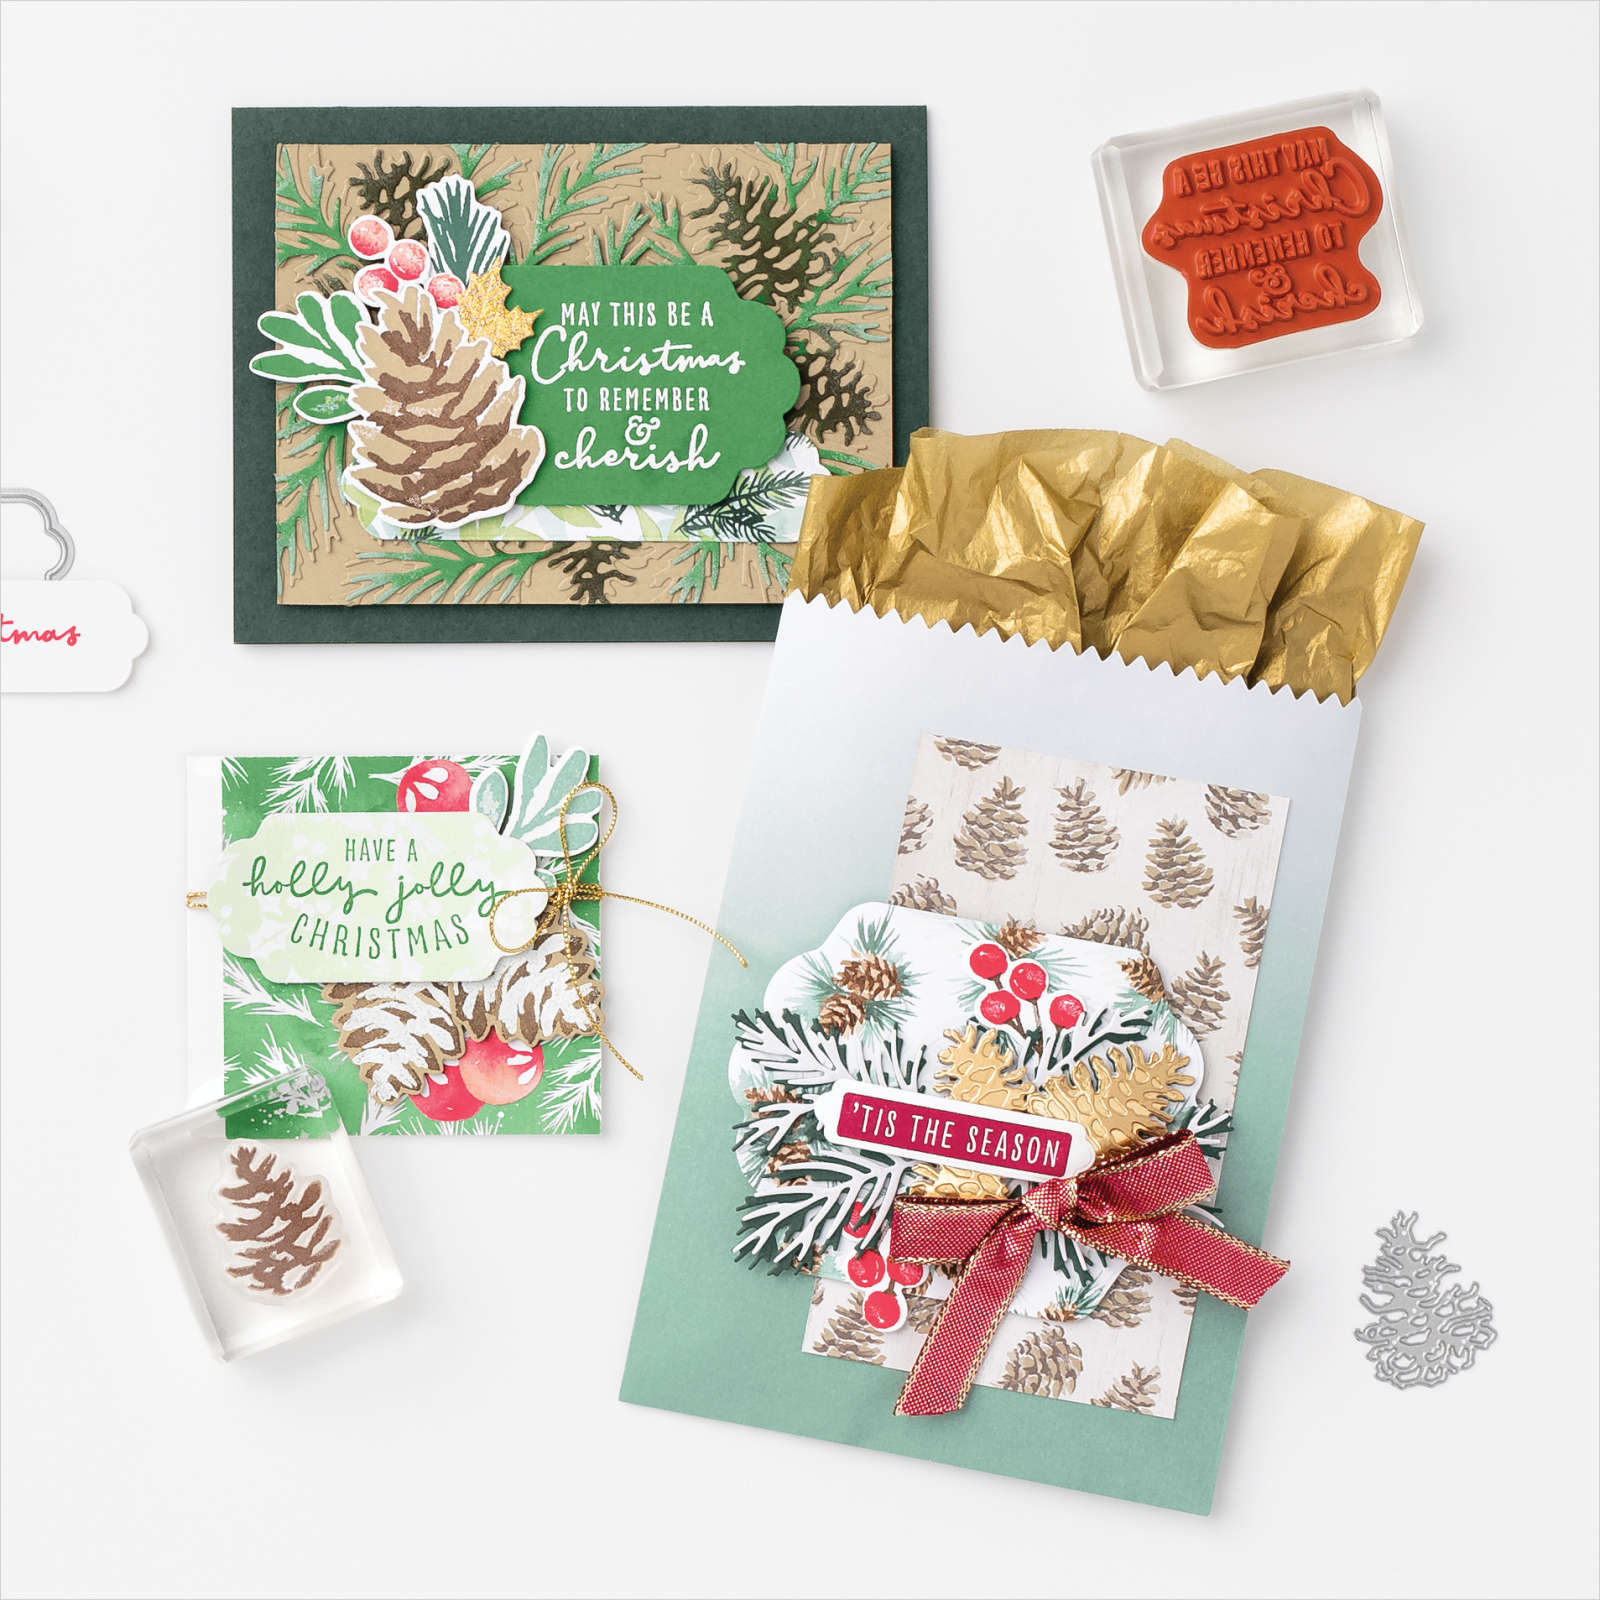
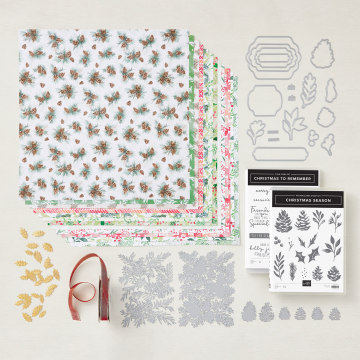
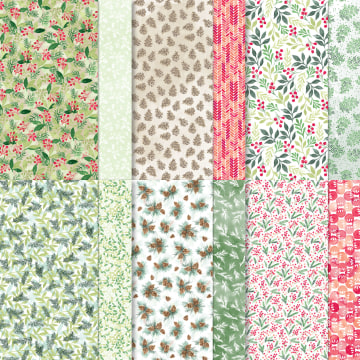
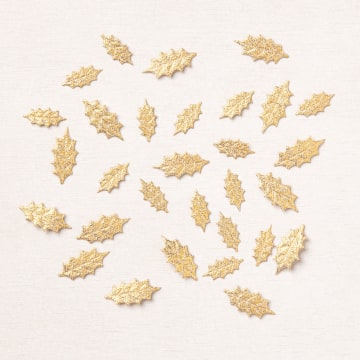
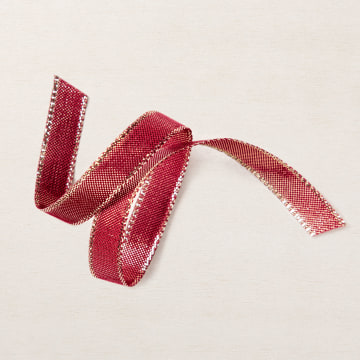
Bring the beauty of nature into your Christmas season with the Painted Christmas Suite. This mega-suite includes two stamp and die bundles, plus gorgeous, coordinating ribbon, Painted Christmas Designer Series Paper, and Gold Holly Leaves.

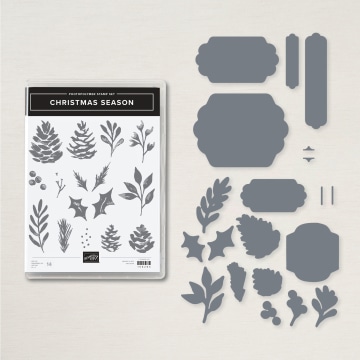
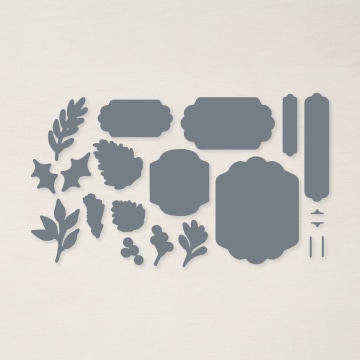
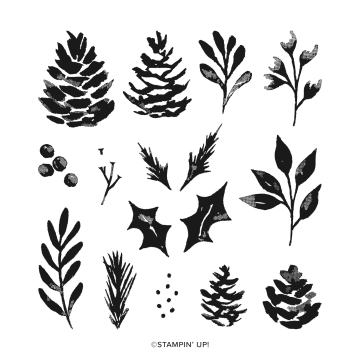
The Christmas Season Bundle (#156801) features two-step stamp images of pine cones, holly leaves, and other greenery in a soft watercolored look. The coordinating dies include many of the stamp images plus an assortment of labels perfect for adding greetings or creating Christmas gift tags.

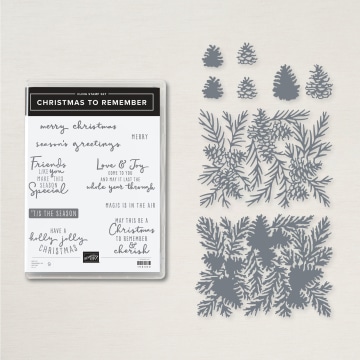
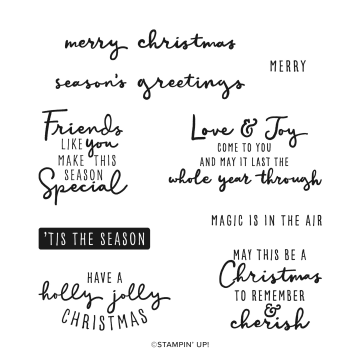
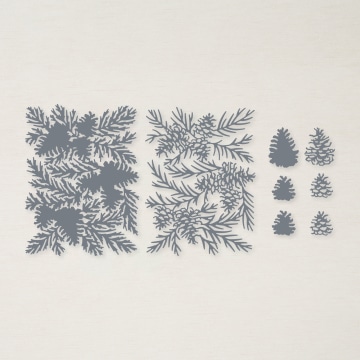
The Christmas to Remember Bundle (#156806) is all about thoughtful holiday sentiments that feature mixed fonts and handwritten scripts. The coordinating die set is a unique, layered background image of pine branches, plus an assortment of coordinating pine cones. Each is great on their own, but even better together!

Have a beautiful day ~
Stampin’ Hugs, Linda


————————————————–

VIEW ONLINE

July-December 2021 Mini Catalog -PAINTED CHRISTMAS SUITE

Coordinating Products


Painted Christmas Suite Collection (english) Christmas Season Bundle (english)Christmas To Remember Bundle (english)Painted Christmas Designer Series PaperChristmas To Remember Cling Stamp Set (english)Christmas Pinecone DiesSeasonal Labels DiesChristmas Season Photopolymer Stamp SetGold Holly LeavesCherry Cobbler & Gold 1/2'' (1.3 Cm) Metallic Ribbon

Painted Christmas Suite 🎄 By Stampin' Up!


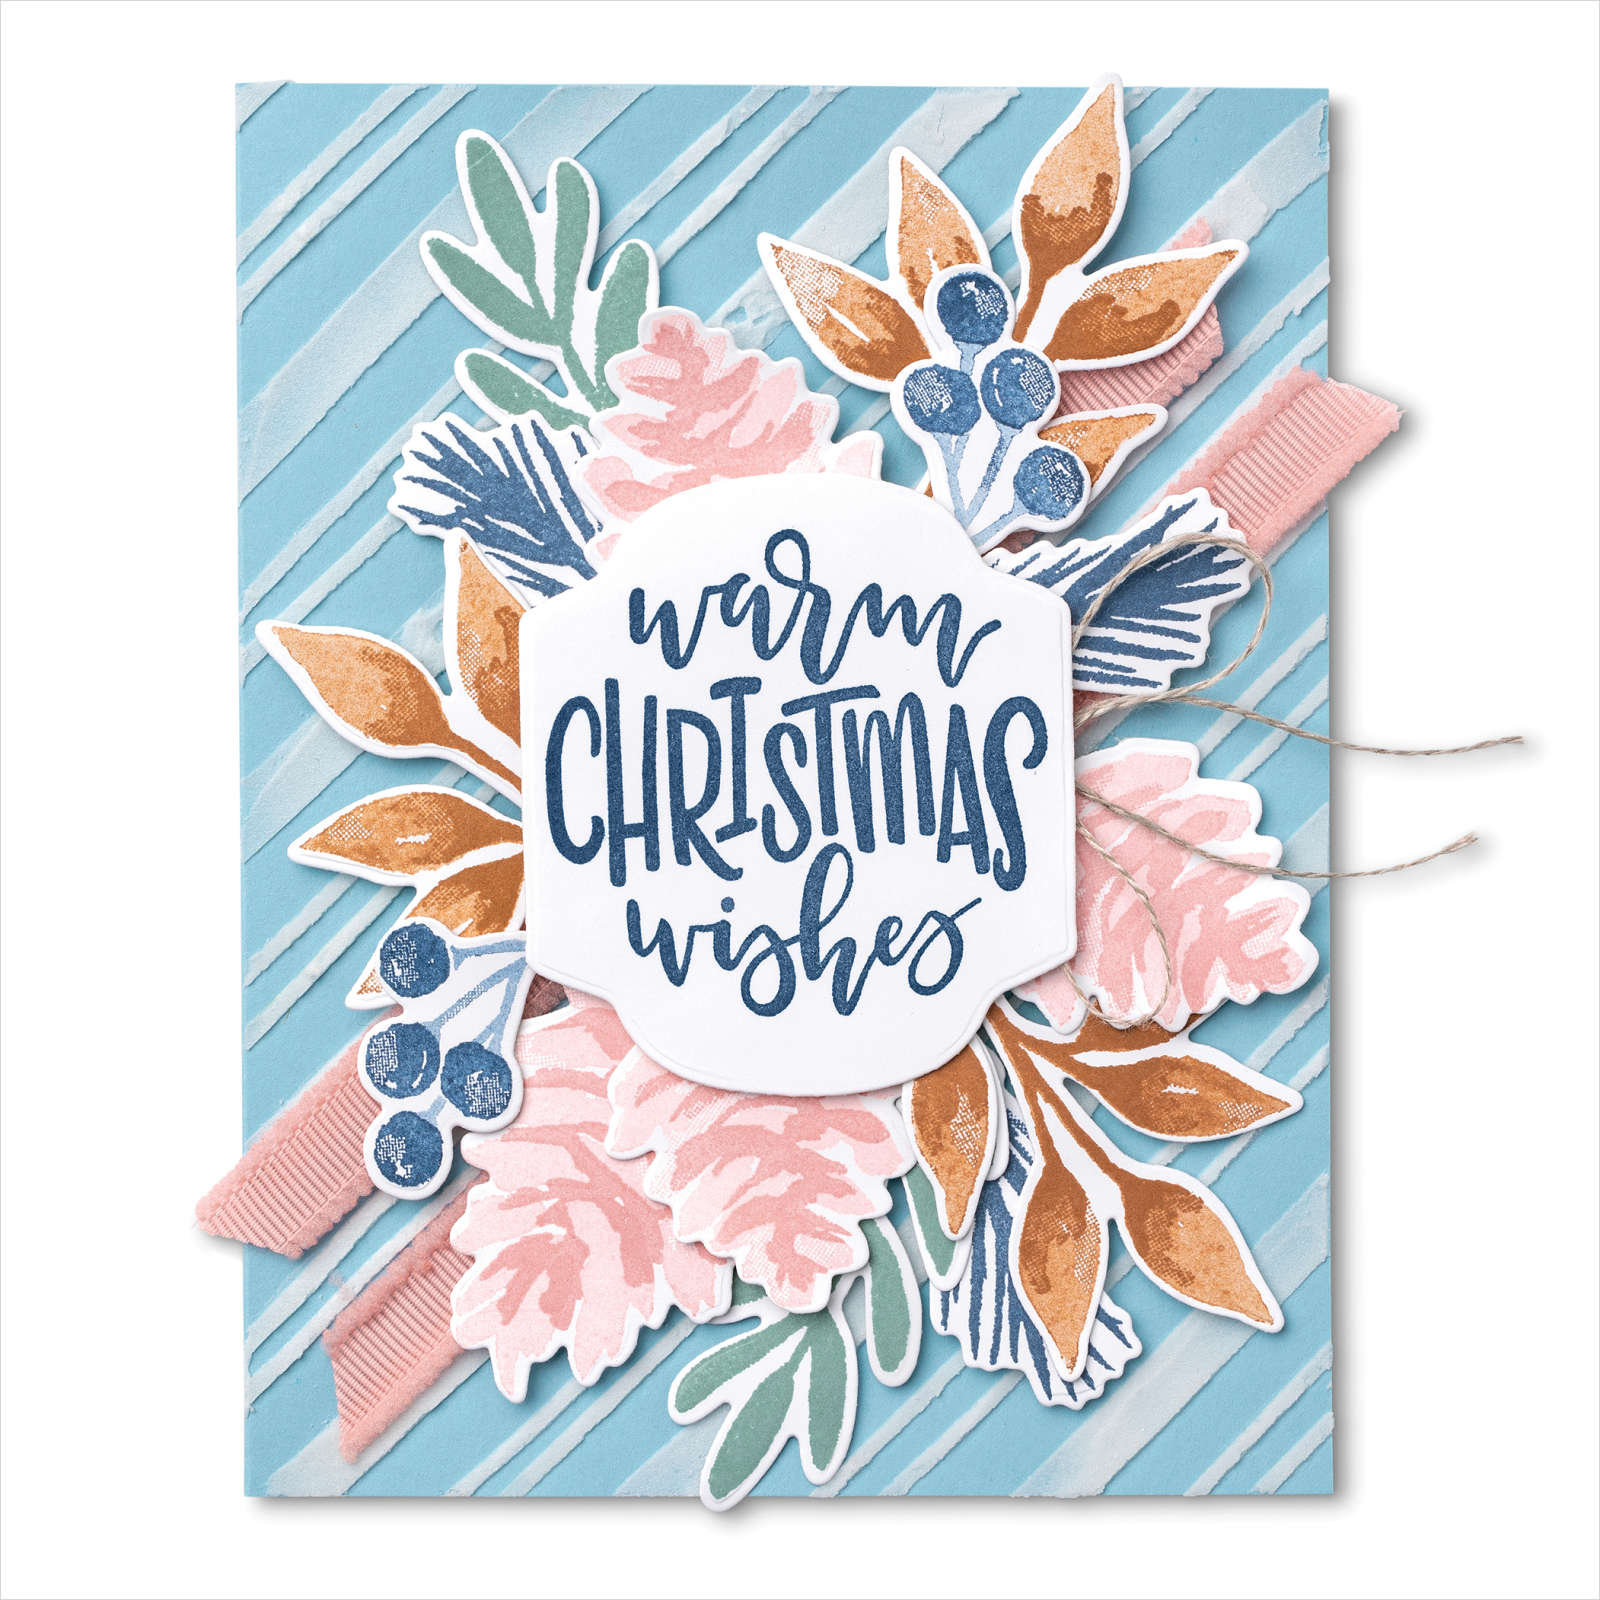
Pastel Christmas Season Card


July-December 2021 Mini Catalog - Pastel Christmas Season Card

SUPPLIES:

BUNDLES

#156801 – Christmas Season Bundle

(#156293Christmas Season stamp set & #156299 Seasonal Labels Dies)

STAMPS

#156449 – Encircled in Warmth Stamp Set

PAPER

#159276 – Basic White, #146982 Balmy Blue

INK

#147100 – Blushing Bride, #153114 – Cinnamon Cider, #153118 – Misty Moonlight, #155778 – Soft Succulent

TOOLS

#156328 – Adorning Designs Decorative Masks, #142808 Palette Knives, #149653 Stampin’ Cut & Emboss Machine or #150673 Mini Stampin’ Cut & Emboss Machine, #127853 Silicone Craft Sheet (optional) or Grid Paper #130148

ADHESIVES

#103683 Mini Glue Dots, #104430 Stampin’ Dimensionals

EMBELLISHMENTS

#141979 Embossing Paste, #104199 Linen Thread, #156341 Blushing Bride 3/8” (1 Cm) Frayed Grosgrain Ribbon

Non-Stampin’ Up! Supplies

Blue Painter’s Tape or similar for holding mask in place.

TIPS: When using Embossing Paste, don’t worry about perfection. Having varying depths and textures adds to the overall effect. Clean up tools right after using, as the paste dries quickly, and is much easier to clean off the masks and tools while wet. Clean masks and tools with tepid running water and mild liquid dish soap. A soft damp cloth can also be used, but be careful not to bend edges of detailed mask images.

DOWNLOAD OUR LATEST CATALOG

August-December 2021 Mini Catalog

Magic in this Night: A Reflection

Hello Stampin’ Friends ~

Hope you are doing well … Yesterday I shared the Feels Like Frost Designer Paper which is on sale in the Clearance Rack … Well, while I was in there, I noticed that one of my favorite Halloween Designer papers is on sale too!! The Magic in this Night Designer paper is so pretty … it’s actually kind of sexy for a Halloween paper!

Today I’d like to invite you to take a walk back with me through the hauntingly tempting “Magic in this Night” product suite. Let’s see the many looks this one suite can create ….

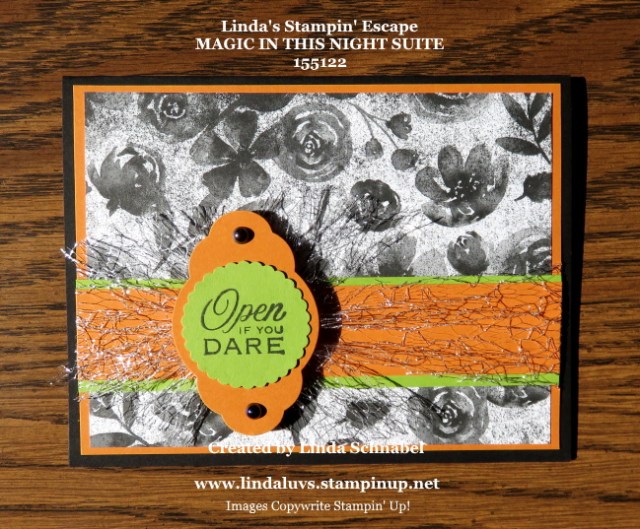
Starting out super simple with the beautiful designer paper, a little pop of color and a couple of punches to highlight the greeting … oh yes, let’s not over look the stunning Metallic Mesh Ribbon! You can CLICK HERE to view the original post of this card.

Stepping it up a bit by introducing the Hallows Night Bundle dies …

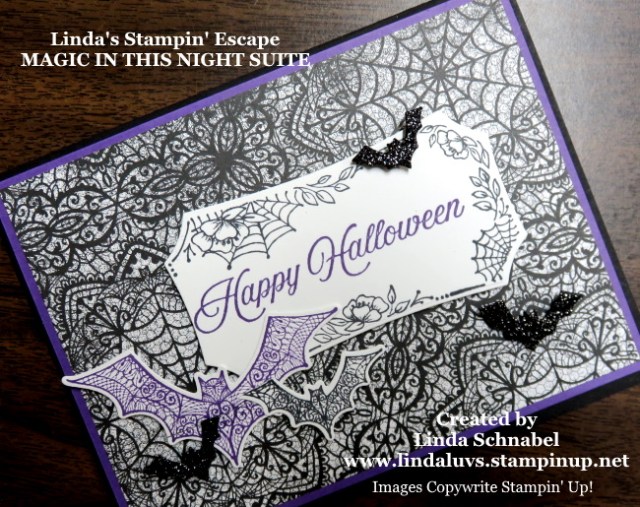
In Basic Black and Gorgeous Grape added to the stunning designer paper, this Halloween card has gone Gothic with a flair! You can read how this card was HERE … just click that link. The patterned bats are beautiful and I added a few “glitter” bats to enhance it further.

This card uses some of the same dies but by switching out the designer paper pattern, it changes the entire look ….

I like all 5 of the cards I’m sharing with you today, however I think this one is my favorite … it’s kind of sexy for a Halloween card! I share the tips on creating this card – just CLICK HERE to view. I love this pattern in the Magic in the Night Designer paper, I believe it would be beautiful on other holidays as well as Halloween.

A Halloween Kitty for you ….

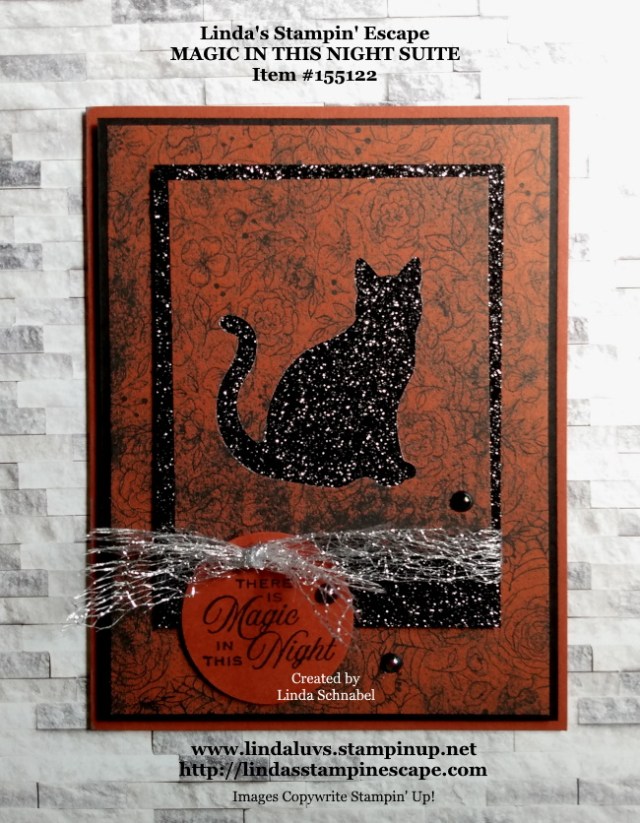
They tell us to watch out for black cats but how can you resist this cute little kitty. Yet another pattern from the Magic in the Night Designer paper sets the stage for our card (Read More Here) Fun and simple and perfect for your feline lovin’ friends.

Here’s the last one …. for today anyway!

I’ve gone a bit batty on this one … with the designer paper and the die cut bats this quick -n- easy card would be a treat for anyone who loves to celebrate Halloween. You can read the full details HERE.

I’m sure you could come up with some of your own amazing cards, I’m just here to share some inspiration. I love Halloween … it’s the fun holiday, and I love watching the kids get dressed up and trick or treating.

Thanks for stopping by today. Hope yours is a good one.

TODAY’S STAMPIN’ SUPPLY LIST … If you liked the products used in todays projects, I have links for you below. Just click on the item you would like more information on, or to begin your shopping. It will take you directly to my website. Thank you ♥ 
Simple Birthday Shaker Card!

Hello Stampin’ Friends ~

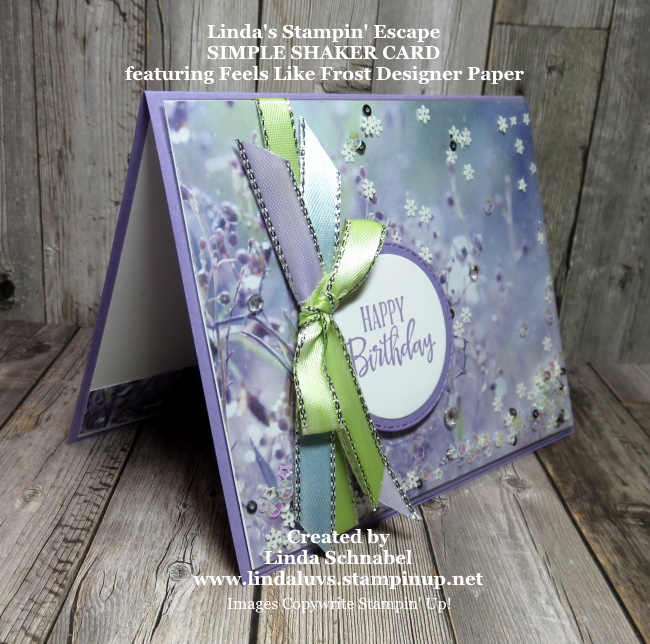
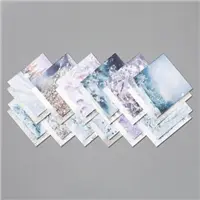
Shake it, Shake it baby … oooh, oooh!! I am excited to tell you that the stunning “Feels Like Frost” Designer Paper is on SALE in our clearance rack!! This was one of our HOTTEST designer papers that I can remember! With it’s gorgeous wintry patterns or touches of spring, the realitic look is nothing less than stunning.

I’m going to repost my video for you as well … maybe a refresher from some, but I’m happy to share it again to my new subscribers can get a look at this EASY New way to make Shaker Cards. Sit back, relax and enjoy …

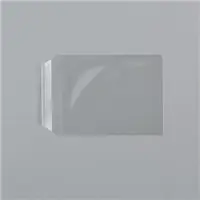
Isn’t that a cool idea … using clear envelopes to create shaker cards. So quick and easy!! I had so much fun making the cards. You begin with your 8-1/2″ x 5-1/2″ card base scored at 4-1/4″ … fold in half. Your designer paper will be cut 4″ x 5-1/4″ – you could put some cardstock behind it if your want it a little sturdier for tying bows.

My next card is made with the Feels Like Frost Designer Series Paper…

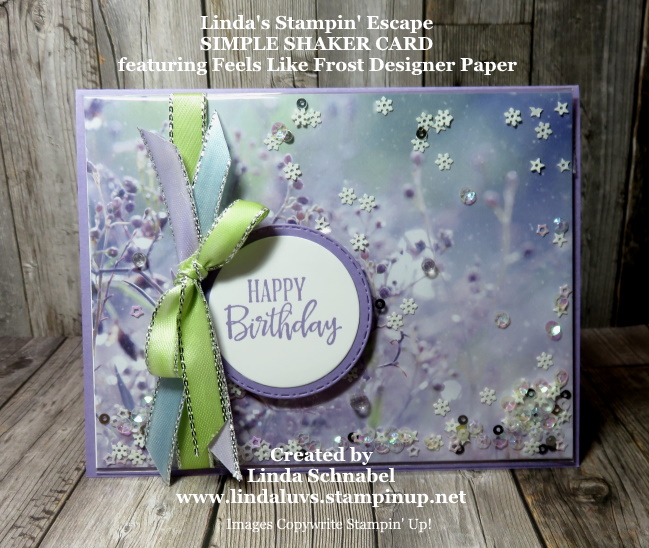
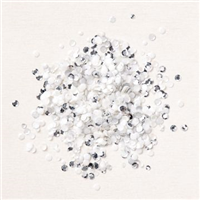
I began with a Highland Heather base and then slide my Feels Like Frost into the Clear Envelope before sprinkling in the Snowflake Sequins in. I was amazed at the change in the sequins … it picked up the color from the designer paper.

The ribbon was the fun part and accented the stunning paper, beautifully! I used the Layered Circle die and the stitched edge die from the Warm Hugs bundle.

When I trimmed the designer paper down to 4″ x 5-1/4″ … I used a piece of the scrap on the inside of the card. The Metallic Edge Ribbon is easily dyed with the Stampin’ Blends. You can also use our regular markers or even your ink refills!

I hope you enjoyed seeing how easy it is to create the fun and beautiful cards. Don’t forget you can even embellish the outside a little too!!

Thanks so much for hanging out with me today. Hope you were inspired to create “Shaker Cards” like I was when I saw it. I have listed the items used in the cards for your convenience.

Have a wonderful day ~

TODAY’S STAMPIN’ SUPPLY LIST … If you liked the products used in today’s projects, I have links for you below. Just click on the item you would like more information on, or to begin your shopping. It will take you directly to my website. Thank you ♥ 
Color Me Happy …

Hello Stampin’ Friends ~

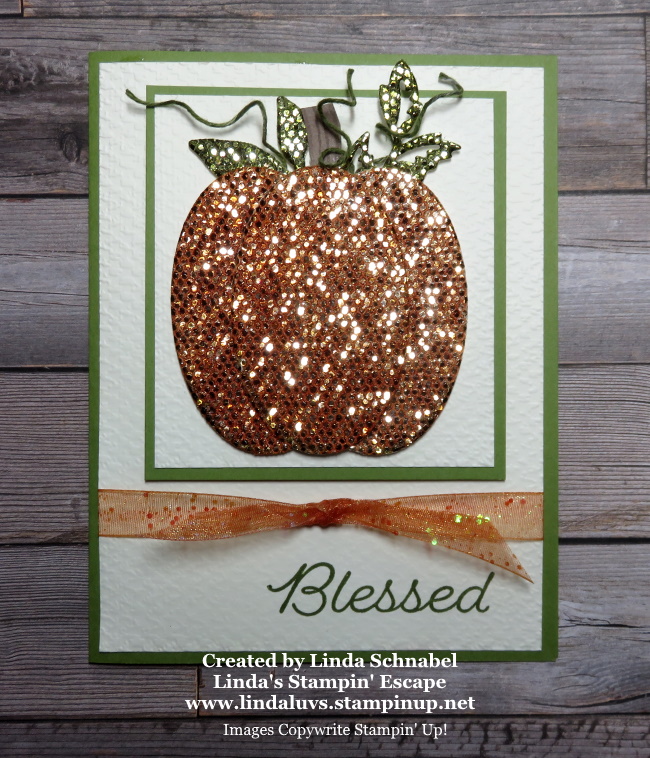
I’m so excited to share my tips and techniques from last nights Facebook Live video along with the cute card I created. I’m going to show you two ways to “color” or dye the fabulous “Bedazzled” Paper from the Sale-a-bration catalog .. then I’ll be sharing a few more tips on coloring.

Join me for a sit down while I show you these great tips and how I got to finish my card!

I have to chuckle a little when I watch this back … I don’t know how I can misplace things when they are sitting right beside me!! Jitters … I guess. You can tell when I get a little nervous, I start talking faster! I’ll just keep practicing … but if you like the projects and you get some good information from this … that’s what it’s all about.

I love the way this card turned out … and I hope you give it a try! Remember the Be Dazzling Specialty paper is a Sale-a-bration item and is FREE with a qualifying purchase. I’ll have a list of ingredients below for you.

Your base is Old Olive and measures 8-1/2″ x 5-1/2″ and you will score at 4-1/4″. The other Old Olive piece will measure 3-1/4″ x 3-3/4″ and will be the mat for the pumpkin. The card front is Very Vanilla and measures 4″ x 5-1/4″ … the small Vanilla piece is 3″ x 3-1/2″ and both were embossed with the Tasteful Textile Embossing Folder to give the card a soft texture.

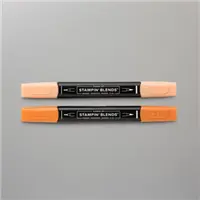
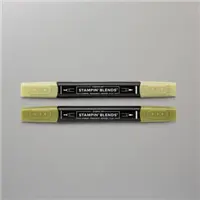
I used Pumpkin Pie Stampin’ Blend to color / dye my ovals and the Old Olive to color my leaves. I also used the Old Olive Stampin’ Blends to dye my White Bakers Twine which I wrapped around a paint brush (let dry) to create my curly vines.

The stem for my pumpkin came from the Beauty of the Earth Designer Series paper… lucky I didn’t throw that little piece of scrap away!! Now it’s time to layer all together. Remember to start with one oval that should be front & center … the other two will go on each side.

My greeting comes from the Festive & Bright stamp set … I purchased this one because it contains many holidays so I can use it longer! You will have to stamp your greeting “before” you emboss it with your embossing folder.

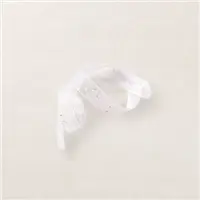
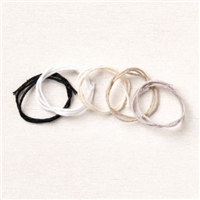
Now I had some more fun with the beautiful White Glitter Organdy ribbon … If you have Stampin’ Blends … you can dye this any color you want!! OMGosh, it’s sooo pretty! The glitter picks up the color you’re dying it and totally transforms it.

I hope you enjoyed the video and all the tips I’ve share to expand the usage of your products … I wouldn’t be doing my job if I didn’t share the full value of these amazing items.

Thank you so much for joining me today. I hope you have a wonderful day.

TODAY’S STAMPIN’ SUPPLY LIST … If you liked the products used in todays projects, I have links for you below. Just click on the item you would like more information on, or to begin your shopping. It will take you directly to my website. Thank you 

Friends Like You …

Hello Stampin’ Friends ~

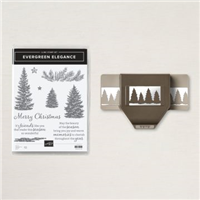
In the wise words of Jane Austen: “The evergreen! How beautiful, how welcome, how wonderful the evergreen!” Embrace the everlasting beauty of the evergreen with the Evergreen Elegance Bundle!

This pretty pair of pine products—the Evergreen Elegance Stamp Set and Evergreen Border Punch—boasts beautifully bushy trees, festive phrases, soft touches of snow, and shining stars. While it’s the perfect pick for Christmas crafts, re-imagine and repurpose the set for any season! Stamp a summer night sky scattered with stars, fill a forest with flourishing trees, or watercolor a warm body of water.

Today’s card celebrate the season with friends …

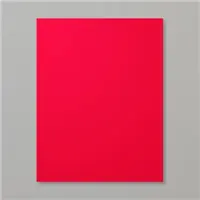
1. Cut a piece of Poppy Parade Cardstock to 5-1/2″ x 8-1/2″ (14.9 x 21 cm) and score at 4-1/4″ (10.8 cm). This is your card base.

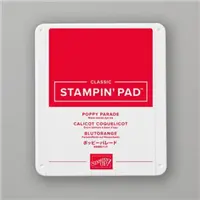
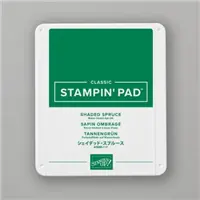
2. Using the Poppy Parade Classic Stampin’ Pad®, add ink to each tree stamp from the Evergreen Elegance Stamp Set. Then, stamp onto the card front multiple times to create a tone-on-tone forest.

3. On Basic White Cardstock (4-3/8″ x 3-1/8″; 11.1 x 10.5 cm), stamp the solid star stamp three times in Pool Party ink. On the same piece, stamp the “It’s friends like you…” sentiment in Poppy Parade ink.

4. With the Evergreen Border Punch, punch three rows of evergreen trees from a scrap piece of Basic White Cardstock. Adhere the rows together with Multipurpose Liquid Glue, place them face-up on a piece of scratch paper, then apply ink directly to each row with the Granny Apple Green Classic Stampin’ Pad®. To do this, swipe the ink pad across the paper until you achieve your desired coverage and color saturation. Once dry, use Multipurpose Liquid Glue to adhere the trees to the bottom of the Basic White Cardstock.

5. To complete the card, use Stampin’ Dimensionals® to adhere the piece of Basic White Cardstock to the Poppy Parade card base.

Take a peek at how easy it was to make this card ….

I hope you enjoyed the project that I shared with you today. I have a list of the ingredients used for our red card. Let me know if you need any help placing an order or have any questions about your products.

Thank you for joining me, I hope you have a wonderful day.

TODAY’S STAMPIN’ SUPPLY LIST … If you liked the products used in todays projects, I have links for you below. Just click on the item you would like more information on, or to begin your shopping. It will take you directly to my website. Thank you 

Light it Up for Christmas …

Hello Stampin’ Friends ~

So how was your weekend? Hope you got to do something you enjoy to do, whether it be gardening, stamping, or relaxing! I have been taking a class all week to hon my skills in presenting you the best way I can! Soooo ….

I thought I’d have some fun with you today. If you follow me on my Facebook page (click here) you know I like to post games, so today we are going to play a “This or That”. How this works is you will pick the card you like best … This one or That one! Then you will respond in the comment section below.

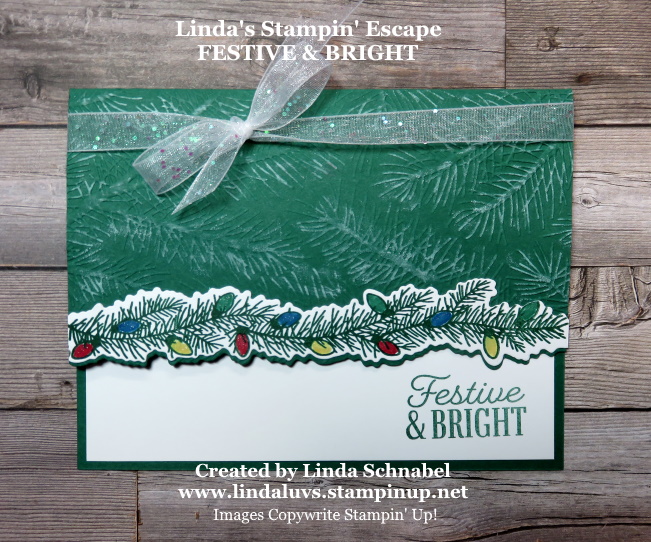
Now … our first card you saw last week, it comes from the Festive & Bright Bundle

THIS … was created to showcase the “double” die to cut out the evergreen image and then to use the single die again to create a mirror image edge. It’s quite easy to use. The white you see to the edge is actually the inside of the card, and was stamped with the coordinating Festive & Bright stamp set.

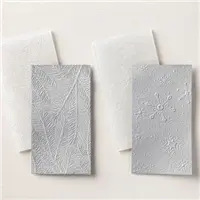
On both cards I wanted texture on my card so I used the Wintry 3-D embossing folder package, and chose the evergreen / pine pattern. Looks nice with the die cut piece.

Now it’s time for “THAT” which takes the Wintry embossing folder to the next level. I’ve taken some craft ink and a dauber to highlight the pines ….

I wanted the embossed pines to stand out and to bring the white throughout the entire card. Does it work?

Which card do you prefer? THIS (With the plain embossed area)

Or … THAT (With the pines highlighted in white)

Just put your thoughts in the comment box below. I can’t wait to see which one you like best.

Thank you for checking out my blog today. Have a creative day ~

TODAY’S STAMPIN’ SUPPLY LIST … If you liked the products used in todays projects, I have links for you below. Just click on the item you would like more information on, or to begin your shopping. It will take you directly to my website. Thank you 

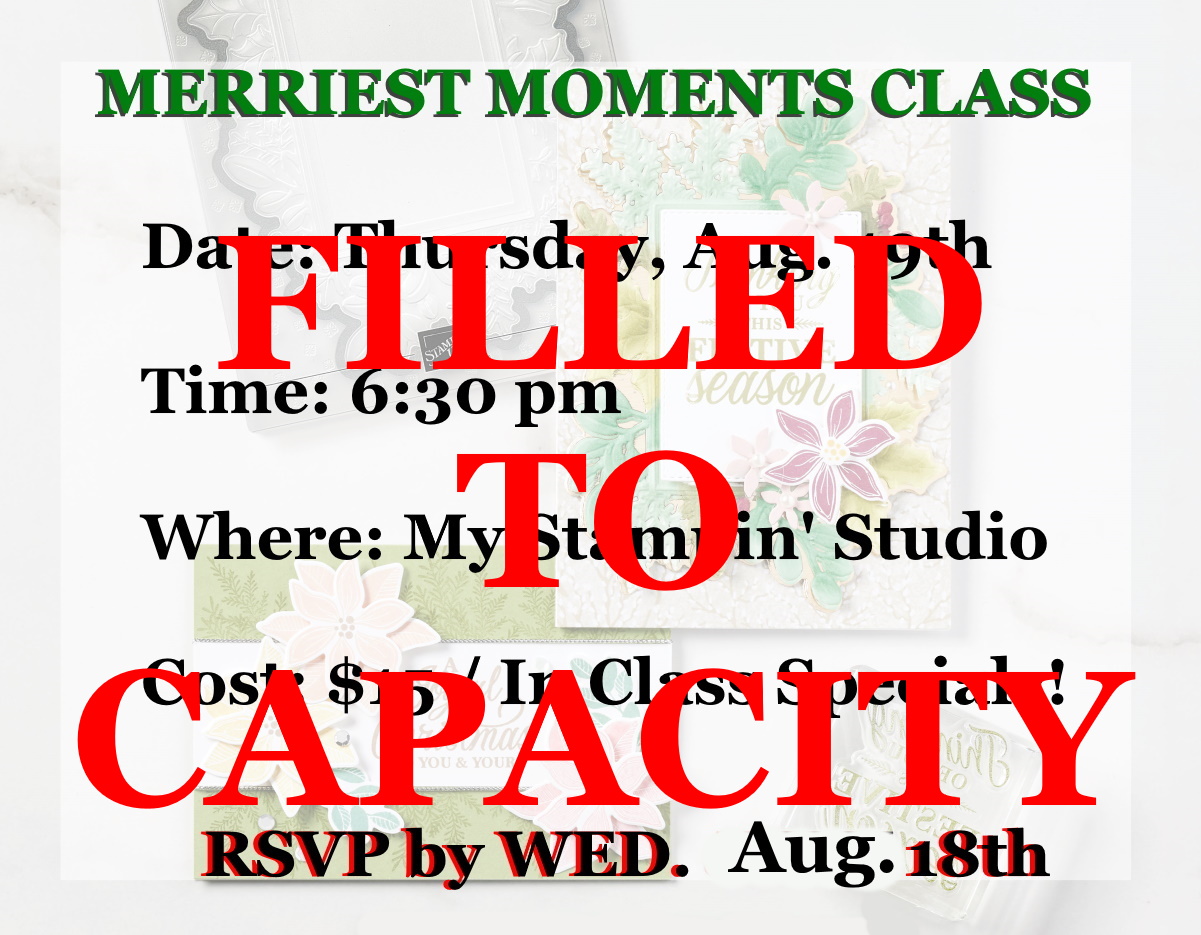
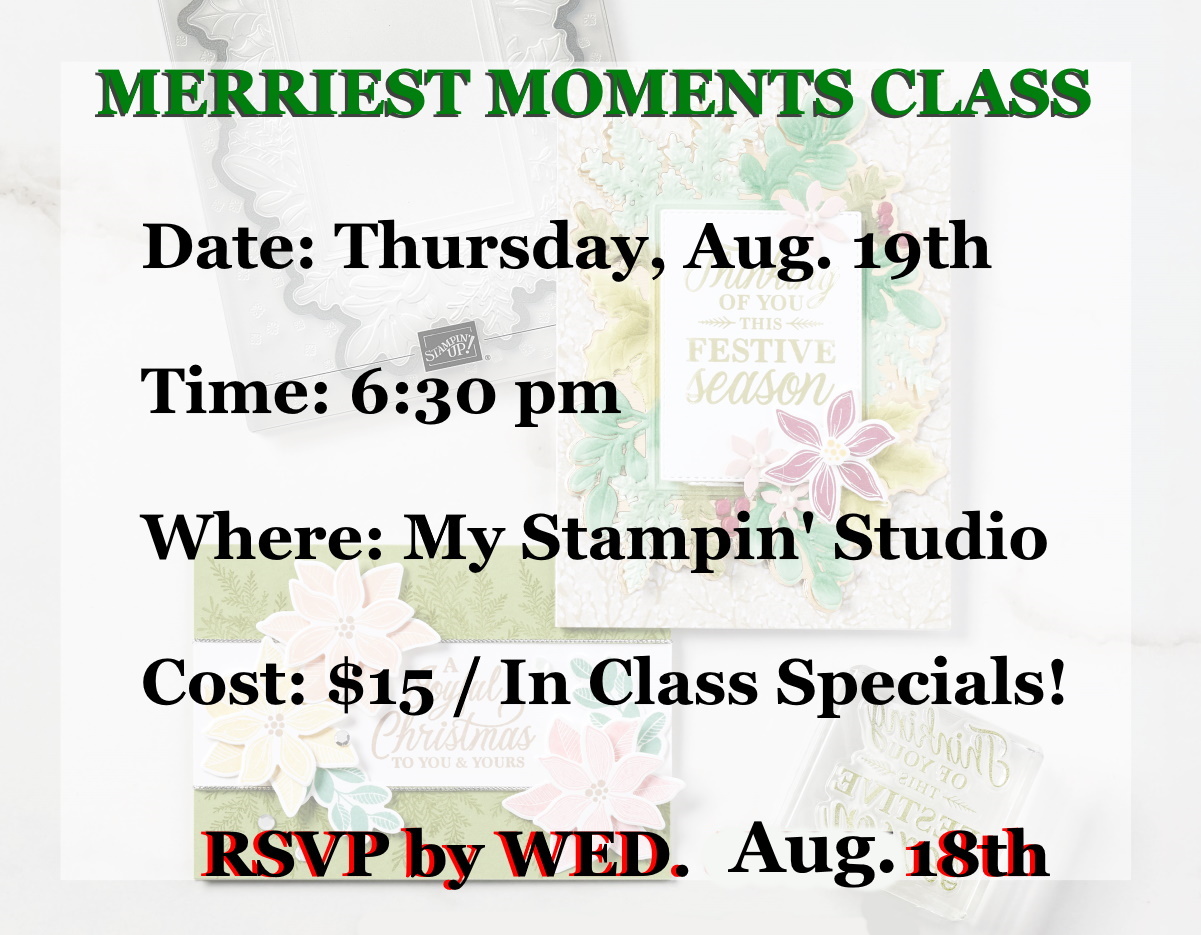
Looking for a creative night out … some time with friends? I’m hosting a class this Thursday … Contact me if interested or for information.

Simply Sunday: Finding a Peaceful Place

Hello Stampin’ Friends ~

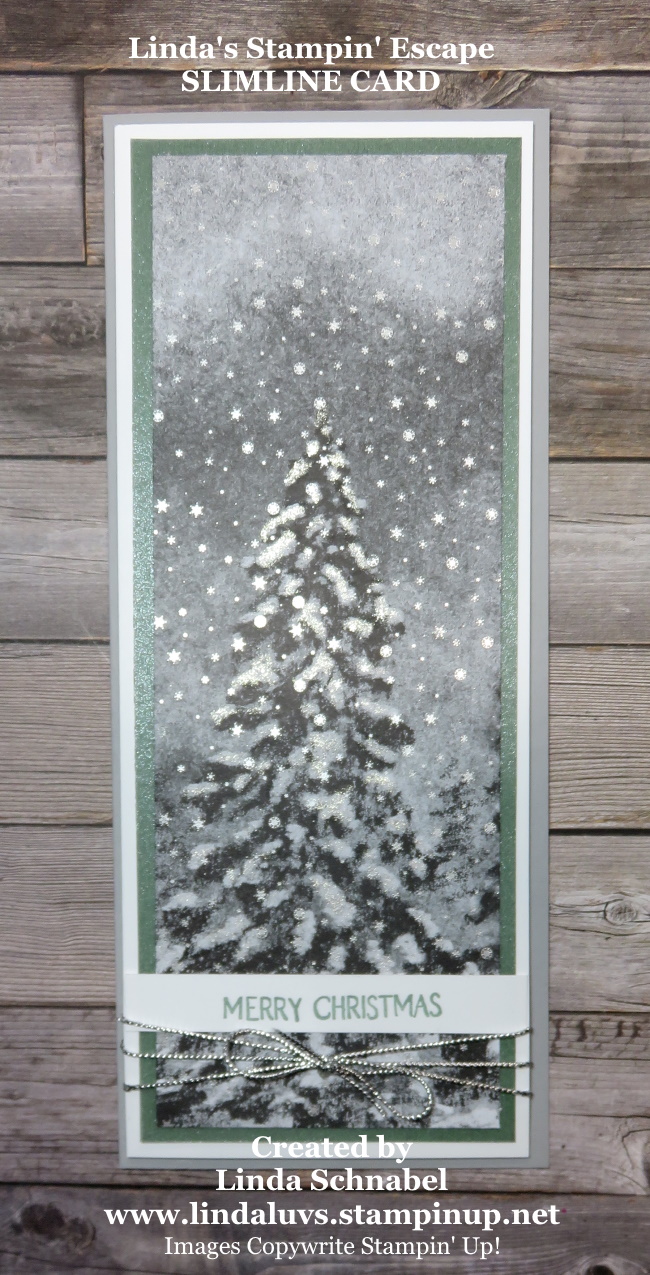
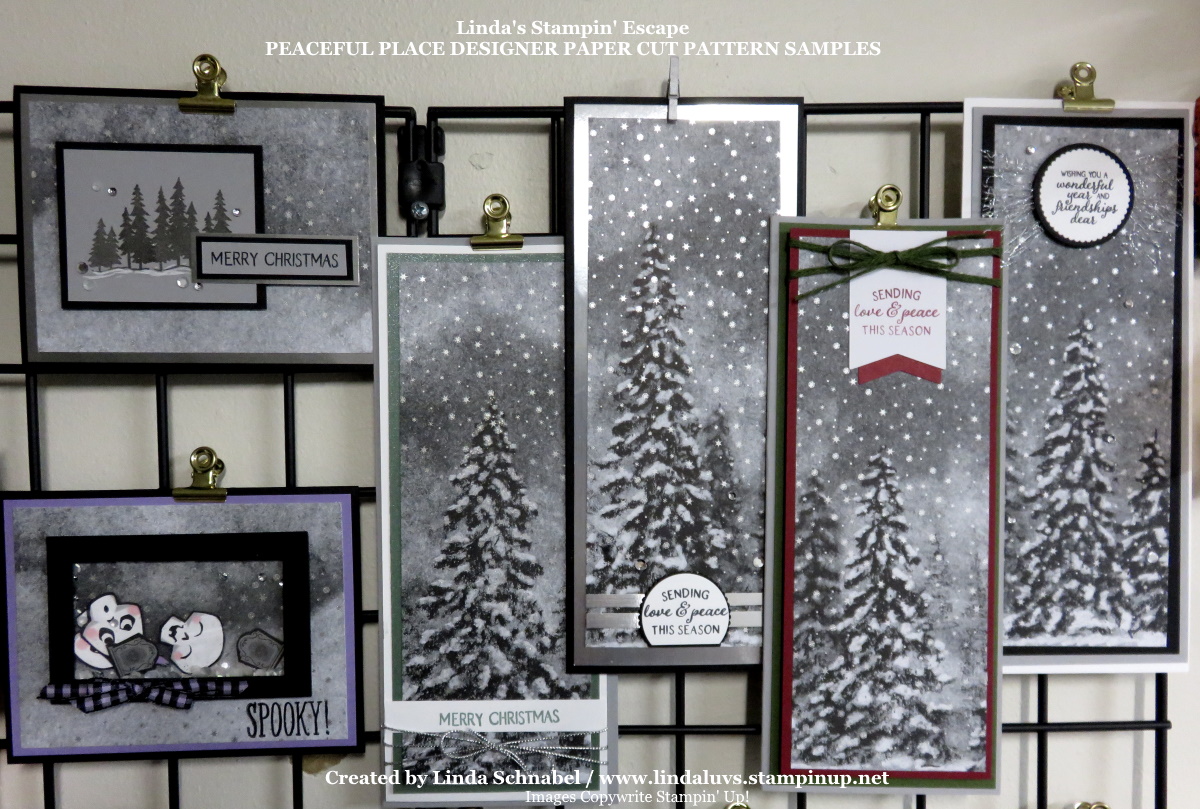
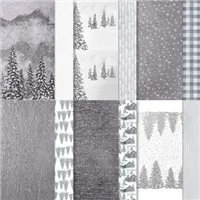
Today I’d like to share my entire 12″ x 12″ collection of cards with you. These are the result of the layout I shared with you for cutting the Peaceful Place specialty paper. I have 2 NEW “Slimline” cards for you. This cutting pattern highlights the design and leaves “no waste”.

I’ll begin with the “Simple Stamping” card … just ink, cardstock and designer paper. This simple design turned out beautiful … I opted for the Smoky Slate base instead of Black because it allowed the tree in the designer paper to stand out (the black was just too bold).

The layer of white highlights the beautiful Evening Evergreen Shimmery Vellum, this adds a subtle pop of color to our card. As the card was laying there I decided to add a touch of Wink of Stella onto the “snowy” areas of the tree. The Stella brought out the shimmer of the shimmer paper … they look stunning together!

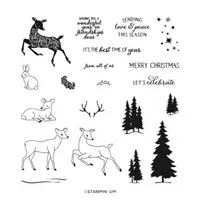
Because I have not purchase the Peaceful Cabin bundle yet (Yes … I said yet!!) I used the Peaceful Deer stamp set for the sentiments on both of today’s cards. So that leads me into my next card …

This card really highlights the foils in the designer paper … and gives you more! I used the Silver Foil paper as my mat and then again to highlight my greeting. It’s a bit more masculine.

The sentiment was stamped near the edge of the cardstock and the cut with the Layering Circles Dies, which I also used for the mat … I just trimmed off the bottom. I wanted to create a unique platform for my greeting instead of the normal circle or rectangle. It’s just a little more fun, and goes with the 2 strips of silver foil.

Making these cards from my cut layout was a breeze and so much fun, and now they are hanging in my Stampin’ Studio for all to view. Here is what they look like all together …

I hope my samples inspired you to pull out your Peaceful Place designer paper and start cutting and designing! If you don’t have it yet, I have the links below for you to purchase.

Thank you for spending a part of your Sunday with me …

I hope you have a beautiful day.

TODAY’S STAMPIN’ SUPPLY LIST … If you liked the products used in todays projects, I have links for you below. Just click on the item you would like more information on, or to begin your shopping. It will take you directly to my website. Thank you 

The Art in Bloom Bundle … Done 3 Ways!

Hello Stampin’ Friends ~

Wow … what a beautiful day and a great way to kick off the weekend. Today, direct from Stampin’ Up! I have three stamp-tacular samples—one simple, one stepped-up, and one super stepped-up!

With a stamp set that pairs perfectly with both an embossing folder and set of dies, you can take texture to the next level. Stamp a floral shape onto paper, press the paper into the embossing folder, then cut each embossed shape with the coordinating dies—your project will pop off the page!

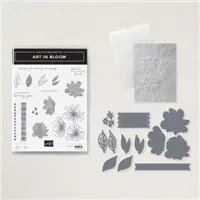
To duplicate these adorable designs, add our beautiful Art in Bloom Bundle to your order. The Art in Bloom Stamp Set features floral sketches, watercolor washes, and heartfelt phrases, while the Bloom Hybrid Embossing Folder boasts a flowering embossing folder and a set of cute, coordinating dies!

I like all three cards, which is your favorite? Simple is always great for a quick card but I really like the way the “super stepped-up” card looks as well.

Thank you for stopping by today, I hope you have a wonderful day!!

TODAY’S STAMPIN’ SUPPLY LIST … If you liked the products used in today’s projects, I have links for you below. Just click on the item you would like more information on, or to begin your shopping. It will take you directly to my website. Thank you

Peaceful “Halloween” Place …

Hello Stampin’ Friends ~

Today I have 2 more cards that highlight the beautiful Peaceful Place Specialty Designer Paper. These A2 size cards come from the extra piece that was cut off during my demonstration showing you how to cut the designer paper in yesterday’s video.

The first card you got a peek at in the video … it’s my Halloween Shaker Card. This may have little snowflakes on it but it fits perfectly for a Halloween card in Wisconsin! lol

We know the width of our designer paper was 3-3/4″ so to fit onto the card base with an even border … we need to cut it down to 5″. Then cut at 5″ again so you have 2 card fronts. Your mat will measure 4″ x 5-1/4″ and your base is 5-1/2″ x 8-1/2″ then score at 4-1/4″. Your layers are ready … what colors did you pick? My card base is Basic Black and the mat is Highland Heather! Don’t forget your window sheet… you’ll need it for the Shaker Card.

I used the Cute Halloween Designer paper and fussy cut my skulls and tombstones, then added them to the Subtle Shimmer Sequins to create my shaker. I used the Layering Rectangle Frames to lock in my shaker.

I created a cute little bow to attach to my frame using the Black & White Gingham Ribbon dyes Highland Heather using the Stampin’ Blends. To finish off my card … I used the “Spooky” from the Festive & Bright Stamp set.

Isn’t this just the cutest Halloween card? If this excites you … imagine the look on your childs/grandchilds face when you give them this card!!

The second piece of designer paper will be used for a Christmas Card … I’ve decided to highlight the neutral colors in the designer paper. Now that I’m looking at it finished here, I think I would have like to add the silver foil behind me trees! Have you ever done that before? Well … I have another 12 x 12 inch sheet of this paper so I’ll add it to my next one.

The trees and the greeting come from the Peaceful Deer stamp set and works pretty good with the designer paper. I don’t have to coordinating cabin bundle yet … but you’ve convinced me that I want it … and that I will share plenty with you.

You’ll notice that I used the Subtle Shimmer Sequins on this card as well as the shaker! Might as well get as much use out of our products as we can … Right!

How could I forget … I couldn’t resist added some Wink of Stella on my trees. That little extra sparkle just fit in well with the designer paper.

Thank you so much for joining me today. I hope you enjoyed getting to see what you can do with the extra pieces of paper that was cut from our Peaceful Place 12 x 12 designer paper.

TODAY’S STAMPIN’ SUPPLY LIST … If you liked the products used in todays projects, I have links for you below. Just click on the item you would like more information on, or to begin your shopping. It will take you directly to my website. Thank you