Today I had a request to share how I created a cute little Gift Basket from the Pillow Box Die … You’ll be surprised at how easy this is to make! The designer paper being used is discontinued but if you have this die … you can create baskets for ANY occasion!
I have the dimensions for the inner box in the video but I thought I would share them again. Start with a 7-1/4″ x 5-1/2″ piece of cardstock and score at 2″ on all for sides. Then you will cut on the score lines on the 7-1/4″ length sides (ref. Video) You should have also seen the cute little baskets I made for the Mantle Gifts for my Holiday Stampin’ Retreat!
The ladies watching LIVE had plenty of ideas they could use these for … Baby Showers, Wedding Showers, Birthday Parties, on the table for the Holiday’s … a teachers Gift or a cute little gift for a co-worker. The possibilities are endless, and that cute little basket is priceless!
I have listed the ingredients below for your shopping convenience. Let me know if you have any questions.
Today I’ll be sharing my Facebook LIVE replay for you. We created a cute little Gift Basket from the Pillow Box Die (Retiring) … You’ll be surprised at how easy this is to make!
I have the dimensions for the inner box in the video but I thought I would share them again. Start with a 7-1/4″ x 5-1/2″ piece of cardstock and score at 2″ on all for sides. Then you will cut on the score lines on the 7-1/4″ length sides (ref. Video) You should have also seen the cute little baskets I made for the Mantle Gifts for my Holiday Stampin’ Retreat!
The ladies watching LIVE had plenty of ideas they could use these for … Baby Showers, Wedding Showers, Birthday Parties, on the table for the Holiday’s … a teachers Gift or a cute little gift for a co-worker. The possibilities are endless, and that cute little basket is priceless!
I have listed the ingredients below for your shopping convenience. Let me know if you have any questions.
Stop back tomorrow … I have something interesting to show you using this die!! Thank you so much for joining me today!
TODAY’S STAMPIN’ SUPPLY LIST … If you liked the products used in today’s projects, I have links for you below. Just click on the item you would like more information on, or to begin your shopping. It will take you directly to my website. Thank you ♥
Today I’ll be sharing my Facebook LIVE replay for you. We created a cute little Gift Basket from the Pillow Box Die … You’ll be surprised at how easy this is to make!
I have the dimensions for the inner box in the video but I thought I would share them again. Start with a 7-1/4″ x 5-1/2″ piece of cardstock and score at 2″ on all for sides. Then you will cut on the score lines on the 7-1/4″ length sides (ref. Video) You should have also seen the cute little baskets I made for the Mantle Gifts for my Holiday Stampin’ Retreat!
The ladies watching LIVE had plenty of ideas they could use these for … Baby Showers, Wedding Showers, Birthday Parties, on the table for the Holiday’s … a teachers Gift or a cute little gift for a co-worker. The possibilities are endless, and that cute little basket is priceless!
I have listed the ingredients below for your shopping convenience. Let me know if you have any questions.
Thank you so much for joining me today!
TODAY’S STAMPIN’ SUPPLY LIST … If you liked the products used in today’s projects, I have links for you below. Just click on the item you would like more information on, or to begin your shopping. It will take you directly to my website. Thank you ♥
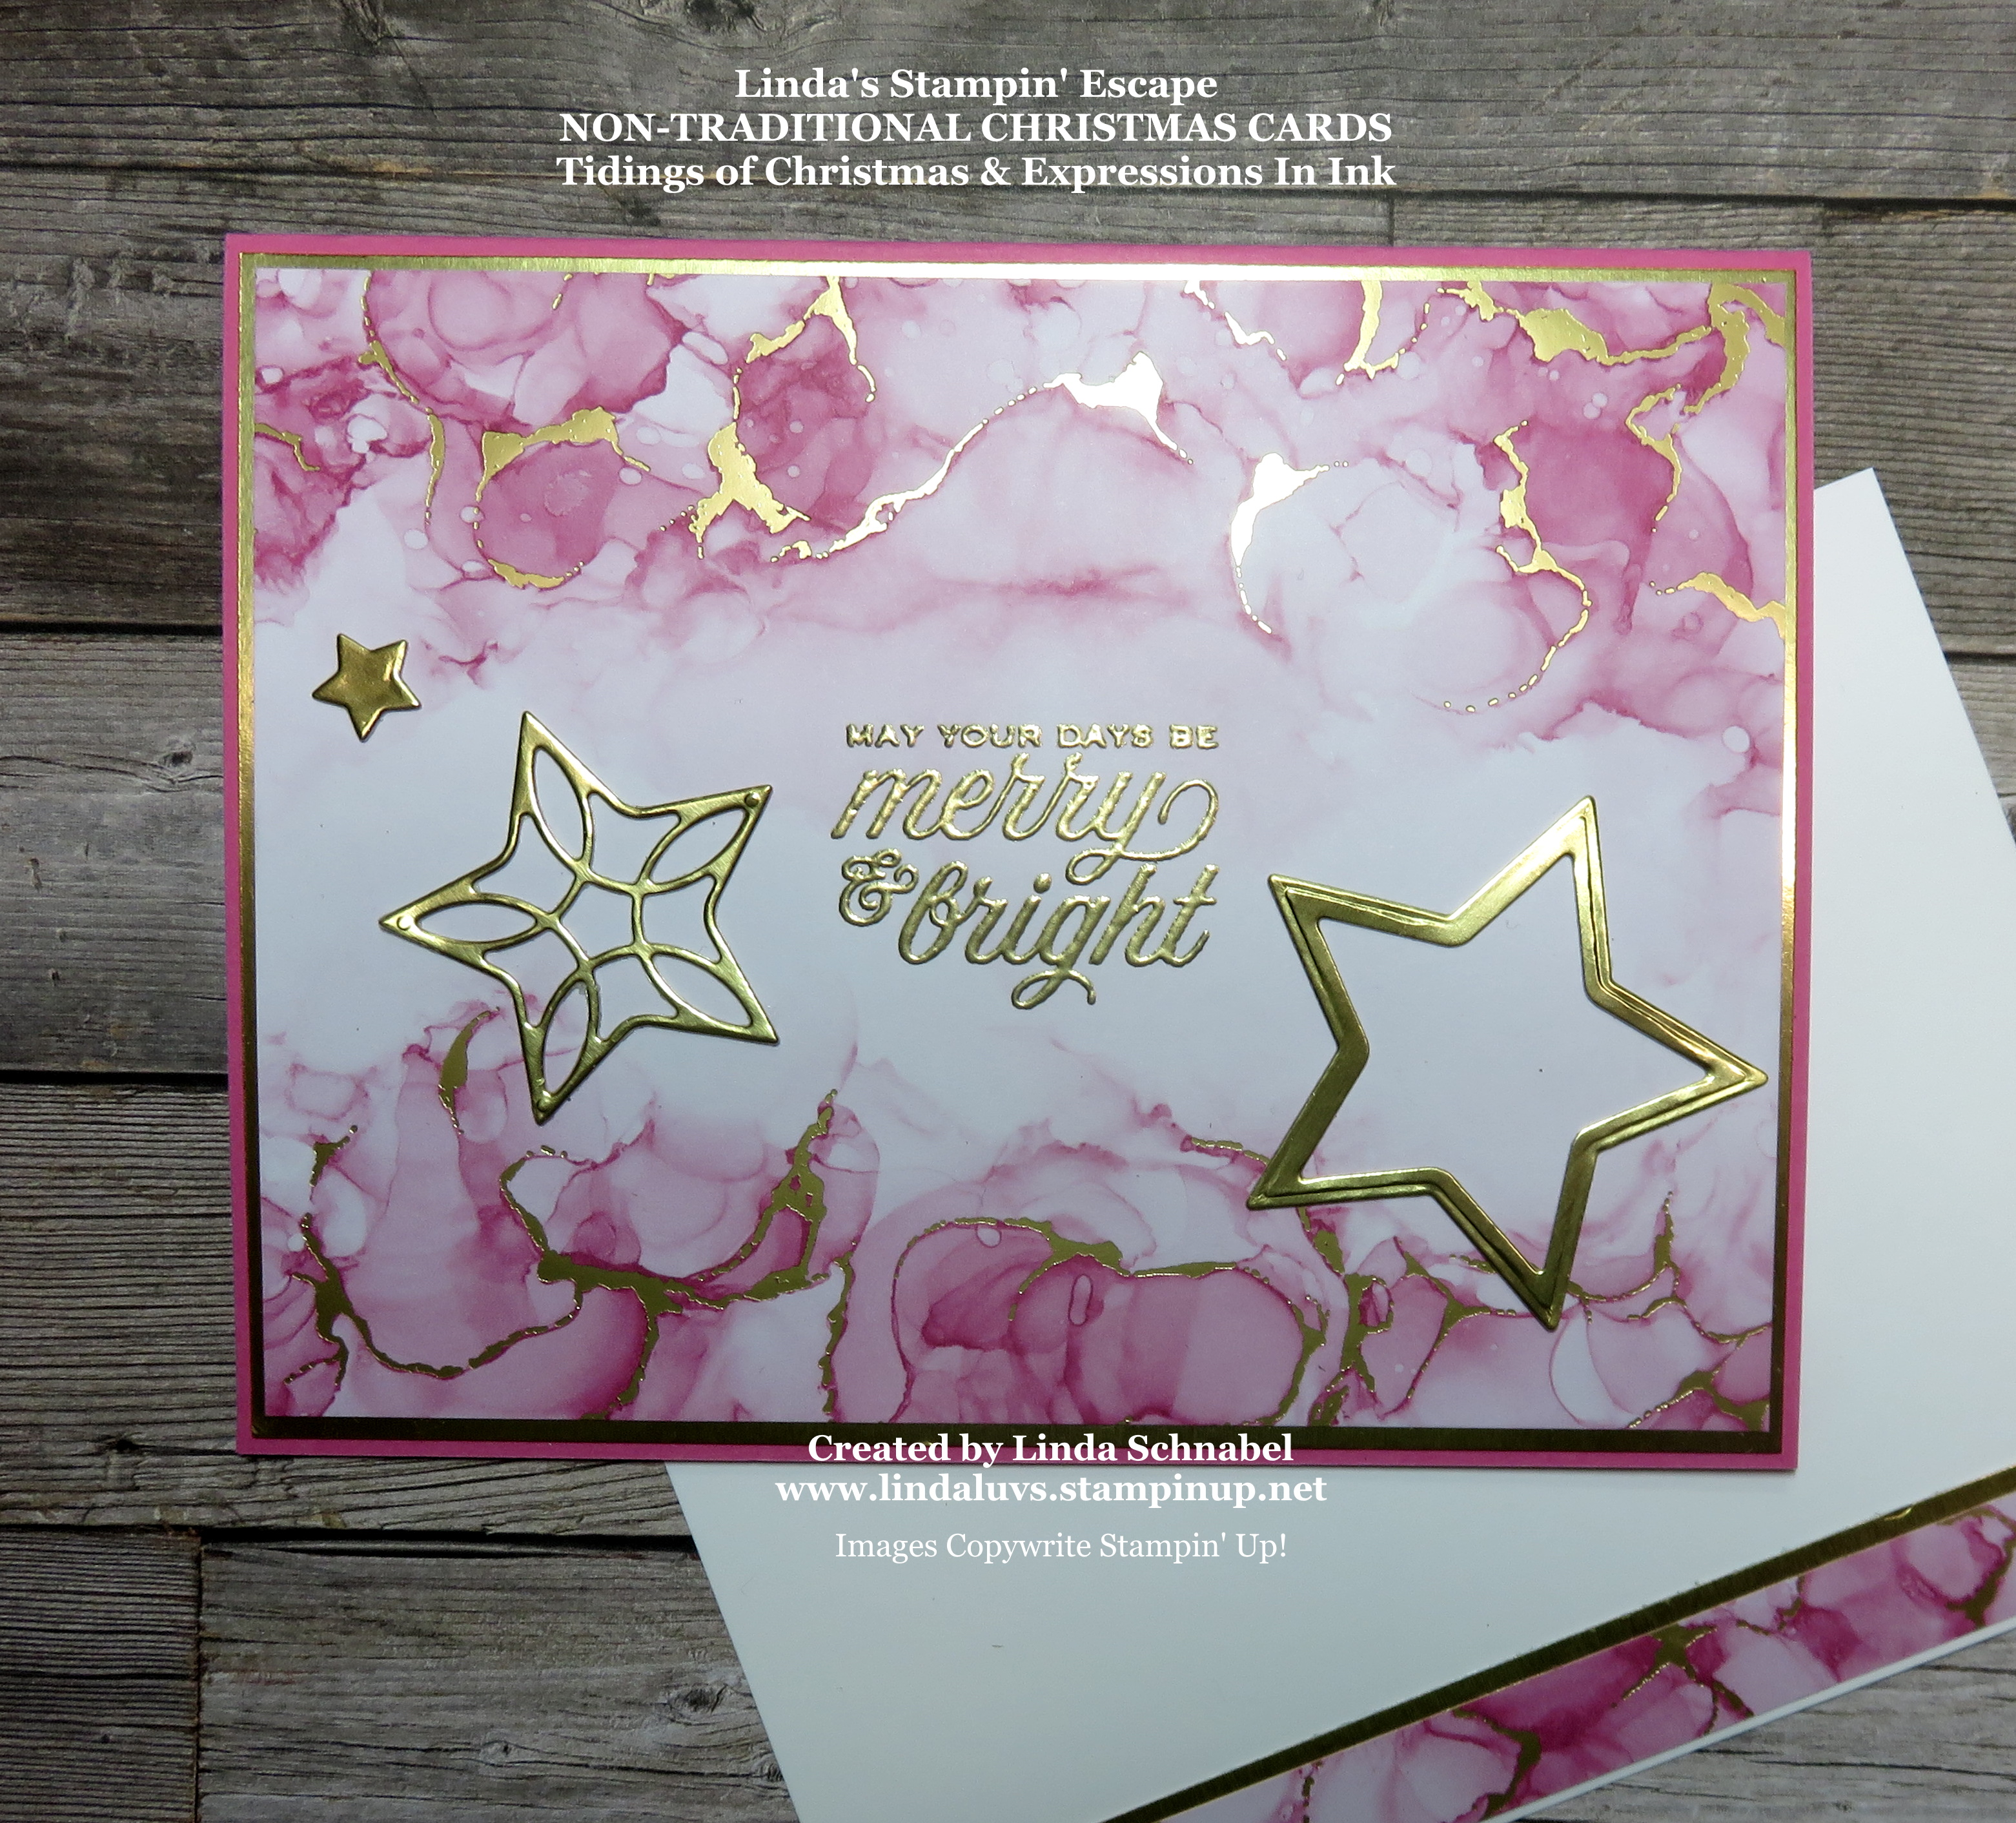
I’m doing a twist on my card today … a simple card to start and then I will gradually add some elements to lift the card to another level. Let’s begin with a little “fun” …. What do you get when you cross the Tidings of Christmas with the Expressions in Ink? A totally non-traditional Christmas card … in “PINK”!!
I began with the stunning Expressions in Ink Designer Series Paper in the new Polished Pink that is beautifully entwined with gold foils, so naturally I would use a Gold Foil mat and a Polished Pink card base.
I stamped the greeting in VersaMark and heat embossed it with the Gold Embossing Powder. My greeting comes from the Tidings & Trimmings Stamp Set. We could leave this card simply as is but, check this out ….
Before I attached the Gold Foil card base, I die cut some of those pretty little starts from the Tidings & Trimmings bundle!! This ads such and elegant touch to our beautiful Expressions in Ink Designer paper.
We went from a simply beautiful non-traditional “PINK” Christmas card to one that is simply stunning! Don’t forget to use the leftover pieces of designer paper to deck out the inside of your card.
Thanks for hanging out with me today!! See, you never know when I’m able to post a “requested” card.
Enjoy and have a beautiful Sunday ~
TODAY’S STAMPIN’ SUPPLY LIST … If you liked the products used in today’s projects, I have links for you below. Just click on the item you would like more information on, or to begin your shopping. It will take you directly to my website. Thank you ♥
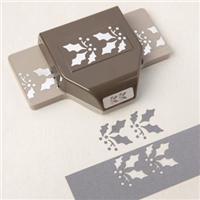
Yesterday I shared a “simply” beautiful card using the Peaceful Prints Designer paper, and today I have another with this paper but highlighting the NEW Holly Border Punch. It was something on my Wish List so today I wanted to share this card with you… these two holiday treats paired perfectly together.
Like you, I get bogged down with work, chores, kids … yes, mine are older but they still call Mom!! lol So I like to share pretty cards that are quick & easy card to make. A little layering and it looks all decked out!!
I chose this cute polka dot paper so the green would show through the punched holly! It’s actually 2 pieces, one behind the holly punch and the other as our background. I used Basic Black with the Holly punch to create an eye catching impact!
I layered a piece of red plaid behind the holly piece to add a pop of color and to coordinate and make the Red Rhinestones light up the card. I used the “Take Your Pick” tool to pick up and apply the rhinestones to my card.
Both designer paper patterns are from the limited time offer Peaceful Prints Designer Paper as our background. This paper is just one of the items you can get for FREE with a $50 purchase!
I used the Tidings & Trimmings stamp set for my greeting, it is stamped with our Tuxedo Black Momento Ink and punched with the Double Oval punch.
I used the adorable White Glitter Organdy Ribbon to tie together all of the white on the card and add just a little more sparkle, as if the 23 Red Rhinestones didn’t do it!! Some girls like their sparkle … just saying 😉
Don’t forget … the Peaceful Prints designer paper is FREE for a limited time. Our Sale-a-bration period ends in just 3 days! I have included a list of ingredients for you below.
Thank you for joining me day. I hope your day is a good one!
TODAY’S STAMPIN’ SUPPLY LIST … If you liked the products used in today’s projects, I have links for you below. Just click on the item you would like more information on, or to begin your shopping. It will take you directly to my website. Thank you ♥
Ready for some Friday Fun?? Last night I met with my Stamp Club and we were talking about “Pinterest” and I shared “what I thought” was my #1 “pinned” card … I was wrong, so I thought it would be cool to share my Top 3 with you today!! Let’s see if any of these are the ones YOU pinned!
Card #3 ….
It is the Cute Halloween Designer Series paper from the Stampin’ Up! Aug. – Dec. Mini Catalog!
This card was featured on my Simply Sunday series of cards … and you can view the entire post by CLICKING HERE!
Card #2 ….
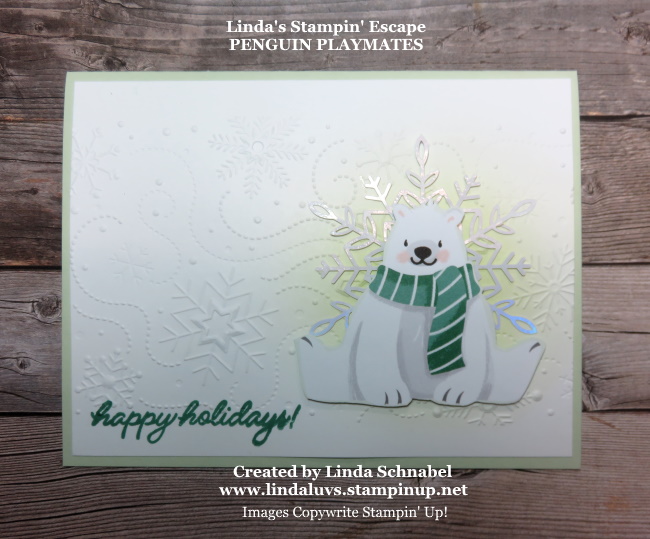
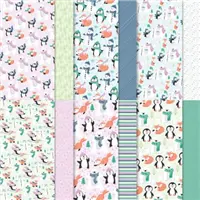
Well … this little cutie is going to look VERY familiar because it was just highlighted yesterday with the Penguin Playmates Designer Paper cards …
That Polar Bear is so cute and the card is so simple to make, (check out yesterday’s post for directions) it’s not a surprise this is in the Top 3, however … I thought it was the #1 Card!!
Hmmm … which one do you think it is?
CARD #1
This card BLEW all the others away with over 13K hits! Not bad considering it hasn’t been out there that long! Are you ready to see it??
It is the “Tidings of Christmas” in Misty Moonlight
A Merry & Bright card for sure coming from our Tidings of Christmas suite … these stocking are are quite lovely and the pretty paper makes this a perfect card to send to all your friends and family. To see the original post / how it was made just CLICK HERE.
I’ve put a list of ingredients at the bottom of my post so you can shop for what you need to make these popular cards! And you still have a little time left to grab those Sale-a-bration Freebies! Instructions can be found by clicking the links by the picture.
I thank you for following my blog and checking in today.
Have a nice weekend ~
TODAY’S STAMPIN’ SUPPLY LIST … If you liked the products used in today’s projects, I have links for you below. Just click on the item you would like more information on, or to begin your shopping. It will take you directly to my website. Thank you ♥
Hello Stampin’ Friends and a Happy Labor Day to you!
Today I have a special card to share with you to celebrate Labor Day created with of all things, a Christmas Bundle … Who knew! This little cutie can be used for many occasions … I’ll show you how I did it and you can use it for any occasion you’d like ❤
Wikipedia states:“Labor Day is a federal holiday in the United States celebrated on the first Monday in September in any given year to honor and recognize the American labor movement and the works and contributions of laborers to the development and achievements of the United States.”
As I get older, I have begun to fully realize what this special weekend celebration means… the celebration of those whose contributions have built America and those who maintain the way we live our lives today. Amazing … isn’t it?
It’s those people who serve us in some way, whether it seems large or small … we all play a part in it somehow. I am most happy when I feel I am a service to others, it is that interaction with people that makes my heart happy. So as I see it, I have the best job in the world … a Stampin’ Up! demonstrator – your creative coach!! I get to share my passion of stamping with you. So lets start …
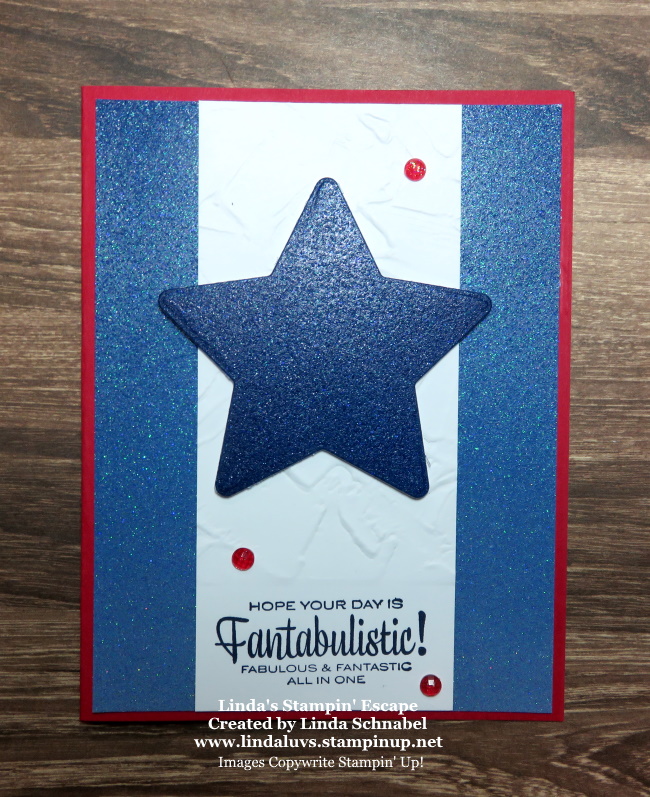
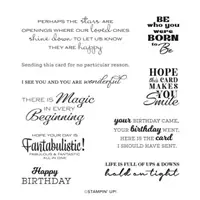
Today’s card was created with 3 key elements … The Christmas Trimmings Dies from the Tidings & Trimmings Bundle, the Ombre Specialty Paper in the Annual Catalog and the “In Your Words” stamp set – a Host set shown in the Sale-a-bration Catalog!
I just love the great sentiments in this stamp set … so versatile and fun! And the fonts are “happy” and easy to read.
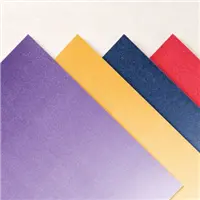
I’m using the Night of Navy Ombre Specialty paper for my background and my focal point which is the star. The greeting was stamped in Night of Navy and then the White piece was embossed with the Painted Texture embossing folder … adds a fun texture to our background.
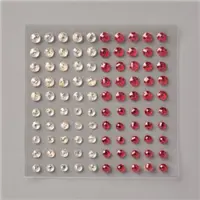
The star was cut from the darkest section of my Ombre Specialty paper and mounted onto the front using dimensionals to add dimension to the card. I couldn’t resist adding the Wonderful Gems as they have flecks of sparkle in them and look coordinate so nicely with our Real Red card base. You can find those in the Mini Catalog … You can find all the ingredients to this card listed below for your convenience and shopping ease.
Hope you enjoyed today’s simple layout with some sparkle to celebrate our Labor Day!! I thank you for taking time out of your holiday to visit my blog.
Have a beautiful day ~
TODAY’S STAMPIN’ SUPPLY LIST … If you liked the products used in todays projects, I have links for you below. Just click on the item you would like more information on, or to begin your shopping. It will take you directly to my website.Thank you ♥
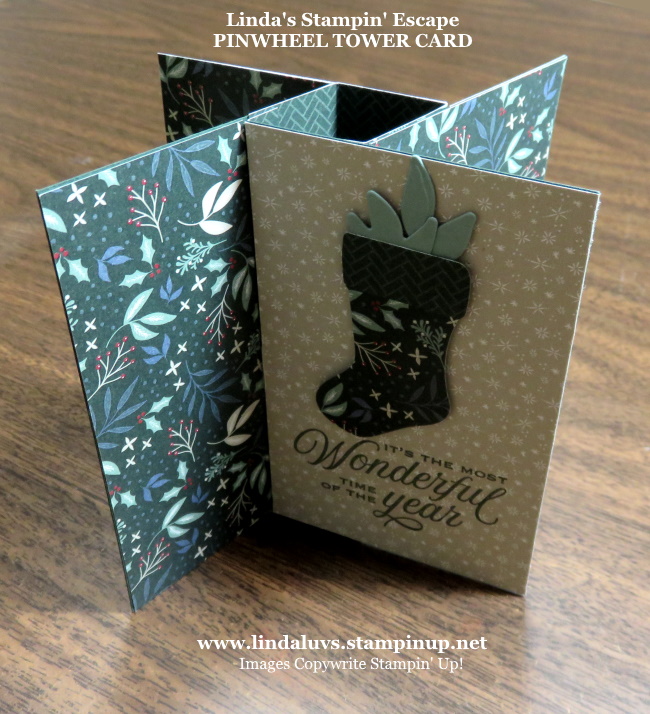
I’m so excited to share the Pinwheel tower cards and more with you today. I’ll be sharing the video replay of last nights Facebook LIVE which shares 3 different versions of the Pinwheel Tower card with the dimensions you need to create your own.
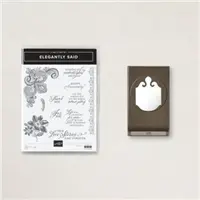
Let’s begin with the cute Pattern Party Designer paper with all it’s adorable patterns. I teamed it up with the Elegantly Said bundle. I used the Granny Apple Green Stampin’ Blends to color the Opal Rounds and White Glitter Organdy Ribbon.
This photo shows a piece of designer paper with a “pocket” to tuck in some $$ or a gift card!
Here are the dimensions for the Pinwheel Tower Card …
Tower: 4-1/4″ x 4-1/4″ … Score at 1″ – 2″ – 3″ and 4″ which leaves 1/4″ flap to secure the tower.
Cut 4 pieces of cardstock 4-1/4″ x 2-3/4″. These pieces will be attached to the tower.
Designer paper cut 4 @ 4″ x 2-1/2″ plus four slim pieces cut at 4″ x 1-1/2″.
My next card highlights the Whimsy & Wonder Designer Paper and the Blushing Bride Frayed Grosgrain Ribbon. I simply can not resist this designer paper and it turns a “fun fold” card into something elegant …
My last card is the Tidings & Trimmings bundle from the Tidings of Christmas suite in the Annual Catalog (the big book) The “Noel” used on my Whimsy Wonder card comes from this bundle as well … I love the color combination of this paper.
The dimensions for the designer paper are different on this card because I have “no border” around the edges. Here are those dimensions: Designer paper cut 4 @ 4-1/4″ x 2-2/3″ plus four slim pieces cut at 4-1/4″ x 1-3/4″.
STAMPIN’ TIP: You save paper when cutting a 12″ x 12″ at the 4″ dimension instead of the 4-1/4″ because the 4″ cuts equally and the other leaves leftover.
Here is the video
I hope you enjoyed the video and the cards. I will be sharing the “other card” mentioned in the video with you tomorrow.
Thank you for joining me today, and last night if you caught this LIVE!
Here is a list of the products I used on my cards. You may click on any one for more information on the product, or to begin shopping so you can start making these adorable cards. Thank you.
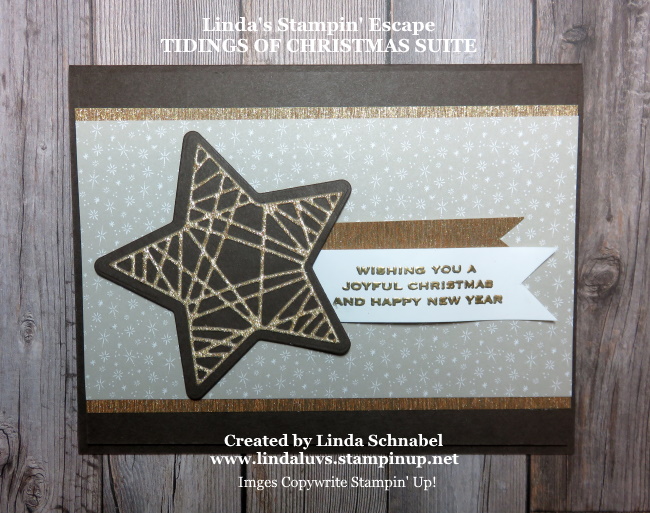
I’ve been bitten by the bug … blame it on Lifetime movies and their Christmas in July marathon!! lol Today I’m sharing a pretty card that I created using the Tidings of Christmas Suite… and will showcase non-traditional colors.
We begin with a Early Espresso card base … and back! I’m loving the layers on this card. I then chose the Sahara Sand pattern from the Tidings of Christmas 6″ x 6″ designer paper, it’s so cute with starry snowflakes.
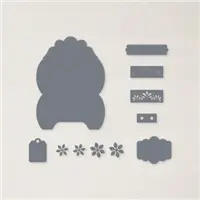
The focal point of my card is the beautiful stars created with the coordinating dies from the Tidings & Trimmings bundle (part of the entire suite). The solid star is Early Espresso and the detailed star is cut from the “Gold” from the Gold & Rose Gold Metallic Specialty Paper.
Oh, the Metallic paper is so pretty so I used it to enhance the designer paper as well, and to jazz up my greeting …
I stamped my greeting with the VersaMark ink and then heat embossed it with our Gold Embossing powder. The raised verse in Gold looks great with the raised detailed star!
The stars were popped up to add dimension to the textured star … then I gave the banner a little wave to create some “action” to the card.
I hope you had a wonderful weekend. I spent mine trying out new techniques, so I hope you join me this Tuesday for my Facebook LIVE and a technique that is something special.
Thank you for stopping by my blog today.
Have a wonderful day ~
TODAY’S STAMPIN’ SUPPLY LIST … If you liked the products used in today’s projects, I have links for you below. Just click on the item you would like more information on, or to begin your shopping. It will take you directly to my website. Thankyou ♥
I’m doing a twist on my Simply Sunday today … a simple card to start and then I will gradually add some elements to lift the card to another level. Let’s begin with a little “fun” …. What do you get when you cross the Tidings of Christmas with the Expressions in Ink? A totally non-traditional Christmas card … in “PINK”!!
I began with the stunning Expressions in Ink Designer Series Paper in the new Polished Pink that is beautifully entwined with gold foils, so naturally I would use a Gold Foil mat and a Polished Pink card base.
I stamped the greeting in VersaMark and heat embossed it with the Gold Embossing Powder. My greeting comes from the Tidings & Trimmings Stamp Set. We could leave this card simply as is but, check this out ….
Before I attached the Gold Foil card base, I die cut some of those pretty little starts from the Tidings & Trimmings bundle!! This ads such and elegant touch to our beautiful Expressions in Ink Designer paper.
We went from a simply beautiful non-traditional “PINK” Christmas card to one that is simply stunning! Don’t forget to use the leftover pieces of designer paper to deck out the inside of your card.
Thanks for hanging out with me today!! See, you never know when I’m able to post a “requested” card.
Enjoy and have a beautiful Sunday ~
TODAY’S STAMPIN’ SUPPLY LIST … If you liked the products used in today’s projects, I have links for you below. Just click on the item you would like more information on, or to begin your shopping. It will take you directly to my website. Thank you ♥
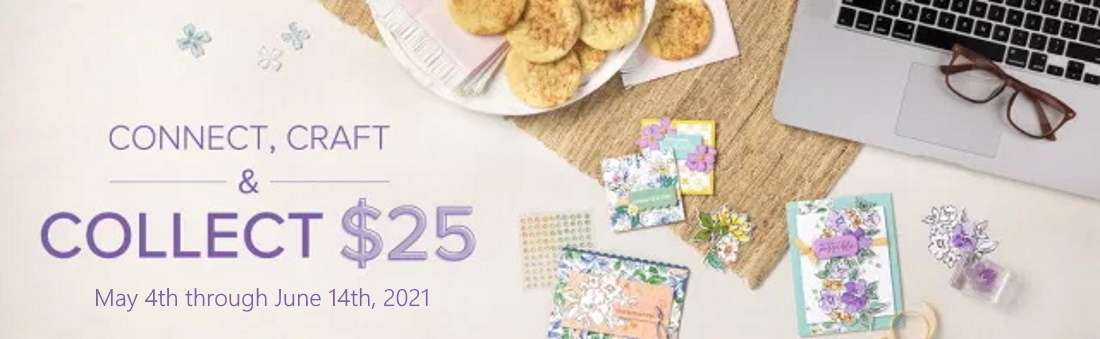
CONNECT, CRAFT & COLLECT Stampin’ Up! is gifting an extra $25 in Stampin’ Rewards to all orders that reach the $250+ mark May 4 – June 14! This is the perfect perk for those who host parties or those who place large individual orders. Click here for more details.
TOMORROW IS THE LAST DAY TO ENJOY EXTRA FREE PRODUCT …
JOIN+ STARTER KIT SPECIAL An awesome Starter Kit special is being offered now through May 31st to help kick off of the new 2021-22 Annual Catalog! Choose up to $155 worth of product ($30 more than usual) and pay just $99. Click here for a few more details.
Please let me know if you have any questions about today’s card share, products you’ve seen or our promotions… I’m here to help you.
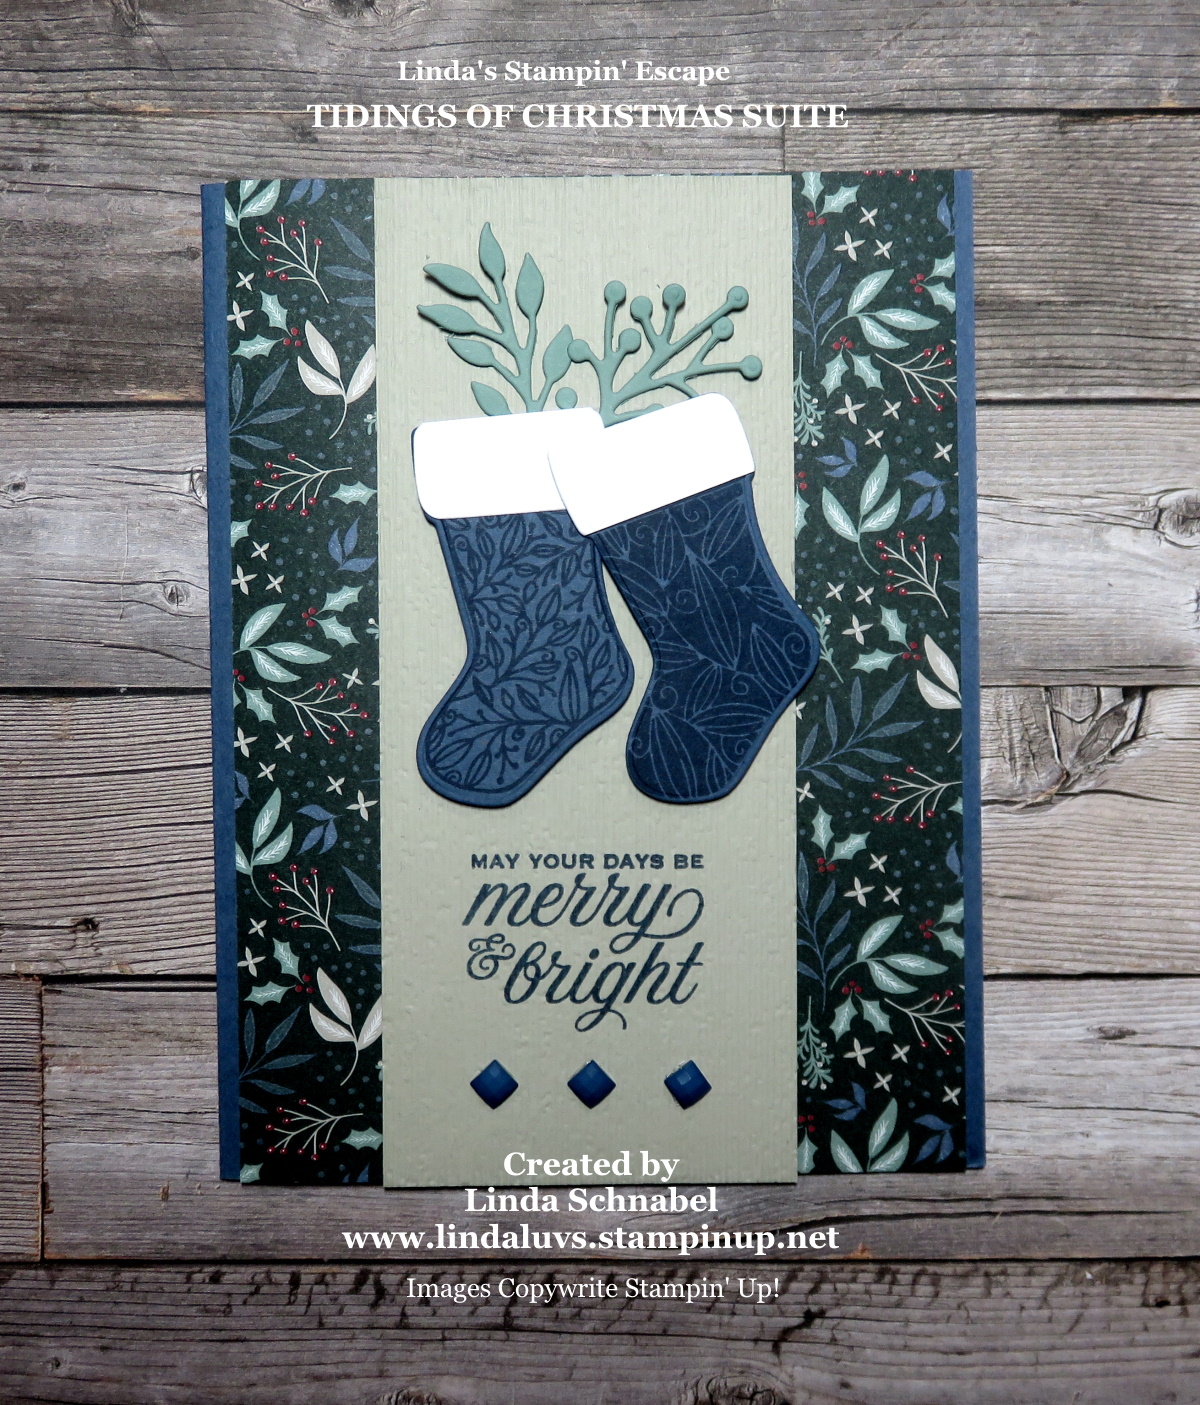
Let the weekend officially begin … How did you enjoy the Tidings of Christmas card that I shared yesterday? Yes? Well … I have another for card for you using this suite and where I’m going to showcase the dies from the suite; the stockings and some greenery …
I love the way this card turned out!! I chose this pattern designer paper from the suite and worked my color pallet from that … Sahara Sand, Misty Moonlight and Soft Succulent. The base is Misty Moonlight, then the background designer paper, the center piece is Sahara Sand.
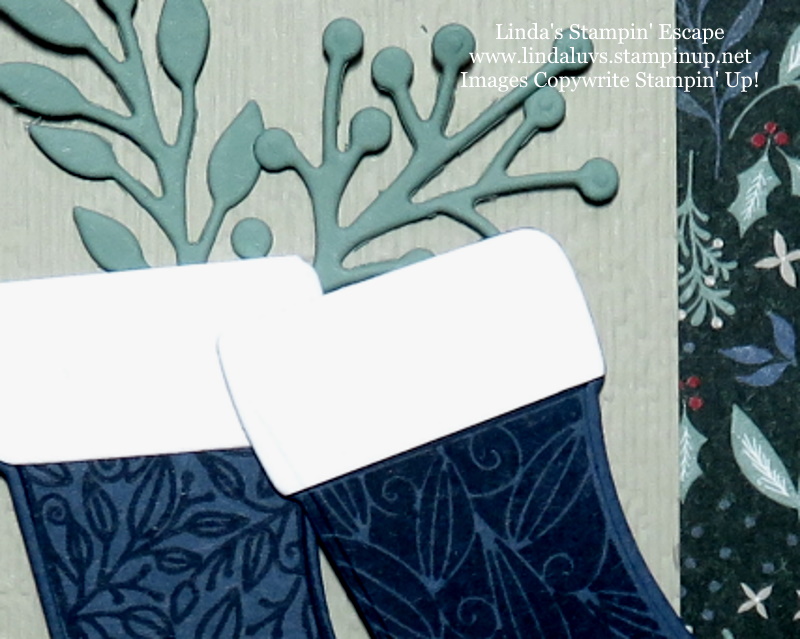
I stamped the greeting in Misty Moonlight on the Sahara Sand. Then I stamped the stockings in the Misty Moonlight on Misty Moonlight then die cut them The white tops were cut using the top of the stocking die as there is “no” separate die for that.
The greenery was die cut from Soft Succulent cardstock and adds such a beautiful touch to the card. The stamp set and dies can be purchased as a bundle, as well as the entire suite ….
The stamped stockings have the same patterns in their design as in the Tidings of Christmas Designer Series paper…. and so do the dies, and that is why they call it a suite. All the products were created to coordinate perfectly!
I couldn’t resist added the new 2020-2022 In Color Square Gems … they are Misty Moonlight!! Plus they add a nice finishing touch to the card. You can find these cute gems on page 142.
I thank you for stopping by today. Do you prefer the traditional colors I used yesterday, or do you like to change up your card colors a bit?
Have a wonderful weekend & stay safe ~
TODAY’S STAMPIN’ SUPPLY LIST … If you liked the products used in today’s projects, I have links for you below. Just click on the item you would like more information on, or to begin your shopping. It will take you directly to my website. Thank you ♥
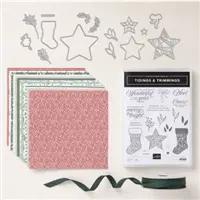
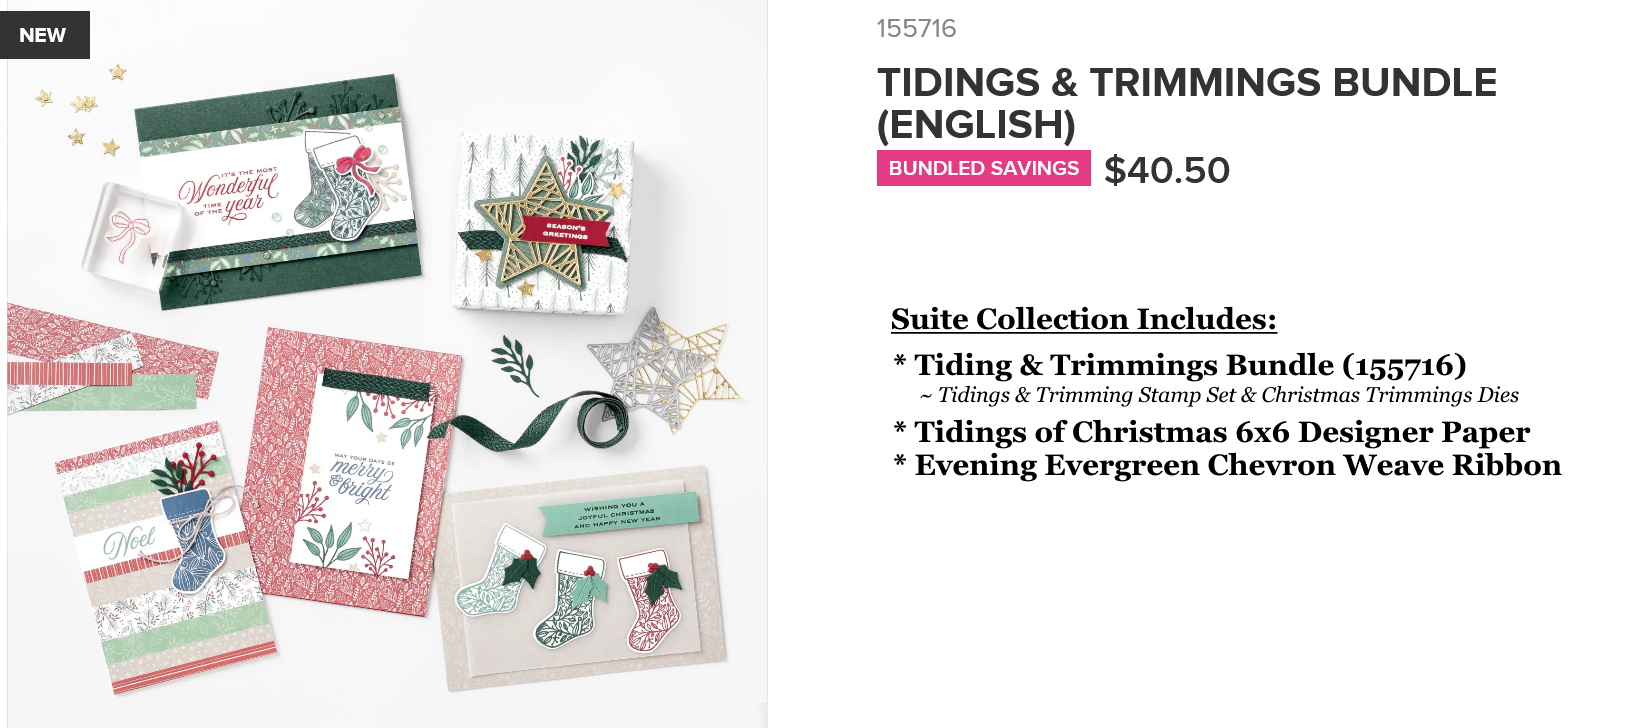
PLEASE NOTE: The “SUITE” pictured first includes the bundle (stamps & dies) and the designer paper and ribbon. The others are pictured if you want to purchase one or more items separately. The cardstocks are sold separately.
CONNECT, CRAFT & COLLECT Stampin’ Up! is gifting an extra $25 in Stampin’ Rewards to all orders that reach the $250+ mark May 4 – June 14! This is the perfect perk for those who host parties or those who place large individual orders. Click here for more details.
ONLY A FEW DAYS LEFT …
JOIN+ STARTER KIT SPECIAL An awesome Starter Kit special is being offered now through May 31st to help kick off of the new 2021-22 Annual Catalog! Choose up to $155 worth of product ($30 more than usual) and pay just $99. Click here for a few more details.
Please let me know if you have any questions about today’s card share, products you’ve seen or our promotions… I’m here to help you.
Today … with a chill in the air, I thought it was the perfect time to share a card that I created using the wonderful Tidings of Christmas. I know many of you start your Christmas cardmaking early, so I thought I’d give you a peek into what I’ve been creating with this suite …. the suite includes …
I start out on the “simple” side and will have so much more to share with you! Here is one of the cards I created ….
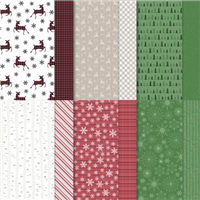
I used the pretty Tidings of Christmas Designer Series paper as my backdrop … the pretty papers remind me of Christmas’ past but have an elegant modern touch to them.
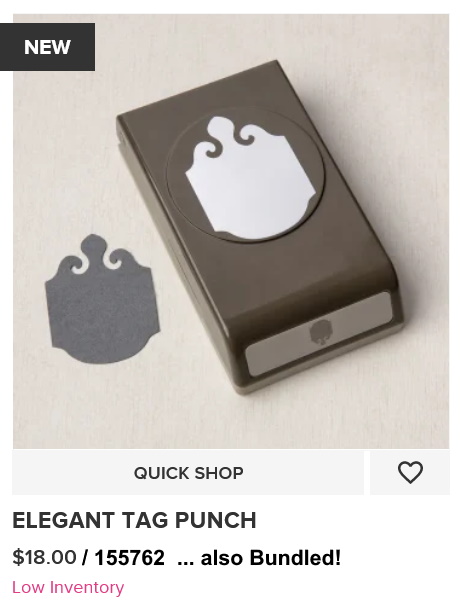
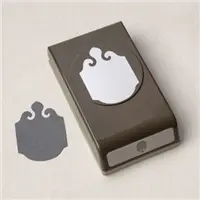
I teamed up my Tidings of Christmas with the “Elegant Tag” Punch. This amazing punch is fun and easy to work with, and you can create an multitude of options!! Here is just one …
I lengthened the punched paper to fit my greeting … you simple punch from the backside. Maybe I’ll create a short video to show you how, along with a tip to make it effortlessly!
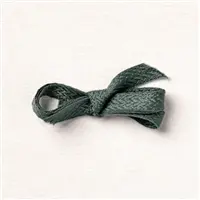
Behind the punched greeting which of course is from our Tidings & Trimmings Bundle I added a touch of Cherry Cobbler cardstock and the beautiful Evening Evergreen Chevron Weave Ribbon.
I used the Red Rhinestone Basic Jewels just to add a little around the greeting You can find these cute gems on page 142. It also seems to anchor the tag and highlight the beautiful ribbon.
I thank you for stopping by today. I’d love to hear your thoughts on this new suite!!
Have a great day ~
TODAY’S STAMPIN’ SUPPLY LIST … If you liked the products used in today’s projects, I have links for you below. Just click on the item you would like more information on, or to begin your shopping. It will take you directly to my website. Thank you ♥
PLEASE NOTE: The “SUITE” pictured first includes the bundle (stamps & dies) and the designer paper and ribbon. The others are pictured if you want to purchase one or more items separately. The PUNCH & Rhinestones are NOT included in the suite.
CONNECT, CRAFT & COLLECT Stampin’ Up! is gifting an extra $25 in Stampin’ Rewards to all orders that reach the $250+ mark May 4 – June 14! This is the perfect perk for those who host parties or those who place large individual orders. Click here for more details.
ONLY A FEW DAYS LEFT …
JOIN+ STARTER KIT SPECIAL An awesome Starter Kit special is being offered now through May 31st to help kick off of the new 2021-22 Annual Catalog! Choose up to $155 worth of product ($30 more than usual) and pay just $99. Click here for a few more details.
Please let me know if you have any questions about today’s card share, products you’ve seen or our promotions… I’m here to help you.