Hello Stampin’ Friends ~
Do you know someone whose perfect day is sitting on a quiet pier with a fishing pole in hand? Maybe it’s your dad, a friend, or even you! The Peaceful Pier Stamp Set is perfect for capturing that calm, reflective moment—and today, I’m excited to share two card projects that bring that peaceful scene to life.
This stamp set features a beautiful collection of images: a rustic wooden pier, a young fisherman, fish, trees, and thoughtful sentiments to let someone know they’re on your mind. It’s a versatile set that works well for masculine cards, nature lovers, or anyone who enjoys a quiet escape by the water. Let’s look at my first card …..
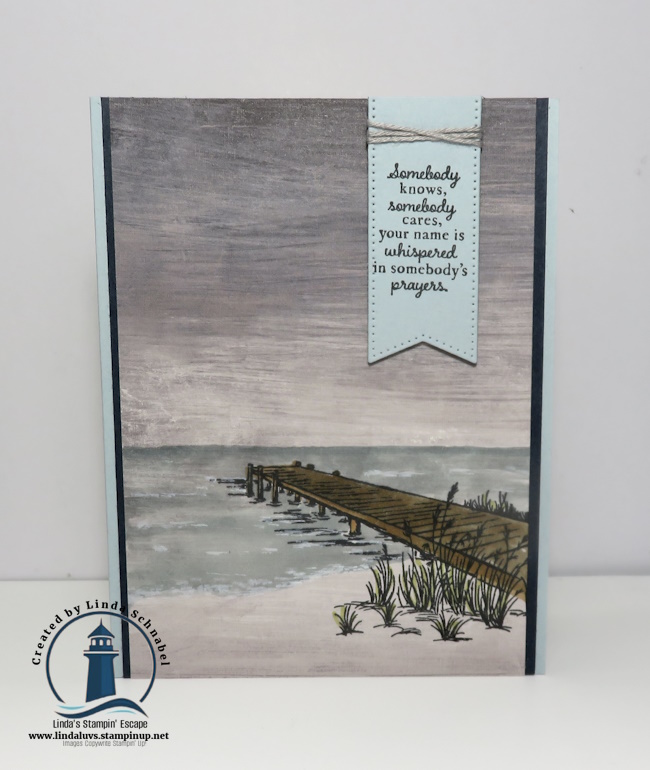
The two cards I’m sharing today are extra special. One showcases a creative new stamping technique that adds texture and depth to your images, and the other features a unique fun fold that’s sure to impress. Whether you’re an experienced stamper or just starting out, these cards are simple to make but full of charm. I walk you through both projects in a step-by-step video tutorial so you can follow along and recreate them with ease.

Now more than ever, sending a handmade card is a simple way to stay connected and show someone you care. Imagine how touched someone would be to receive a card that feels like their happy place, stamped just for them.

If you already own the Peaceful Pier set, it’s time to ink it up and create something meaningful. And if it’s on your wish list—why wait? This is one you’ll reach for again and again, especially for those hard-to-make masculine cards. Be sure to watch the video for instructions and inspiration, and don’t forget to leave a comment letting me know who your “peaceful pier” card would be for.
Let’s get creative—because stamping, like fishing, is all about patience, joy, and taking a little time to enjoy the moment.
Thank you for stopping by, have a great day!