Hello Stampin’ Friends ~
I would like to wish you and your family a safe and happy Easter ~

I will return with a special card share.
God Bless, Linda

Hello Stampin’ Friends ~
I would like to wish you and your family a safe and happy Easter ~
I will return with a special card share.
God Bless, Linda
Hello Stampin’ Friends ~
Our new Stampin’ Up! CEO Sarah Douglas (Shelly’s daughter) shared a message with all of us …

“If you’ve thought about joining the Stampin’ Up! family and sharing your love of creativity, now is the time! During our annual Sale-A-Bration, you get to choose additional free products in your starter kit! Be a part of the thousands who have already joined!”

More thoughts on why you should join me, my team of Star’s and Stampin’ Up! …
Whether you’d like to earn money to pay for your stamping supplies, create a full or part-time career, or simply get a discount on your stamping supplies, Stampin’ Up! will help you do it. And if that isn’t enough, we’ve listed 10 reasons for you to become a Stampin’ Up! demonstrator.
Stampin’ Up! provides its demonstrators with the opportunity to pursue their individual goals whether those goals are to enjoy a hobby, build a thriving business, or contribute to family income while spending more time at home.
Please contact me with any questions, there is no obligation to remain after you purchase your kit… so take us out for a test drive! I’ll be here to mentor you, along with Stampin’ Up! and their amazing staff.
I have a special gift (A stamp set of your choice!) for all those who sign up before March 31st!
Let’s chat!
Hello Stampin’ Friends ~
It’s finally Friday! Just a quick post so you can get back to your Holiday preparations.
With less than 1 week left of Sale-a-bration … I thought I would share one of my favorites with you.


You will see the beautiful English Garden Designer Series Paper that can be found in the Annual Catalog and teamed it with the Rose Garden Thinlits Die on page 18 of the Occasions catalog.
The focal point of the card is the greeting ….
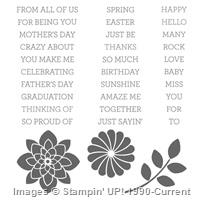
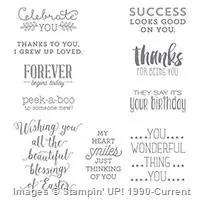
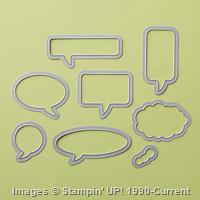
| Perfect Pairings Stamp Set |
| This stamp set is more than meets the eye—it’s nine pieces, but you can mix and match the greetings for endless possibilities! |
| Here’s what one of our concept artists said about it: |
| “This is the perfect set for a beginning stamper because it has a variety of greetings all in one. The greetings can stand alone or be combined in countless ways. Yes, this is a greeting set but the fonts are bold enough to stand alone so you don’t necessarily need an image set to go with it.” |
Thanks so much for dropping in …
Have a Good Friday ~
Hello Stampin’ Friends,
Today I’m here to share a quick and easy card that was designed by Stampin’ Up! and was posted on my website.
For those of you who don’t frequent my website, you can find card samples, scrapbook pages and 3-D projects there too www.lindaluvs.stampinup.net ⇐ Click on the link and it will take you to my “Idea’s Page” on my website.
Stamps
• Best of Flowers Stamp Set
• Notable Notions Stamp Set
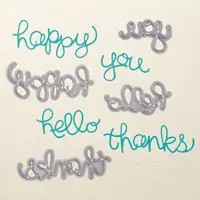
• Thanks & Hello Stamp Set
Paper
• Whisper White Cardstock
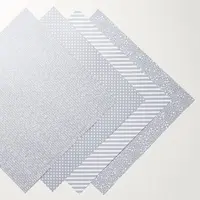
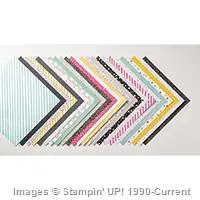
• 2013–2015 In Color Designer Series Paper Stack
Ink
• Basic Gray Classic Stampin’ Pad™
• Crushed Curry Classic Stampin’ Pad
• Regals Stampin’ Write™ Markers
Stampin’ Up! Accessories
• Regals Designer Buttons
• Stampin’ Dimensionals™
• Blender Pens
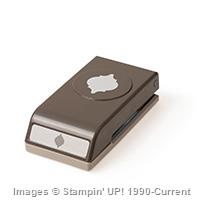
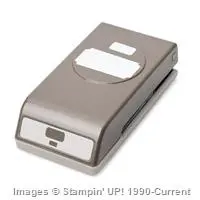
• 1-1/4″ Scallop Circle Punch
• Big Shot™
• Chalk Talk Framelits™ Dies
• Hole punch
Thanks much for stopping by ~
Have a good day!
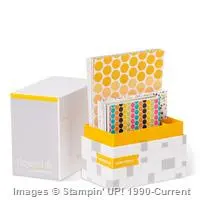
Hello Stampin’ Friends ~
I’m excited to share my “alternative” projects from the March Paper Pumpkin kit …
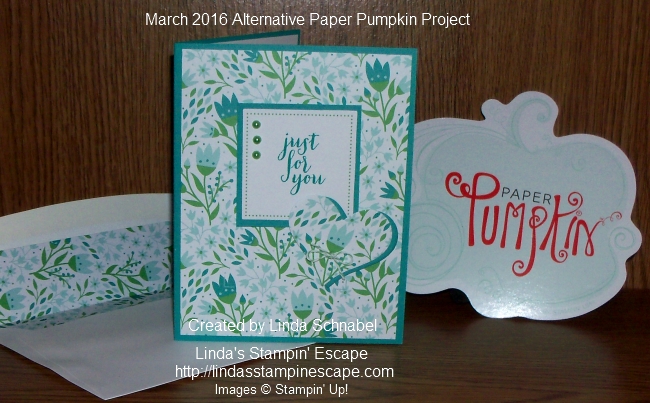
Here is the kit and the projects you can make! Mine is very different but I want you to see that you can use your kit as you please (although these projects are really cute!).

March is a BIG month—it’s our third birthday AND we just shipped our one millionth kit! To celebrate, we’re sending a special gift with your April kit: an exclusive stamp set called All about Everything. Thank you for being the most amazing group of Paper Pumpkin peeps ev-er!

Happy birthday to us! We hope you enjoy your limited-edition turquoise boxes. Thanks for celebrating with us . . . three years and counting!

We just shipped our ONE MILLIONTH KIT! Was it the one we sent to your house? Maybe. But, we want to say THANK YOU to all of our subscribers. That’s why we’re sending a bonus stamp set with your April kit. (You won’t want to miss it, so don’t skip or cancel.) Thanks for being YOU!

Thank you for coming over and spending your time with me today.
Have a wonderful Wednesday!
Hello Stampin’ Friends ~
Today’s the day … a new set of Weekly Deals!

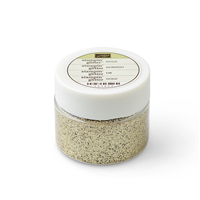
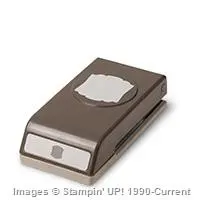
Now here is a group of embellishments and tools that should be in every stampers collection. What an awesome deal on the Curvy Corner Trio punch – three punches in one for only $15!!
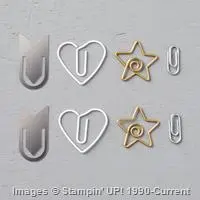
And pearls … well we all need a set of pearls to go with our little black dress (I mean black cardstock) any color for that matter.

Hello Stampin’ Friends ~
Today I’m going to share with you a card we did in our Stamp Club. This year our focus has been on the exciting new products in the Occasions catalog and the different ways to use the.
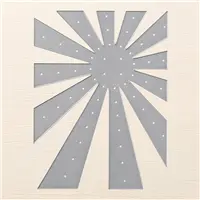
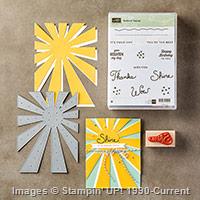
On this card you will see that we have used the Sunburst Framelit Die and cut it down. They also learned a fun little tip on how to do this and save paper! I cased this card from Pinterest but gave it my own twist … as always.
Our sunburst was pre-cut from the Circle Collections Framelit Die first before using the sunburst die…. this saves so much paper! Our greeting comes from the Sunburst Sayings that is bundled with the framelit.
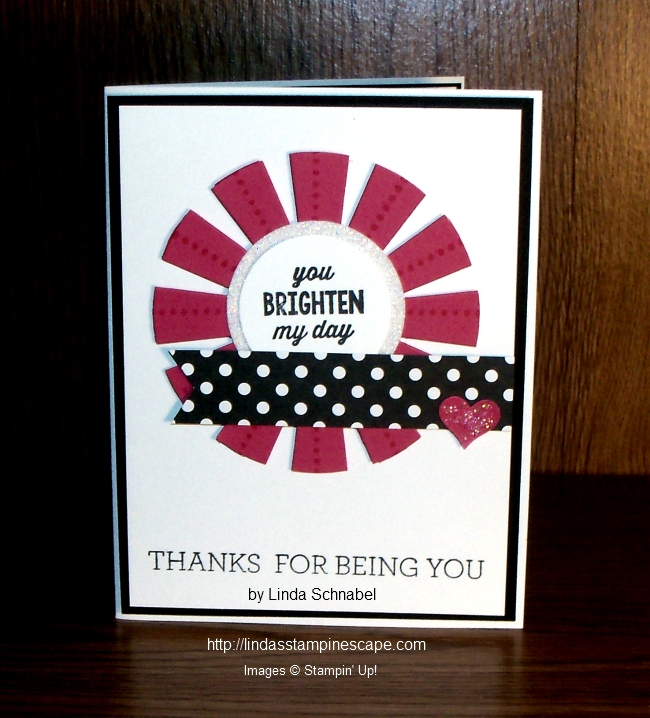
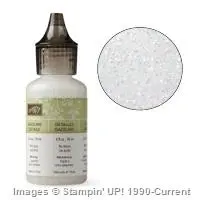
My Polka Dot paper comes from the Neutrals paper stack … and was punched with the Triple Banner Punch and the heart punch to add that “cute” little touch, and a touch of “Dazzling Details” to glitz it up.
My “thank you” comes from the “Crazy About You” stamp set … a stamp set I’m crazy about!! You can create so many different sayings with this set, and you’ll find the photopolymer is a breeze to align the words together to create your greeting or phrase.
A simple card really … that’s really cute! I think the layering of the White and Black cardstock really makes the Mellon Mambo sunburst and heart really pop!
Thank you for sharing a piece of your day with me … You’ve brightened my day!
Hope you day is sunny and bright as well.
TODAY’S STAMPIN’ SUPPLY LIST …
Hello Stampin’ Friends ~
Today I’m sharing a card that I made for a “color challenge” I presented to my downline. I posted the challenge on my “Star’s by Design” (private) facebook page … it’s a place for my team to share ideas, card samples, techniques or just chat.
As I celebrate my 16 years with Stampin’ Up! I realized …
We as women have more opportunities available to us today than ever before in the history of the world. You have the freedom to start your own business, travel the world, and make enough money to pay off some bills, family vacation, or more! The amount you earn is up to you with Stampin’ Up!.
If you want to, you can reach for the stars and follow your dreams—and the only person that can stop you from doing it is you.

The one thing I cannot put a price on is the friendships I have built over the past 16 years. My customers turned friends, my fellow demonstrators, and my downline … the beautiful ladies who have joined me to begin their own journey.
You know I have to say it… I want YOU on my team by our next gathering.
I want you there for your OWN sake, because you’d be having the time of your life, and I want you there for MY sake, too, because I want to meet you and stamp with you and watch you become part of this wonderfully inspiring group of women that have gathered together under the Star’s (by Design).
Knowing them has changed my life, and it’s a beautiful thing to watch the beauty of their growth unfold before me. Let’s chat about bringing you into our wonderfully inspiring group! Email me: lindaluvs2stamp@aol.com or call 262-334-1009
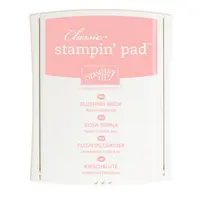
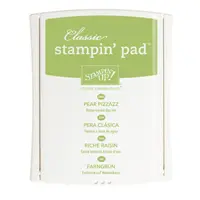
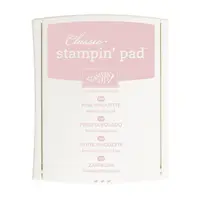
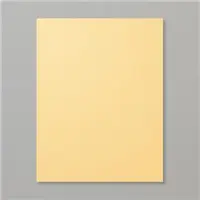
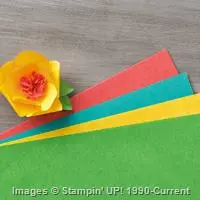
Now to my card share … Back to Basics! Simply stamp, add some ink colors and my Wink of Stella brush! My ink colors for our challenge are: So Saffron, Pink Pirouette, Blushing Bride, Mint Macaroon and Pear Pizzazz.

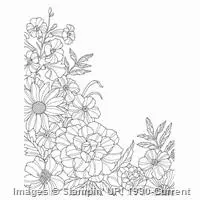
I used the “Corner Garden” stamp set from the annual catalog. Don’t forget to team up items from the annual catalog with the Occasions catalog … they work well together!
I pushed my ink pad top into the pad to create a ink pallet and then using my “Wink of Stella” brush … I simply pulled the color from the ink (do not pull color directly from the ink pad itself) and then colored my images.
This actually reminds me of those new coloring books for adults … so if you like to color, this is a great stamp! My greeting comes from the “Suite Sayings” in the Occasions catalog.
Again, Let’s chat about introducing you into our wonderful group of star’s … who inspire & have fun! Email me: lindaluvs2stamp@aol.com or call 262-334-1009
Thanks for stopping by ~
Have a beautiful Sunday!
Today’s Stampin’ Supply List …
Hello Stampin’ Friends ~
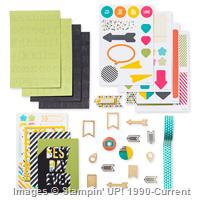
The March kit makes it easy to celebrate all the birthdays, babies, graduations, and weddings this spring. In just minutes, you’ll have eight adorable cards, each with a pocket for a gift card. Now that’s what we call a pocketful of cheer!
I am absolutely blown away each month when my PAPER PUMPKIN kit arrives, and this month was NO exception. I can’t wait to put this months kit together. It’s so adorable it should be illegal!
Plus … I’ll be sharing some cute “Alternative” projects as well.
CLICK HERE to learn more! Thanks for dropping by.
Have a super Saturday!
Hello Stampin’ Friends ~
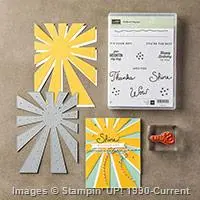
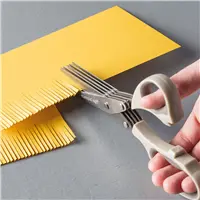
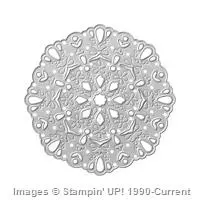
Today I’m going to share one of the cards with you that I did with my Technique Clubs this month. I have been using the Sunburst Thinlits Dies and this is the card that started it all off 🙂
So my “Hello Sunshine” … Miss You card demonstrates the basic use of this framelit die. I began by cutting out my sunburst from Crushed Curry cardstock and backed it with my favorite “It’s My Party” Designer Paper Stack.
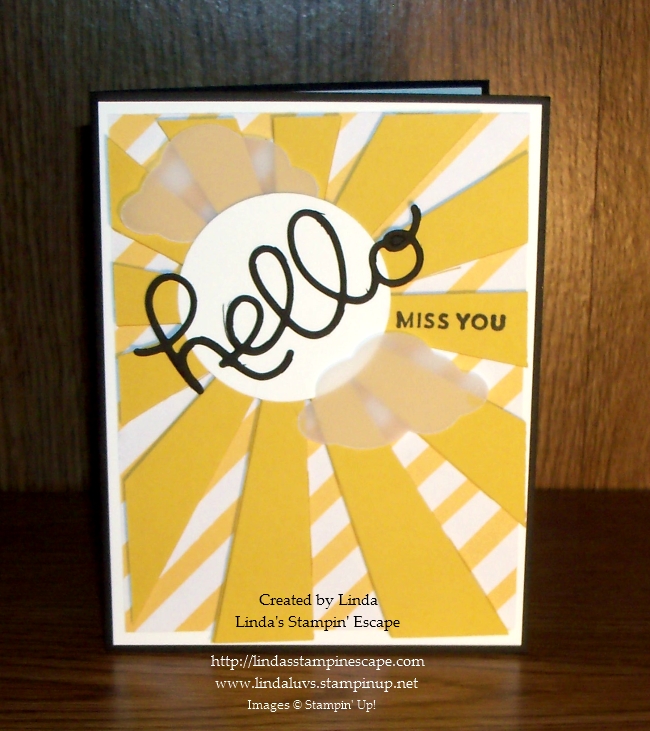
To create a little drama and to make my greeting “pop” … I added Basic Black to my project. The “Hello” comes from the “Hello You” Thinlits and the “Miss You” comes from the “Sunburst Sayings” which bundles with the Sunburst Thinlit Dies.
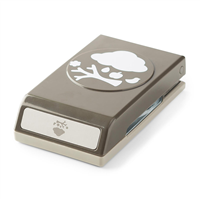
My thought behind the vellum clouds was … the sky just isn’t as bright when I miss you – thus the clouds. The clouds were created with the “Tree Builder” punch.
When putting the card together, the entire sunburst was popped up with the Stampin’ Dimensionals to create some real depth and contrast from the designer paper.
Thank you for checking out my blog today …
Enjoy some sunshine in your day!
Today’s Stampin’ Supply List …
Hello Stampin’ Friends ~
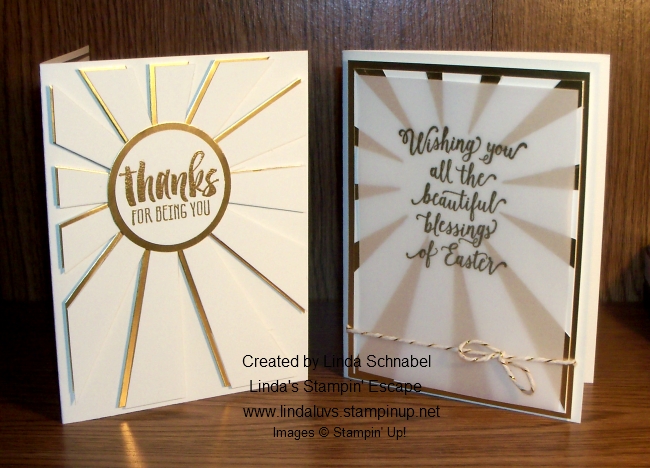
On Monday I shared my “Thanks for Being You” card on my post I called: Friendship is Golden …

So today I thought I would show you what I did with the leftovers!! That’s right – save those tabs!
I really like playing with the new Sunburst Thinlits Die … it cuts easily (I did use the Precision Base Plate) and I’ve seen quite a few cute cards done with this die.
STAMPIN’ TIP … I cut out an additional sunburst (in a different color) to use as my template … hold in place with a glue dot or removable adhesive.
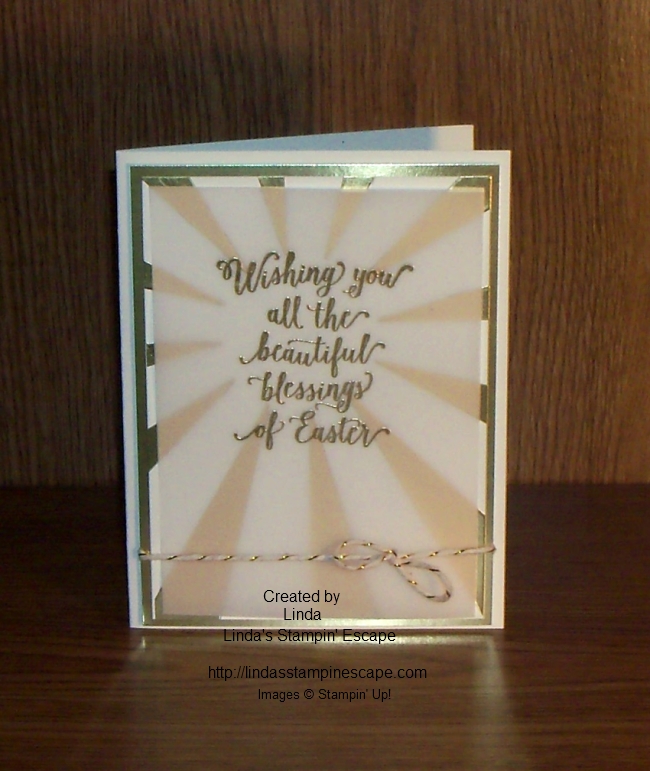
I used Very Vanilla card front and placed my template down adhering with a removable adhesive so I wouldn’t damage my card. Then I began tucking the gold cut out pieces into my template. I held them in place by using the Multipurpose Liquid Glue (110755). Once I got all the pieces in place, I removed the template and set the cardfront off to the side.
Next, I cut a piece of the White Vellum Cardstock (101856) a quarter inch smaller than my base so that the tips of the “sunburst” beams peeked out from the vellum. I then embossed my greeting in gold. This beautiful Easter greeting also comes from the stamp set Suite Saying. I used this stamp set on Monday’s card too.
I then matted the card front with Gold Foil sheet … I love the way the golden rays stretch out into the gold to frame our Easter greeting. I used the stampin’ dimensionals to pop up the entire card front on the Vanilla base.
I added a bow from the gold twine … not sure I like it! Hmmm … what do you think?
From scraps on Monday to a beautiful Easter card on Thursday …
I hope I inspired you to get a little creative with your scraps, just play and have fun! And thank you for spending a part of your day with me.
Have a wonderful Thursday ~
Hello Stampin’ Friends ~
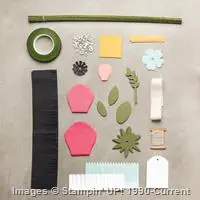
Today I have to share with you some over the top creative projects for Easter! As a demonstrator … we have endless so many places we can find inspiration, and then tweek it to our style, however, there are some times when I just have to share the original project and today is that day!
These cute projects were designed by Jessica Williams on our Artisan Design Team 2015–2016. The following is Jessica’s blog post from the Stampin’ Up! Get Inspired blog, and I am inspired by Jessica.
Are you someone who likes to add a little creativity to each and every holiday occasion? I love to make little projects for gifting and decorating—and Easter is no exception! This year, I’ve created a sweet banner and a couple of different baskets for gifts and egg hunting.

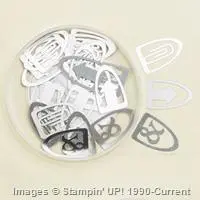
Make the base pieces of the banner by cutting Kraft 12″ x 12″ Cardstock (item 133674) and Birthday Bouquet Designer Series Paper (item 140557) to 4″ x 6″, then cut the bottom of each piece into a banner shape. Next, trim the upper layer. (I took about 3/8″ or 1 cm off each side.) Create the bunny silhouette using the Circles Collection Framelits Dies (item 130911) and the small leaf shape from the Flower Fair Framelits Dies (item 133731).

Start by lining up the larger circle where you’d like the bunny body to be and use the Big Shot (item 113439) to cut. Next, put the smaller circle in place for the head and cut. Lastly, line up and cut one ear at a time. You can make the ears stand up
straight . . .

. . . or get a little fancy by half cutting and moving your leaf Framelit to create a floppy ear.

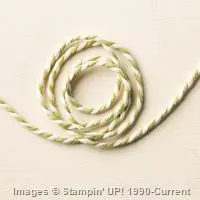
Add a sweet Honeycomb Embellishment (140566) for the tail or make a wee pom pom using Whisper White Baker’s Twine (item 124262) and adhere.
Once you’ve finished the bunny banner pieces, use the Flower Patch Stamp Set (134207) and coordinating Framelits to stamp, cut, and create an arrangement of blooms and leaves.

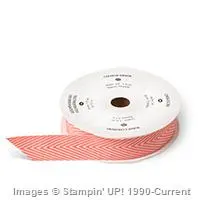
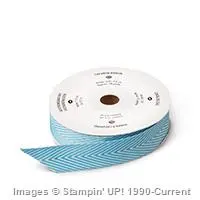
To complete the banner, punch holes in each of the banner pieces and thread with your favorite ribbon. I used both the Pool Party 1/4″ Cotton Ribbon (item 134568) and Bermuda Bay 1/8″ Stitched Ribbon (item 140569).

Of course, you’ll also need some baskets for Easter so I used the Berry Basket Bigz L Die (item 137366). Shine On Specialty Designer Series Paper (item 140579) is perfect for baskets because it’s heavyweight cardstock and you can choose between bright patterns or silver foil prints. I cut another basket out of the Birthday Bouquet Designer Series Paper and used it as a lining for my basket (to match my banner).
Once assembled, I added some ribbon and flowers for embellishments.

If you’re still saving up for your Big Shot and Berry Basket Bigz L Die, you can make use of the many other packaging options Stampin’ Up! offers. I used a Takeout Box (item 135827) as a gift box, but you could definitely use it for egg hunting, too. I love that the Takeout Boxes are made from kraft-colored cardstock! Kraft matches my theme perfectly and the boxes are also food safe.
I used a stamp from the Flower Patch Stamp Set with the VersaMark Pad (item 102283) to stamp a subtle design on the outside of my box. I then trimmed an inch from each flap as I wanted my gift box to be open. Once I assembled the box, I tied some ribbon around it to keep the flaps open and then used the cut outs from my bunny banner to put together a bunny-shaped tag. I stamped “Happy Easter” on the bunny using a sentiment from the Circle of Spring Photopolymer Stamp Set (item 138964). I added a little Honeycomb Embellishment tail, this time in Blushing Bride, and tied the bunny to the box using ribbons.

I hope this post gives you some ideas for decorative projects to make this Easter. Or—you can even change up the colors and re-use the same projects for a sweet, bunny-themed baby shower or birthday party.
Jessica Williams
Artisan Design Team 2015–2016
I’m sure you enjoyed today’s post … please note this is not my work, but all of these cute projects and post are from Jessica Williams on our Artisan Design Team 2015–2016.
Thank you for sharing part of your day with me, and I hope you were inspired by Jessica as much as I have been.
Have a wonderful day ~
Hello Stampin’ Friends ~
It’s time again for our Weekly Deals!! If you liked yesterday’s card you will be happy to see the “foils” are on sale!! I’ll be sure to stock up on both the Gold and Silver. Great for Anniversary’s, Christmas and more.
Check out all the deals this week …
You may also want to shop the “Clearance Rack” …
Please let me know if you have any questions or concerns about any of the products listed. I’m here to help.
Thanks for checking out my blog today ~
Have a good one!
Hello Stampin’ Friends ~
I hope you had a wonderful weekend! A bit drab and rainy around here, but I had a Stamp Club Saturday morning and was busy working on my stamping projects and website so I didn’t mind staying in.
Speaking of Stamp Clubs … our technique / product showcase this month was the “Sunburst Thinlits Die”. The groups loved the cards I designed for them, and I was telling them that they could cut 2 and do a slight twist … well, let me just show you!
I cut out two sunbursts, one in Very Vanilla and the other in the Gold Foil – they are so pretty together. I set the Vanilla on top of the gold and gave it a little twist so the gold peeked out. I then mounted the entire piece onto my Very Vanilla base. HINT: I use a lot of dimensionals on the back … you don’t want sections of the rays to drop down.
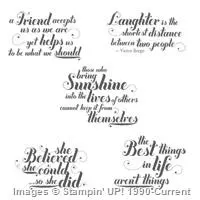
For my greeting, I opted out of the bundle and chose the “Suite Sayings” and the Thanks for Being You. Sometimes you have people who do wonderful things for you and you just have to say Thanks! A friendship that is golden … thus my color choices for my card.
I heat embossed my greeting in gold and punched it with the 1-3/4″ Circle Punch and matted it with the Gold Foil punched at 2″.

I couldn’t leave the inside plain, I had to continue with the “feeling” of the card so I chose the “Feel Goods” stamp set and heat embossed the “Those who bring Sunshine into the lives of others cannot keep it from themselves” in gold. What a beautiful verse and how fitting … it really ties in with the theme of my card.
It may appear simple but it is a card packed full of thought and emotion. From the sunburst die to the sunshine verse … what a beautiful way to say Thank You!
Hope you enjoyed my card today. I love sharing different ways to use a product, it makes them much more versatile for you, and it won’t sit on the shelf (that is not good).
If you have a product you would like to see showcased on my blog … just add a comment below and hopefully I have it because I’d love to help you out.
Thanks for stopping by today, hope it’s a good one.
Hello Stampin’ Friends ~
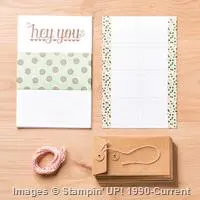
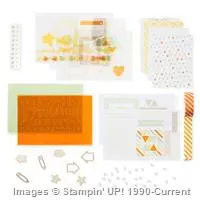
Today I have my Simply Sunday card share for you … Are you looking for a fun, unique and quick way to make cards? Then let me re-introduce you to the “Project Life Specialty Card Collection”. On my March 9th post (Click Here to View) I shared a video that shows you the entire card collection!
Yesterday I shared a card that used one of the “resist” cards that was included in the kit, today I wanted to share one of the pretty printed acetate cards.

I find this kit so fun to work with … and it’s FREE during Sale-a-bration!! I’ll be sure to share a scrapbook page with you in the near future.
For today’s card I chose my card from the “Project Life Specialty Card Collection”first and designed around it. Knowing that the polka dots on my acetate was “Watermelon Wonder” … I chose it for my base and white to highlight.
The Whisper White is the base under my acetate and was stamped with the beautiful greeting “do more of what makes you happy” from the “Hello Life” stamp set. I attached my acetate by placing the Glue Dots underneath my polka dots.
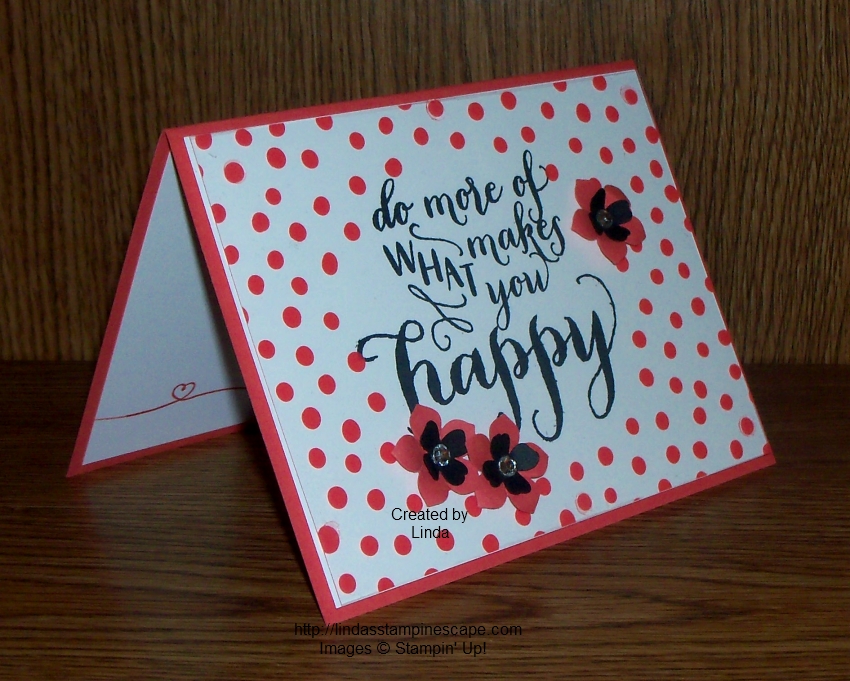
Next I popped up the entire card front with my Stampin’ Dimensionals and attached it to my Watermelon Wonder base.
I wanted to draw your eye directly to the verse so I surrounded it with cute little flowers. My flowers are made from the Petite Petals punch and the flower from the Itty Bitty Accents punch pack.
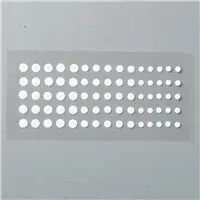
I curled the edges of the Watermelon flower (Petite Petals Punch) down and pulled the petals of the Basic Black flower (Itty Bitty Punch Pack) upwards. They look great together, however I wanted just a touch of bling, so a Rhinestone in the center it is!
Don’t forget the Rhinestones are currently on the Weekly Deals … You can save $1.25 a pack!! That is a great deal for a product I would probably spend more on!!
Don’t be afraid to use any of our Project Life card collections for cardmaking!! Or just try one of the already pre-cut card kits! Either way you’ll be sure to make quick -n- cute cards in no time at all.
Thanks so much for sharing a bit of your Sunday with me!
Have an awesome day!