Hello Stamping Friends,
Today, I’m excited to introduce a delightful combination that takes your card-making experience to the next level – the Gold Foiled Flowers Cards paired with the Heartfelt Hexagon bundle. This stunning ensemble not only adds a touch of sophistication to your creations but also makes crafting quick and easy, allowing you to express heartfelt sentiments effortlessly.
Grab a cup of coffee or tea and join me for the replay of my Facebook LIVE … then I’ll share the cards so you can get a better look at their simply stunning beauty.
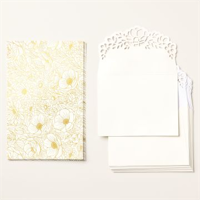
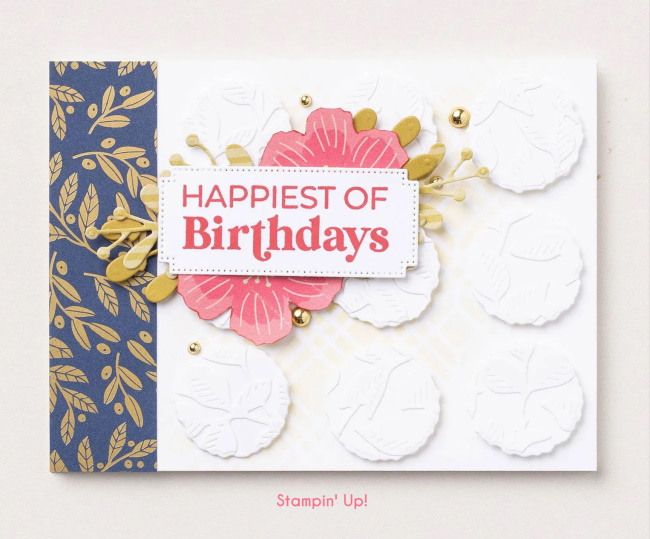
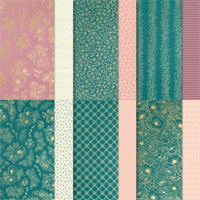
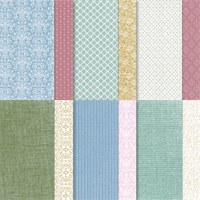
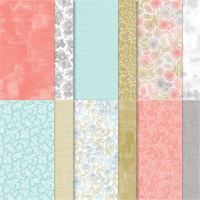
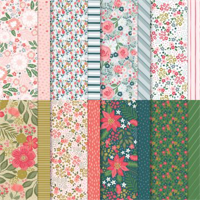
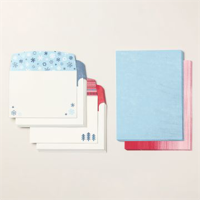
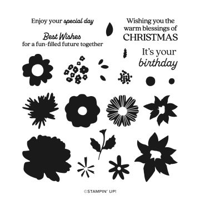
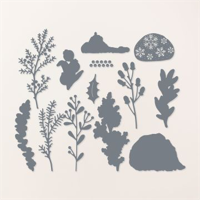
The Gold Foiled Flowers Cards bring a touch of elegance and sophistication to your crafting projects. The intricate gold foil detailing on the flowers adds a dash of glamour, making each card a work of art. Whether you’re celebrating a special occasion or simply sending a heartfelt message, these cards set the stage for a memorable experience.
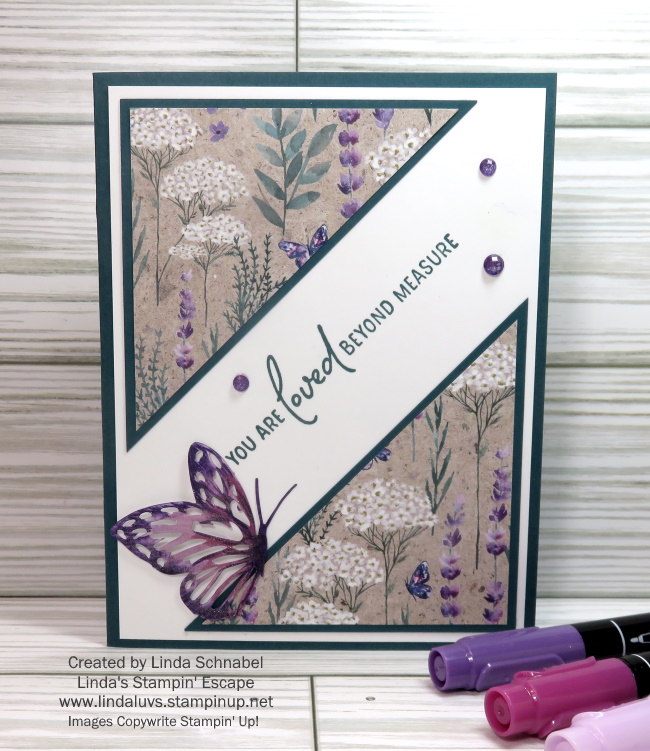
My first card comes directly from the package, except for the added sentiment from the Heartfelt Hexagon Bundle …

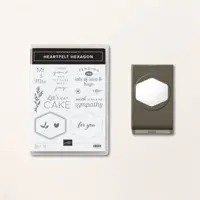
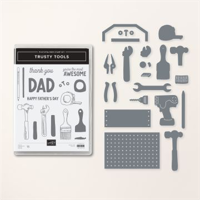
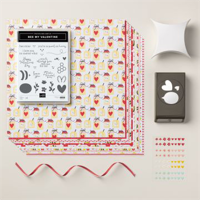
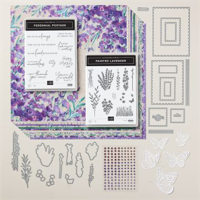
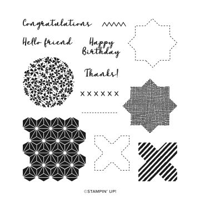
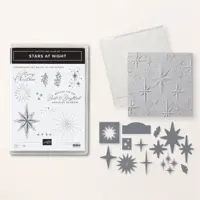
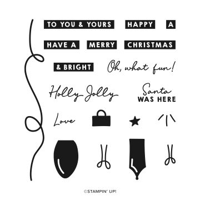
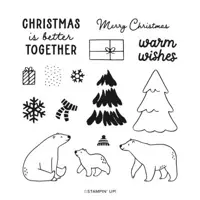
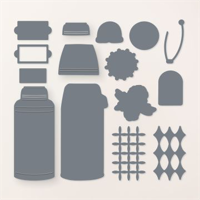
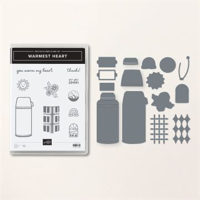
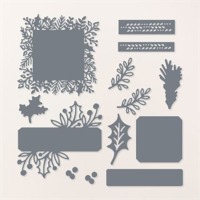
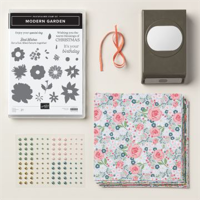
At the heart of this creative endeavor is the Heartfelt Hexagon bundle, a dynamic duo comprising a stamp set and punch. This bundle seamlessly complements the Gold Foiled Flowers Cards, allowing you to create intricate hexagonal designs with ease.
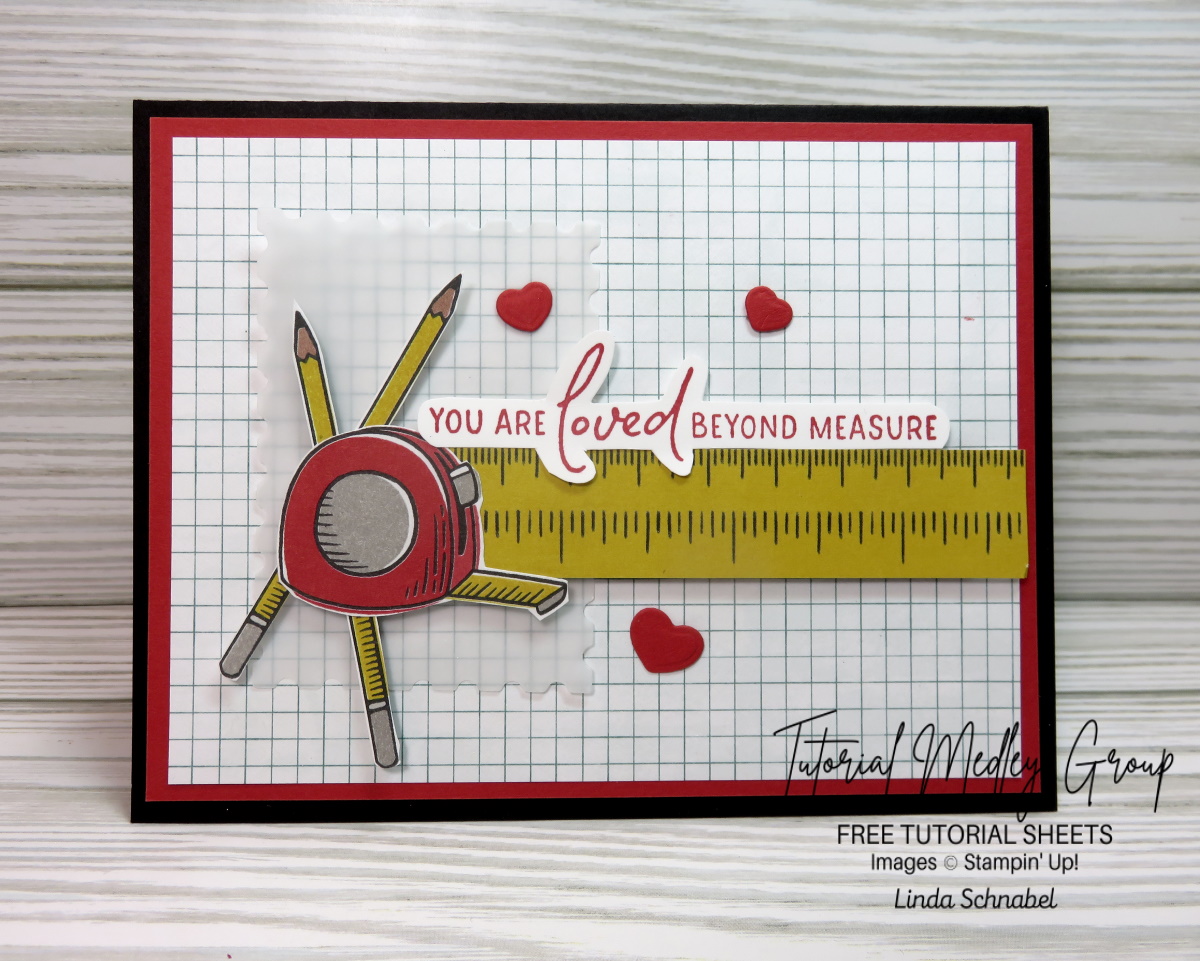
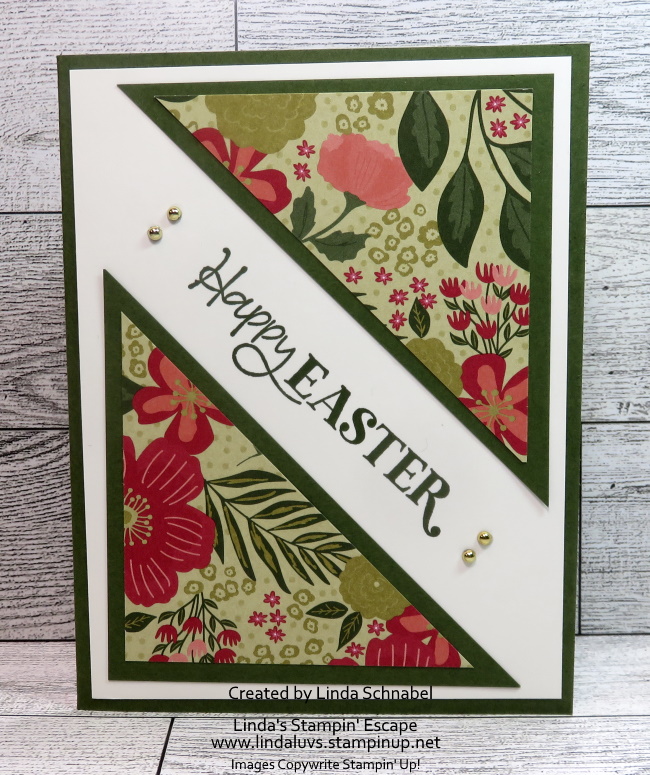
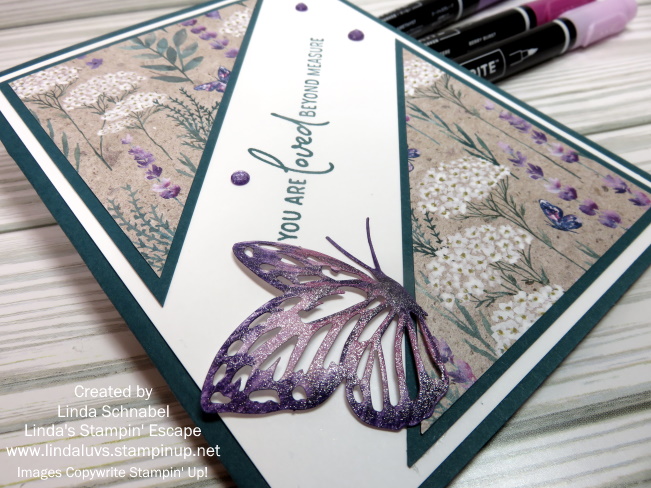
Now I’d like to show you how to maximize your investment by cutting the card apart and creating two for the price of one! This card highlights the “gold” by adding a Gold Foil mat (currently on low inventory status) behind the card front.

The combination of Gold Foiled Flowers Cards and the Heartfelt Hexagon bundle offers a crafting experience that is both enjoyable and user-friendly. Whether you’re a seasoned crafter or a beginner, the simplicity of these tools ensures a seamless creative journey.
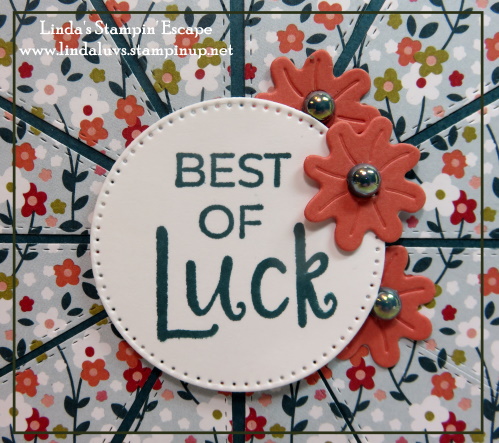
I’m using the backside of the card and adding a pop of color. How easy was that!!

The Gold Foiled Flowers Cards paired with the Heartfelt Hexagon bundle is a match made in crafting heaven. Elevate your card-making experience, embrace the benefits of precision and versatility, and let your creativity flow effortlessly. The joy of crafting is in your hands – create, share, and make every moment memorable.
My last card was created for those of you who love to color, and when you color on these Gold Foiled Flowers Cards … magic happens.

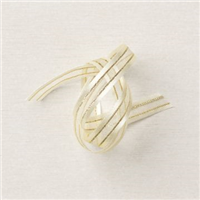
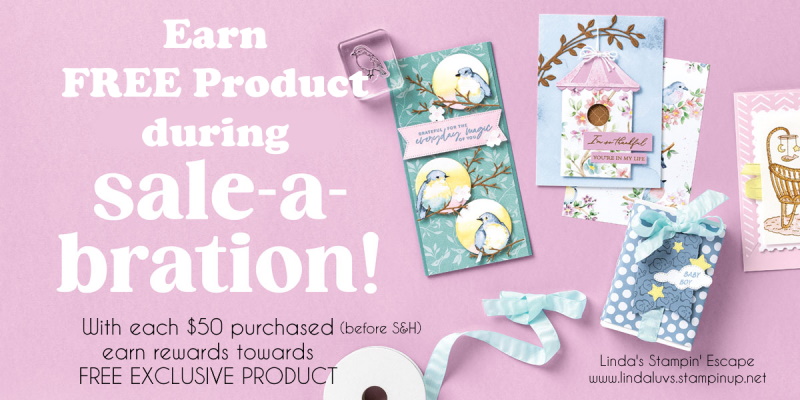
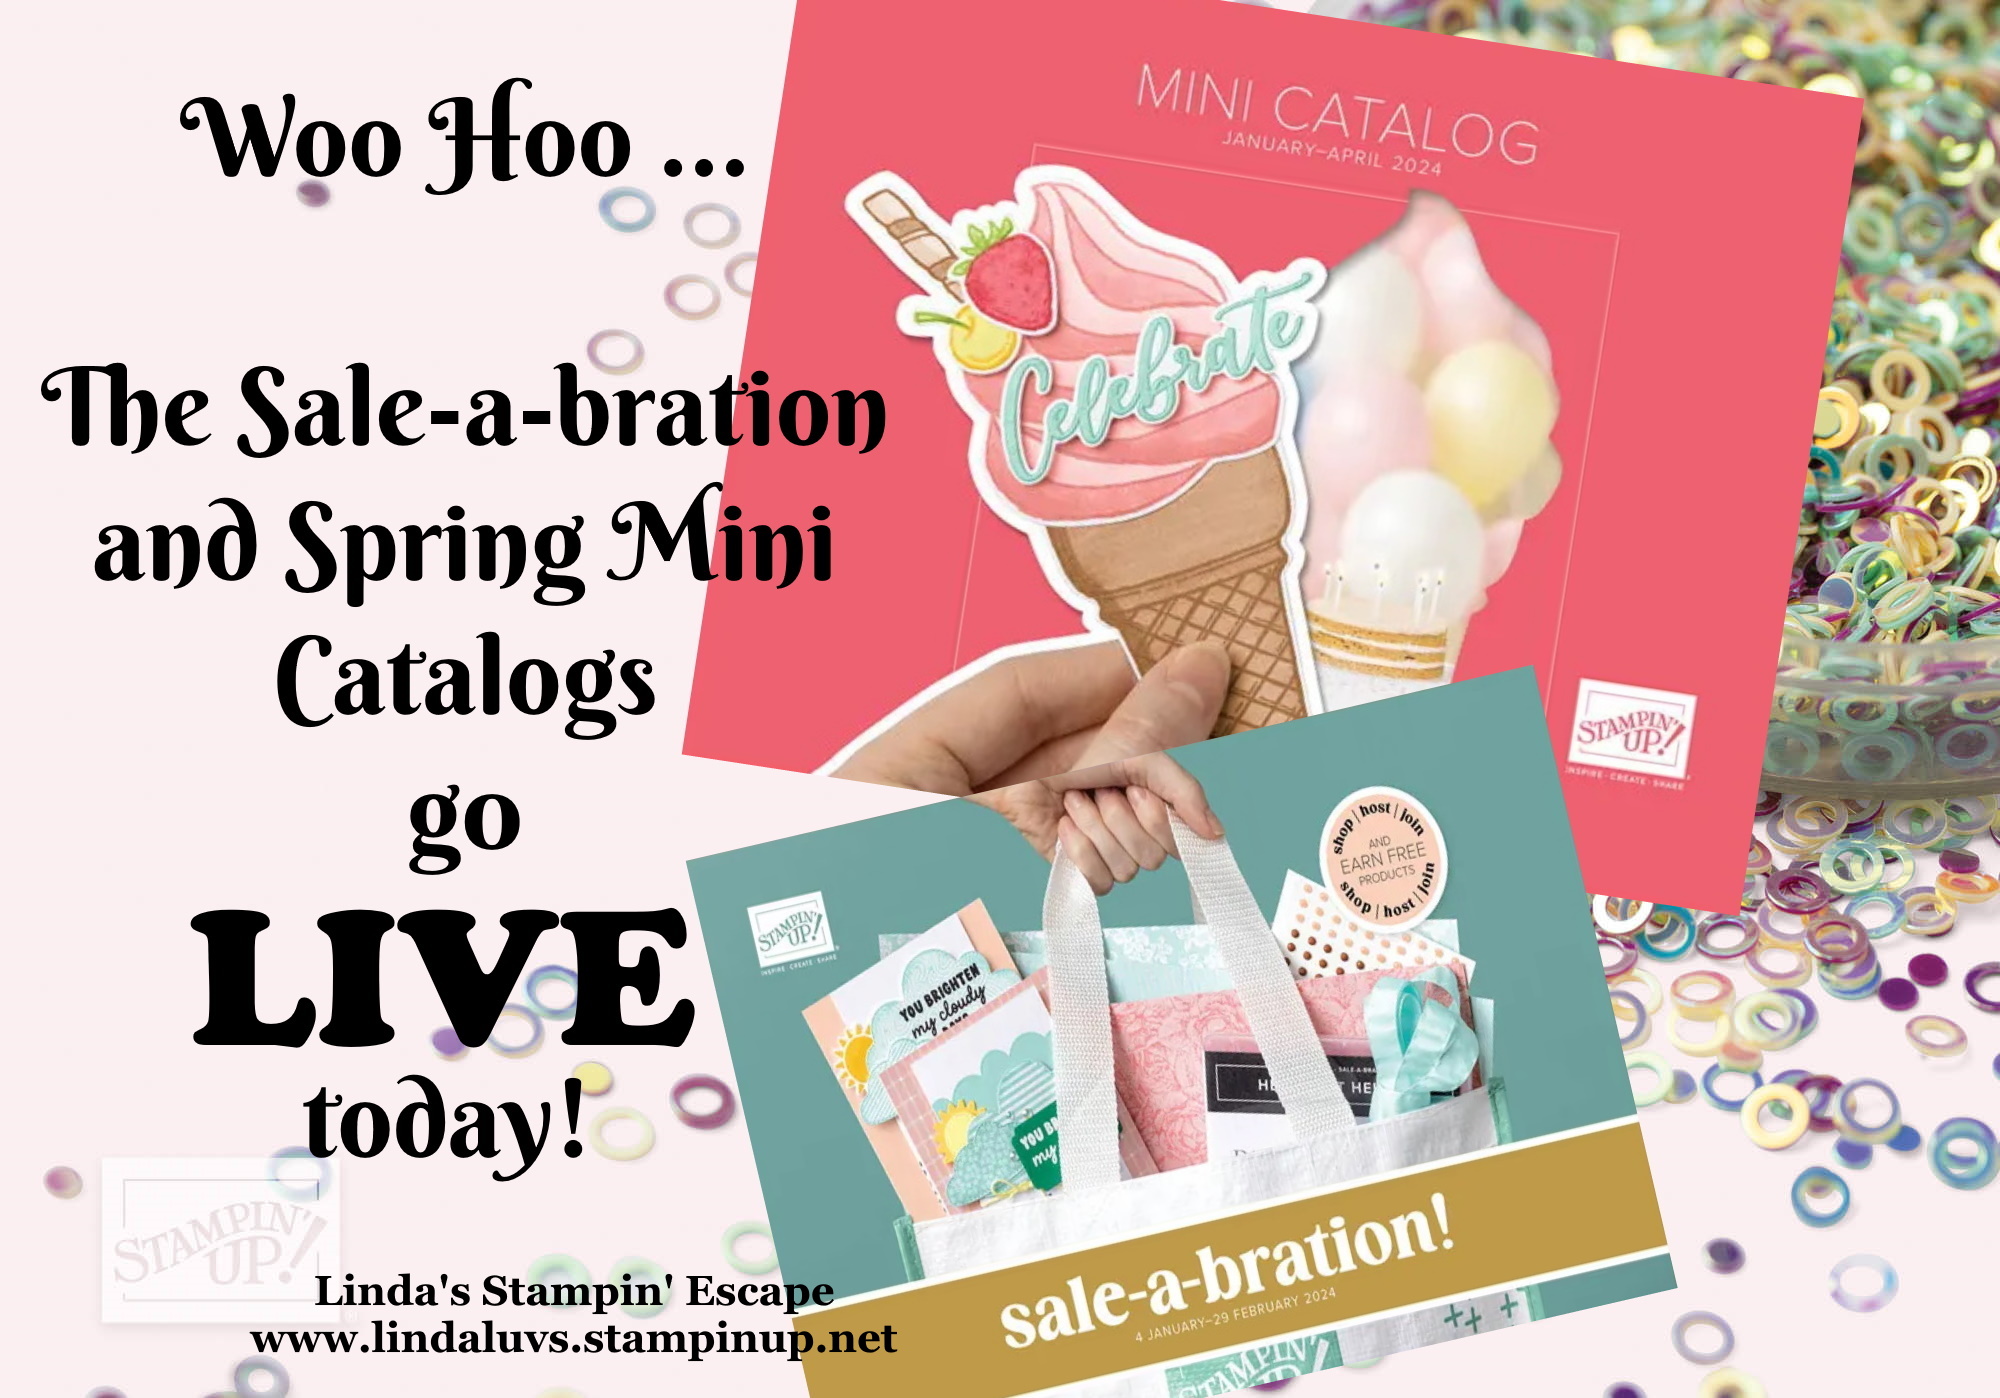
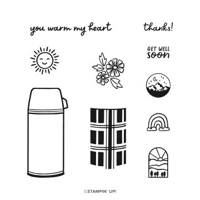
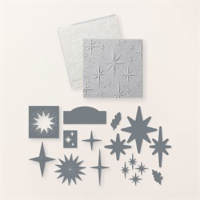
But the magic doesn’t stop there – when you include the dazzling Iridescent Foil Gems with these two, you not only add a sparkling finishing touch but also qualify for the FREE Heartfelt Hellos stamp set from our Sale-a-bration catalog. This promotion is a celebration of creativity, rewarding your artistic endeavors with a complimentary stamp set that perfectly complements the elegance of Gold Foiled Flowers and the precision of the Heartfelt Hexagon bundle. Dive into a world of limitless possibilities and let your crafting journey unfold with this captivating ensemble.
Thanks for hanging out with me. I’ve added the links below so you can start creating magic yourself. Have a great day ~