I hope you had a wonderful holiday (Labor Day) weekend.
Today I would like to share with you a sampling of what we demonstrators get to see and do.
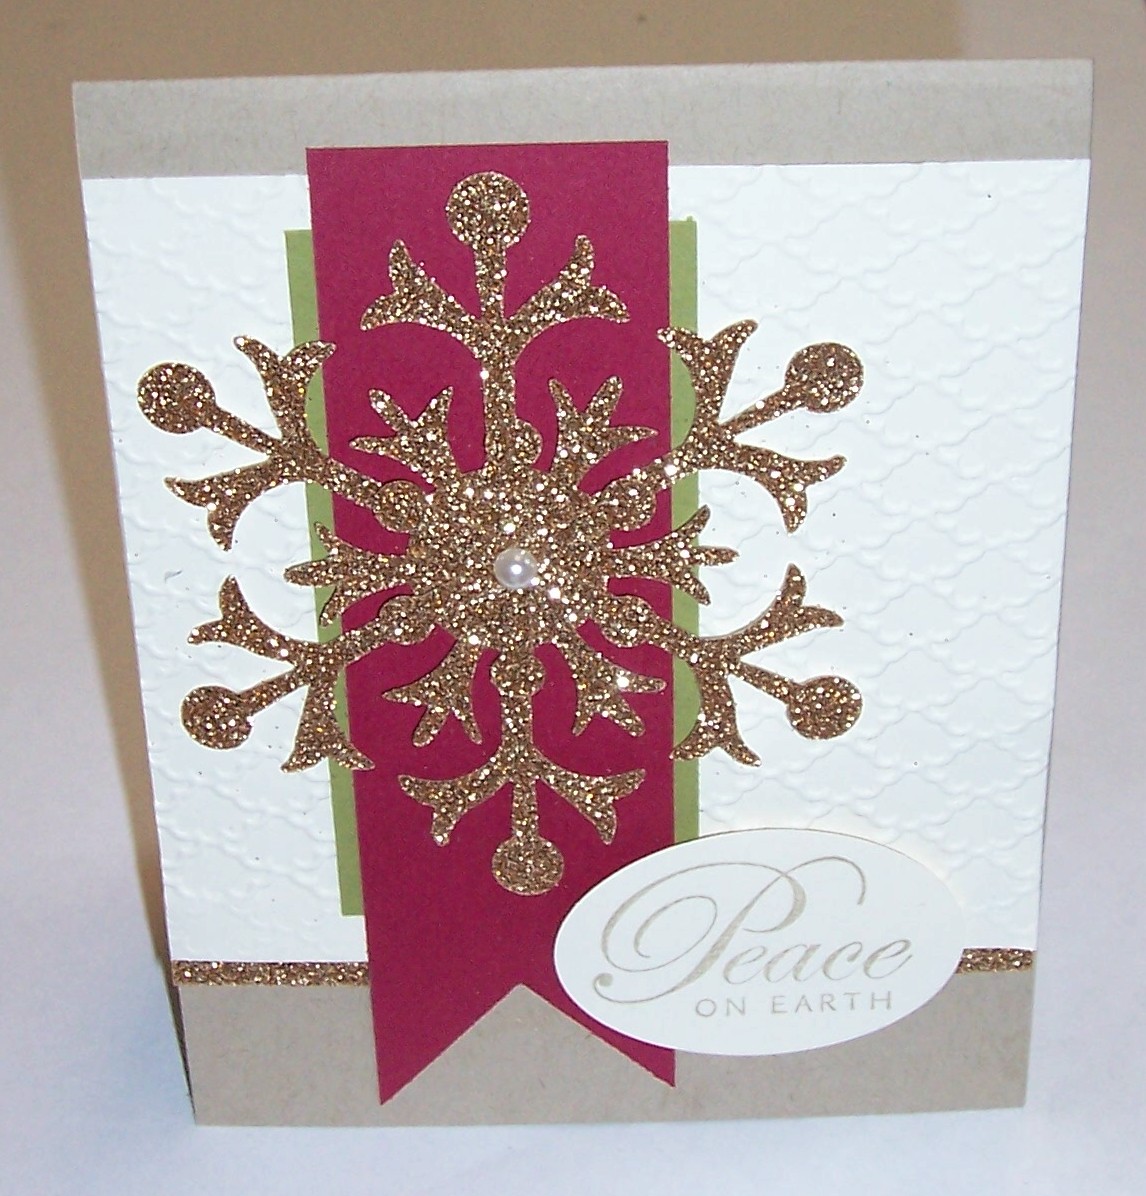
The following samples are either swap cards or they were on one of the many boards that display cards, scrapbook pages and 3-D projects submitted by fellow demonstrators.
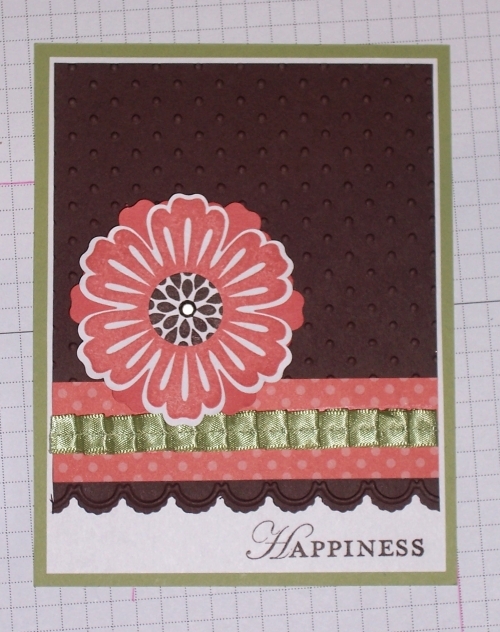
I just thought it would be fun to share these with you… This is from the “Mixed Bunch” Stamp Set found on page 89 and “Loving Thoughts” on page 106 of the Idea Book and Catalog. The links are for wood mount sets.
Although the punch used on this card is no longer available, I would suggest using the “Delicate Details Lace Tape” on page 71. It’s easy to use, and because its a tape …. you don’t have to worry about how to adhere it!
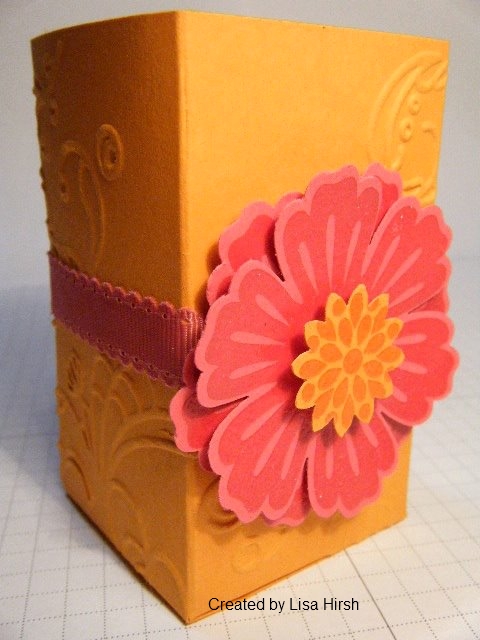
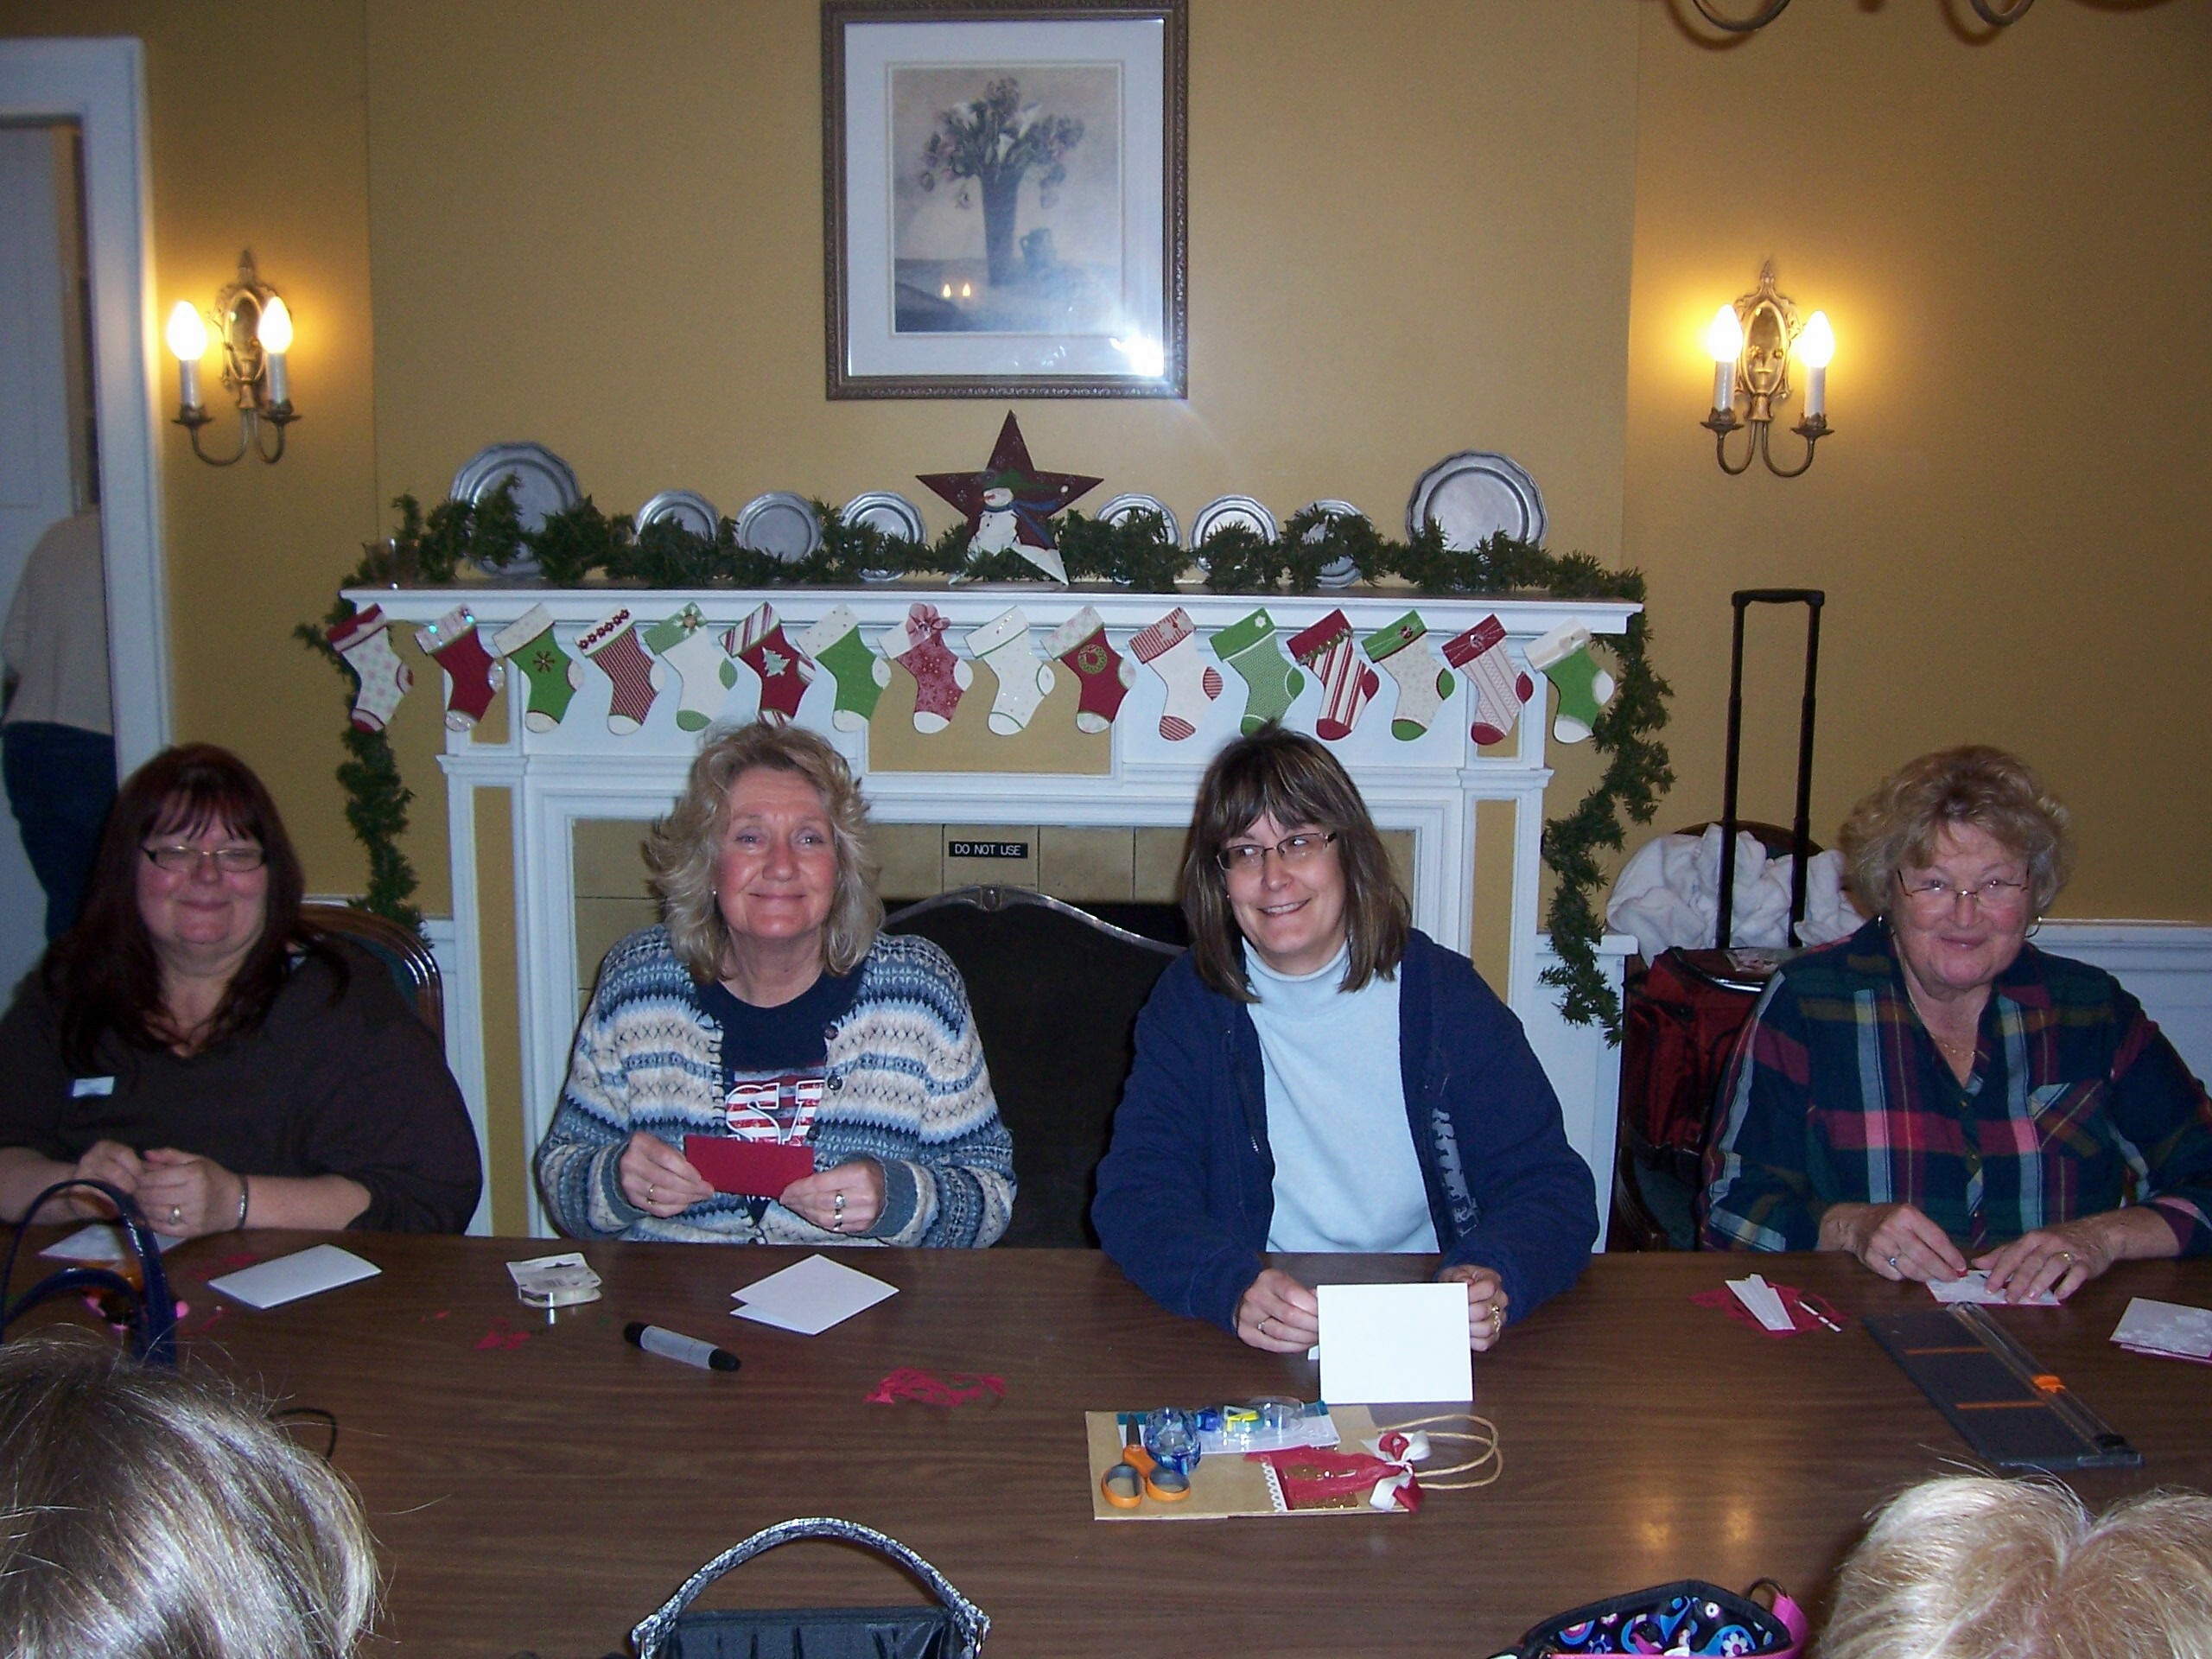
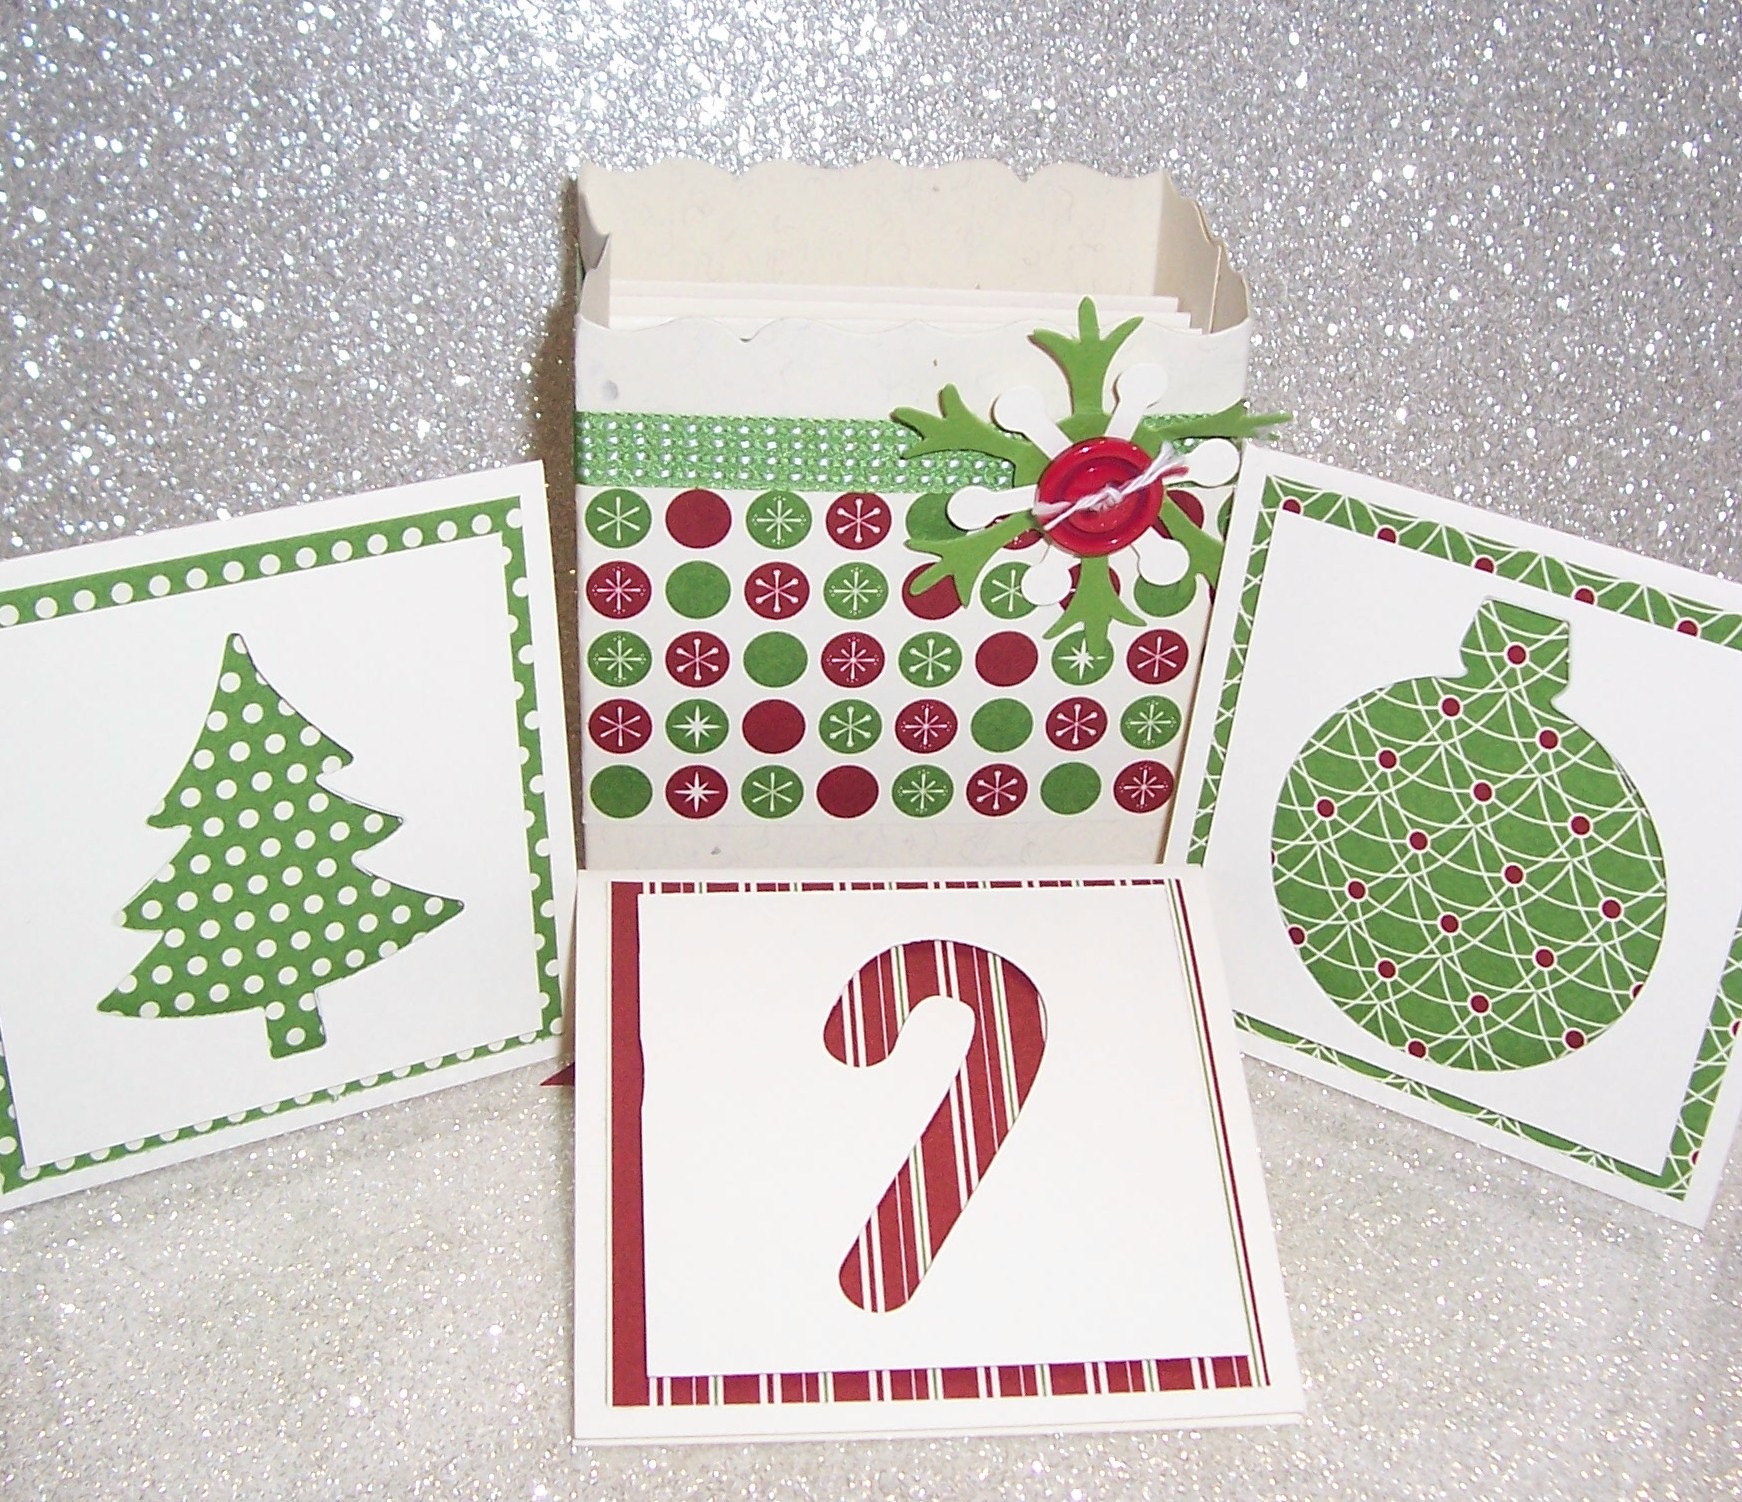
This is my friend and fellow demonstrator Lisa Hirsh, demonstrating the 2-4-6-8 box.
And one of her many creations … way too cute!
Just one more photo with a fun grouping of cards …
I hope you enjoyed today’s post and that it will give you inspiration to create some cards, just like it does for all of us demonstrators. You know … we are always looking for demonstrators in your area!
I would be proud to call you one of my team. Think about it … let me know.
Happy Labor Day… Hope you are enjoying an extended weekend!
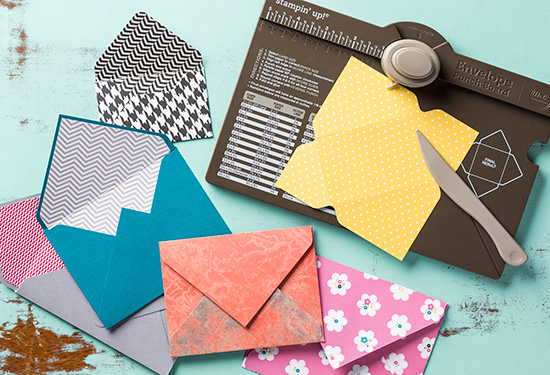
Today I would like to share with you a fun new product … Stampin’ Up!s New Envelope Punch Board.
Item
Description
Price
133774
Envelope Punch Board
$19.95
Available beginning September 1, 2013.
Points to Remember…
It creates totally customizable envelopes in up to 66 different sizes (not to mention a million different color and pattern options depending on the paper you want to use). Even tried and true envelope sizes will only take you moments to create!
It’s super easy to use; it will go over as a huge wow when you demonstrate it at your events and your customers see it in action. It looks intimidating at first glance, but when they see that all you have to do is measure for the first punch and from there you just turn and score they’ll go crazy (in a good way).
It’s small and lightweight; this makes it easy for you to take it to your events and show it. It’s also a great selling point when you show your customers how it’s super portable and easy to store. It’s small and light enough that they could use it while watching a soccer match, at a park, at a friend’s for craft night-anywhere.
It even has a slick scoring tool as well as a punch that lets you create rounded corners on your envelopes.
It’s easy to keep it all together; the stylus storage compartment and two punches are designed into the tool so you don’t have a bunch of little pieces to keep track of (even the instructions are printed right on the tool so you won’t lose them!).
Check out the video to see just how easy it is to use …
One more thing …
The price is terrific-especially for a tool that does so much! Only $19.95
I missed you yesterday! I spent the day with my granddaughter, something we have not done in quite a while… it was a good day!
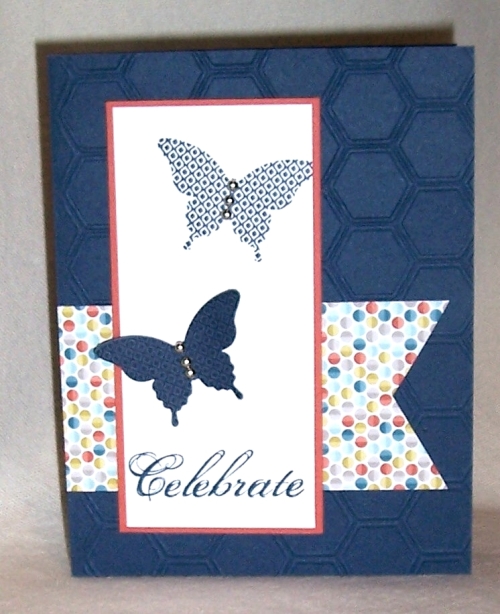
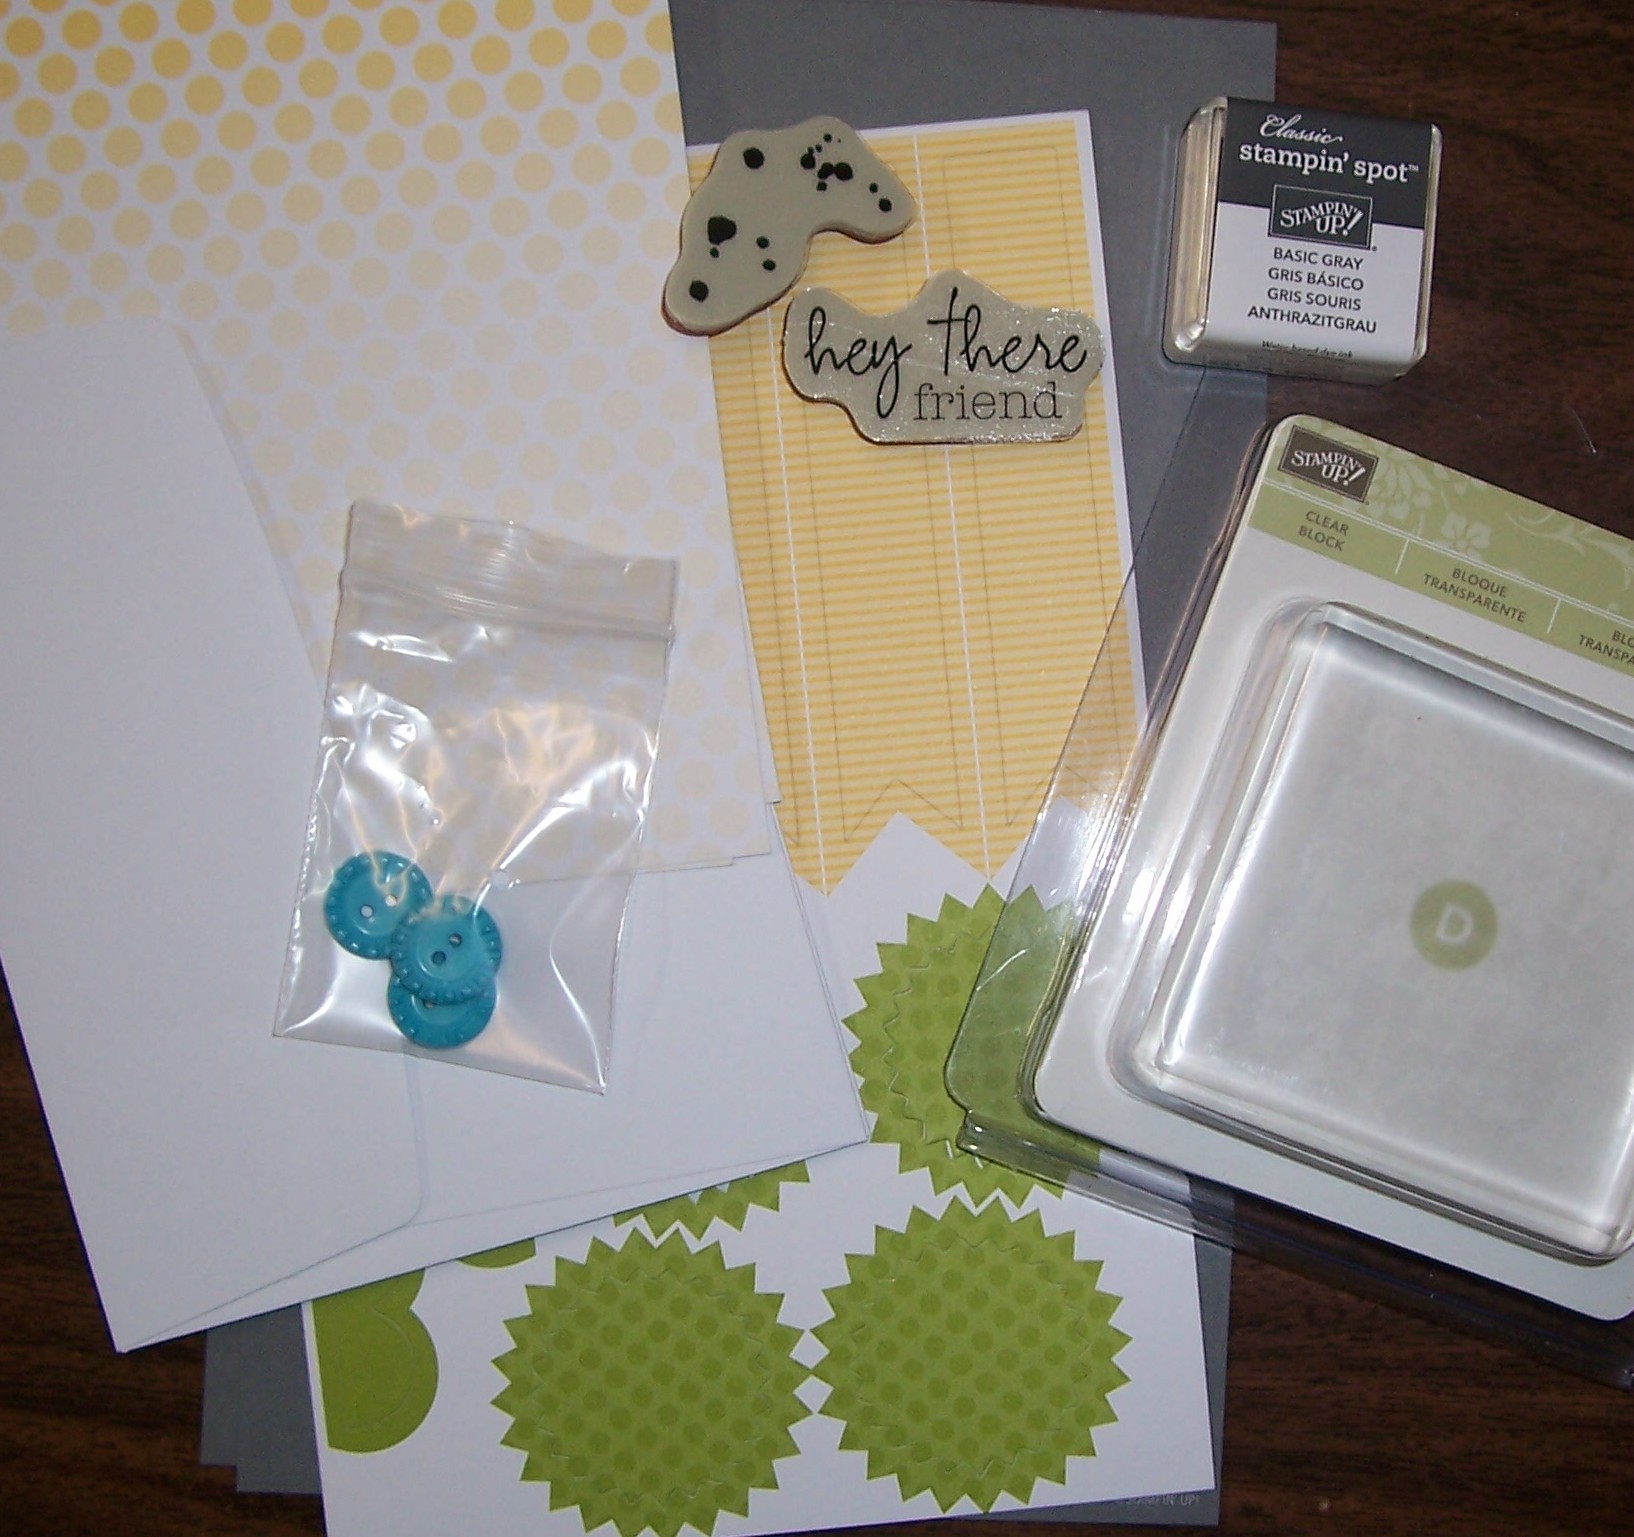
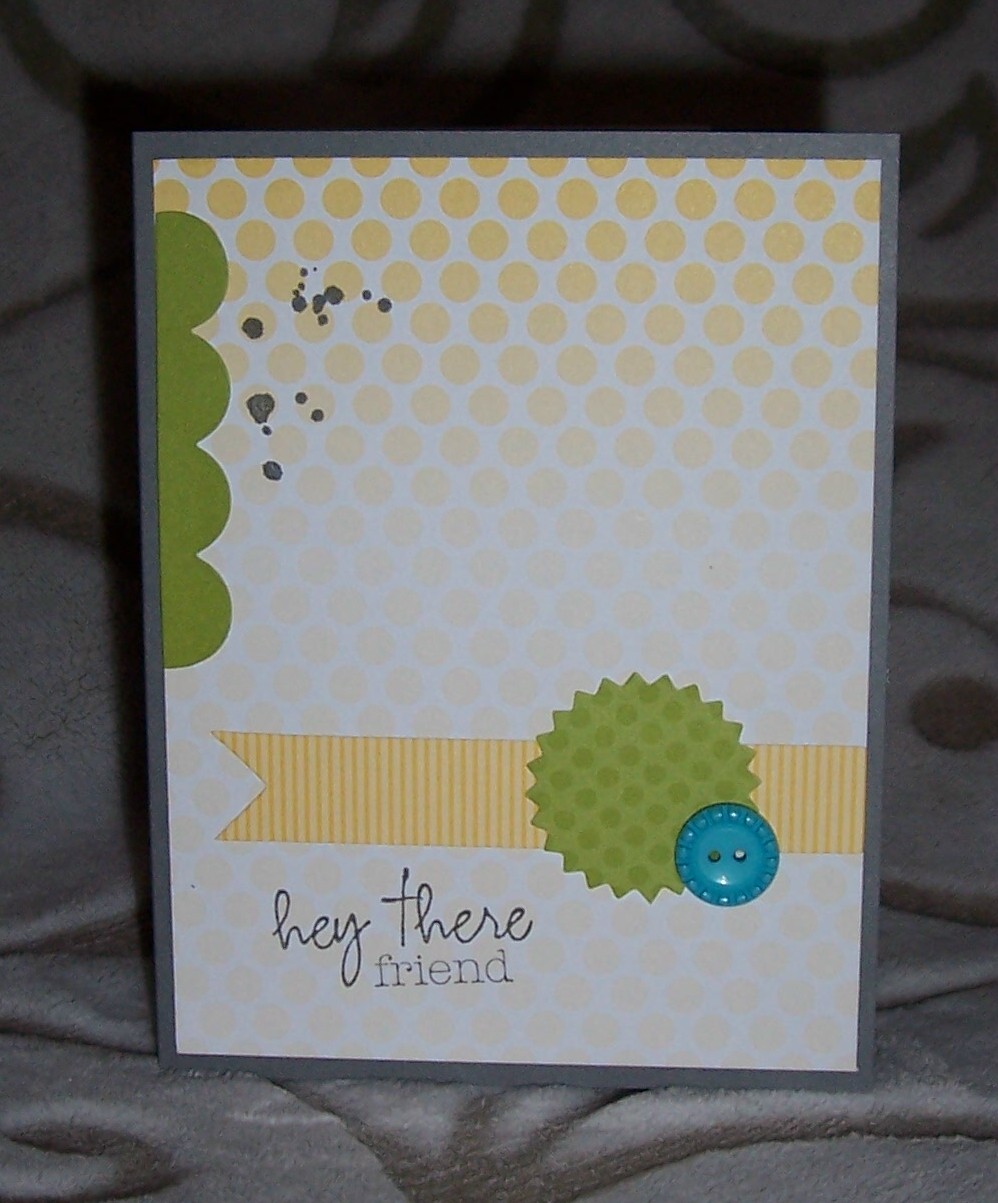
So … today I am going to share with you, two holiday cards created with the same template (or layout). I have used this layout on another card and just love it! I find most of my stampin’ audience loves simple but pretty cards.
Life is so busy now days, that simplicity seems to be the norm. However, you will soon see that you do not have to give up beauty to create simple cards.
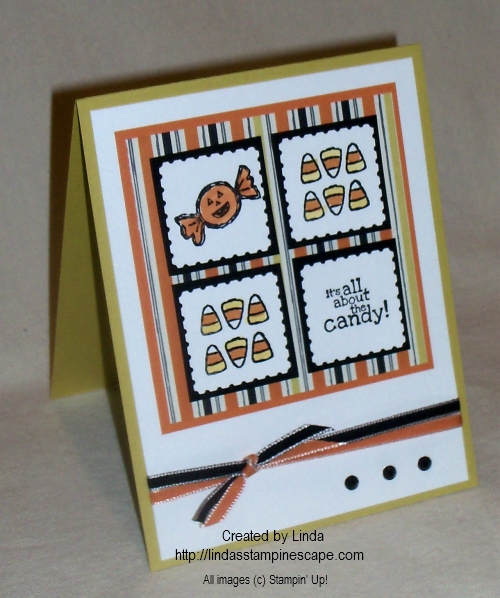
First is my “Celebrate Halloween” card …
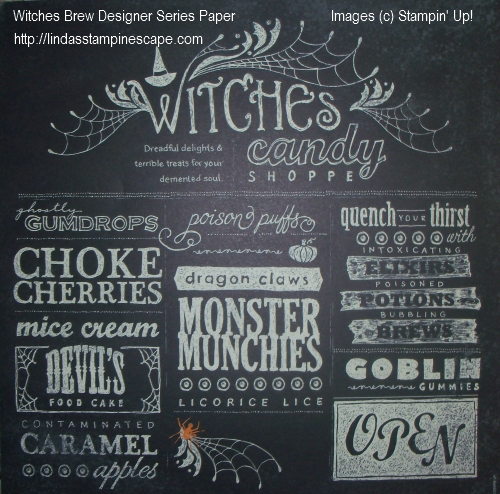
I used the “Halloween Bash” stamp set and the “Witches Brew” Designer Series paper (132185), both found on page 21 of the Holiday Catalog.
The pumpkins were created by punching 3 circles each of the 1″ circle punch (119869) and the 1/2″ circle punch (119868). You will find both of the punches on page 182 of our Idea Book & Catalog. Next, I sponged the edges of the circles to create dimension, then layered them. I used “Tangerine Tango” ink and cardstock. Then I just drew the little faces on the assembled pumpkins.
The greeting was created by using my markers directly onto the stamp – omitting the words I did not want to use, thus creating the simple greeting of “Celebrate Halloween”. You can use this technique on any stamp.
The banner for both my cards today were created from a 4-1/2″ x 2-1/4″ piece of designer or glimmer paper. I like the size fits well with this layout.
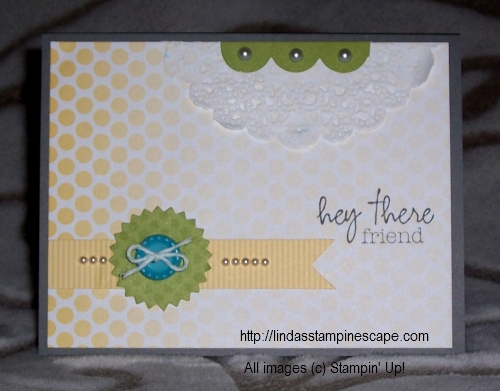
You will also notice that I have used the “Envelope Liner Framelit Dies” (132172) on both of my projects today. These are found on page 37 of the Holiday catalog.
Here’s my second card “Joy to the World” …
I used the stamp set “Joy to the World” which you can find on page 24 of the Holiday Catalog, I have used this set many times already and it’s just September! I’m gearing up for my holiday classes!
Next I chose the beautiful “Champagne Glimmer” paper (127885) found in the Idea book & Catalog. I think the glimmer papers add a touch of elegance to any card… I just simply cannot resist these beautiful papers (comes in three colors: Red, Silver and the Champagne). I teamed it up with the Early Espresso and Very Vanilla cardstock … LOVE this combination of color.
To add some extra flair and texture to my card, I embossed the background with the “Petals of Plenty” (116824) Folder on page 191. Then created little flowers with the “Boho Blossom” Punch (119858) on page 183. I think they coordinate nicely together! Then top it off with the beautiful “Pearls” (119247) on page 171. They really do complete the card.
I hope you enjoyed today’s cards created with the simple layout of a banner, greeting, and a bit of embellishing! I would love to see what you can create with this layout.
Today I want to share a fantastic promotion that Stampin’ Up! just released … along with the special, I want to share some cards that show our wonderful bundle.
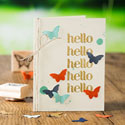
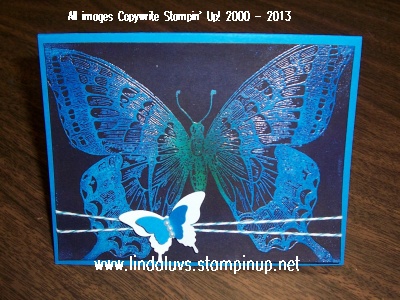
Save 15 percent when you buy the Papillion Potpourri Stamp Set and Bitty Butterfly Punch together.
Dates: August 29-September 30, 2013. To order, click on the highlighted product numbers below under “Bundle Item!”
Just a quick post today to show you what’s new at Stampin’ Up! Just in case you haven’t seen it yet.
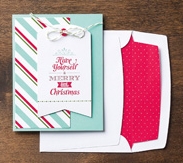
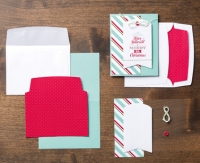
First I am going to share the new Envelope Liners Framelits Die (132172) found on page 37 of the Holiday catalog. The ladies who were at my Christmas stamp camp … you got to see it close up.
My attendee’s also got to use the “Merry Little Christmas” Simply Created Card Kit (132158) which includes envelope liners in the kit. In fact, everything you need to put the kit together (except adhesive) is included in the kit! They were a big hit!
Here is another fun die Stampin’ Up! has introduced this year … the “Gift Bow Bigz L Die” (129977). That is also located in the Holiday Catalog on page 37. Eileen won her’s at Convention this year!
How cute is that! I’ll be showing you different things you can do with your bow die in upcoming posts.
Stampin’ Up! has also introduced “NEW” Single Stamps … Just click the link below to view all.
Not sure why I couldn’t get that little sticker to show up! I guess sometimes these computers and their components have to show us they are in control.
Hope you enjoyed seeing the new products … I will return tomorrow with another project!
I hope you are doing well. I have had an exciting couple of days …
First, I sent out an invitation to my annual Holiday Retreat and it has filled within 36 hours of the announcement! Holy cow, I feel like Garth Brooks … selling out his concert in record time. I am so thrilled to be able to host my stampin’ retreats for you.
Second, I held my Christmas in July… Oops August Stamp Camp, and although we didn’t have the attendance we normally do – we had a great time! There were great cards, door prizes, and the ladies got treated to a plate of “Candyman on Main” Chocolates! I think my new job as manager of the candy store is a big hit!
Thanks to all who are signed up for retreat and those who attended the stamp camp!
Today I wanted to share a different fold style of card, with a fall flair. With this heat wave we’ve been having, I’m looking forward to those “warm” … not hot days, and cool nights.
Speaking of “cool nights” … I used the “Sweater Weather” Designer Series Paper for my card. I never favored the “Crushed Curry” before but it really makes this card pop, and works so beautifully with the Chocolate Chip and Tangerine Tango colors.
I used the “Falling Leaves” stamp set as my focal point … and the “Rock -n- Roll” technique to get the multicolored leaf.
The “Falling Leaves” stamp set is a “Two-Step” Stamp, so you’ll get two techniques in one!
Rock -n- Roll Technique:
** Begin inking up your solid stamp with the lightest color, I used Crushed Curry. Then touch the sides of the stamp with your darker color – in this case I used the Tangerine Tango. Because my new pads are soooo new … they are very juicy, so I bounced my fingertip across the stamp to blend them a bit more. Then I topped it off with the “detailed stamp / outline of leaf” with the chocolate chip.
Since I had a bit of ink left on my bold/solid stamp … I huffed (using your breath to re-moisten the ink) my stamp and stamped the image onto the inside of the inner card. It comes out very light but adds a touch of color. If you don’t want to huff, you can always re-ink and then stamp off.
Lastly, I stamped “my thoughts” from the stamp set “Field Flowers” in chocolate chip.
So the “trick” to this card is quite simple …. it’s just a card inside (or on top of) a card! The larger or “back” folds in from the left to the right, and the small or inner card folds from the right to the left. You fold the larger flap over the small card (when open … like it’s shown above) and then the small flap is folded to close the card.
Just a quick reminder that our Paper Pumpkin Deal ends August 31st. You can try it half price for your first 2 months. You may continue or quit at anytime… it’s up to you. It also makes a perfect gift, the gift that keeps on giving.
Can’t make it to my clubs or stamp camps? Have a friend sign up with you and start your own stamp night … oh what fun that would be!
During convention Stampin’ Up! announced a great DEAL for NEW Subscribers of Paper Pumpkin! Use the promotion code PUMPKINDEAL to join Paper Pumpkin before August 31, 2013, and pay only $10 a month* for the first two months. *plus tax, where applicable.Shipping’s included!
Here is how your Paper Pumpkin comes ….
Open ….
It comes in a sweet box, but you’ll really love what you find on the inside: All the stamps, ink, paper, and accessories to create pinable projects. Create stuff like cards, journals, décor, and more!
This is your introductory kit. Everyone receives this kit no matter what month your sign up, after that, you will receive the projects for that month.
As you can see, everything you need to create the projects are here for you! Including your block (which is worth almost the cost of the special purchase price) so why not give it a try? Remember … you can cancel at any time.
Here is a bit of a “jazzed” up version! If you sign up under me … In August and then on, you will receive a different version of the card so you can get an idea of other things you can do with your Paper Pumpkin.
So all you need to do is click on the link above and remember to add Promo code: PUMPKINDEAL and your creativity package will arrive every month to your door! Here is the link again … PAPER PUMPKIN SIGN UP
Contact me if you have any questions. Remember, you may cancel at any time or continue to receive your kits each and every month!
Hope you had an awesome weekend! I heard it was “hot” outside, so I never ventured out … I’ll get my share of the heat today! I always wondered why it was either “way too hot” or raining on the days I hold my stamp camps. Must be God’s way of telling me I picked a good day to stay inside and stamp!
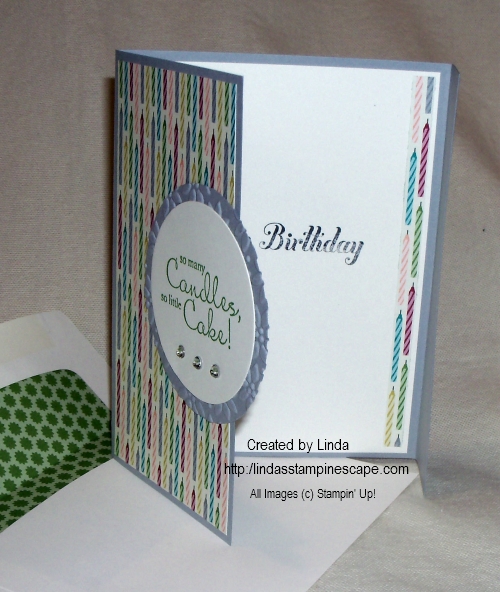
With so many birthday’s in my family coming up, I thought I would share another birthday card with you today. It’s quick and easy to make and as promised, I’m using the “Birthday Basics” Designer Series paper again. I just love the new “Smoky Slate” color, so I used that as the base of my card.
As you can see, I changed up the fold of the card a bit today. I had my share of measuring things being in the Quality Assurance field for over 20+ years … so, I just folded in the larger (left) side past the center point of the card, then I folded the what was left of the cardstock up to meet the edge! I did use my bone folder to crisp up the folds.
I pulled out the BigShot for this card, as I do on many… once you start, it’s hard to stop. Kind of like a good bowl of ice cream! After stamping the greeting from the “Bring on the Cake” stamp set … I cut them out using the Circle Framelit dies. And since I was already using it, I thought I would try out my new “Envelope Liners” Framelit Die. Now that’s what I call coordinating your card and envelope!
I also embossed the mat to my greeting with the “Petals of Plenty” folder … I was hoping to create enough dimension to look like the cute little blossoms on the designer paper. And of course, I had to add a bit of bling!
To jazz up the inside, I added a strip of the designer paper and used the Happy Birthday – also from the “Bring on the Cake” stamp set. It just finishes off the card so nicely.
Here is a list of today’s ingredients. Click on the item number if you wish to purchase anything you saw today.
My apologies for skipping my post yesterday, but my daughter needed me … so I had to be there for her. I’m happy that she wanted her Mom. Sometimes as they get older, they tend to talk to their friends instead of their Moms. Yes, she is OK.
Today I wanted to share a bit about my Holiday Retreat … the announcement comes out today! It is one of my most anticipated events. We had a wonderful time last year and I am so looking forward to getting together again this fall.
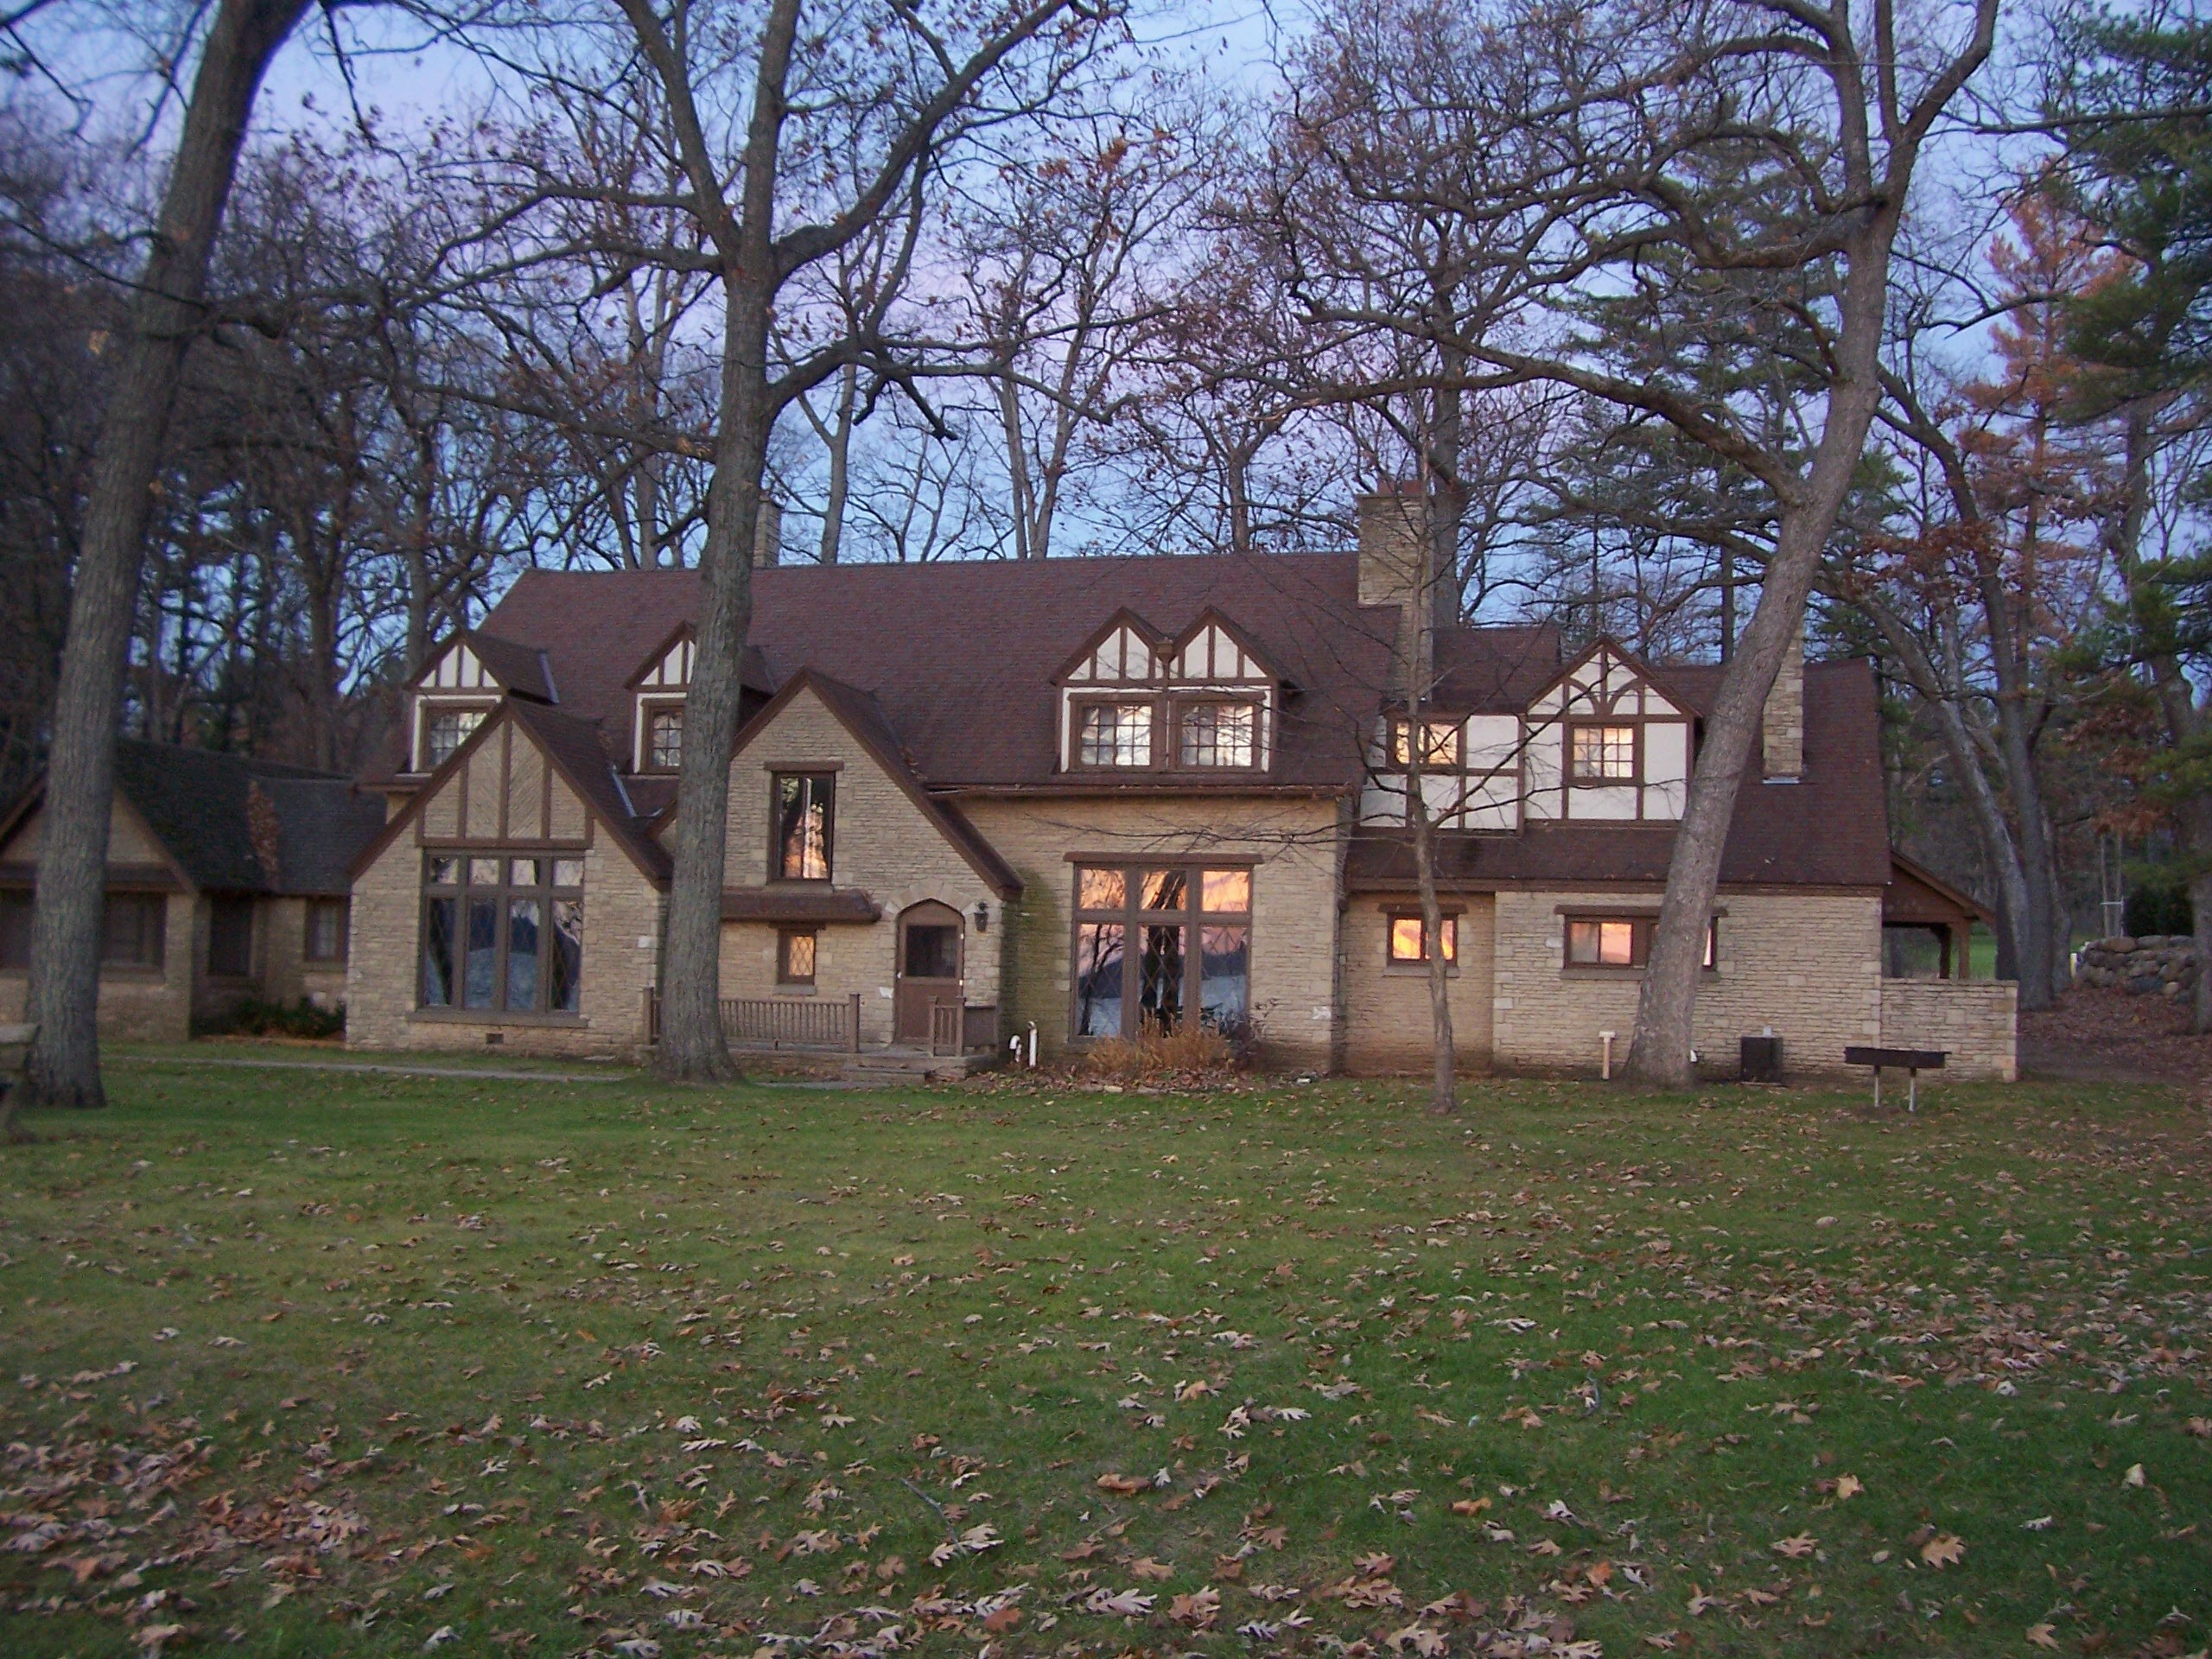
We stay on the beautiful Green Lake Conference center grounds…
at the Christian Writing Center … and 1930’s English Manor.
We stamp, we eat, and we have a blast hangin’ out with our friends and making new ones.
There a fun surprises …
fantastic rooms …
and good food… Oh yes, one price covers it all!
Here are just a few of the projects we did last year … some are cased, and some are my original designs. Either way – we have a great time stampin’ together.
Hope you enjoyed a glimpse into our retreats. You should consider joining us sometime.
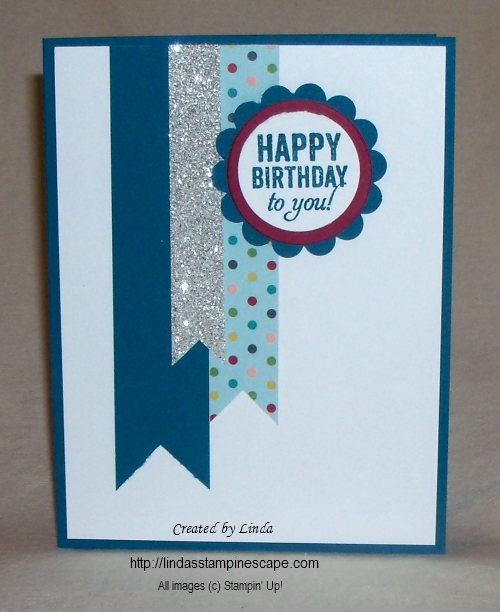
Since many of us are so happy to see Friday come, I thought it only appropriate that we celebrate! So today’s card share is a cute birthday card.
My color pallet for the card was chosen from the colors in the “Birthday Basics” Designer Series paper. The colors I highlighted were Island Indigo and Raspberry Ripple (sounds like a wine from the 70’s – lol) . The Raspberry Ripple is in the 2012 – 14 In-Color Collection.
I wanted to add a little sparkle for our celebration so a chose a strip of “Silver Glimmer Paper”. STAMPIN’ TIP: The “Snail adhesive” we usually use for our cards does not work on the back of the glimmer paper, so I suggest using “Sticky Strip”. That is truly a must have in any stampers kit. It is the only adhesive I use when creating 3-D projects.
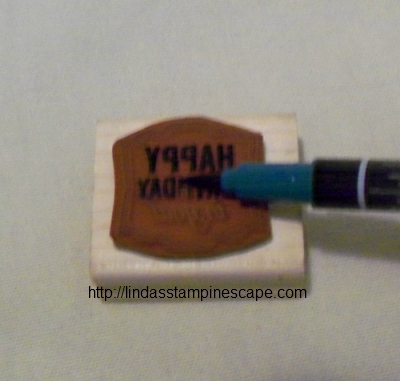
The birthday greeting comes from the stamp set: Label Love. You will however have to color in the words with a marker to eliminate the border on the stamp.
Remember the stampin’ tip I gave you the other day … Color with the side of your markers, and not directly with the tip. It will save the tips of your markers and they will last a long time.
I couldn’t seem to find my 1-3/8″ Circle punch so I used the Circle Collections frame-lits to add the Raspberry Ripple circle as a “pop” of color. I was so excited when they introduced the Circle, Ovals and Square Collections of Frame-lits. I think they are so versatile! I guess I will just have to show you what I mean… by posting some awesome projects using these items!
Now, if you would like to make this card a bit more masculine, you could swap out the “glimmer paper” for another color – then emboss it with your favorite emboss folder to add some dimension. Then I would use another circle punch instead of the scallop … I think that would work nicely.
Here is a listing of the products used and the links for easy access.
Yahoo… It’s Thursday and the weekend is fast approaching! I’m looking forward to getting more stamping done.
Much to do this weekend … my clubs start in September and I have to design their projects, and get their schedules out this weekend. I will also be sending the announcement for our annual Fall Retreat this weekend! It’s so much fun 🙂
Today I want to take a you back to nature with the “Walk on the Wild Side” stamp set. I thought it was time to share another “Man Card”. This is a nice stamp set, and I will be sure to share more projects using this set with you.
I used the “Sweater Weather” Designer Series paper for our background. I love using the plaids for masculine cards, but I think this one would work great on a boys birthday card as well.
Although one of the colors listed on this paper is “Chocolate Chip” … I chose to use the “Early Espresso” as my base color. I thought it made all the colors on the paper “pop” more.
To give it the real “manly” look, I added a banner using the Burlap Ribbon … oh my gosh, I love this stuff! You can use it for your cards, scrapbook pages and to tie bows on everything fall!
Stampin’ Tips for today’s card:
1. Remember when coloring direct to rubber, don’t use the tip of the marker but the sides … it colors your image faster, and you won’t destroy your tips.
2. The Burlap Ribbon was adhered with the Mini Glue Dots… they work great. You could also use the “sticky strip” but the glue dots were so easy to use.
Today is a quick and simple post for a quick and simple card. Inspired by the group of ladies who participated in my “Timeless Talk” class, I’m sharing another card using the paper design they suggested.
They thought that this pattern from the Modern Medley Designer Series paper would work great with this stamp set … so here it is. I think they are right, don’t you?
With a little help from my BigShot and the Circle Collection Frame-lits, I highlighted the phonograph. This sweet but simple card would work nicely for a birthday or just to “send a note” to your friend.
I added a few banners from scrap pieces of the Modern Medley paper and tied it all together with the beautiful “Crochet Trim”. Everything you need to make this card can be found in our current catalog.
Here is the list of ingredients to make the card: You may click on the item numbers and it will take you to the catalog page.
How are you today! I wanted to take a step back from the Holiday catalog and create a simple birthday card for you.
I love our Designer Series paper, you have seen it on many of my cards recently. It’s because it can make card making so easy. Our birthday card today showcases the “Birthday Basics” designer paper. I think I’ll use this paper again this week so you can really see how perfect the patterns are for your celebration creations!
I chose the “Bermuda Bay” from the designer paper for my coordinating cardstock, it’s fun and bright.
The stamp set I’m using is “Bring on the Cake” from our catalog – page 14. It’s a great birthday set to have, all of the different fonts will work well with the many styles of birthday cards we need to make (from young to … well, not so young). I’m in that … not so young group, and lovin’ every minute of it.
Oh ………………. would you like to see the card!
I’m such a tease, my club members are used to me describing or showing them how to do the card, before they actually get to see it! I guess I just like to build up to that excitement. Drum roll please!
Remember, I did say it was simple …
It is simple, but it is sweet. I love using the framed punch technique, so easy to create but it really has a bit of a “WOW” factor. Gotta’ love that “Dotted Scallop Ribbon Border” punch.
Here are the steps to make your punched frame…
Begin with a 3″ x 3″ square. Slide your cardstock into the punch and CENTER the cardstock for each side before punching. That’s it … simple. It’s the 3″ x 3″ that makes it work so easily.
The cardstock for your greeting (if you want a bit of a border around the edge like I do) cut your cardstock to 1-7/8″ x 1-7/8″ or for more of a border … 1-3/4″ x 1-3/4″.
I have here the list of ingredients for you. You may click on the item numbers for your shopping ease if you are from the US. (I would like to send a shout out “HELLO” to my friends from Canada, Australia, New Zealand, the United Kingdom, and India for visiting my site this past couple weeks! Thank you)
I must admit, I had a bit of a struggle not adding more to the card but I had a request to keep it simple. Isn’t that how we want life?
I also want to thank all my many US friends who follow my blog. I am truly honored that “all” of you take time out of your day to visit my blog. Let me know if there is something “you” would like me to share.
Enjoy the day and thank you again for stopping by.
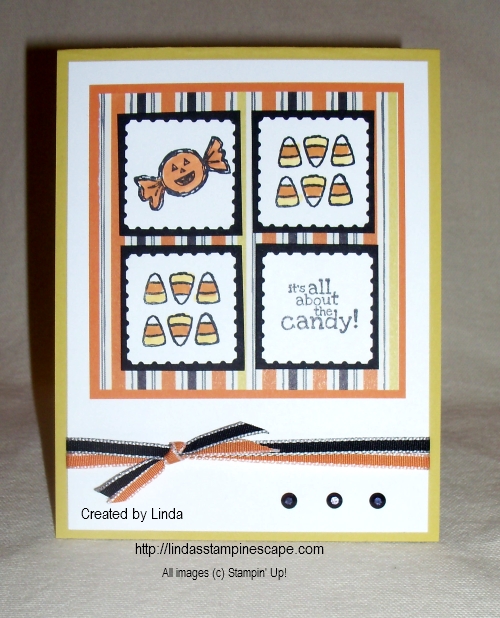
It’s Monday again… and we start another week. I spent the entire weekend creating and cutting Christmas cards for my upcoming Stamp Camp. I know, it sounds crazy but now is the perfect time to get a sneak peek and your hands on all the new Christmas sets and accessories in the Holiday catalog.
In keeping with the Holiday catalog, I created a cute card for you today. It is not “Christmas” but yet another fun holiday …. Halloween! I just have to share another Halloween idea, I enjoy it too much.
Today’s card uses the stamp set “Halloween Hello” and the “Witches Brew” Designer Series Paper. Love the paper … I think I’m going to frame this sheet and take it down to the candy store with me! What do you think about that idea!
I really was thinking about the candy shop when I was creating this card. I just completed my first two weeks there. The card was really simple to create, something that many of my stampin’ friends (customers) appreciate. Everyone is so busy, quick and simple is always a good thing. Don’t worry … I’ll share some “embellished” card samples too.
The color pallet came from the Witches Brew designer paper shown below: Summer Starfruit, Pumpkin Pie, Basic Black and I switched it from Very Vanilla to the Whisper White. I wanted my candy to “pop”.I have to share with you a fun technique that I love to do… “color” my rhinestones! As long as you have a “Sharpie” … you can have any color rhinestones you want. I must say, I really do like black rhinestones! It’s a fun, inexpensive embellishment. You can also color the pearls too! I’m telling you – you will fall in love with this technique.
Here is a list of the ingredients used for the card. To make ordering easier, you can just click on the item number and it will take you to that page. Or you may contact me, I would be happy to help you with your stampin’ needs.
I am really excited to share with you the release of the new “Stampin’ Trimmer Rotary Addition and blades”. You can find them on page 176 and 177 of the Idea book and Catalog or the Holiday catalog – pg. 24.
I watched the demonstration of the rotary additions at convention and new right then and there that I just had to have these … remember that “deckle” scissors we used to have, well the “tiny wave” cutting blade will be just as much fun, and easier!!
I have included the Stampin’ Up! training video for you to watch. You’ll not only hear about the new rotary additions, but a few reasons why the new trimmer is a must have tool for your stampin’ and scrappin’ collection.
I have included the order numbers along with the descriptions. To make your ordering easier … you can click on the order number in the table below to order these items or CLICK HERE to go to the Stampin’ Trimmer page of my on-line store.
Yesterday I posted the adorable “Halloween Banner”… today I am sharing the Stampin’ Up! video showing you how you can make the banner. It includes great tips (like the Silicone pad) for hot gluing your project. I love the Silicone pad – I use it when I’m adhering thin strips of cardstock or ribbon to my projects, it keeps the “snail” off my workstation.
I have included the order numbers for the banner to make your ordering easier. FYI … they also have a Christmas banner!