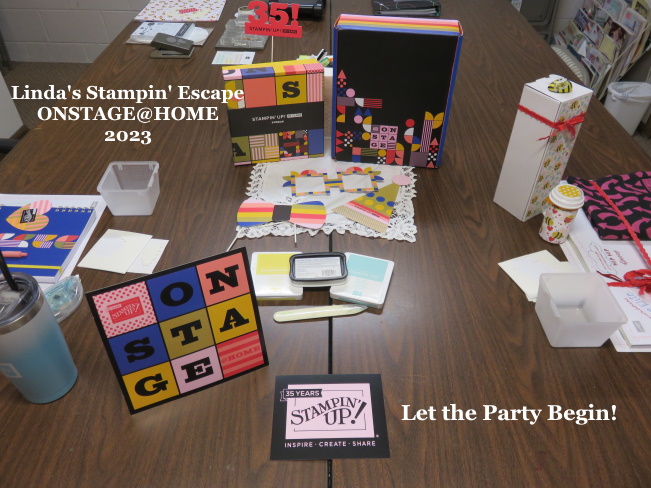
Hello Stampin’ Friends,
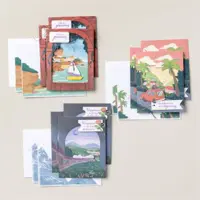
The holiday season is fast approaching, and what better way to spread the Christmas cheer than with heartfelt greetings sent to your loved ones? If you’re looking for a creative and meaningful way to send warm wishes, our “Christmas Everywhere” card kit is the perfect solution to holiday cardmaking.
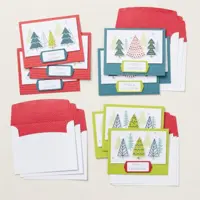
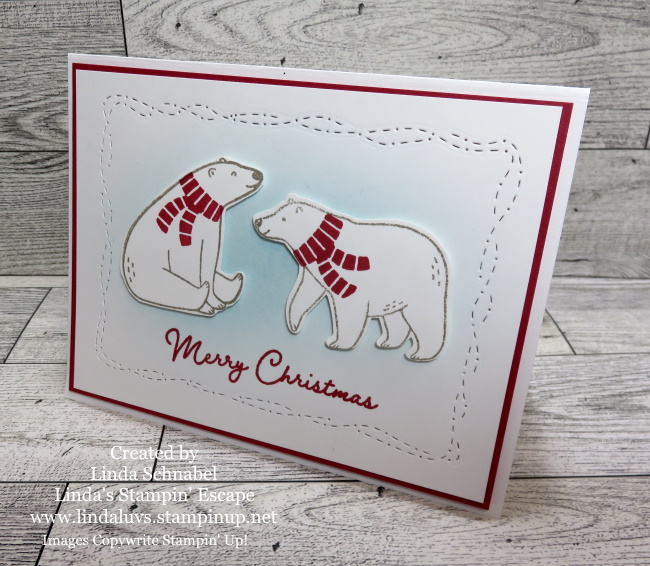
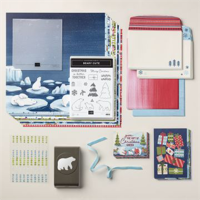
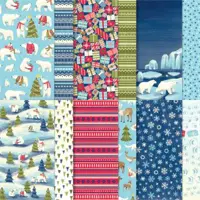
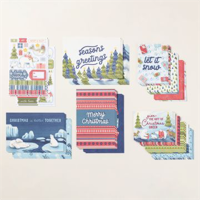
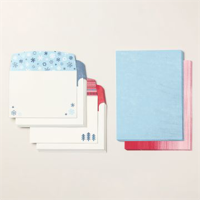
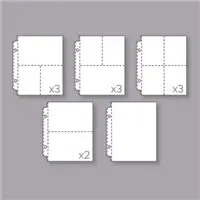
One of the best things about our “Share the Joy of Christmas” card kit is that it comes with everything you need to create nine charming Christmas cards. No need to scramble for supplies or spend hours browsing for the perfect decorations; we’ve got you covered.
This kit includes:
- Enough supplies to create 9 cards—3 each of 3 designs
- 9 coordinating envelopes
- Christmas Everywhere photopolymer stamp set
- One Lost Lagoon Ink Spot
- Printed card bases, printed die-cut labels and images with red glitter, adhesive, and a clear block
- Finished card size: 5-1/2″ x 4-1/4″ (14 x 10.8 cm)
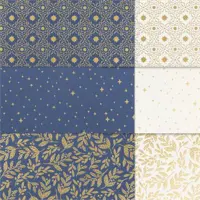
- Coordinating colors: Granny Apple Green, Lost Lagoon, Pecan Pie, Pretty Peacock, Real Red

This holiday season, let our card kit be your companion in sending warm Christmas wishes to friends and family across the globe. Make this Christmas truly special by sharing the beauty of trees from around the world and spreading the joy of the season.
With three unique card designs and three copies of each, you can send warm Christmas wishes to a variety of recipients. Whether it’s family, friends, coworkers, or distant relatives, these cards are the perfect way to let them know you’re thinking of them during this special season.

The “Share the Joy of Christmas” card kit is more than just a creative project; it’s a meaningful way to send love and warmth to the people who matter most to you. Celebrate the diversity of our planet and the magic of the holiday season with these beautifully crafted cards. Order your kit today and start spreading the joy of Christmas, one card at a time!
Thank you for sharing a part of your Sunday with me.
Have a beautiful day ~