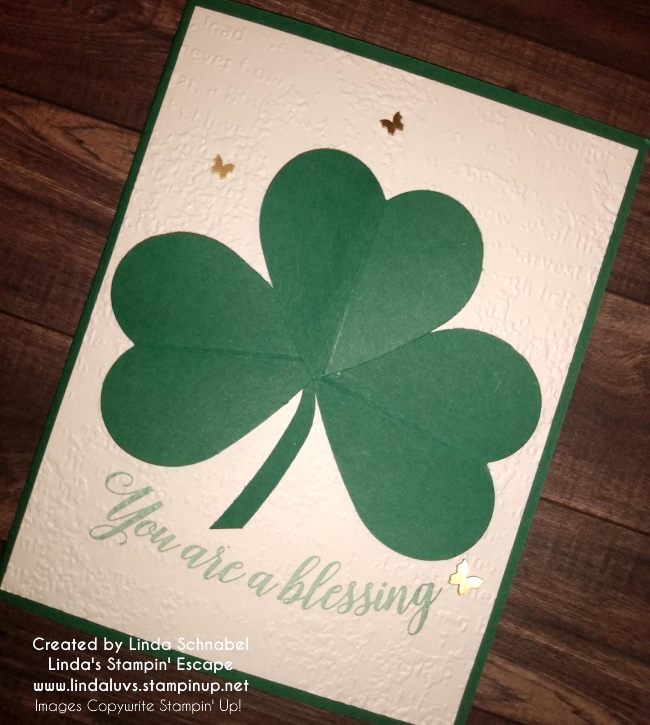
Are you in need of a quick St. Patrick’s Day card? I have the answer for you … all you need is a Heart Punch or die. I’m using the smaller heart from the Heart Punch Pack and some Shaded Spruce cardstock … punch 3 hearts and score (or fold) in the center to create some texture.
The background was stamped in Shaded Spruce using the “Around the Bend” stamp set … and of course I had to add some “gold” to my card, so I added the Brass Butterflies. Oh my this is cute and oh so quick!
I’m so excited about this fun technique, turning the Floral Dies into Easter Egg Cards. I think the cards turned out so cute / lovely … yes, I have 2 cards for you today along with a video – a replay of my Facebook LIVE from last night.
Let’s take a look at the video …
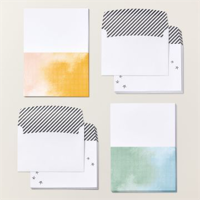
As promised, I have the dimensions for our Easter Egg card. My cardstock base is Flirty Flamingo and measures 7-1/4″ x 5-1/4″ … Score at 4-1/4″ on the 7-1/4″ length. This will give you a front “flap” and exposes a portion of the inside. You need 2 pieces of Basic White (and one scrap to die cut greeting). Front measures 5-1/4″ x 2-3/4″ … emboss with the “splatter” embossing folder and the inside measures 5-1/4″ x 4″ … add a strip of the designer paper.
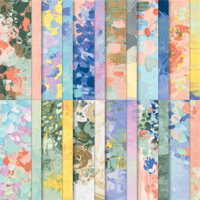
The designer paper I’m using on this card is the Rain or Shine Designer paper. The patterns I picked look great as Easter Eggs … the splatter one reminds me of how your dyed eggs always end up with “some” spots! lol The greeting for both cards come from the Charming Sentiments stamp set and die cut from the Stylish Shapes.
Our next card has an easy layout / dimensions and boasts the Floating Element Technique … I love this technique. Let’s begin with your Petal Pink card base measuring 8-1/2″ x 5-1/2″ scored and folded at 4-1/4″.
Trim down the 6″ x 6″ Fancy Flora Designer paper to 5-1/4″ to 4″ and adhere it directly to your card front. I use a 4″ x 3″ piece of Window Sheet to die cut my oval /egg and then I attach the 1″ strips which were embossed with the Quatrefoil Tile Embossing Folder. Don’t you love the elegance of the embossed egg?
The greeting for the card comes from the Charming Sentiments stamp set and die cut from the Stylish Shapes. The butterfly is die cut using the Brilliant Wings Dies … and we finished off with the Opaque Adhesive Backed Gems.
You can used any designer paper to create your Easter Eggs and / or use it as a background like I did on this card. So fun and versatile.
Thank You for hanging out with me today, I hope I inspired you to try this fun technique. You can also do it with circles!!
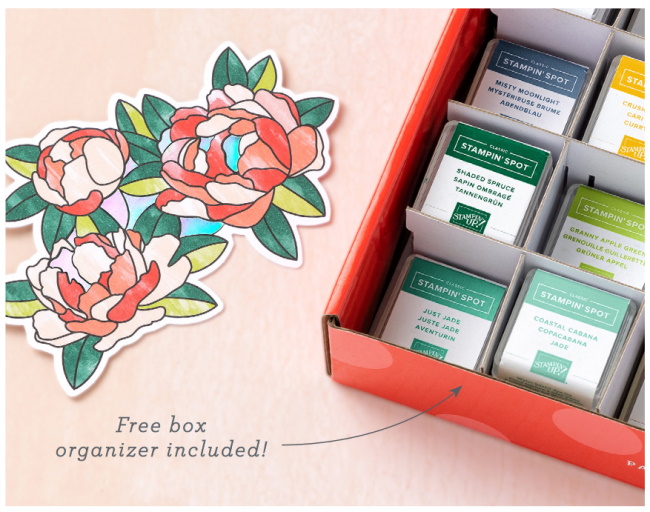
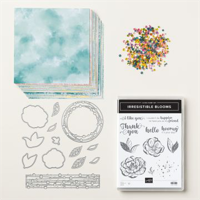
Optimism and Renewal is the theme of the April 2023 All the Little Things Paper Pumpkin kit! This kit includes supplies for making nine cards (three each of three designs) with elegant cherry blossom designs, bright colors, and iridescent foil (a detail that won’t go unnoticed). It also includes a Shaded Spruce ink spot and a stamp set with sentiments that celebrate the simple things and encourage growth and healing.
Anyone who subscribes to this month’s kit will also get a FREE box organizer! This organizer with customizable compartments fits perfectly inside your Paper Pumpkin box and is great for keeping your supplies from past kits organized, so you know right where everything is! Coordinating Stampin’ Up! colors: Balmy Blue, Basic Black, Calypso Coral, Granny Apple Green, Petal Pink, Poppy Parade, Shaded Spruce.
If you are not a Paper Pumpkin subscriber, I invite you to give it a try. CLICK HERE to sign up by April 10th for this next kit.
Thanks you for joining me today … Hope your day is a good one!
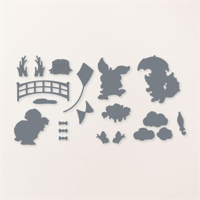
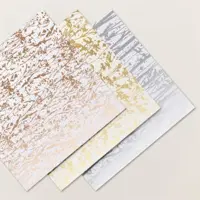
Today I’m sharing a card that highlights the Lighting the Way Bundle and you’ll recognize the background as the Natural Gilded Specialty Designer paper. The Lighting the Way Bundle includes the Lighting the Way Stamp Set and the Lighting the Way Dies.
The firefly is a perennial warm weather companion that radiates positive energy while lighting our way through the darkness. Use this joyful bundle to capture those positive vibes and add them to your next handmade card or gift tag and light up someone’s life!
Tell someone special just how much they mean to you with this Lighting the Way Stamp Set. Use it to create uplifting cards featuring dazzling fireflies that appear to glow. Simply stamp one of the glowing circles in a vibrant yellow, then follow up with a firefly stamp.
Stamp your firefly so it appears to be leaving a trail of light in its wake. Embellish your firefly image with greenery, more fireflies, and a happy sentiment, such as “Thanks for lighting the way,” and you have a handmade card they’re sure to remember!
Thank you for checking out my blog and the Lighting the Way Bundle. Which one of these two cards did you like best? Let me know in the comments below.
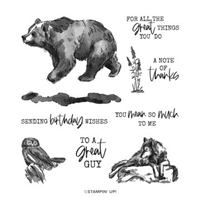
Today I have another masculine card featuring the Wildlife Wonder stamp set, along with the dimensions and step by step instructions! Can’t get easier than that ❤
Measurements:
Card Base: Thick Very Vanilla 5 ½” X 8 ½” score at 4 ¼”
Cardstock #2: Very Vanilla 3 ¾” X 5”
Cardstock #3: Early Espresso 3 7/8” X 5 1/8”
Cardstock #4: Very Vanilla 5/8” X 4”
Cardstock #5: Early Espresso ¾” X 4”
Instructions:
Score your card base and fold in half.
On the Very Vanilla cardstock #2 stamp your Bear with Ground images using Early Espresso ink.
Using the Simply Scored Scoring Tool score the outside edges at ¼” and ½”.
Using the Blending Brush and the Crumb Cake ink; apply ink around the outside edges.
Attach to the Early Espresso cardstock #3 and attach to your card front as shown.
On the strip of Very Vanilla cardstock #4 stamp your sentiment using Early Espresso ink. Using your scissors trim the ends on an angle.
Attach to the Early Espresso cardstock #5 and trim the edge matching the angle.
Attach to your card front as shown.
Attach Rustic Metallic dots as shown.
On the inside stamp your bear image again in the bottom corner using Early Espresso ink.
Thank you for joining me today. Hope your day is a good one ~
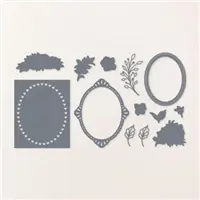
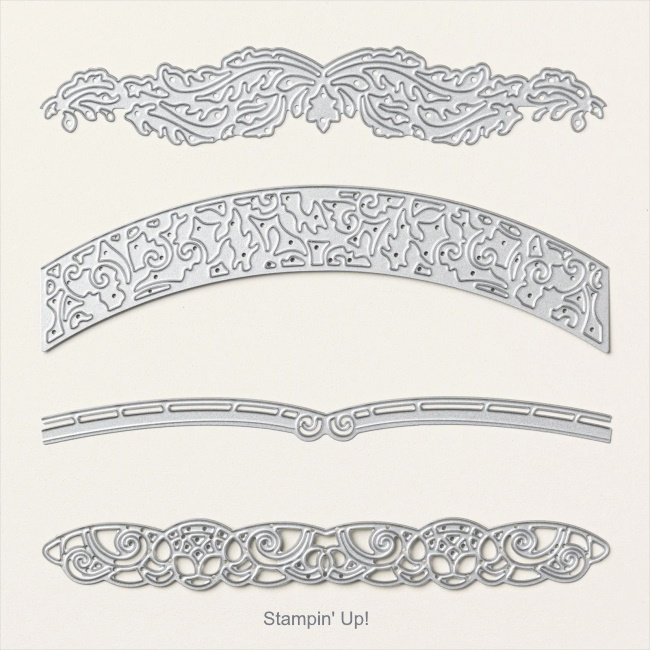
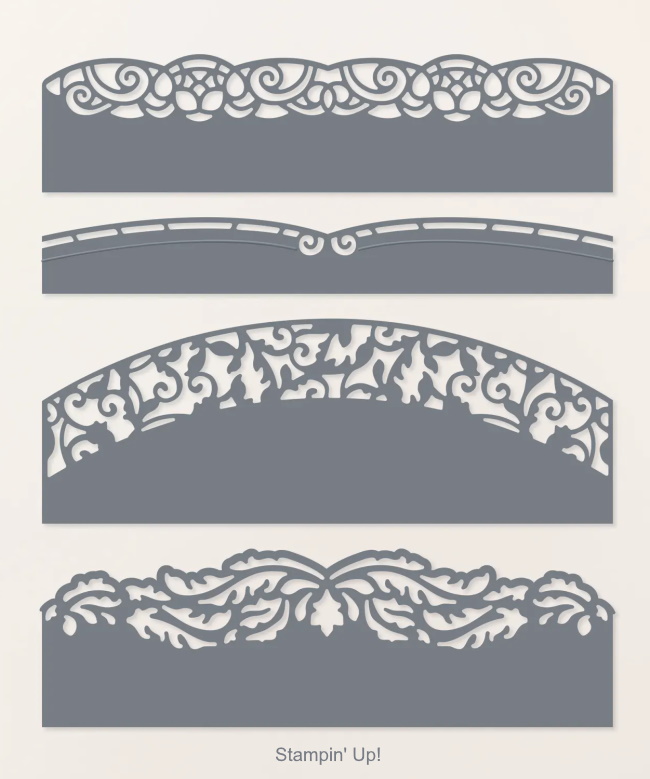
Today I’d like to introduce you to the Elegant Borders Dies, another NEW offering from our On-Line Exclusives. You’ll see two different ways to use them … Let’s take a look at them first.
The Elegant Border Dies give you a beautiful edge on all your cards and envelopes. These dies line up perfectly on the edge of a card and envelope, adding lacy edges and delicate flourishes.
You can also use these dies to create borders and elegant background outlines for every occasion of crafting. Whatever your card making occasion is, these dies can add those details that will impress anyone!
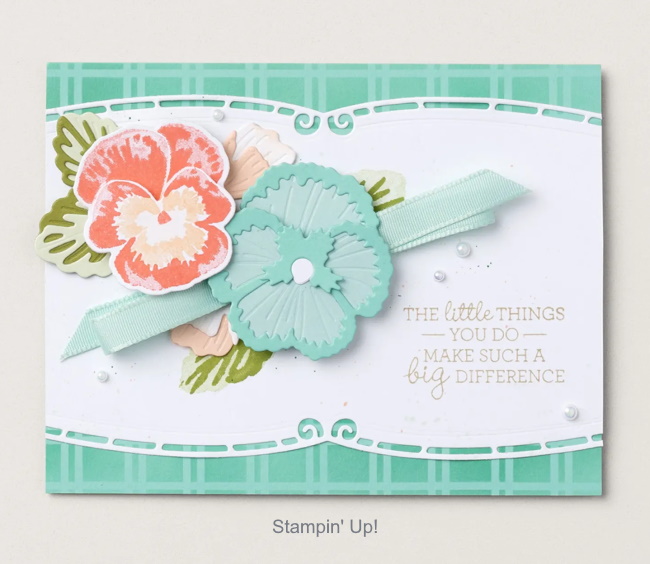
Here the Elegant Border Dies have created a beautiful back drop for the Pansy Patch Bundle …. You can see how easily the dies can be used to create a stunning background to highlight the focal point of your card … the Pansies.
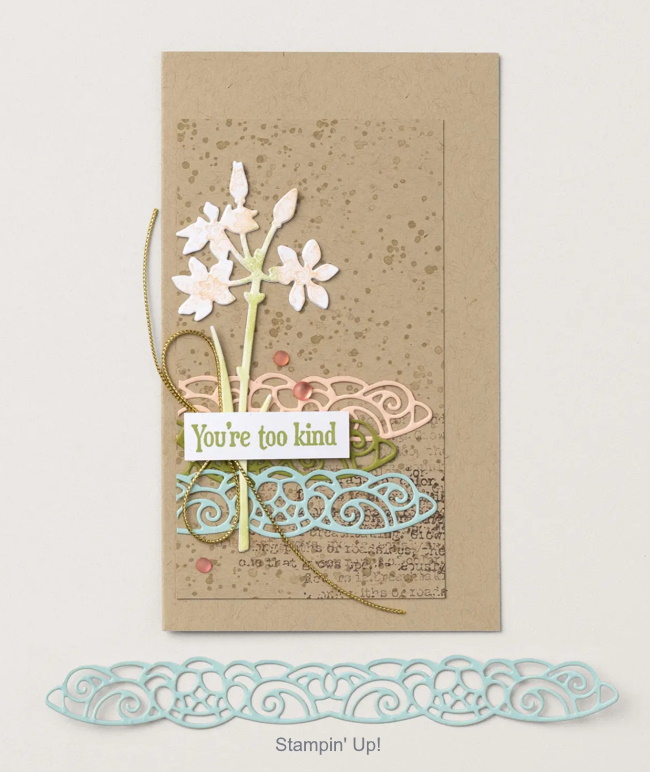
I love the way the dies are used on our second card … as an accent / embellishment! WOW! I really love this effect to add color. For this card design we teamed up the the Quiet Meadow stamp set and Meadow Dies along with the Elegant Borders Dies.
You could use this delicate die to do a color on color technique (I do this with white a lot) Cut out your images and paste them onto the same color cardstock to give you a subtle look with lots of texture!
Imagine the fun you could have with the Elegant Borders Dies and the many, many ways you could use them. Thank you so much for stopping by today!
Hard to believe it’s been 23 years since I signed up and started my journey with Stampin’ Up! and all of you. What a beautiful community of stampers I have encountered.
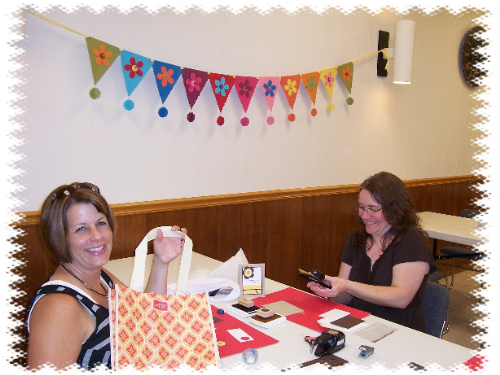
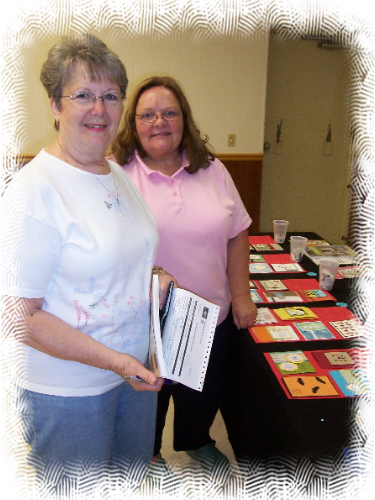
Here a just a few of the pictures / memories …. the people I have met, the places I have been … PRICELESS!
Stampin’ Up! Home Office in Riverton, Utah
Just part of our team … Upline: Gloria & Vicki / Sideline: Karen / Downling: Eileen, Anne, Rosie & Doris. The next two photos are some of my “Happy Stampers” at events I hosted. Some were so happy they joined my team as well … Ann Marie!
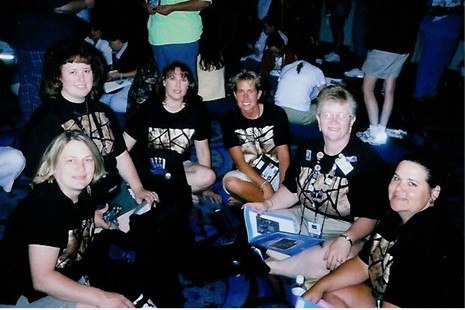
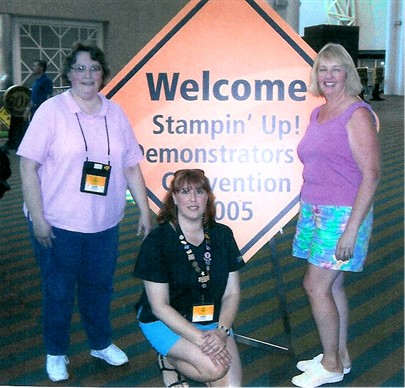
Stampin’ Up! events … Conventions, Leadership and more
Notice our shirts?? We made them for Convention with Pearl Ex & a technique called Shattered Glass!
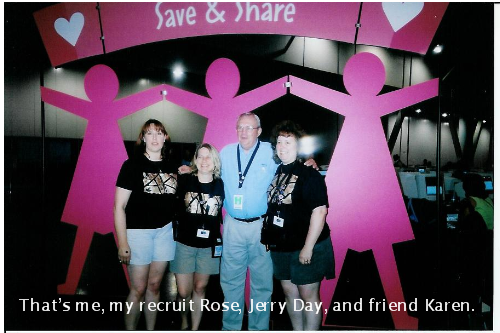
Jerry Day was the President of the company then … Shelli is the Co-Founder and then CEO of Stampin’ Up! Her daughter Sara has since taken the reins, but we still see Shelli at Stampin’ Up! events.
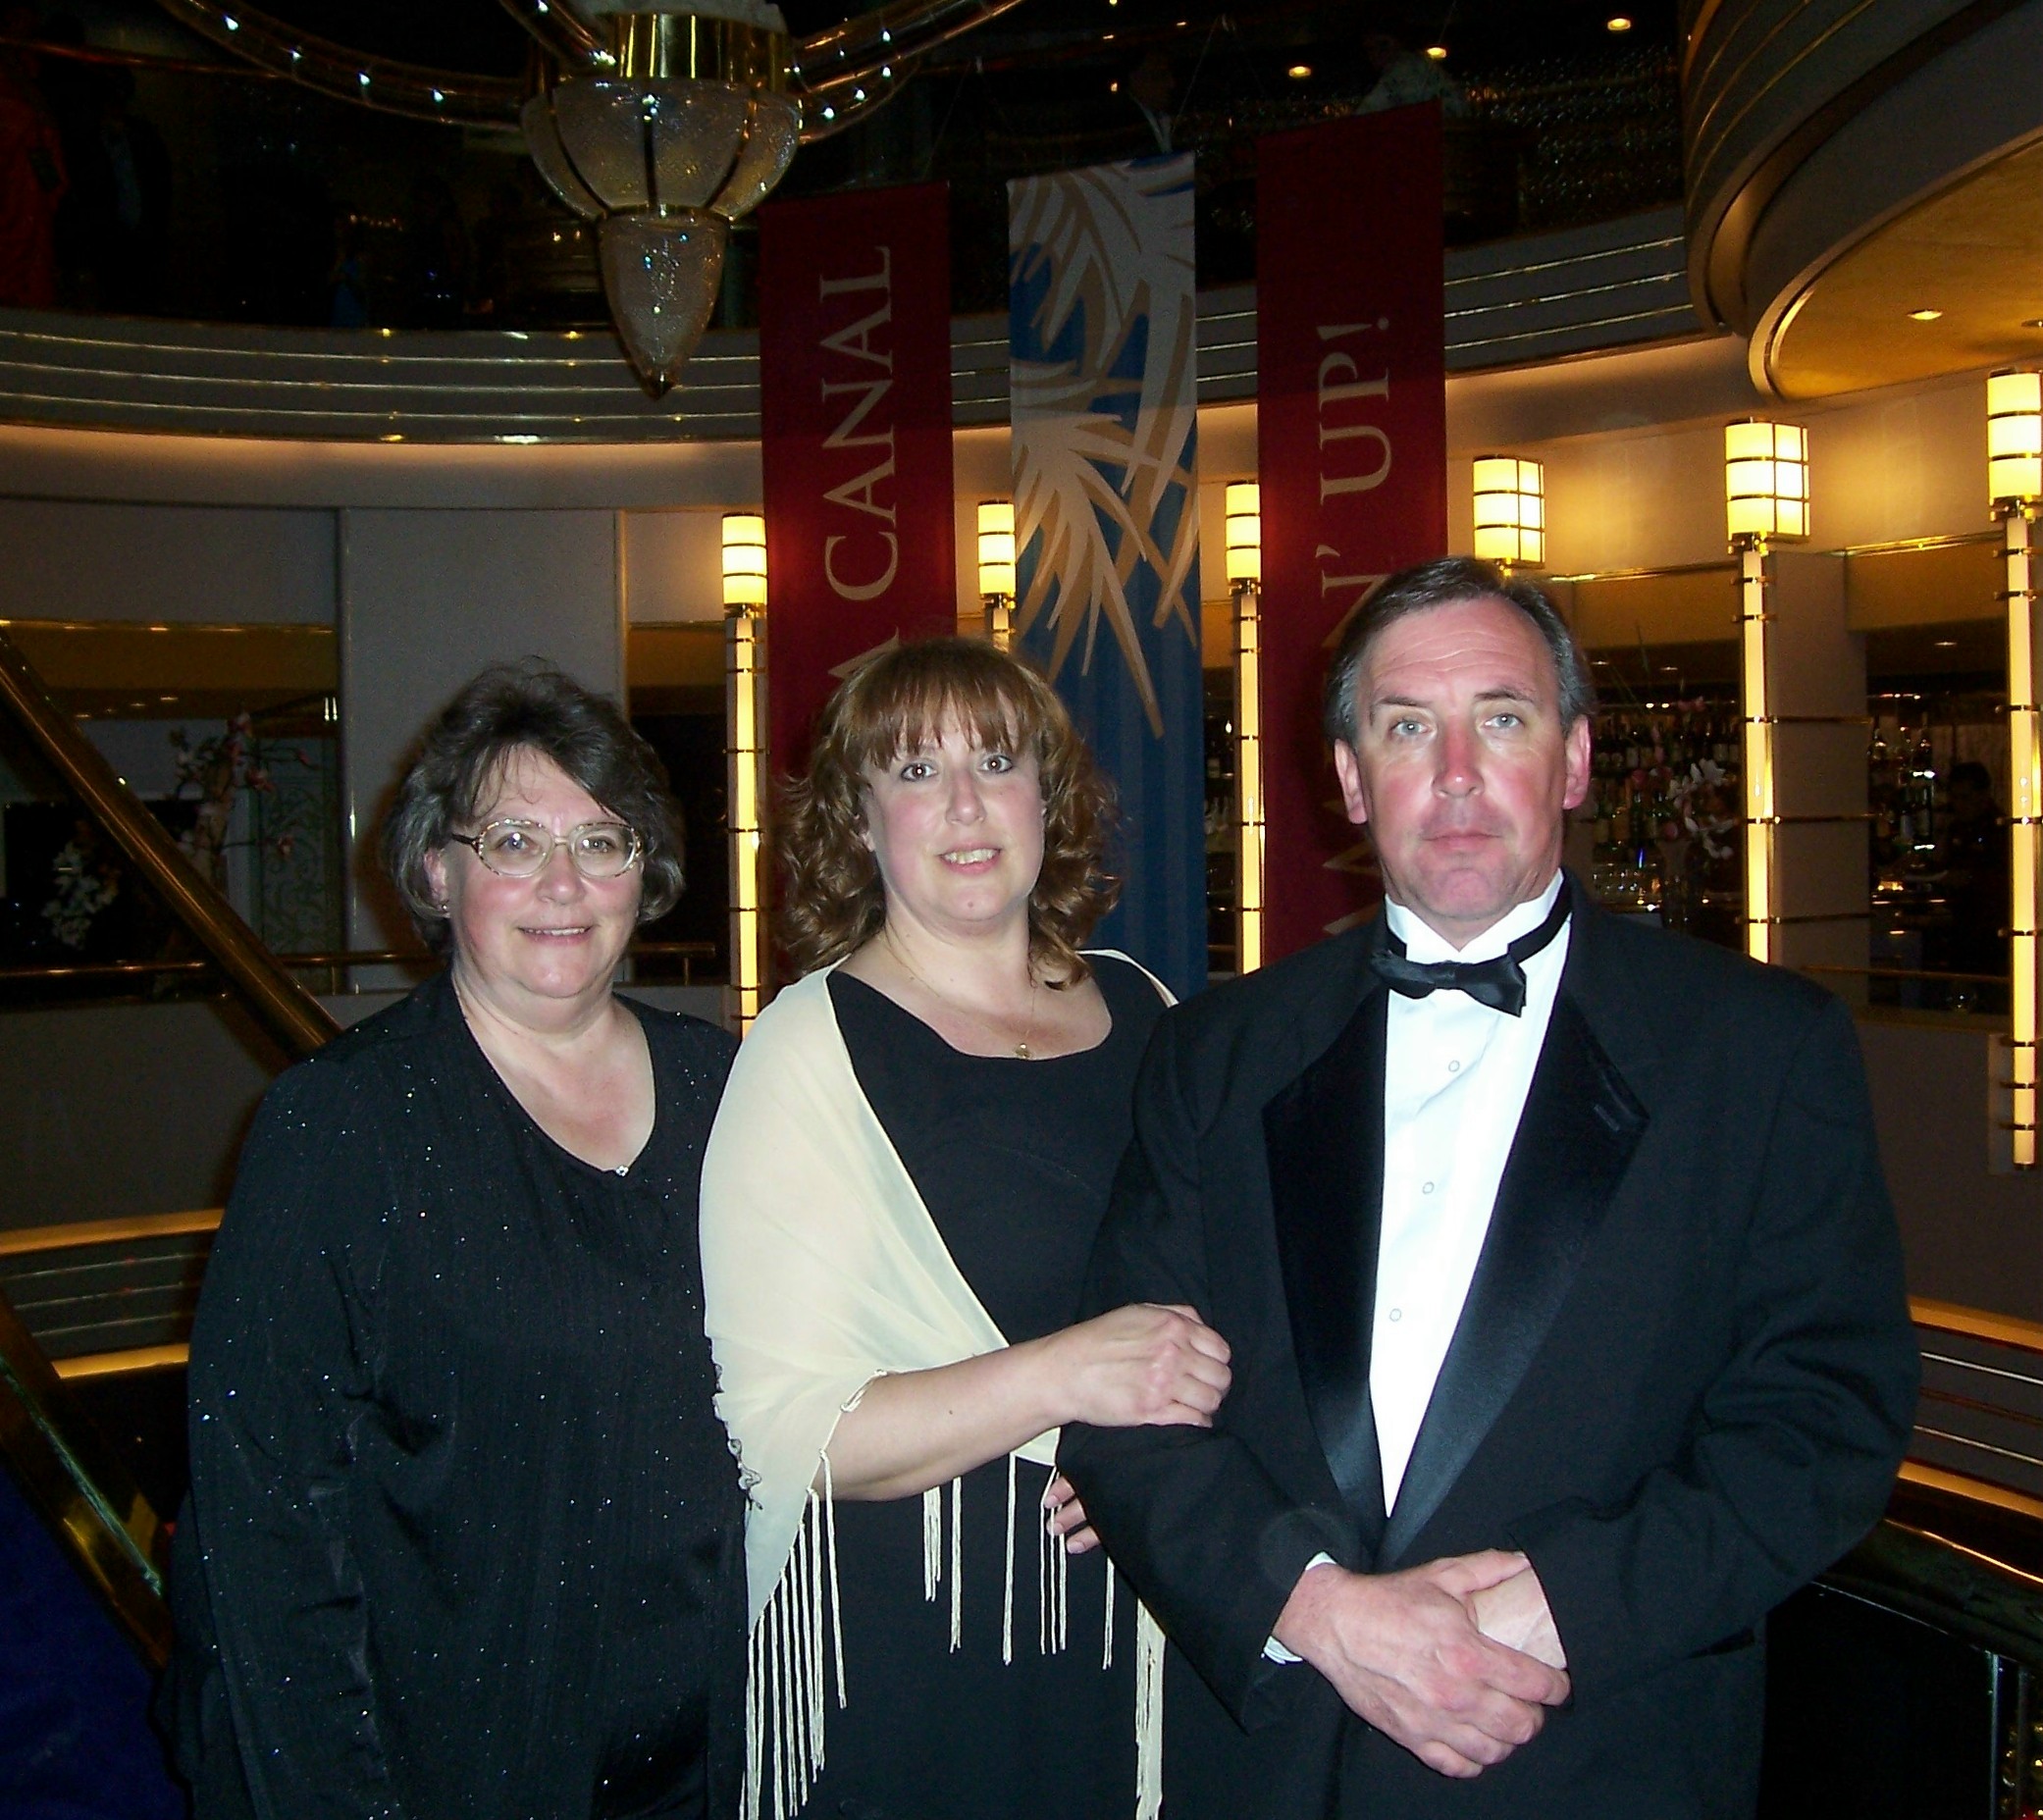
It’s not all business at Stampin’ Up! events …. they make sure we have PLENTY of FUN!! It’s was 70’s Night … Connie and I are with Shelli and her husband Sterling.
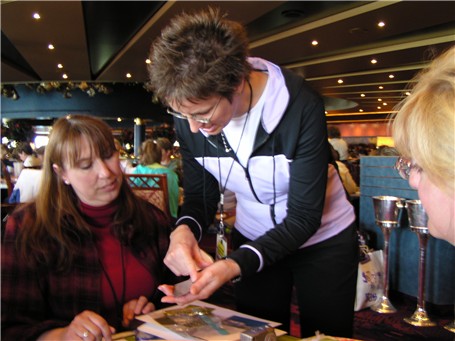
Some of the amazing places that I have gone with Stampin’ Up! Many are Incentive Trips that I have “earned” through the years. It takes a lot of work but when you Love What You Do ….
YES … We stamp on the Incentive Trips too! I’m with Shelli again!
My Sister Eileen … Me … and my Brother Richard
All I can say is that is has been an amazing journey so far. Love all the people I have met, many of whom became friends. So grateful for all of the opportunities given, and the places I would have never seen … my heart is overwhelmed.
I am extremely grateful for all of YOU who have supported me over the past 23 years … I look forward to continuing the journey with you.
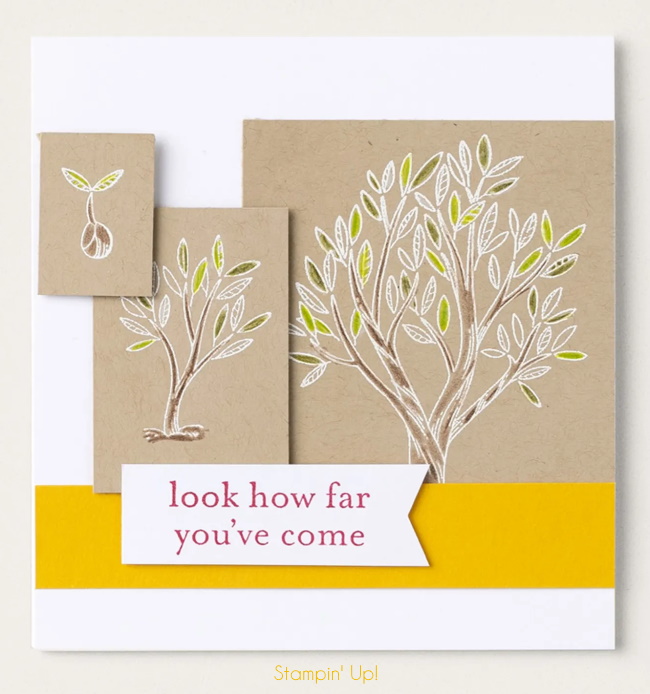
Today I’ll be sharing another one of our NEW On-Line Exclusive Stamp Sets. Let me introduce you to the “Growth Takes Time”.
Show someone you are there for them through sunshine and rain with the Growth Takes Time Stamp Set! This set comes with four sentiments that remind all of us that progress takes time. It also comes with three different tree sizes that show the development of a plant becoming something beautiful.
You can color these trees to match any season of the year by using any coloring technique you want! Then top it off with some extra leaves or put the sweet watering can off to the side. It’s time to nurture and care for our loved ones the same way we do a garden by sending them a card today!
Thank you for joining me today. You can see all the On-Line Exclusives by CLICKING HERE
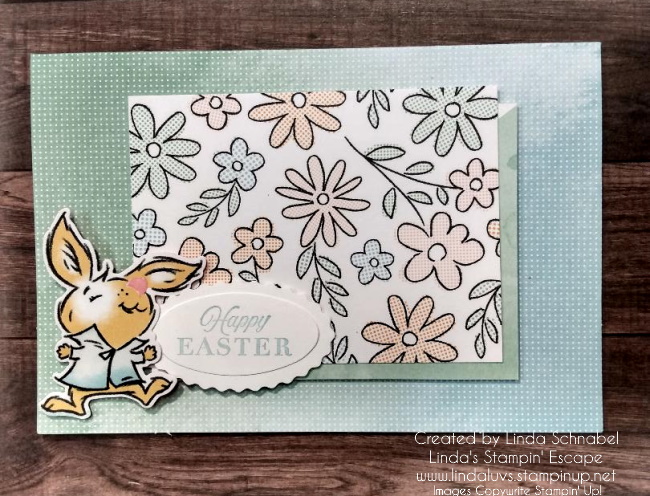
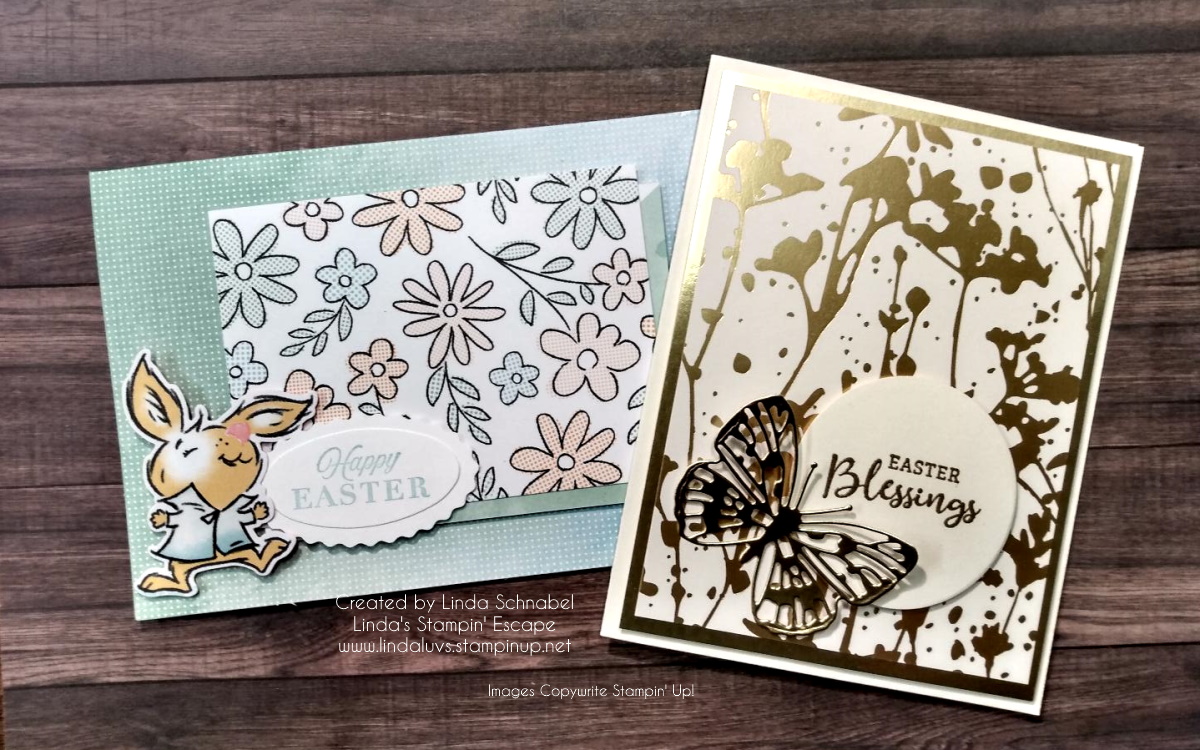
Today I’m sharing two quick & easy Easter Cards; a Cute and a Classy!! You can enjoy watching the replay of last nights Facebook LIVE and then I’ll share the cards close-up and personal!! lol
I started with the Quick & Cute Easter Card and the Enjoy the Adventure Memories and More card kit and envelopes and paired it up with the Rain or Shine Specialty Designer paper.
I did tuck a small Stampin’ Dimensional under my bunnies foot so he is popped up pretty good. There is a lot of texture and dimension on this card, even though it is a simple layout.
I forgot to mention in the video that the Rain or Shine is a “Specialty” paper, and it’s easy to see the embossed areas of my bunny. This paper is so cute and can be used for so much more than a “rainy” card … Easter!! Who knew!
If you would like to see more card samples from the Enjoy the Adventure then just CLICK HERE
Now let’s move on to our Quick -n- Classy card!
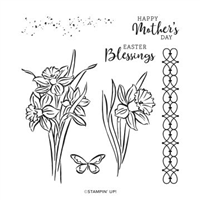
You have simplicity of this design and a great paper saving tip by cutting out your butterfly from the gold foil piece underneath the designer paper. I used the “Easter Blessings” stamp from the Daffodil Daydream stamp set … you can always use what you have in your stash!!
Another simple layout but with so much beautiful dimension and a bit of added texture from embossing our greeting in gold.
So glad you decided to stop on by today and take a look … hey, invite your friends to check out my blog as well. Love to share my creations and inspire as many as I can.
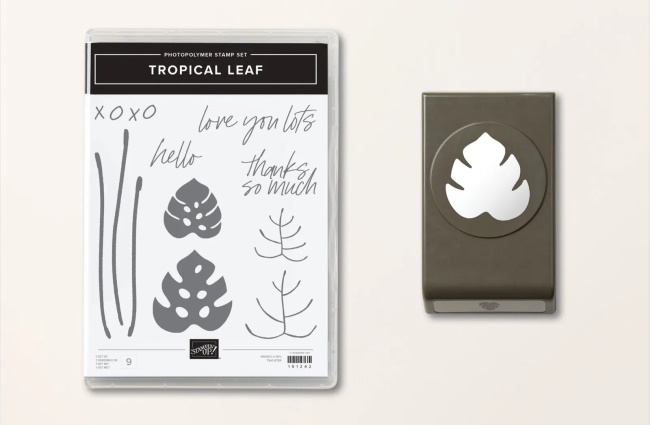
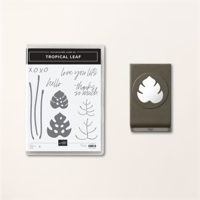
Today I’m going to share another one of our amazing On-Line Exclusives … You’ve seen the Hello, Irresistible, now let me show you the Tropical Leaf Bundle. The Tropical Leaf Bundle includes the Tropical Leaf Stamp Set and the Tropical Leaf Punch.
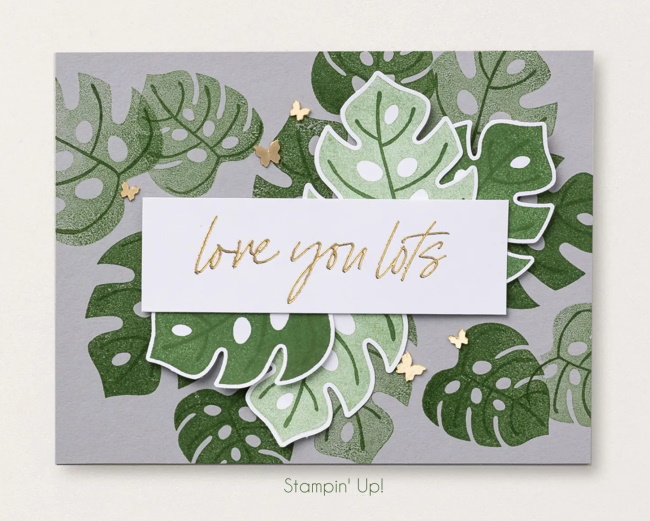
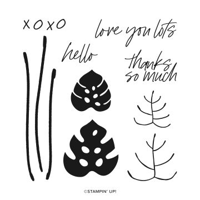
You can send a relaxed island greeting to someone special using this Tropical Leaf Stamp Set. The set contains two tropical leaf stamps in different sizes, plus one additional stamp with three stem images you can use as a texture piece. The tropical leaf stamps come with a coordinating vein stamp you can use to add even more detail. Create a single tropical leaf or layer a bunch, then finish off your handmade card with one of four greetings to say hello, thanks, or love you to someone special today.
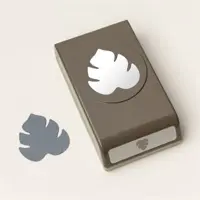
Create handmade cards with an island theme using this Tropical Leaf Punch. The large punch gives you perfect cutouts of a tropical leaf you can use as the focal point or background for all your card making and scrapbooking projects. Try punching out your own leaf, then add veins and shading to the image using your favorite coloring technique.
You’ll stamp then punch out your own tropical paradise for quick card making, scrapbooking, and more! This bundle includes sentiments you can use year round for multiple occasions. Use this chill set to tell someone how much they mean to you.
Thanks for stopping by today … I’d love to know what you think of this NEW bundle; the Tropical Leaf.
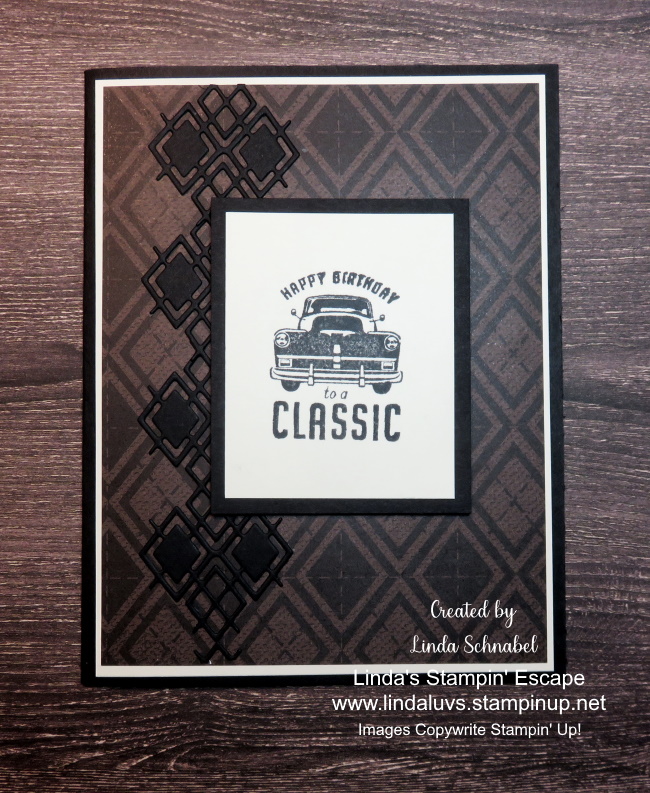
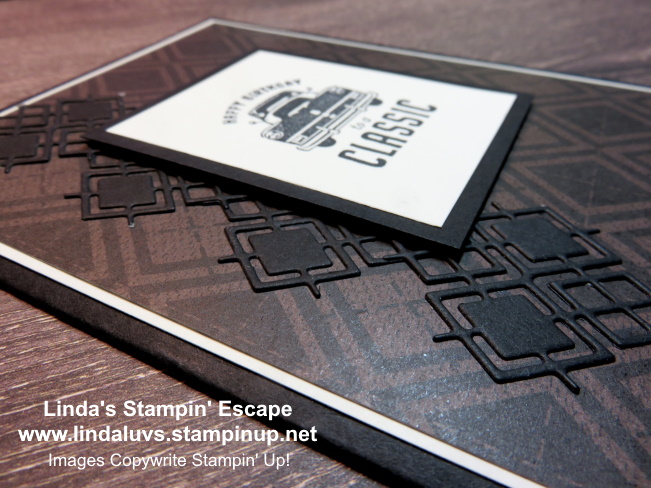
Need inspiration for a Masculine Birthday Card? We are all looking for masculine inspiration so I have another card for you today. This one I’ve pulled out the dies to create something stunning!
It’s a classic in every way … from the argyle pattern of designer paper to the classic car. What I love is the die cut pieces that actually aligned with the designer paper, creating a stunning pop of texture.
I began with a basic size card base of 5-1/2 x 8-1/2″ then scored and folded at 4-1/4″. The Very Vanilla mat is 4″ x 5-1/4″ and the designer paper is 3-7/8″ x 5-1/8″ …. I just wanted to tie in the greeting colors, plus it really made the designer series paper pop.
This card was fun and easy to make! With a simple layout and the patterned paper, adding the die cut argyle pieces just added some great texture to the card. I also popped up the birthday greeting to give this card even more dimension.
I think you will find the “He’s the Man” Suite very versatile … I’ll be sharing even more cards with this one for sure! Thank you for stopping by today.
With the NEW Catalog due out in May, I always get nervous about one of my favorites retiring … so, if you are liking this bundle, or the entire suite, you might want to grab it up before it is gone. I don’t know if it’s retiring but I know when that list comes … thing SELL OUT fast.
Have a great day!! I have the supply list of items listed below for your convenience.
TODAY’S STAMPIN’ SUPPLY LIST … If you liked the products used in today’s projects, I have links for you below. Just click on the item you would like more information on, or to begin your shopping. It will take you directly to my website. Thank you ❤
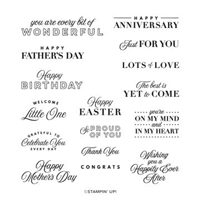
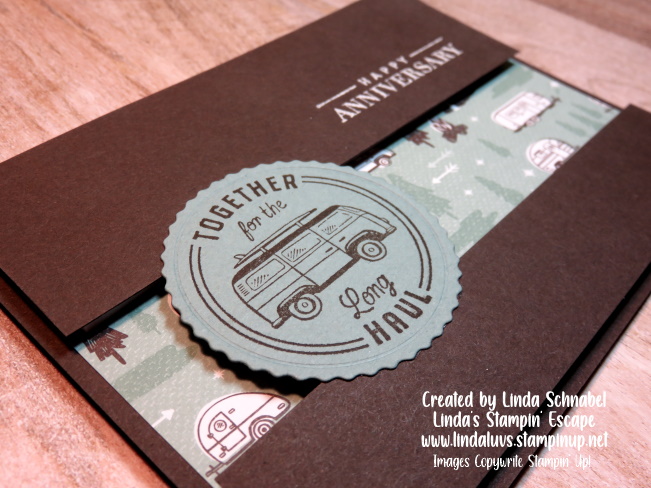
Are you In Search of a Masculine Anniversary Card? I have the answer for you … the He’s All That Bundle. I know that my stampin’ friends who camp and travel are going to love this next card. I’ve shared cards for Father Day … Birthdays … why not Anniversaries!!
I’m using a fun pattern from the designer paper that highlights campers and trees in the colors of Soft Succulent and Early Espresso. I borrowed the “Happy Anniversary” from the Celebrating You stamp set. I heat embossed the greeting with Basic White embossing powder.
My Early Espresso card base is 5-1/2 x 8-1/2″ then scored and folded at 4-1/4″. Then I used a “split panel” … the top one measuring 5-1/4″ x 2-1/2″ and the bottom measures 5-1/4″ x 1″. Both panels are popped up using the Foam Adhesive Strips … this allows our designer paper to be highlighted and gives are card a fun dimension!
The badge was stamped in Early Espresso on Soft Succulent and die cut using one of the dies included in the He’s All That Bundle include in the He’s the Man Suite! It was attached to the two panels to create a bridge and it looks cool! lol
I hope you are enjoying all the different styles I’ve shown using this suite … and hopefully I covered most of the color pallets included in the suite. I also wanted to share several different layouts with you … all of which you can easily recreate!
With the Annual Catalog retiring at the end of April, I wanted to showcase some of my favorite “Masculine” bundles …. a change up from all the flowers!!
Thank you for visiting my blog today … if you like the content, please click the LIKE button below. Enjoy today!
TODAY’S STAMPIN’ SUPPLY LIST … If you liked the products used in today’s projects, I have links for you below. Just click on the item you would like more information on, or to begin your shopping. It will take you directly to my website. Thank you ❤
Today I’ve got a Friday Fun Mash-Up Card. Now days they call it “Mash Up” but you and I know that we’ve been creating cards using multiple different stamp sets, dies and papers … it’s just what we do!
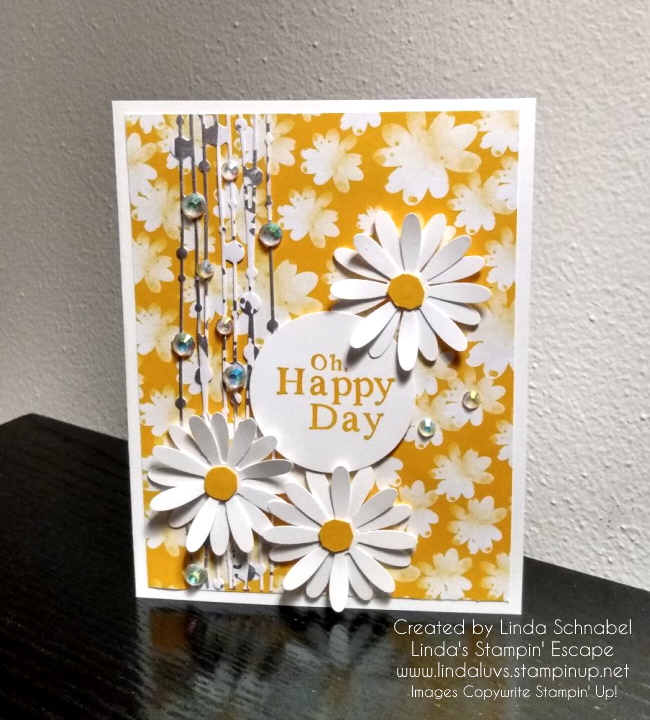
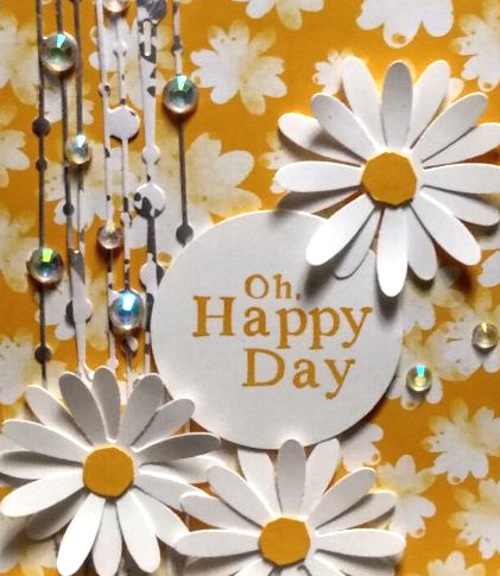
I have been wanting to use that cute Pale Papaya paper from the “Rain of Shine” Designer paper since I saw it … it is bright and makes me happy!! You can click on the link to view all patterns.
Isn’t it pretty!? It’s such happy paper, so it will be my card front because I want to highlight it. Next I have a leftover piece over die cut piece that I used on yesterday’s card that came from the Irresistible Blooms Bundle. I die cut that piece from the Naturally Gilded Specialty paper. Click to view!
And since the piece had silver in it and all those little dots … I draped it in Rhinestones! Because friends, you’re worth it!!
I decided to use the Daisy Punch because it is similar to the flowers on my paper and to me … they are happy flowers! For my centers … I punched out the daisy in Mango Melody and snipped off the petals, so if you look closely, they are not perfect circles.
The greeting comes from the Playing in the Rain stamp set and “punched” … yes, punched! If you go to my online store, you will find that the 1-3/4″ and 2″ punches are back. Check it out here.
It’s just been a bit gloomy here in Wisconsin so I thought this would be the perfect card to brighten someones day. And …. isn’t that why we send the cards we make?
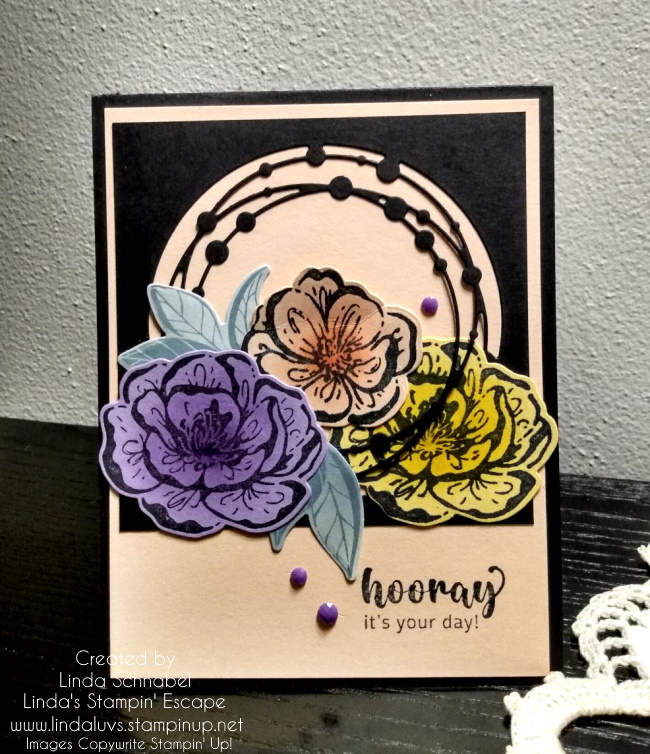
Hello Stampin’ Friends ~ Today I’m sharing the video replay of my Facebook LIVE and I’m highlighting the Hello, Irresistible suite and a FUN and Easy Embossing Technique. Then I’ll share an alternative design using Black Ink verses the White Embossed flowers you see in the video …
This suite is so fun to work with and the flowers … well, they are perfect for so many techniques. Embossing is one of my all time favorite techniques because it adds an elegance and texture to your cards, and when you combine it with a touch of ink … you get depth too.
I used the designer paper for the background and to cut out the leaves, so if you are used to embossing or die cutting, you will find this card pretty easy to recreate. Overall, I would give it a medium rating.
Now for the “Black” ink card. I used a lot of the same materials and the dauber technique as well. I cut the leaves out as I did on the first card but used the “other” awesome die in the bundle. Check this out …
The card base is Basic Black and cut 11″ x 4-1/4″, scored and folded at 5-1/2″, and the second black piece is cut to 3-3/4″ x 3-3/4″ and then die cut with the circular die. The card front is Petal Pink (same as the small flower) and measures 4″ x 5-1/4″.
And this time I added the “purple” adhesive dots for my purple fans! Both card were fun to make and somewhat similar but they really look different! I love it 🙂
Hope you enjoyed today’s cards, and thanks to those who came over to my blog from Facebook to check it out.
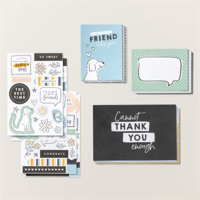
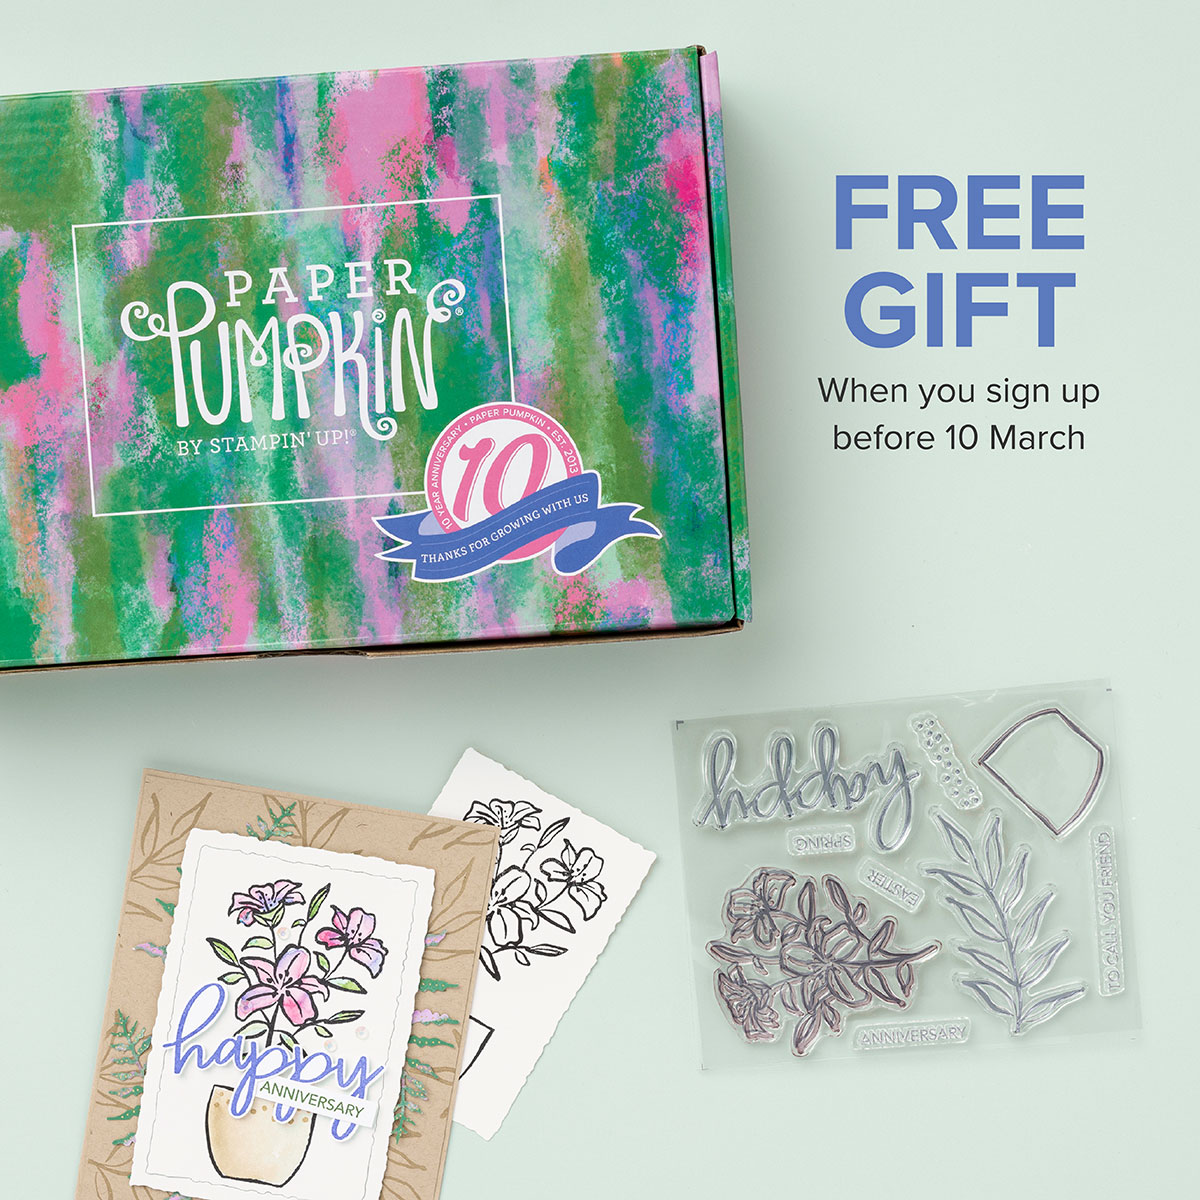
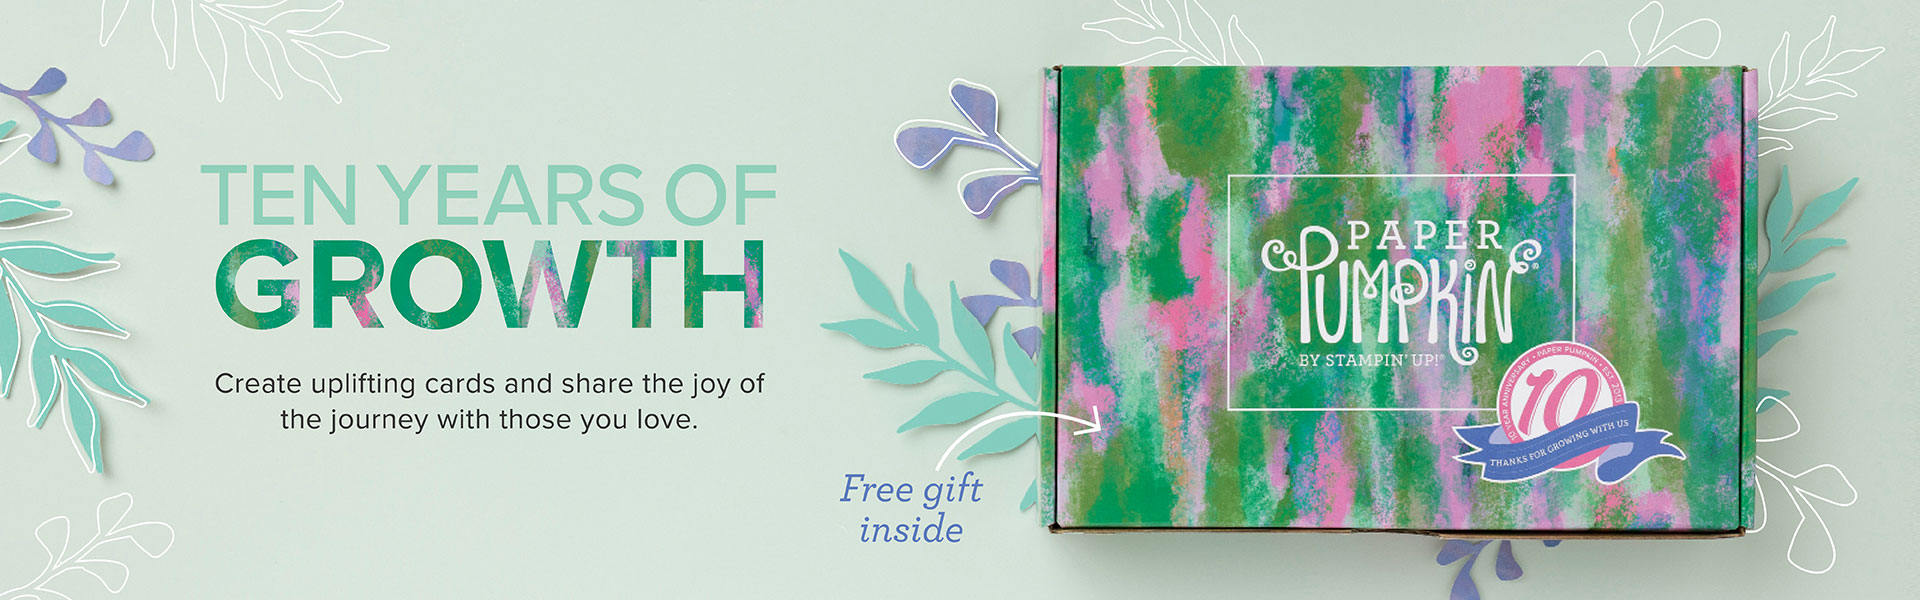
It’s Paper Pumpkin’s 10-year anniversary and we want to celebrate how much we’ve grown! This month’s kit is all about happy greetings, organic and botanical designs digitally painted by our in-house artists, along with all-occasion sentiments to celebrate the happy moments in life and recognize the people around you who help you grow!
And as part of our anniversary celebration, the March Paper Pumpkin Kit includes a FREE GIFT featuring a plant and pot builder to make all your projects plant-astic!
AND you can get even more FREE Gifts today or tomorrow with a qualifying Sale-a-bration purchase … I have links below for your ease.
Did you say free? That’s right, this month’s kit includes a FREE stamp set to add versatility and creative possibilities to your projects. With unique plant and pot builder designs, there’s no better time to sign up or renew your Paper Pumpkin subscription and get your FREE stamp set!
This kit includes:
All the supplies you need to create 9 cards: 3 each of 3 designs; and coordinating envelopes.
An all-occasion stamp set to recognize the people in your life who help you grow with greetings and beautiful botanical images.
1 Polished Pink Classic Stampin’ Spot
Paper pieces and embellishments with digitally-painted designs and images.
Mini Stampin’ Dimensionals.
1 FREE additional stamp set, which includes a plant and pot builder to make plant-astic projects!
Completed card size: 5-1/2″ x 4-1/4″ (14 x 10.8 cm)
Subscribe to the March Paper Pumpkin Kit before March 10th, 2023 by clicking here!
What is Paper Pumpkin?
Paper Pumpkin is our monthly One-Stop Box™ that offers a unique variety of paper projects for subscribers of any skill level to enjoy! These thoughtfully-themed and all-inclusive craft kits encourage you to explore your creativity, try new techniques, and discover the potential in papercrafting.
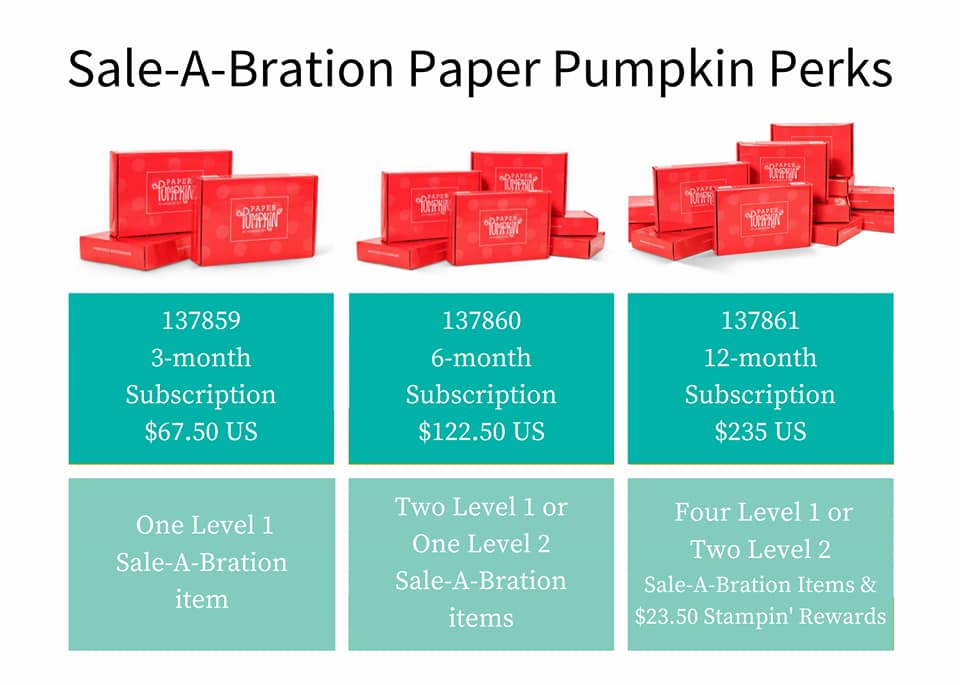
Now is a great time to subscribe, because if you choose the Pre-Paid option of subscribing, you will also receive FREE Exclusive Sale-a-bration products. Click Here to Learn More About Sale-a-bration.
Subscribe to the March Paper Pumpkin Kit before March 10th, 2023 by clicking here!
Once you subscribe, you will be sent an email verification which at that time you will need to activate your subscription … it’s easy. Then your Paper Pumpkin kits will be delivered right to your mailbox!
Thank you for checking out my blog post today to learn more about Paper Pumpkin and the amazing FREE gift offered in this kit, and during Sale-a-bration.
Message me if you have any questions.
Have a beautiful Sunday ~
You can subscribe using the links above or you can click on any of the images below ….