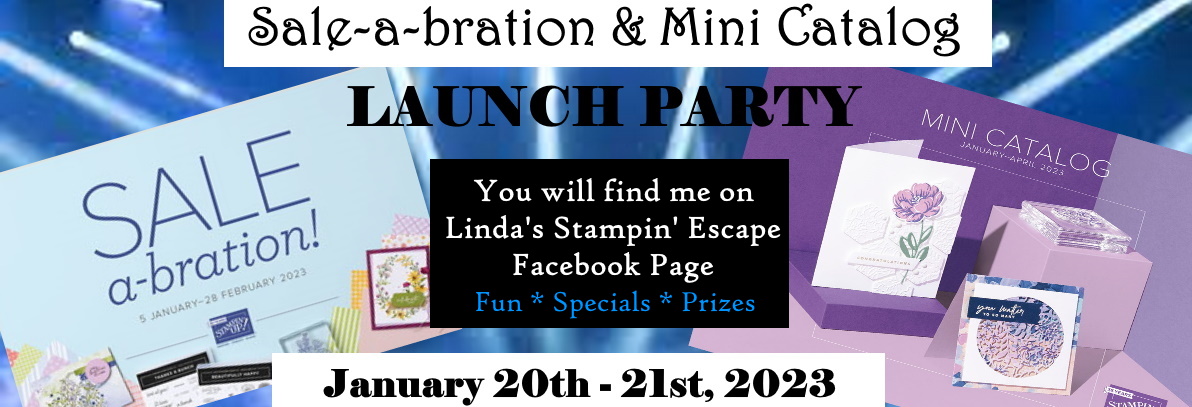
It’s Sale-A-Bration, and it’s one of our biggest promotions of the year, and it’s only happening once this year! It’s overflowing with opportunities for YOU, and filled with fun for everyone! Grab your Sale-A-Bration brochure and check out the great products for FREE when you shop, host, or join from 5 January to 28 February 2023.
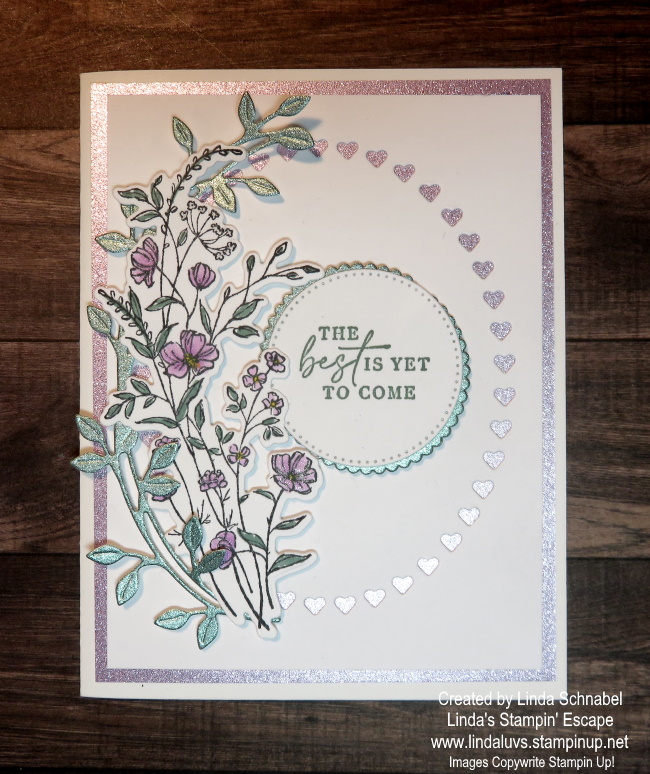
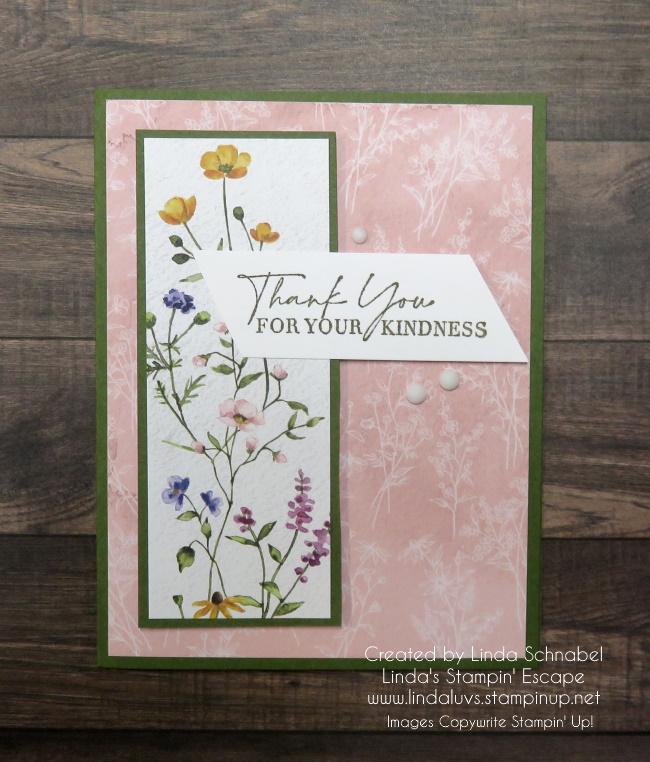
They say a picture is worth a thousand words to let me paint one for you …

You can shop from either the Annual Catalog or the NEW Jan-April Mini Catalog … yes, I said through April! Sale-a-bration ends in 29 days … wow, time sure flies by and you won’t want to miss out on your favorites.
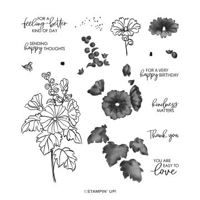
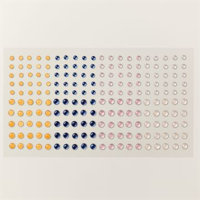
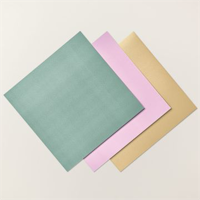
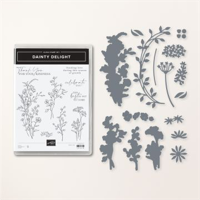
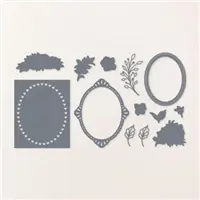
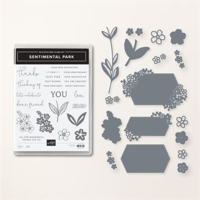
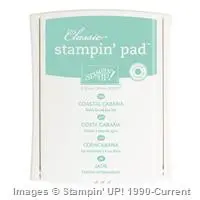
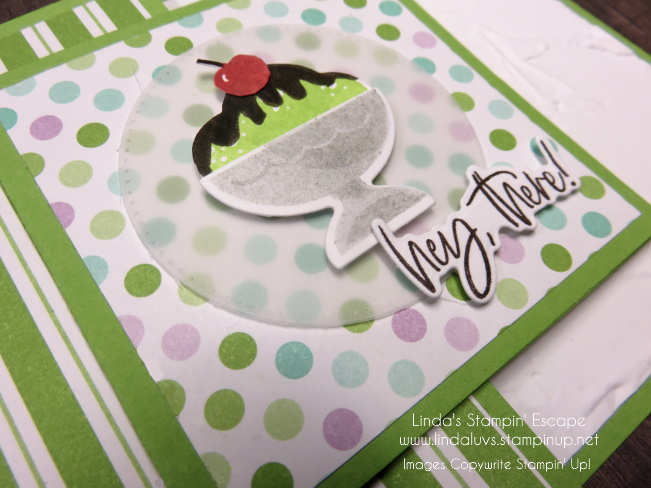
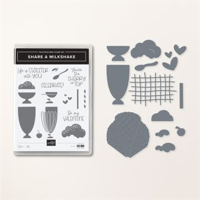
Here are some of the FREE items you can choose from ….
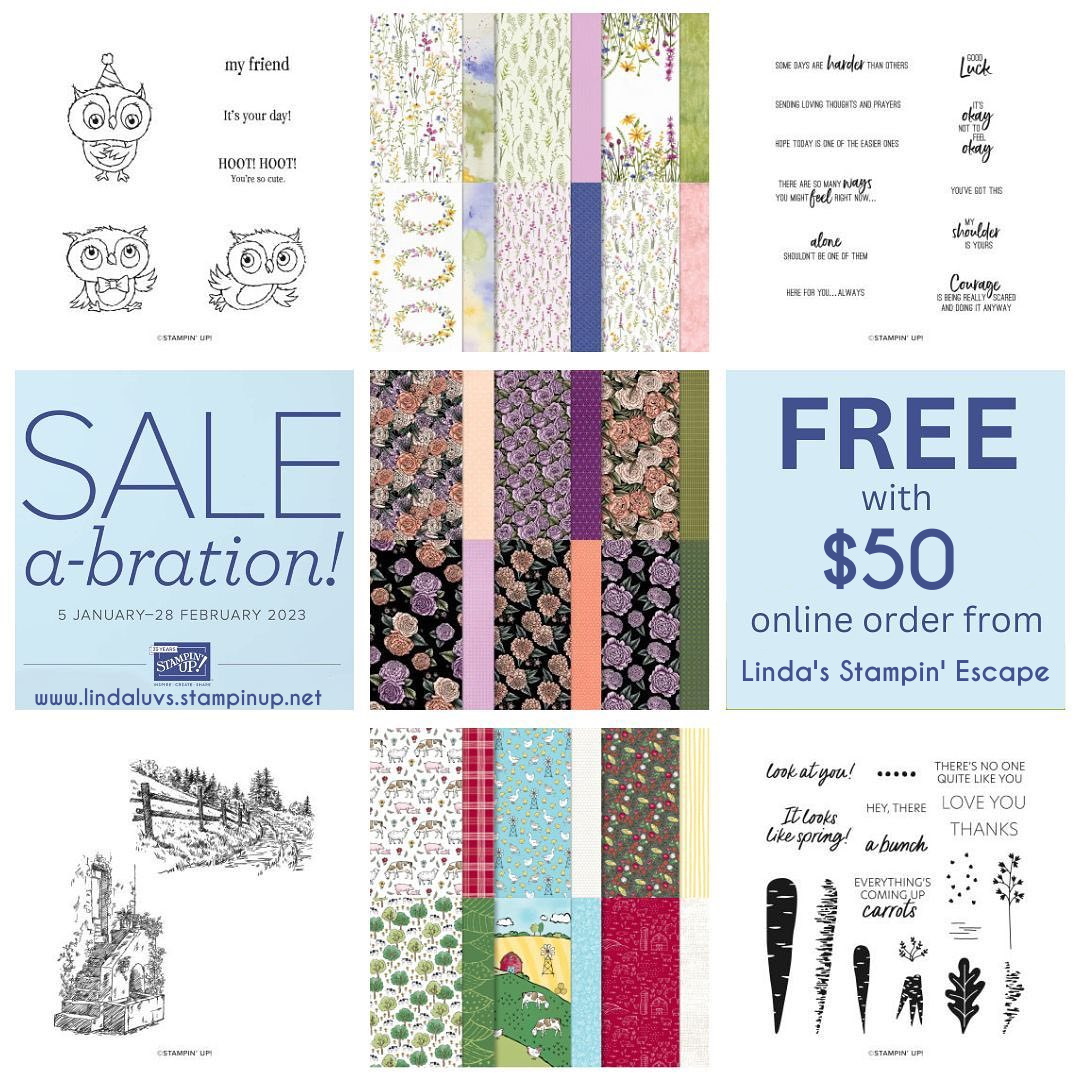
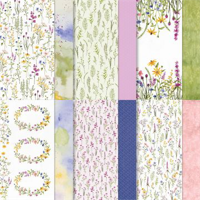
Here are the product that are FREE with a $100 purchase ….


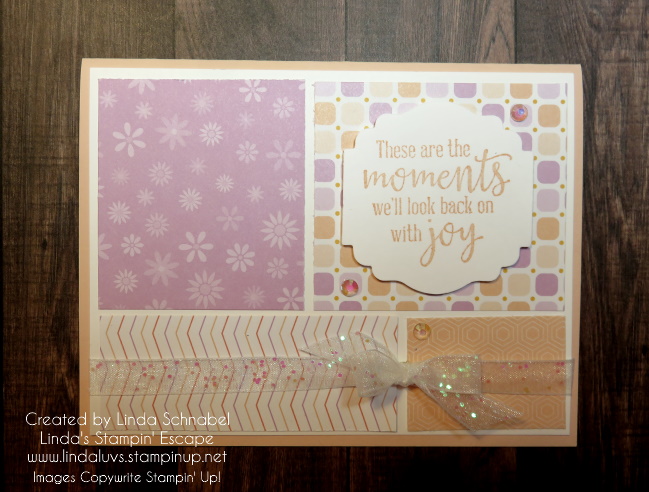
You could also HOST a virtual or in home stampin’ party with me and we will have fun checking out some of the NEW products, stamping some cute cards and earning you some great products!
If you’ve ever attended one of my Launch Parties or Kick-Off parties you know how much fun they are, and I can create a Private Virtual Party for you and your friends.

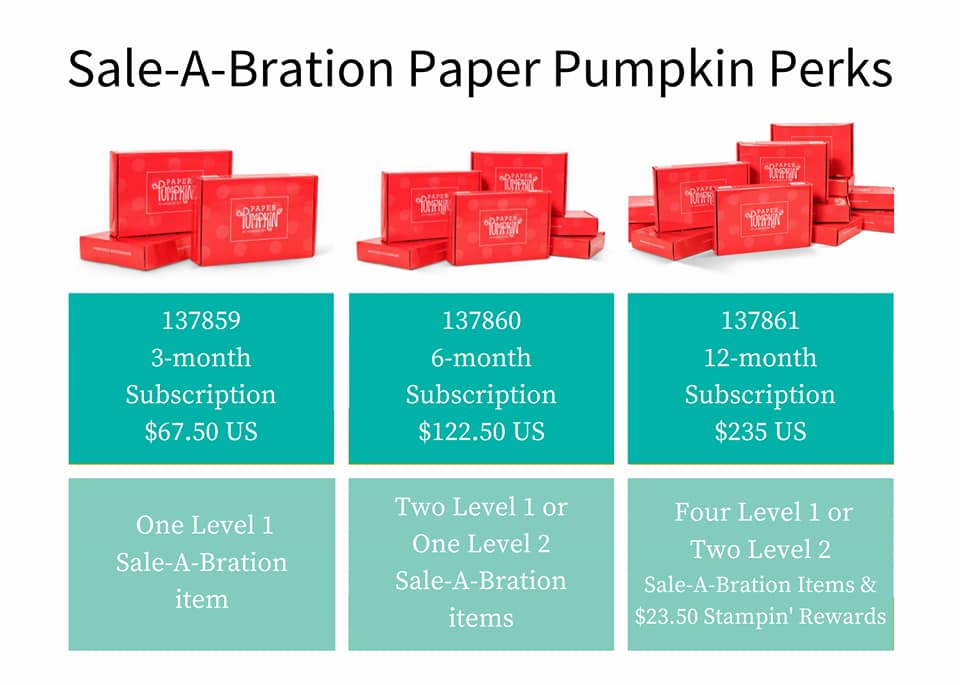
However my friend, if you are like me and want it all … consider joining my team, and I will show you how to Save money … or Make money, the choice is yours. I hear to guide you, and not only do you have me but you’ll get to know the rest of my team, and 40,000 other of our closest Stampin’ Up! sisters and brothers worldwide. We love to share! And that’s not it ….

In addition to the already excellent value of the Starter Kit, if a customer decides to sign up as a Stampin’ Up! demonstrator during Sale-A-Bration, they can choose from three incredible options:
- Option 1: The exclusive Boho Blue Mini Machine ($63 value) + your choice of $175* of Stampin’ Up! products for only $129.
- Option 2: The original white Mini Machine ($63 value) + your choice of $175* of Stampin’ Up! products for only $129.
- Option 3: Your choice of $175 of Stampin’ Up! products for only $99.
Ummm … yea, that is a REALLY good deal. WOW … That is over 56% Savings!! JOIN HERE or contact me with any questions / concerns. We’d love to have you join us for our next stamping get together.

I hope you consider joining me and my team, or having a party for your friends … just know that I am here to help you, even if you would like help placing your order.
Thank you so much for taking the time to check out my blog post today. Have a beautiful Tuesday.
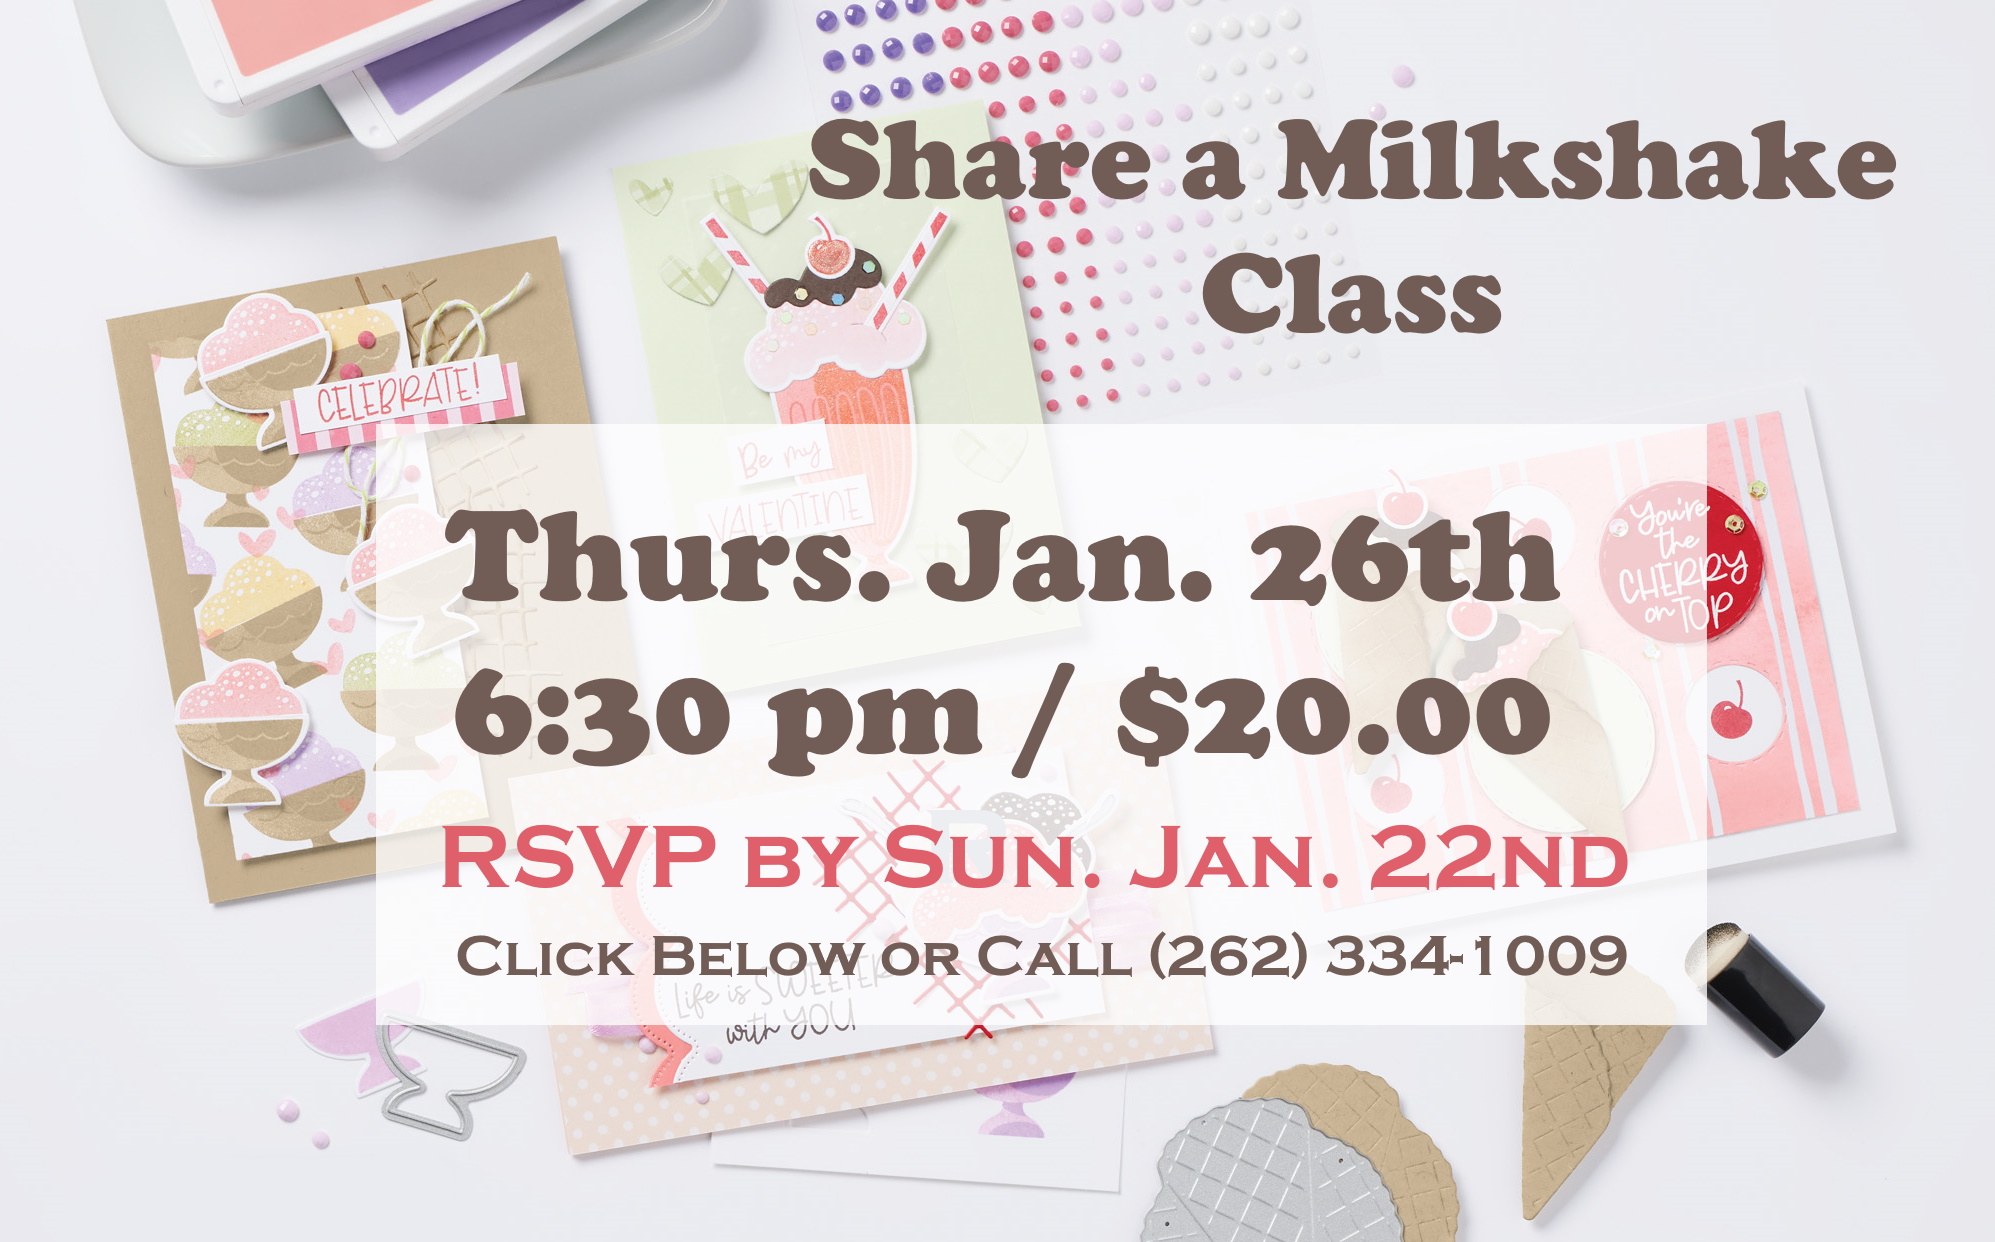
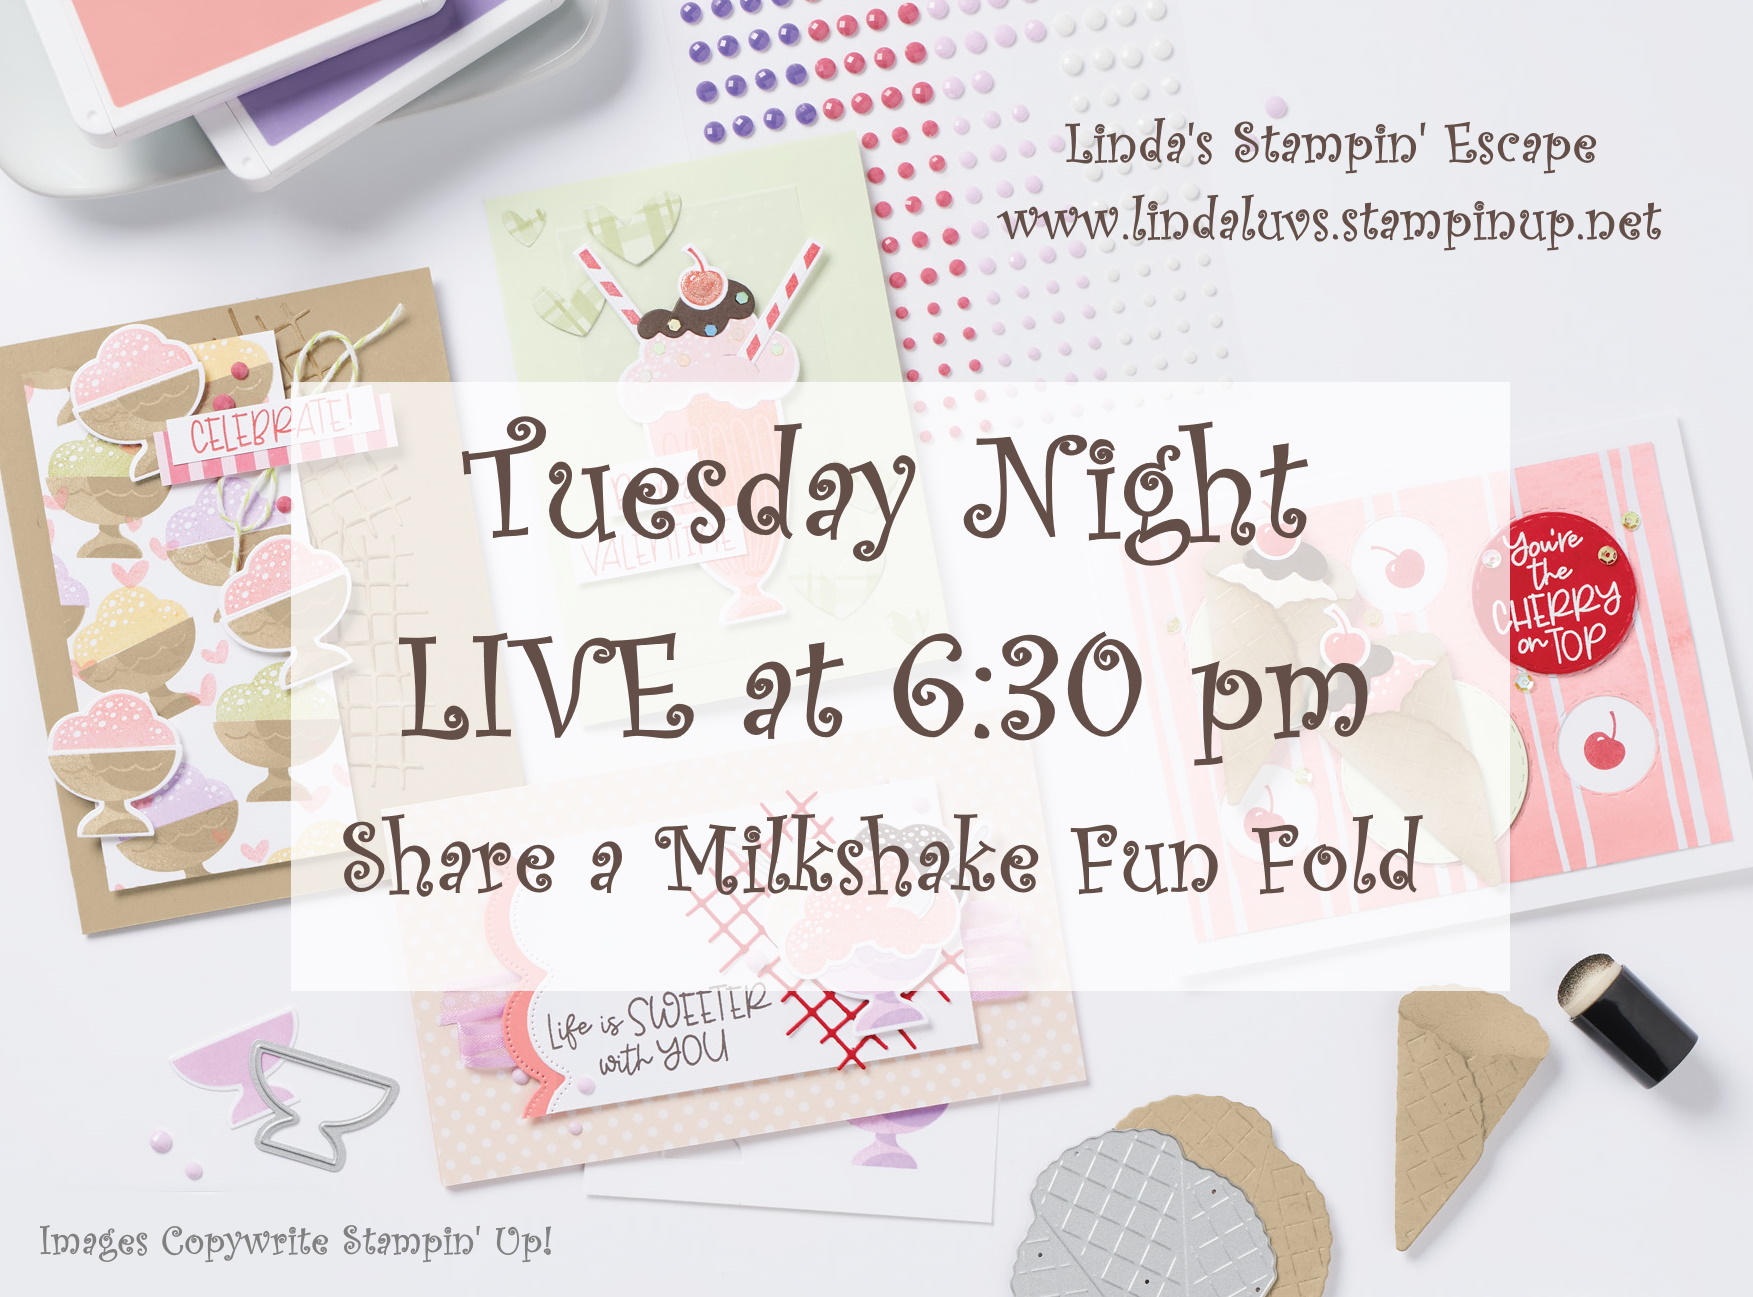
Hey, and don’t forget to join me LIVE on Facebook tonight. See ya!