New Kit: Christmas Gifting

Hello Stampin’ Friends ~

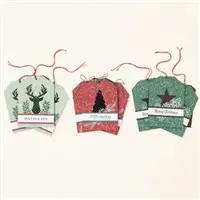
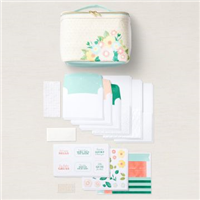
The latest addition to the Kits Collection by Stampin’ Up! is a simple solution to gift cards and tags for the holidays! The Christmas Gifting Kit has everything you need to create gorgeous gift tags to attach to presents and gift card holders that adds a handmade touch.

Kit includes 9 tags and 9 gift card holders—3 each of 3 designs ….

Includes the exclusive Christmas Gifting Stamp Set and a Shaded Spruce Classic Stampin’ Spot

Sized to fit standard gift cards …

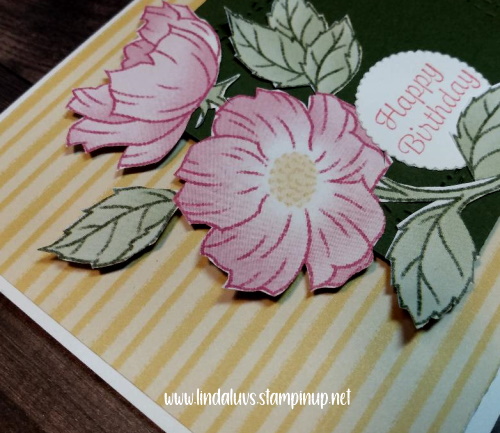
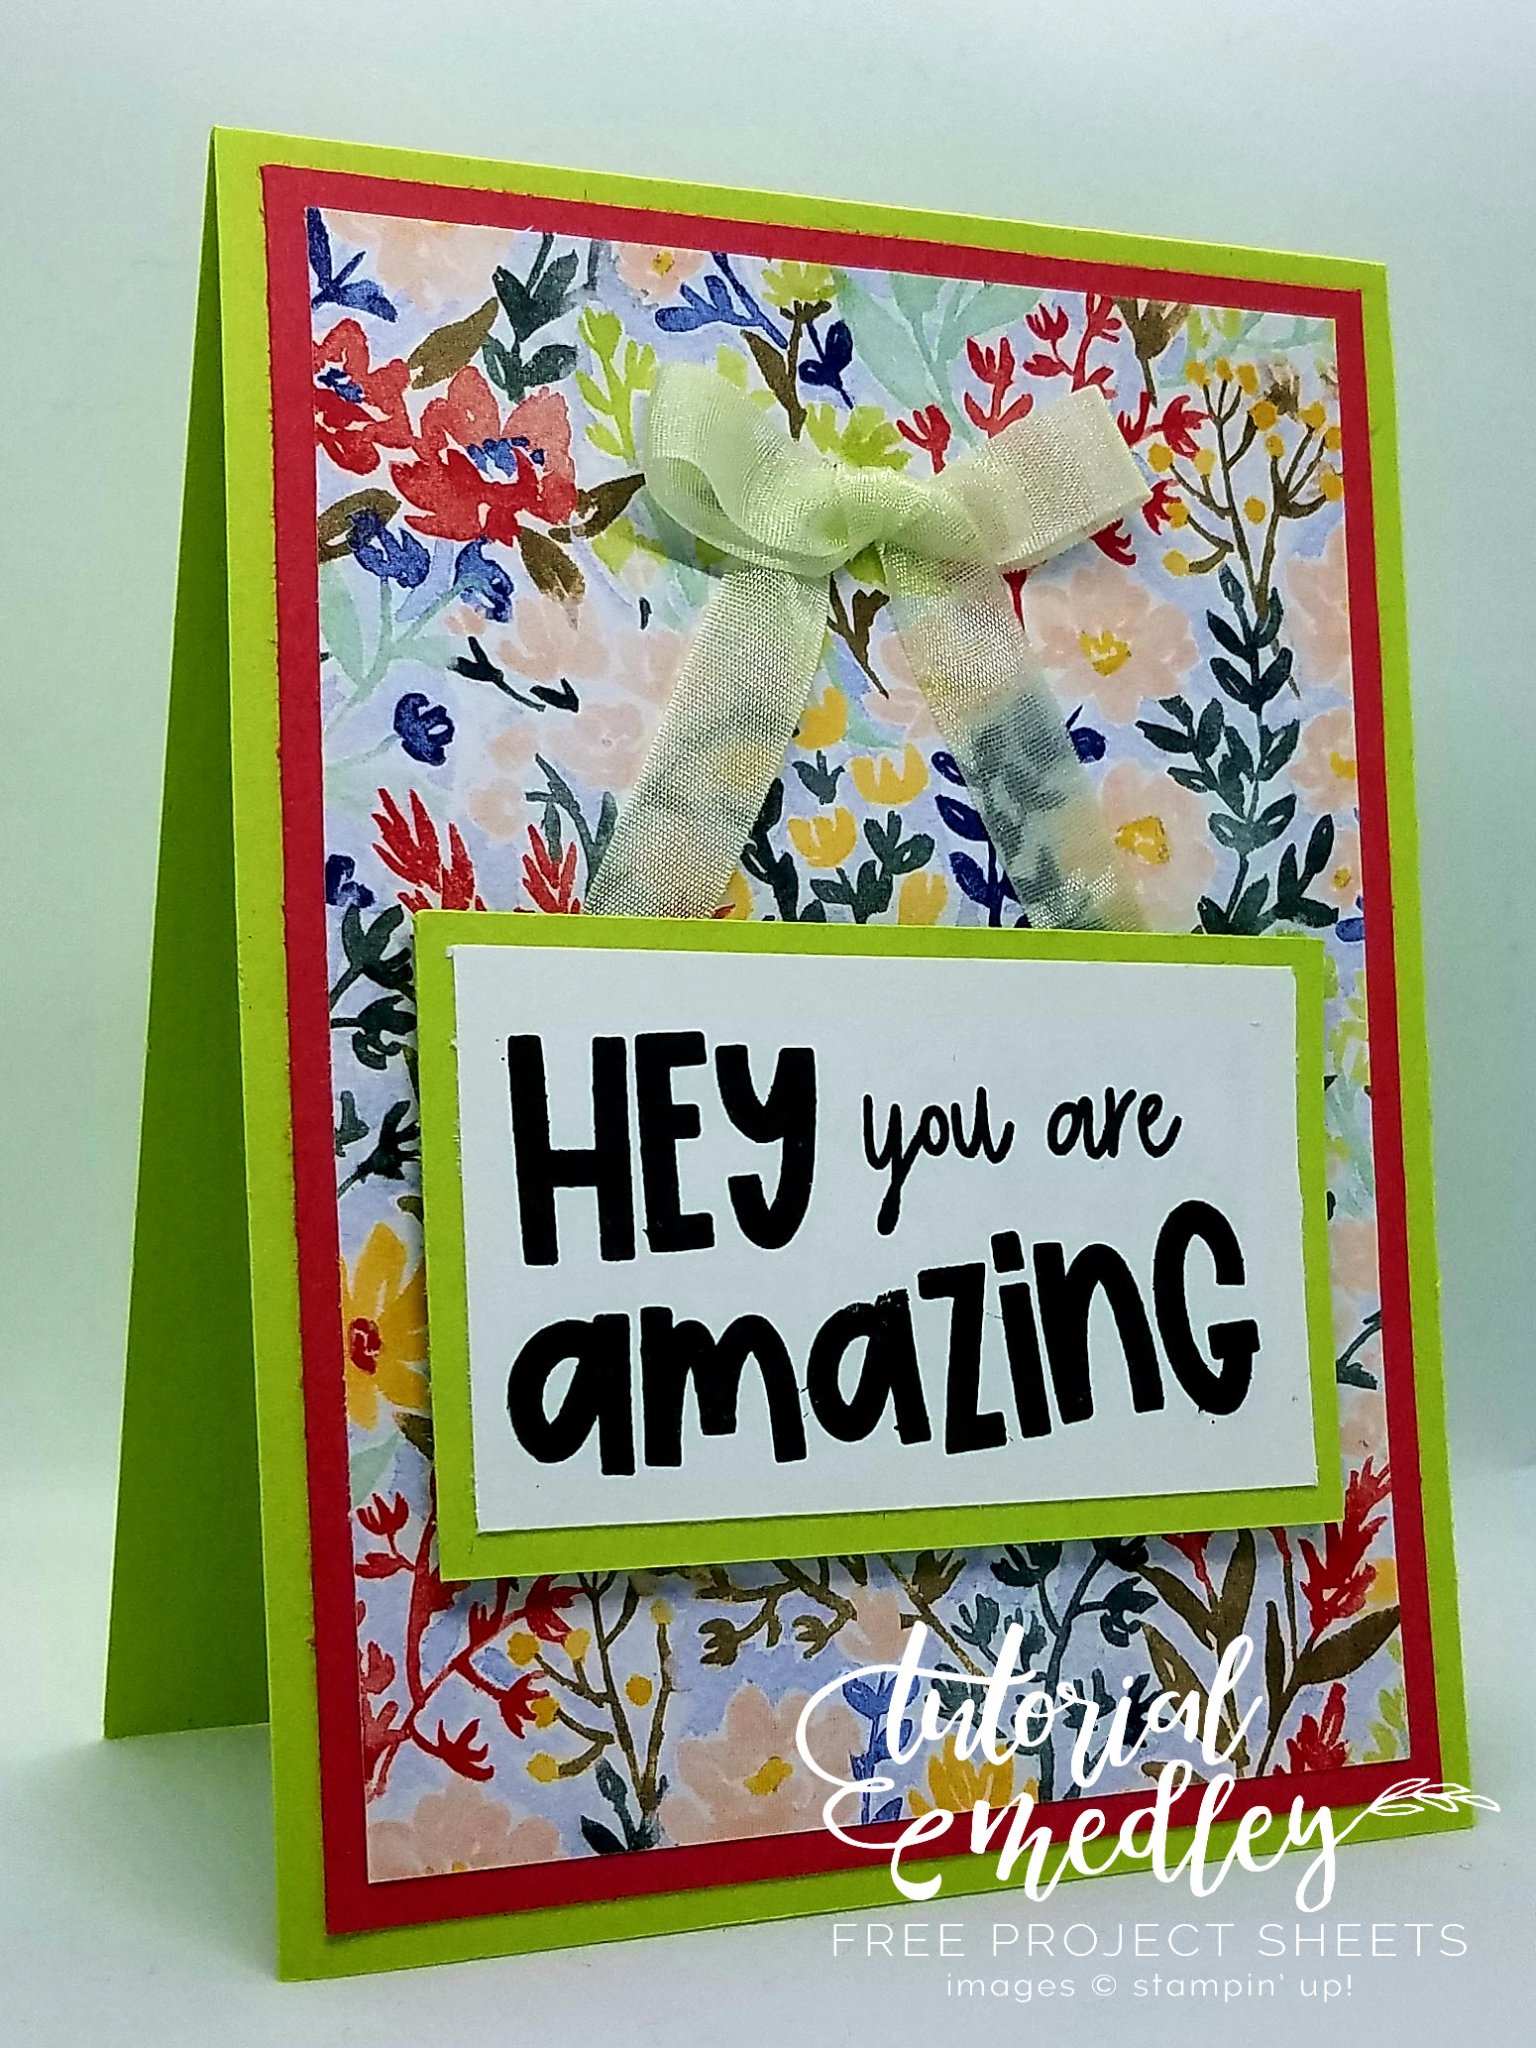
Our Kits Collection are all-inclusive kits that are designed for beginner crafters or those of us looking for a quick creative fix… I like them as a “beautiful” time saver!! They are a fun and fast and offer a creative opportunity without having to purchase the whole craft store! Perfect for those who don’t have a lot of space!

I have added the link below for those of you who want to try it out. Thanks so much for stopping by today. Hope your day is a good one ~

Here is the link for your shopping convenience ….

Using Scraps for a Halloween Scottie!

Hello Stampin’ Friends ~

Today I’m sharing the replay of last nights Facebook LIVE where we used scraps to create a fun and easy card. The Scary Cute bundle meets Christmas Scottie … that little dog is way too cute to be scary!

I’ll share some tips for creating this card so sit back and enjoy ….

Don’t you just love that Scottie Dog … heck with Christmas, he is an all occasion pup!! The banners or flags as some people call them, create so much fun on a card, they’re just happy.

Here are the measurements for today’s card …

  • Card Base:  Thick Basic White: 8-1/2” x 5-1/2”; score at 4-1/4”
  • Layer #1: Parakeet Party: 4” x 5-1/4”
  • Layer #2: Basic White: 3-3/4” x 5”
  • Layer #3:  Basic Black: 3/4” x 4
  • Assorted Colors / Sizes of Designer paper and Cardstock to create banners

Don’t you think this would make the perfect birthday card? How about celebrating a new job, a promotion or a graduation? Today we did Hallowen … I think it would be perfect for Christmas too. The layout works for any occasion and is fun to make … I hope you enjoy creating many of these simple cards.

I want to thank you for joining me today for this replay.

Enjoy and have a wonderful day ~

Here are the ingredients I used for this card. You can click on any one of them for more information, or to begin shopping.

You Gnome Me So Well ..

Hello Stampin’ Friends ~

Yesterday I shared my version of a card that I cased from the catalog. It was my challenge from my Design Team I’m on … so today I thought I would share that card with you! I picked “Hello, Baby” card in the upper right-hand corner on page 46 of the Annual Catalog.

He’s so cute … isn’t he? I liked the layout so that is the card I chose. I decided to swap out the Happier than Happy Bundle for the Kindest Gnomes bundle. I couldn’t resist the pretty Storybook Gnomes Designer paper that would be the backdrop for my cute little gnome. I am part Norwegian so I just love this new suite!

This card turned out so cute and and is the perfect layout for any occasion. Bonus … if you have designer paper scraps, this layout is the perfect one to use them up.

If you would like the PDF for this Gnome card … just comment below and I’d be happy to send it to you!

Thank you for joining today, have a great week.

Warm Wishes for my Gnomies …

Hello Stampin’ Friends ~

Wooo Hooo … a free day for some of us, and I’m spending my Labor Day creating! The challenge for the Design Club that I belong to for this month was to “case” a card from the Annual Catalog and change it up a bit, so I thought I’d do the same for you today! My sample is found on page 53 in the upper top left corner. Here is a picture of the card:

Double layer card … I did mine in Basic White and I swapped out their die cuts for the hexigon from the Beautiful Shapes dies and cut from the Storybook Gnomes Designer Series paper …

The greeting comes from the Kindest Gnomes Bundle and just trimmed with a snip of the scissors. Your Annual Catalog and the Mini Catalogs are great places to find inspiration (besides my blog) lol. This is such a fun and simple layout and can be used with any die or any designer paper!!

Have you cased (copy and share everything) from either of the catalog? Or will you now?

Thank you for taking time out of your Labor Day to check out my blog.

Have an amazing day ~

Here is a list of products I used in today’s card ~

Simply Sunday: Christmas Scottie Card

Hello Stampin’ Friends ~

Yesterday I announced my newest Stamp Class … Christmas Scottie. The Scottie is so adorable and I just LOVE punches because they make your cardmaking a touch quicker! I teamed up the Christmas Scottie with a quick and easy technique I shared at my Halloween Class … The magic of markers to dress up a plain black and white piece of designer paper.

Join me now as I share how easy this Christmas cutie is to make ….

I began with a Basic Black base and a piece of 4″ x 5-1/4″ piece of Real Red which will mat our designer paper which measures 3-3/4″ x 5″. Before you adhere your designer paper to the mat, you will be coloring it with your markers; I used Real Red and Garden Green. The designer paper is the Rustic Harvest Designer paper found in the Mini Catalog.

My sweet little Scottie Dog is punched out from the Metallic & Shimmer paper found in the Mini catalog… although you could use Basic Black. I then punched the bow out of Real Red and attached it to my puppy. I mounted my Christmas Scottie onto a piece of Vellum Cardstock that I had leftover from another project (it’s around 2″ in diameter). Don’t you love how the vellum makes the dog stand out more! This piece was popped up with dimensionals.

The greeting comes from our stamp set and was stamped in Garden Green ink to coordinate with the Garden Green stripes that we added to our designer paper. Don’t forget that you save 10% when you bundle the stamp set and punch. And the “eye” on my Scottie is actually one of the metallic dots on the specialty paper … cool right!?

I want to thank you for joining me today for my debut of Christmas Scottie. This will not be one of the cards in my class, but you know you’ll leave with totally cute cards (and a treat for your puppy!) plus there is always something “sweet” as a treat for you too.

Have a good day ~

Here is a list of supplies I used to create today’s card ….

CALLING ALL PUPPY LOVERS ….

Hello Stampin’ Friends ~

I have a new class to invite you too … They’re cheerful, loyal, and ready to help you send Christmas greetings! The three Scottish Terriers in the Christmas Scottie Stamp Set are eager to adorn your handmade cards and gift tags. Choose your pup, then dress it up in festive finery by stamping the bow of your choice. Giving a gift? Add a bow to the two-line image to create a little present.

These pups will be the highlight of our class … and you’ll see the puppies aren’t just for Christmas!! Learn some stampin’ tips & plus how to utilize this bundle and get the best bang for your buck! The class will be held on Thursday, October 6th at 6:30 pm. Central Time.

RSVP by September 26th / Call 262-334-1009 or email me at lindaluvs.stampinup.net

Join me for a fun evening of making cards, enjoying some treats … and oh, take home some special treats for you puppy too!

Thank you for stopping by, can’t wait to see you in class.

Halloween Happiness …

Hello Stampin’ Friends ~ Today I have some “Halloween Happiness” for you, one of the cards we made last night in my Hooray for Halloween class. The class featured the Scary Cute bundle and the different ways you can use it.

This was our fourth card and it introduces the Aspen Tree dies from the Perched in a Tree bundle … it is stunning with the Hues of Happiness Designer Series paper. The brush strokes in the designer paper add such an eerie touch to the card.

The moon shining brightly behind the trees, lights the way for our little Halloween Fairy … so cute she is! She’s bedazzled with Wink of Stella on her wings, wand and crown. She walks fearless into the forest in search for her treasure … Halloween candy!

Thanks for dropping by and checking out my card, have a great weekend.

Amazing Offerings Starting Today …

Hello Stampin’ Friends ~

Stampin’ Up! has announced two amazing offerings for the month of September, and they begin today!! I wanted to share this with you right away … I’m so excited!!

First, is out PERFECT PARTNERS promotion

Some things are great on their own but become epic when they are paired with something else: cereal and milk, toast and butter, Fred Astaire and Ginger Rogers. We may be biased, but our favorite combo is our stamp sets and dies—and that’s what the Perfect Partners promotion is all about! 

We created six new dies that coordinate with stamp sets in the 2022–2023 Annual Catalog and the July–December 2022 Mini Catalog. These coordinating dies will only be available during this promotion and will not be offered in any catalog.  

Here is a video to explain more about this amazing promotion …

Here are the products with the item numbers on them along with the discount for bundling …

Our second promotion runs though out September but changes each week. I’m also thrilled to see that WEEKLY DEALS have returned.

If you have been stamping with me for a while, this was something that we all looked forward to … each week in the month of September they’re offering a selection of discounted products. Discounts and product selection will vary from week to week… New products added each week on 1, 8, 15, and 22 September!

Click on this flyer and print it … The flyer includes a QR code so you can scan the code and easily find the deals offered each week.

Here are the WEEKLY DEALS for September 1st …

That is a lot of good news for one post and a lot of savings. Feel free to contact me and let me know if you have any questions concerning these specials, I’m here to help. The Perfect Partners promotion runs the entire month … and the Weekly Deals shown here today, will expire on Sept. 7th and a whole new batch of goodies will be premiering on the 8th of September.

Thank you for hanging out with me today. Hope your day is a good one.

Scary Cute Halloween Card & Video

Hello Stampin’ Friends ~

Today I have the replay of last nights Facebook LIVE presentation. I featured the Scary Cute bundle using the Corner Fold Fun Fold but with a twist. I’ll be showing you a different layout to this common fun fold then give you some ideas on how to use the dies.

Grab a coffee and sit back and relax while I show you this scary cute card ….

This fun fold is easy to do and as you’ve seen, you can either use the horizontal / landscape layout or the vertical / portrait style and any occasion works with this layout… so have fun! I absolutely love the different looks you can create with this bundle … a touch scary and a whole lot of cute.

I’ll start with today’s card and then share some of the cards I have presented before …

Halloween is only 8 weeks away so if I’ve inspired you with this bundle, I have added the links below for your shopping convenience. Thank you for taking the time to visit me today.

Stop back tomorrow to see the new promotions Stampin’ Up! has announced. BUT … Don’t forget that today is the last day to enjoy the Sale-a-bration FREE Products.

Have a good day ~

Here is my list of ingredients for today’s card ….

Halloween Happiness …

Hello Stampin’ Friends ~

Did you know that today is National Frankenstein day?

So … I couldn’t resist and made a fun Halloween card using the Scary Cute bundle and the “Frankenstein” in the stamp set. I also used a couple of the dies from the bundle to spook it up a bit!

I used Gorgeous Grape and Night of Navy along with the Blending Brushes to create Frankenstein’s backdrop. The banner, house and moon were all die cut from the coordinating dies. A bit of Washi Tape to add some sparkle.

We have  eight weeks before Halloween … what better way to celebrate than to make cute cards of the monster himself? Better yet, find a friend and create together… Isn’t that what Frankenstein and Igor did? The two months of prep will give you plenty of time to design the perfect cards and decorations for your Ghouls and Goblins at your Halloween event.

I’ll be sharing more Halloween inspiration throughout those eight weeks, till then have a great day.

Wonderful World Birthday

Hello Stampin’ Friends ~

Today I have a beautiful card to share with you that highlights the Wonderful World Designer Series paper. The many pretty patterns from this paper helped to create this card … one sheet has larger flowers so I fussy cut it out and then mounted it onto my layered cardfront.

The card base is Basic White and was layered with the yellow pattern … I used that one to pull the yellow out of the center of the flower. I used the Stitched with Whimsy dies to create some texture onto my piece of Mossy Meadow and then layered my flower over it.

My Happy Birthday sentiment comes from the Very Best Trio bundle and was die cut using the Layering Circle dies to add a little more whimsy to the card. I did have to pinch off that leaf so I could position near the greeting like I did. And then ….

the entire assembly was mounted onto the card front using the Stampin’ Dimensionals. I love the larger flowers on that sheet, so many different kinds from all over the world … amazing! Each one will give you a different look so you can have a lot of fun with them.

Thank you so much for coming and checking out my blog today. With Sale-a-bration ending in just a few days, I wanted to make sure I gave you a chance to get your favorites.

Have a wonderful day ~

Here is a list of products used for today’s card ….

Hey, You are Amazing

Hello Stampin’ Friends ~

Finally feeling a little better so I’ll be back to posting and sharing again! Today’s Hey, You are Amazing card features the Amazing Phrasing stamp set and the Rings of Love Designer Paper.

Before we begin … here are the measurements:

  • Card Base: Parakeet Party 11” x 4-1/4”
  • Cardstock # 1: Sweet Sorbet 5-1/4” x 4”
  • Cardstock # 2: Parakeet Party 3-1/4” x 2”
  • Cardstock # 3: Basic White 3” x 1-3/4”
  • DSP:  5” x 3-3/4”

Instructions:

  • Score and fold the card base in half as you would if you were making a normal card.
  • On a Clear Block, line up the “HEY” and “you are” stamps on one line and then place the “AMAZING” stamp under them. Using Evening Evergreen ink, stamp the sentiment on Cardstock #3. 
  • Adhere the sentiment on to Cardstock #2.  Add dimensionals to the corners on the backside of Cardstock #2.
  • Place adhesive on the back of the DSP and adhere to Cardstock #1.
  • Place adhesive on the back of Cardstock #1 and adhere to the card base.
  • Take about 10” of the Soft Sea Foam Seam Binding ribbon and tie a bow.  Use glue dots to adhere to the DSP, also use glue dots to adhere the tails of the ribbon to the DSP. Attach the sentiment to the DSP, so that it looks like a wall hanging.
  • For the inside of the card, stamp a sentiment and adhere the Basic White card stock to the inside of the card.

Thank you for stopping back and joining me today.

Have a wonderful day.

Linda

Cup of Tea …

Hello Stampin’ Friends ~

Today I have a cute card made from the fabulous Cup of Tea Suite. Sit a bit and enjoy a cuppa while you create cards and more with products from the Tea Boutique Suite Collection.

If you like tea, you’ll love creating tea-themed projects. The Cup of Tea Bundle has stamps and coordinating dies for making cards and scrapbook pages.

Sit and stay awhile with a friend and share the Cup of Tea Bundle! ☕

This bundle includes stamps and dies to create a perfect cup! Add a little (or a lot) of love, a slice of lemon, and a heart-felt sentiment for cute cards and crafts that will make everyone smile.

Thank you for stopping by!

Craft for a Cause

Hello Stampin’ Friends ~

With all the struggles in the world today, have you ever felt like you needed to do something? Be a part of something bigger than yourself to help others? Let me share how we can make a difference … Craft for a Cause with the Nourish & Flourish Kit

Help us make a difference with the Nourish & Flourish Kit! Food scarcity is an issue facing communities across the globe. And with your help, we hope to make a difference. With every Nourish & Flourish kit purchased by you, we’re donating $3 to organizations fighting to end food scarcity.

The Nourish & Flourish Kit is made of your spring picnic dreams. With a deliciously bright color palette you’ll love creating the springtime cards while knowing your crafting is making a difference!  Here is what is included in this kit ….

  • Kit includes 9 embossed card bases—3 each in 3 designs—and 9 coordinating envelopes
  • Includes sticker sheets, die cuts, and die-cut labels
  • Includes an insulated 9″ x 6-1/2″ x 6-1/4″ lunch bag
  • Finished card size: 5-1/2″ x 4-1/4″
  • Coordinating colors: Calypso Coral, Daffodil Delight, Old Olive, Petal Pink, Pool Party, Shaded Spruce

Food scarcity is an issue facing communities across the globe. Each year, Stampin’ Up! supports a designated cause through special limited-edition products or promotions. This Year we have chosen to support organizations that are working to end food insecurity by releasing a special Nourish and Flourish Kit (item 160230).

We all know that Making a Difference by helping others makes us feel good. And we know you will want to get behind this great cause. Click HERE to get your kit now. This kit is available July 1, 2022 through the 4th of January … but don’t wait, good things don’t last forever. This kit would make a beautiful Birthday, Graduation or Christmas gift for the crafters in your family … even beginning crafters!

I’ll be honest … I love how Stampin’ Up! tied in the “fighting food scarcity” with a beautiful insulated lunch bag, a sweet reminder that we have helped in making a difference in the lives of others.

I am putting the link below for you to make it easy for you to join in the cause and to help in making a difference.

Thank you for hanging out with me and for helping out.

A Dazzling Halloween …

Hello Stampin’ Friends ~

Today I’m going to bewitch you with a Dazzling Halloween Card! From a simple Black & White pattern from the Rustic Harvest Designer Paper to a fun and colorful card that’s a treat for any of your ghouls and goblins.

Now that you’ve seen the card, I invite you to sit back and join me for a quick video … it is a replay of my Summer Sale-a-bration / Mini Catalog Celebration Party. Enjoy!!

Now … wasn’t that easy? The Glitter Washi Tape fits nicely between the lines and goes down easily. The Scary Cute Bundle creates a hauntingly inviting image that sits on a piece of die cut vellum to really make it pop. If you’ve watched the video to the end … you got to see two of the cards that I had showcase on my blog earlier.

I thank you for joining me today. Hope you have a good day!

Here are the links to the products that I used in today’s card ….