Hello Stampin’ Friends ~
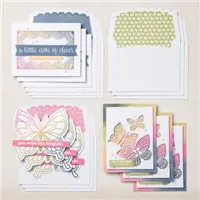
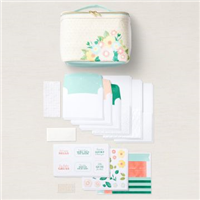
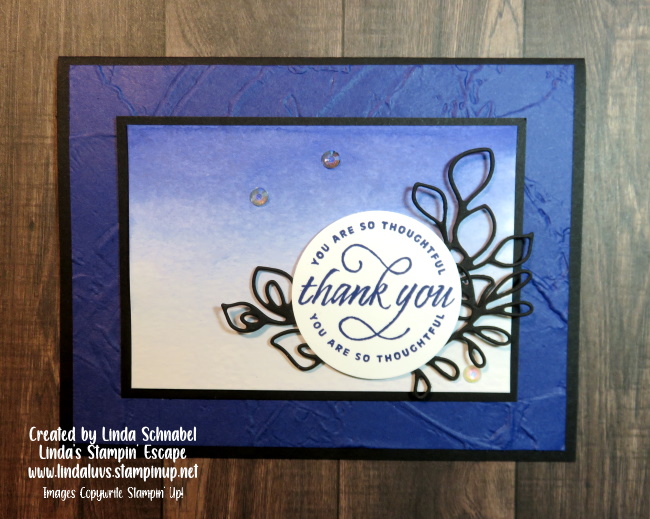
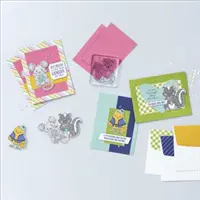
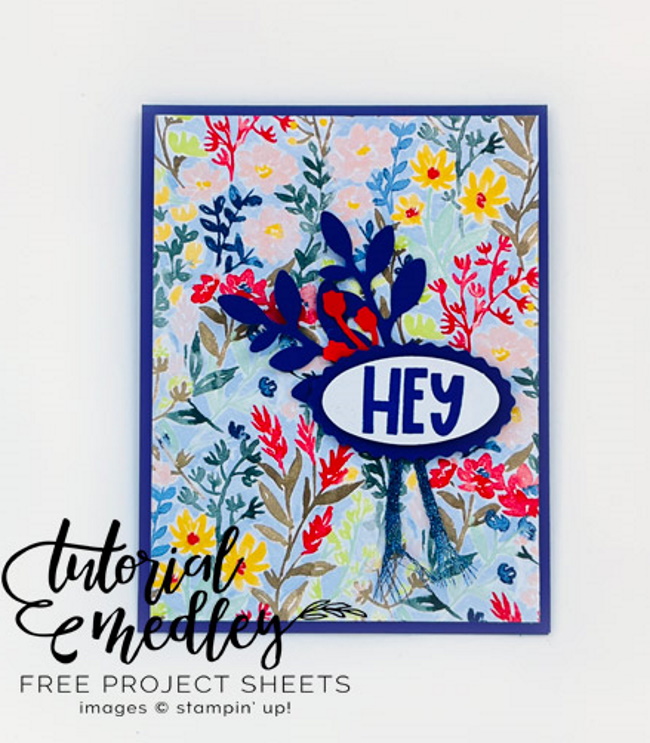
Today I’m going to share the replay of my Tuesday Night Facebook LIVE … it’s a mash up of the Notes of Cheer Card Kit and the Charming Sentiments Bundle.
You are going to love the great tips included in this video, but you are going to flip over how quick and easy it is to create the prettiest cards in just minutes. This is the main reason I have a few card kits sitting in my stamping room … when I need a card “NOW” … I grab one from one of the kits. Don’t get me wrong, I love sitting in my stamp room creating, but sometimes you just need a card!
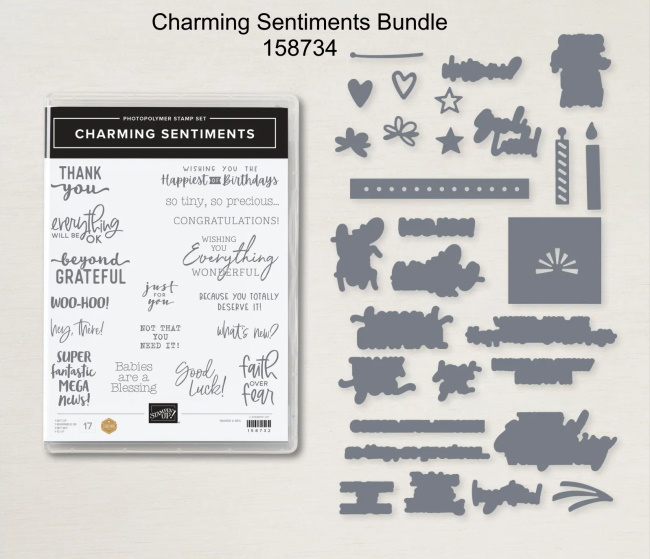
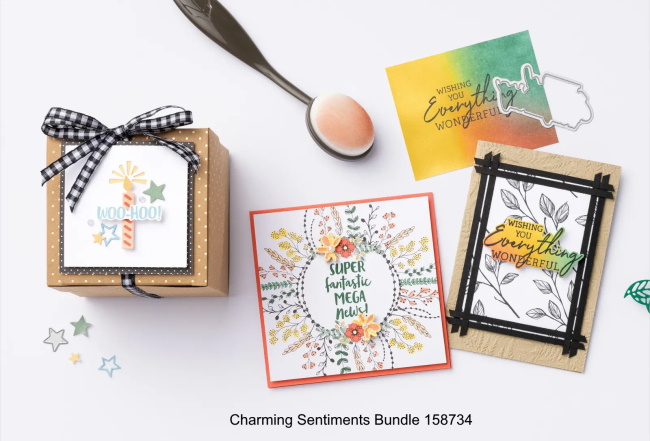
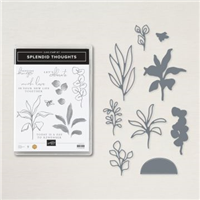
In the video you saw me “change up” the card just a bit, enough to introduce you the the amazing Charming Sentiments bundle. I love a good sentiment set and this one is filled with goodies! And to top it off … it has a coordinating die set.
In the video I also shared a few other ways you could change up the card, but it’s so nice to be able to just head off to the craft room and whip out a card. There are many different card kits. Here is a link to look at those: https://www.stampinup.com/categories/shop-products/other-products/kits-collection?demoid=26646

So happy you stopped by today, thank you!! Have yourself a great day.

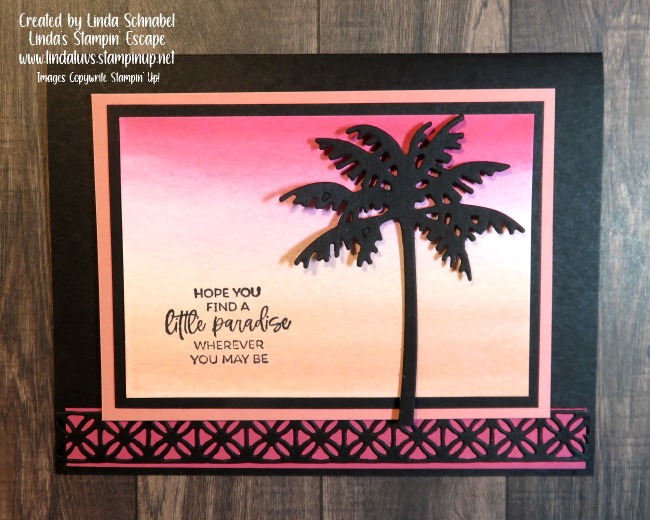
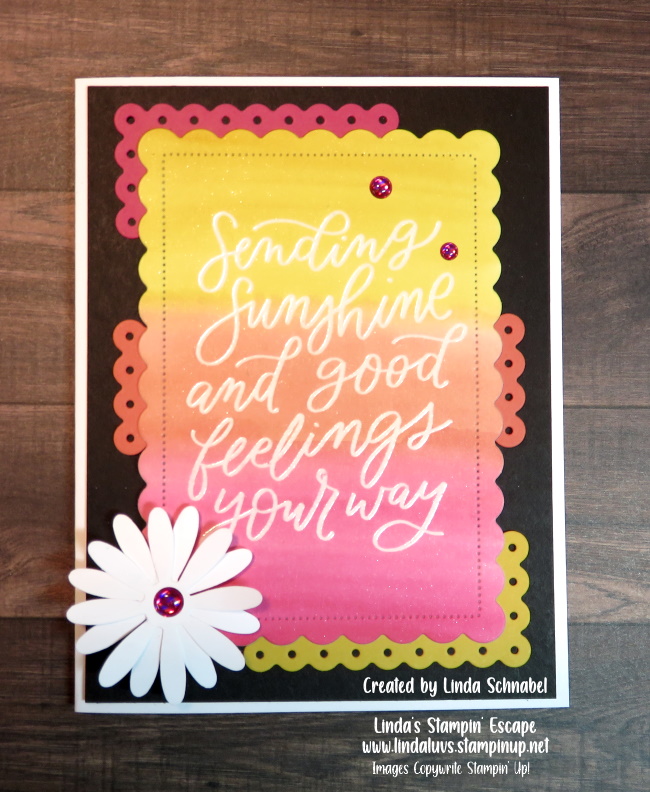
Here are the links to the products used today …