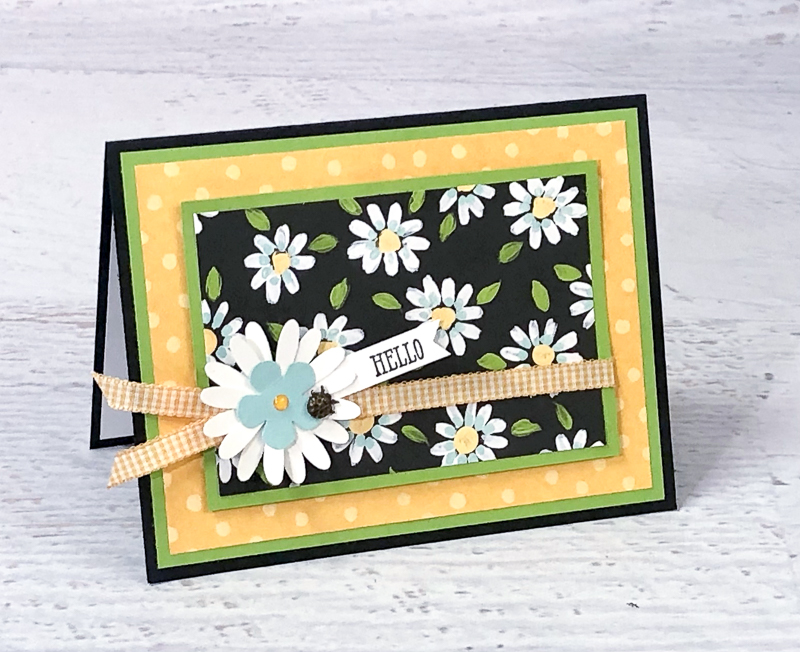
Hello Stampin’ Friends ~
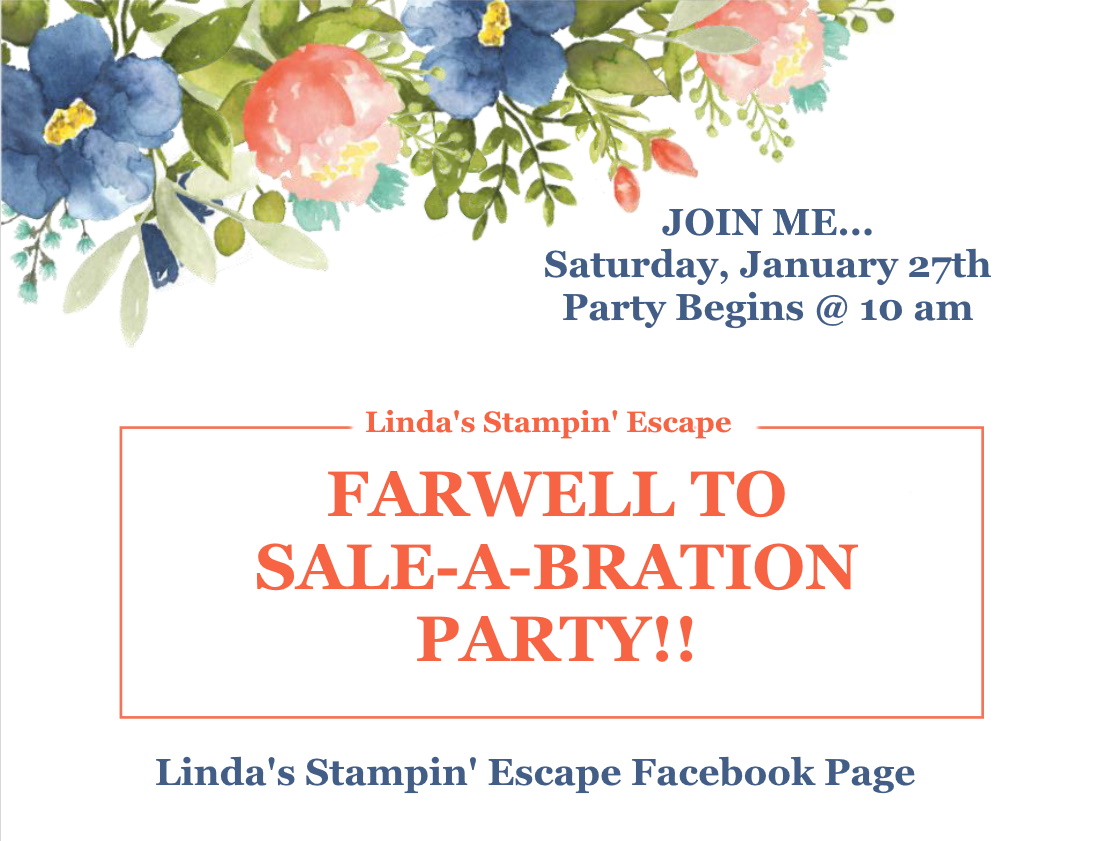
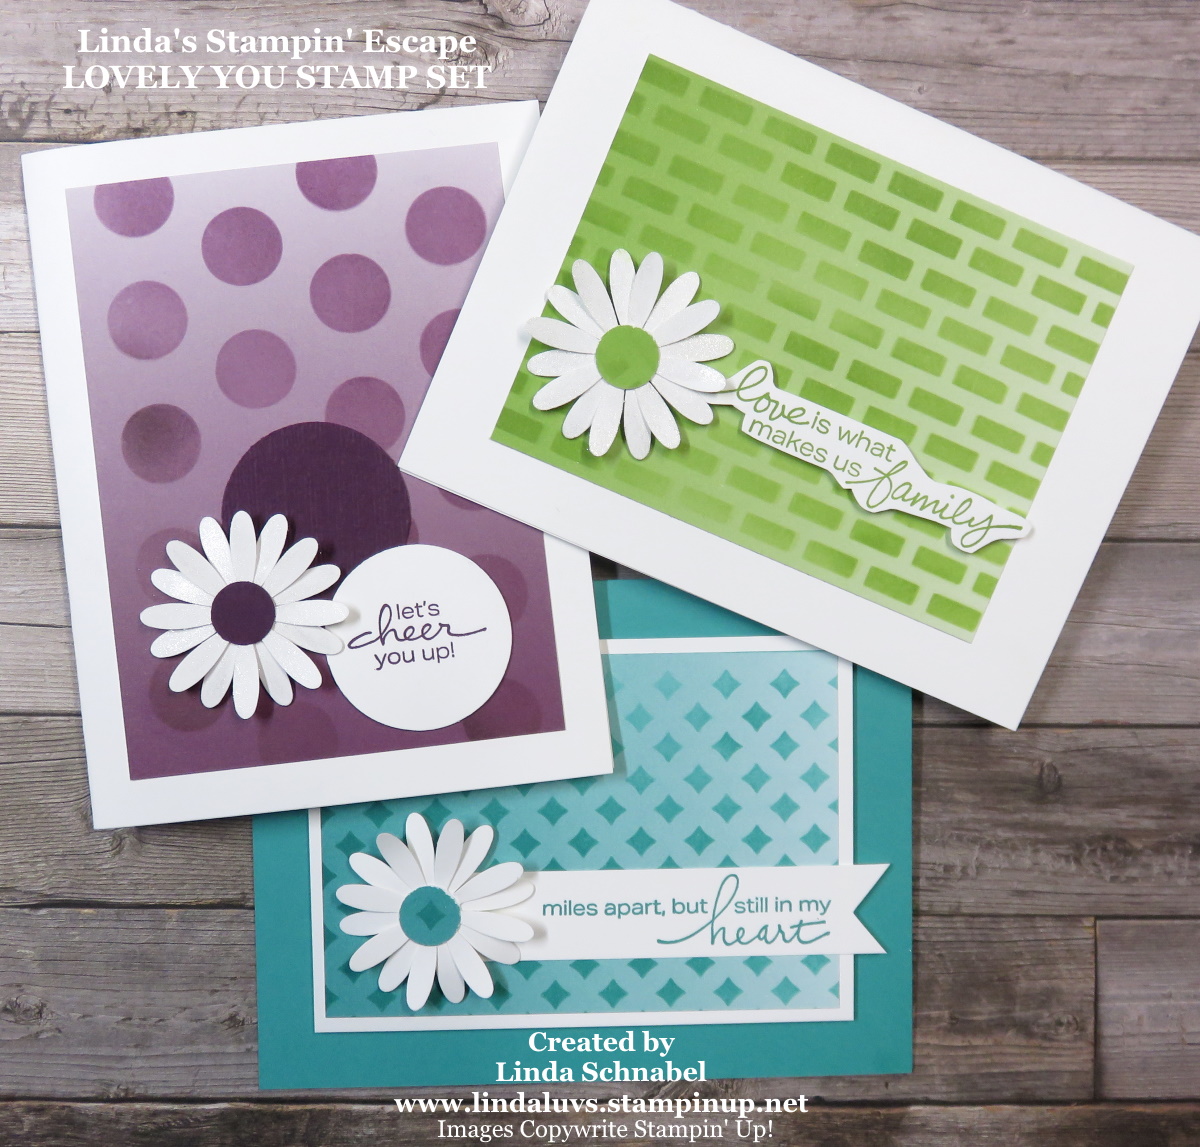
Hope you are having a beautiful weekend! I spent yesterday with many of you, my stampin’ friends at my “Farewell to Sale-a-bration” Party. Today I’d like to share 3 cards with you that I created with the “Oh So Ombre” Designer Series paper … some decorative masks … the Blending Brushes … and the sweet Daisy Punch!
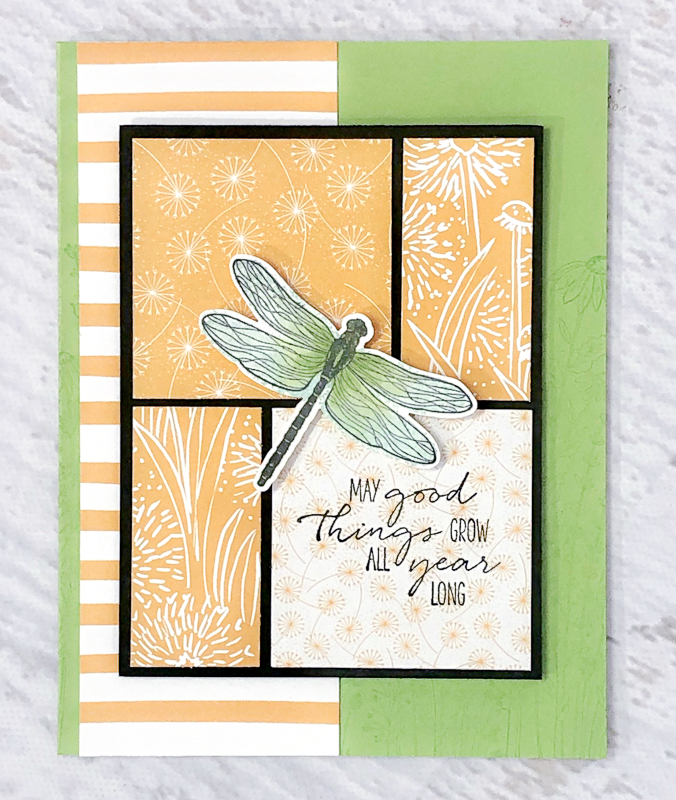
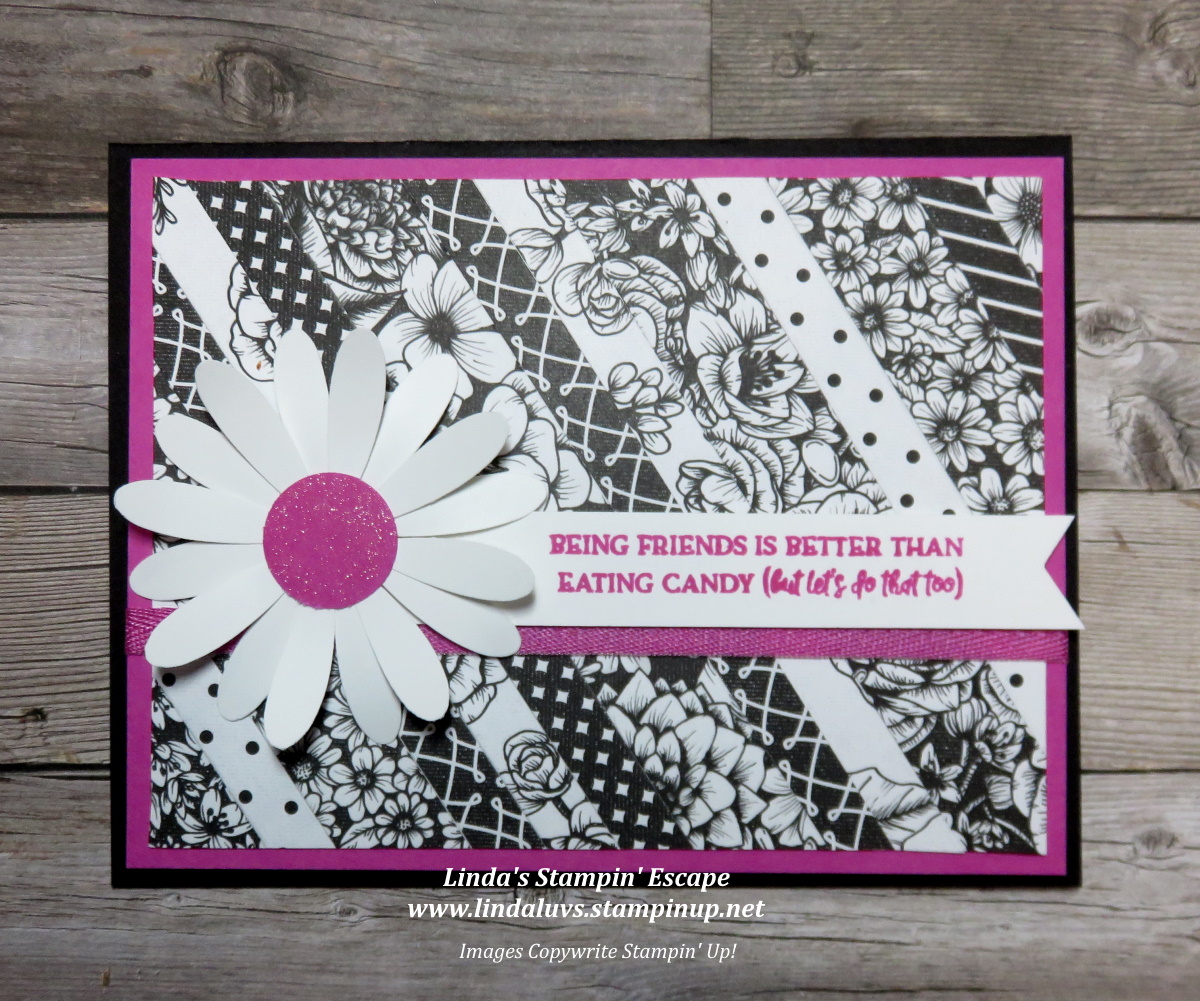
My first card was created with an retired decorative mask but I was giving some away as Door Prizes so I wanted to show them how they could use them. It is the Blackberry Bliss “Oh So Ombre” designer paper, ink and cardstock. Depending on how you cut your 6 x 6 designer paper … you can easily get 2 cards out of it. You lay the decorative mask on top of the “Oh So Ombre” designer paper and begin applying ink with the use of the Blending Brushes.
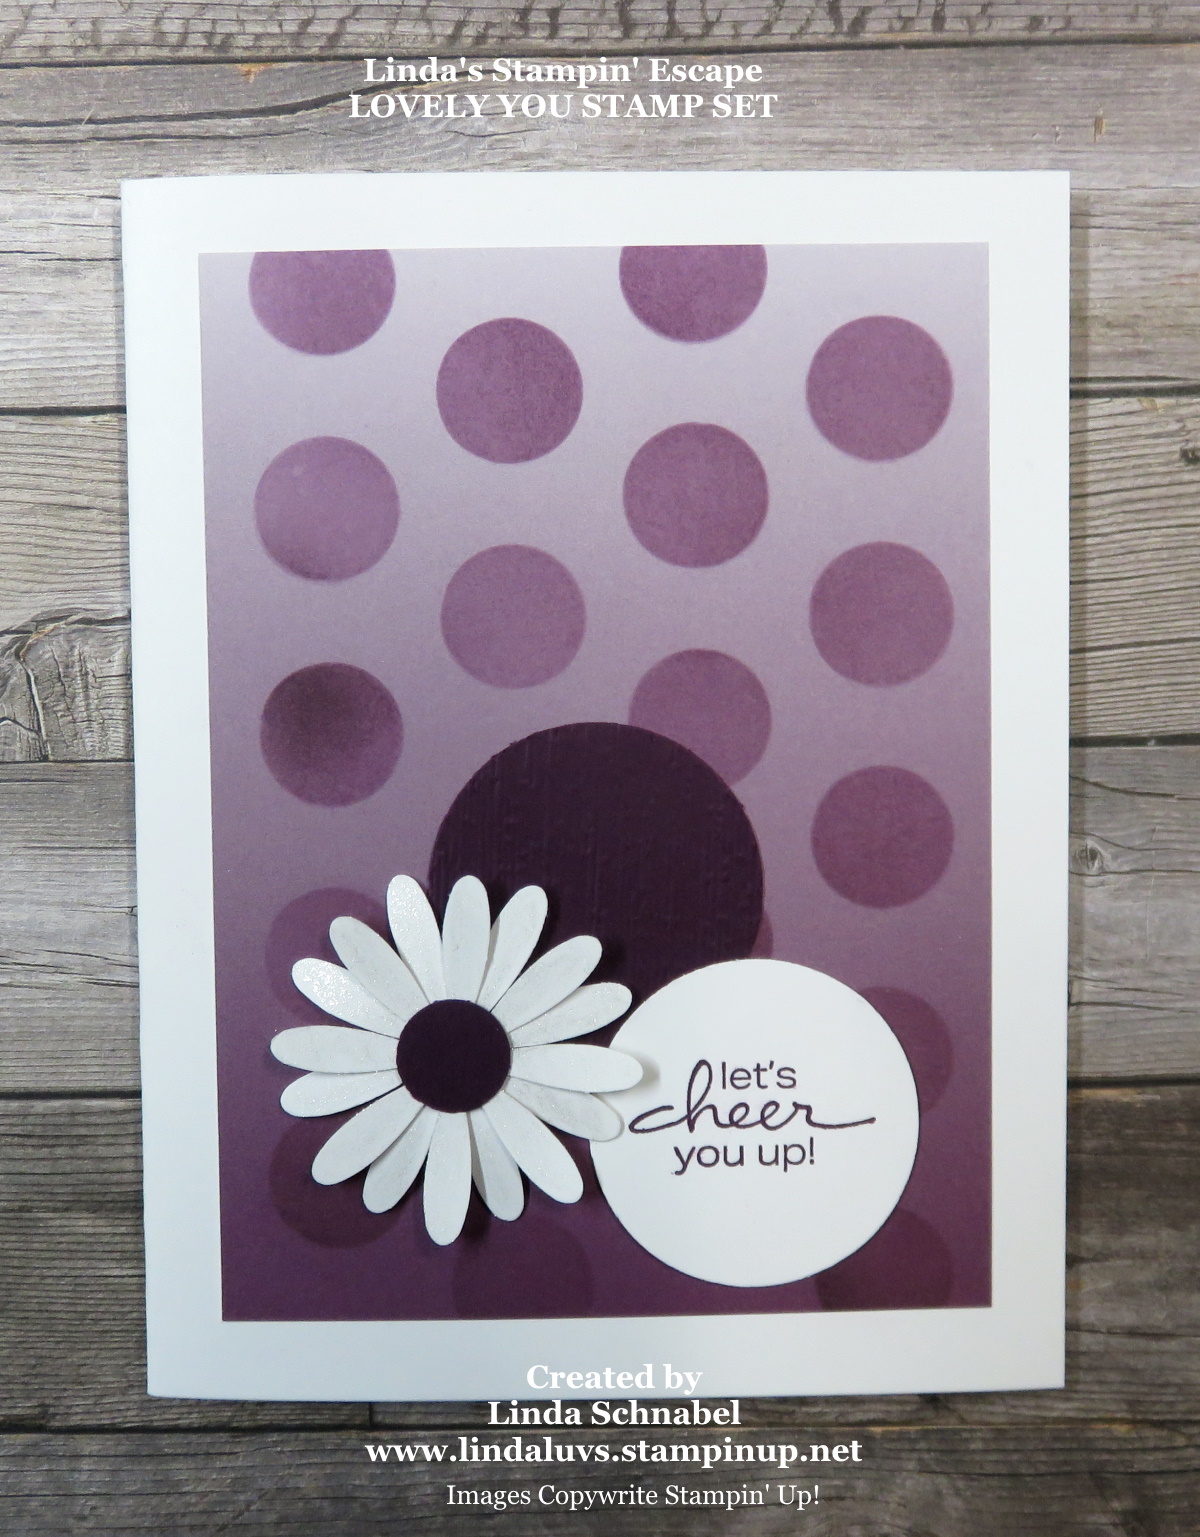
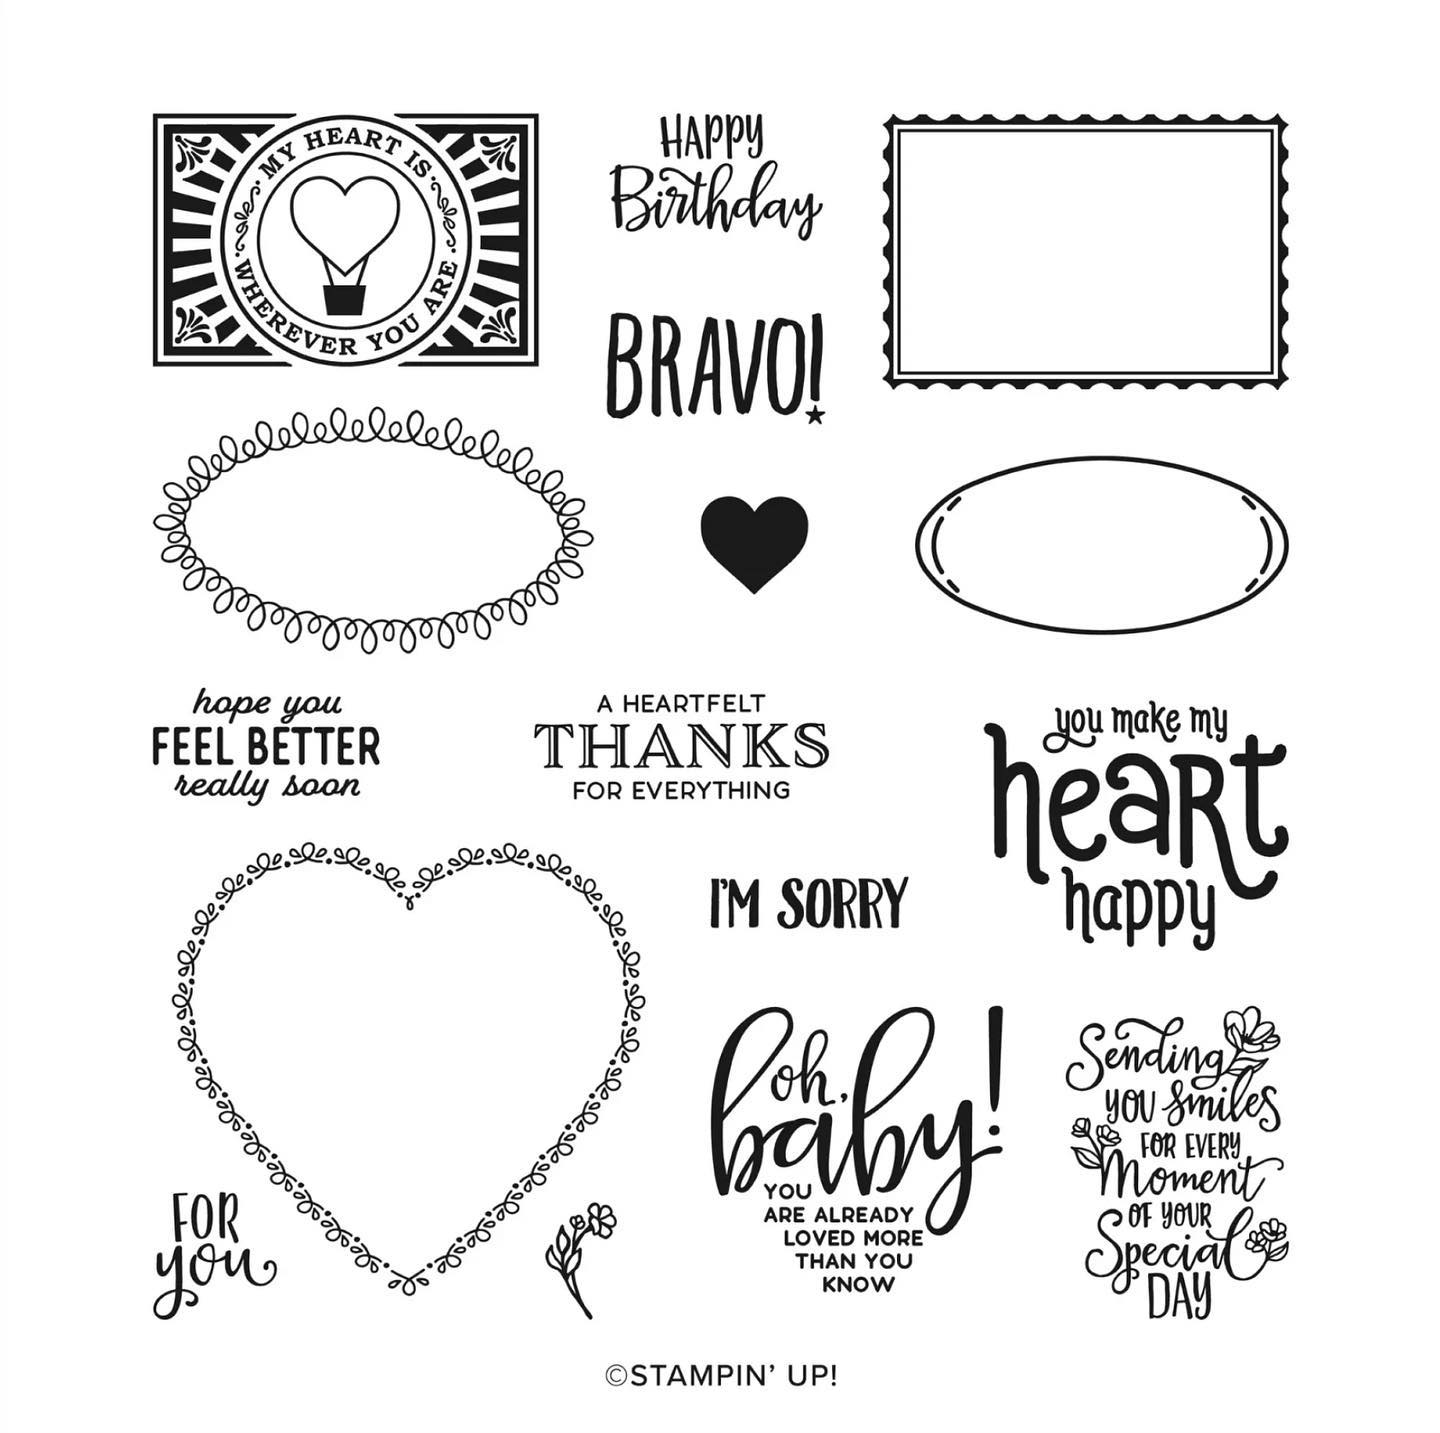
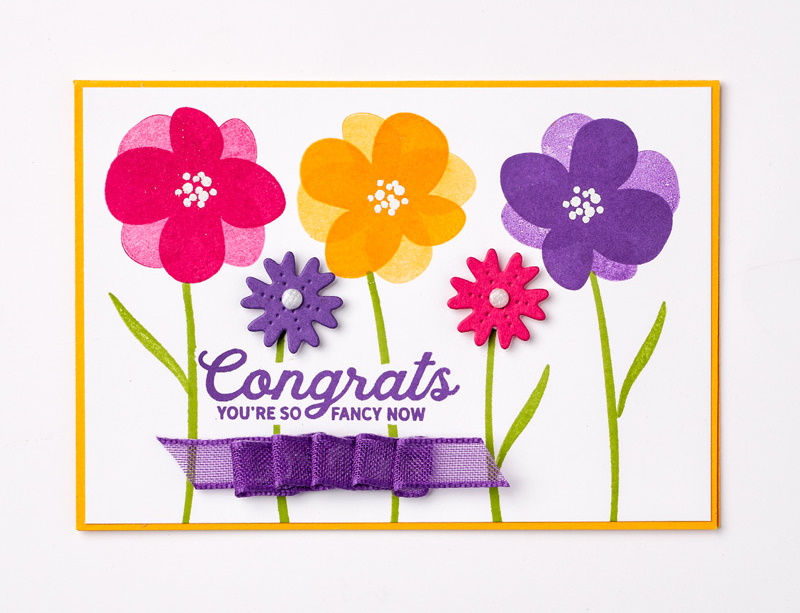
I stamped my greeting in Blackberry Bliss using the Lovely You stamp set. I punched it out using the 1-1/4″ circle punch, which I also used to punch out a piece of Blackberry Bliss… that was run through the Stampin’ Emboss & Die cut machine using the Subtle Embossing Folder.
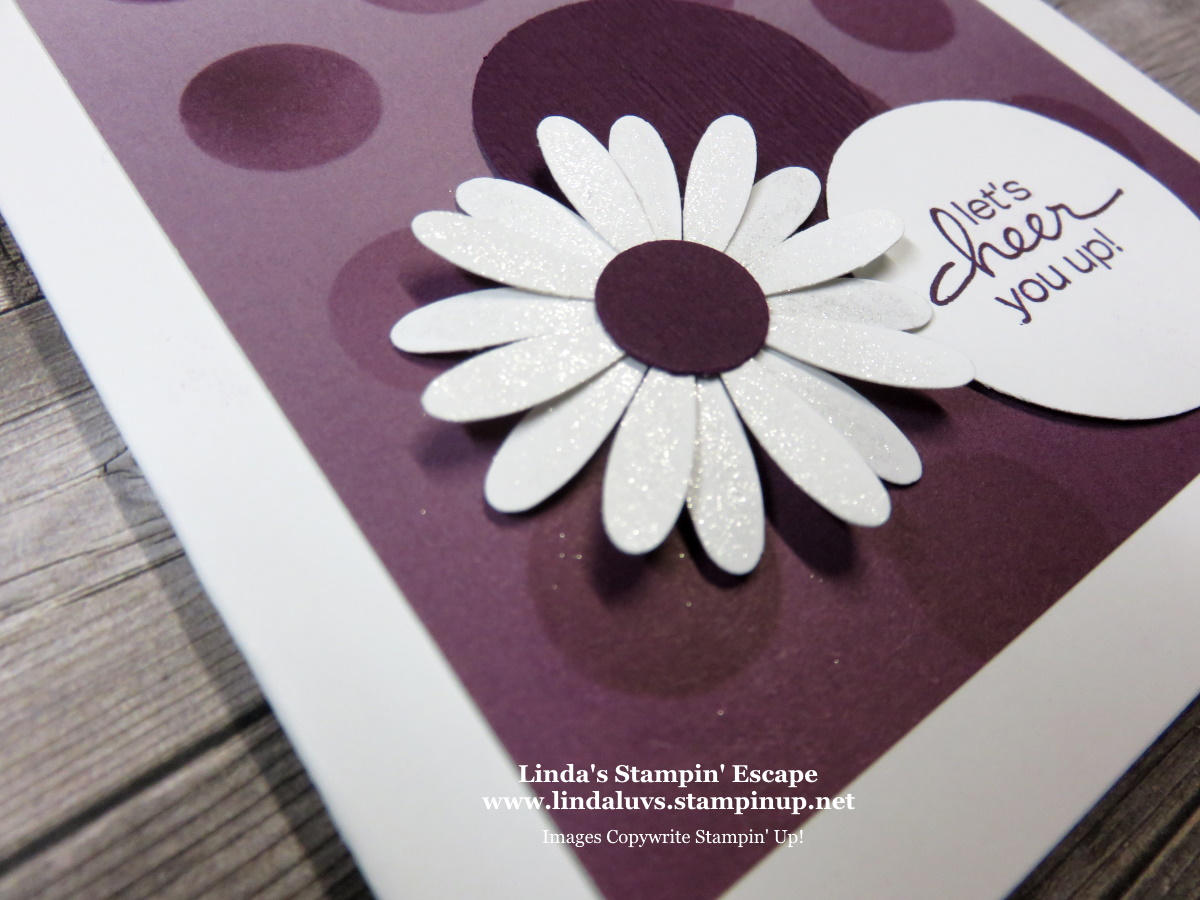
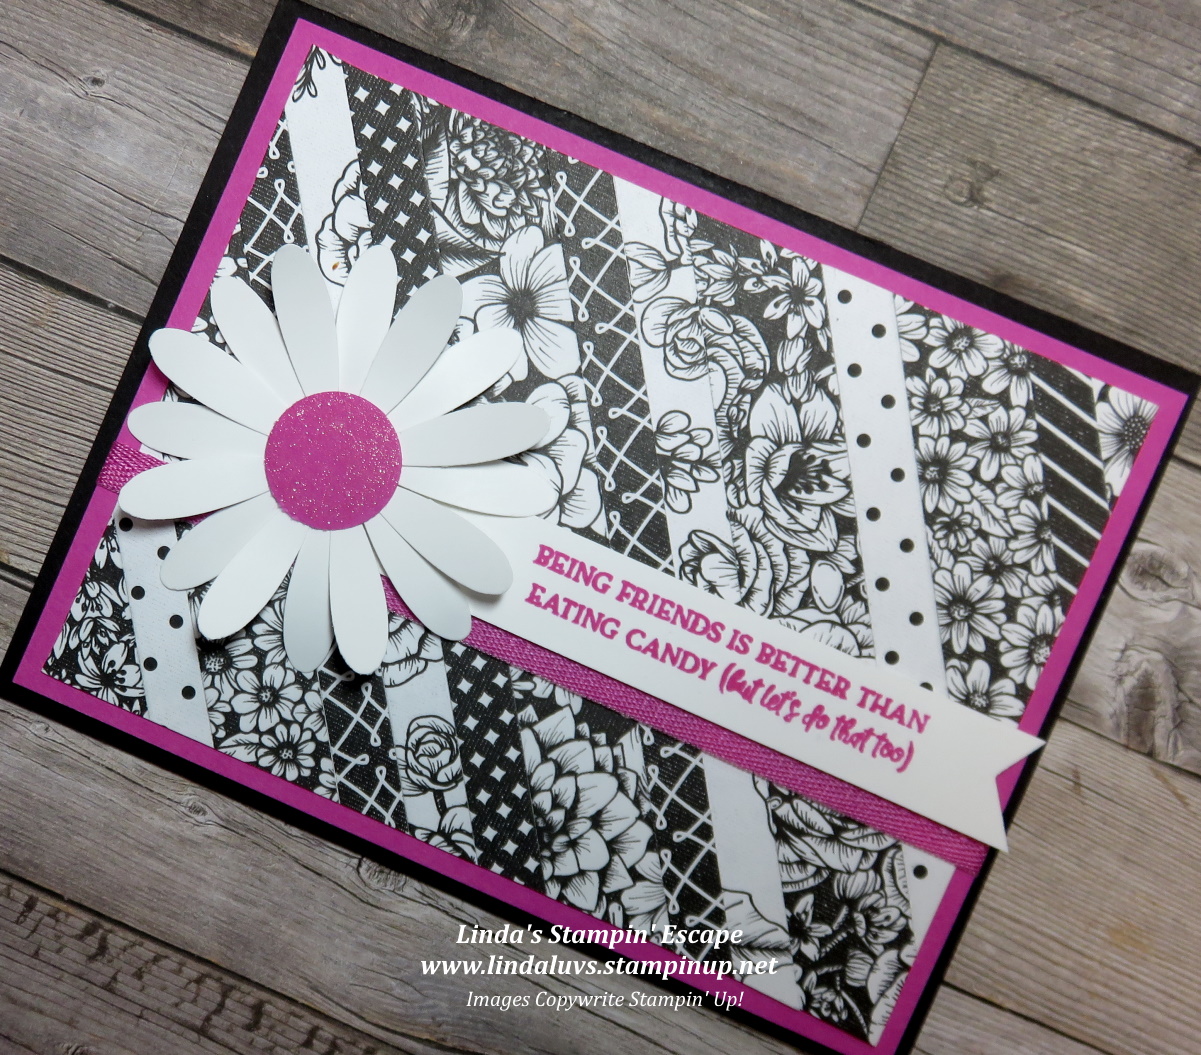
The only thing that I “popped” up was the Daisy, which I also embellished with Wink of Stella … wow, does that make the daisy pop off the card!! Beautiful!
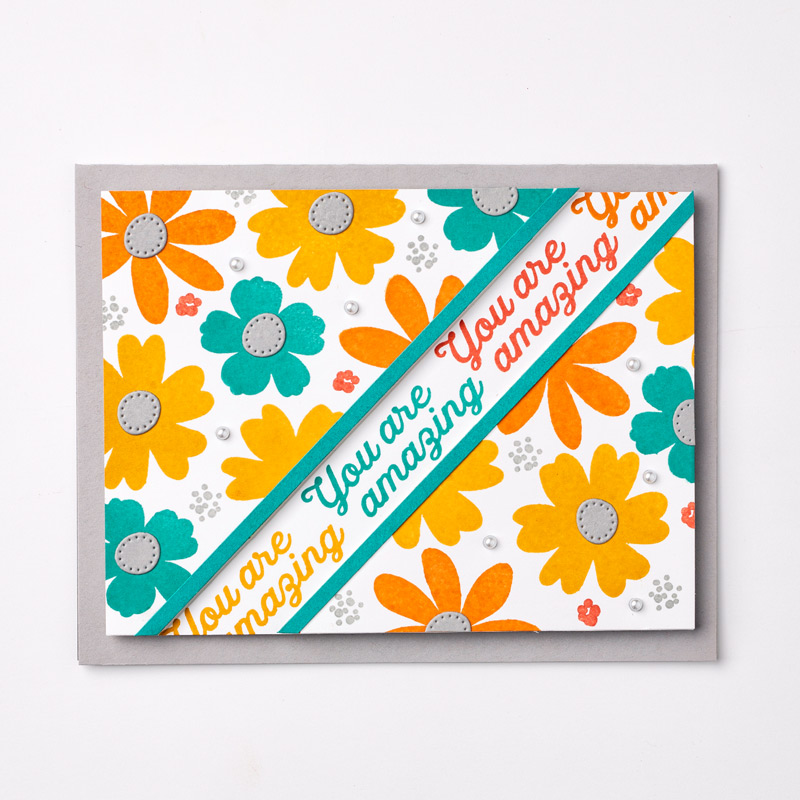
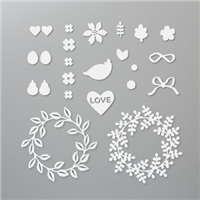
The second card done in Granny Apple Green was done with the “Basic Pattern Decorative Masks” that can be found in the Annual Catalog. I punched the center of the daisy from the designer paper and added Wink of Stella to the petals of the daisy.
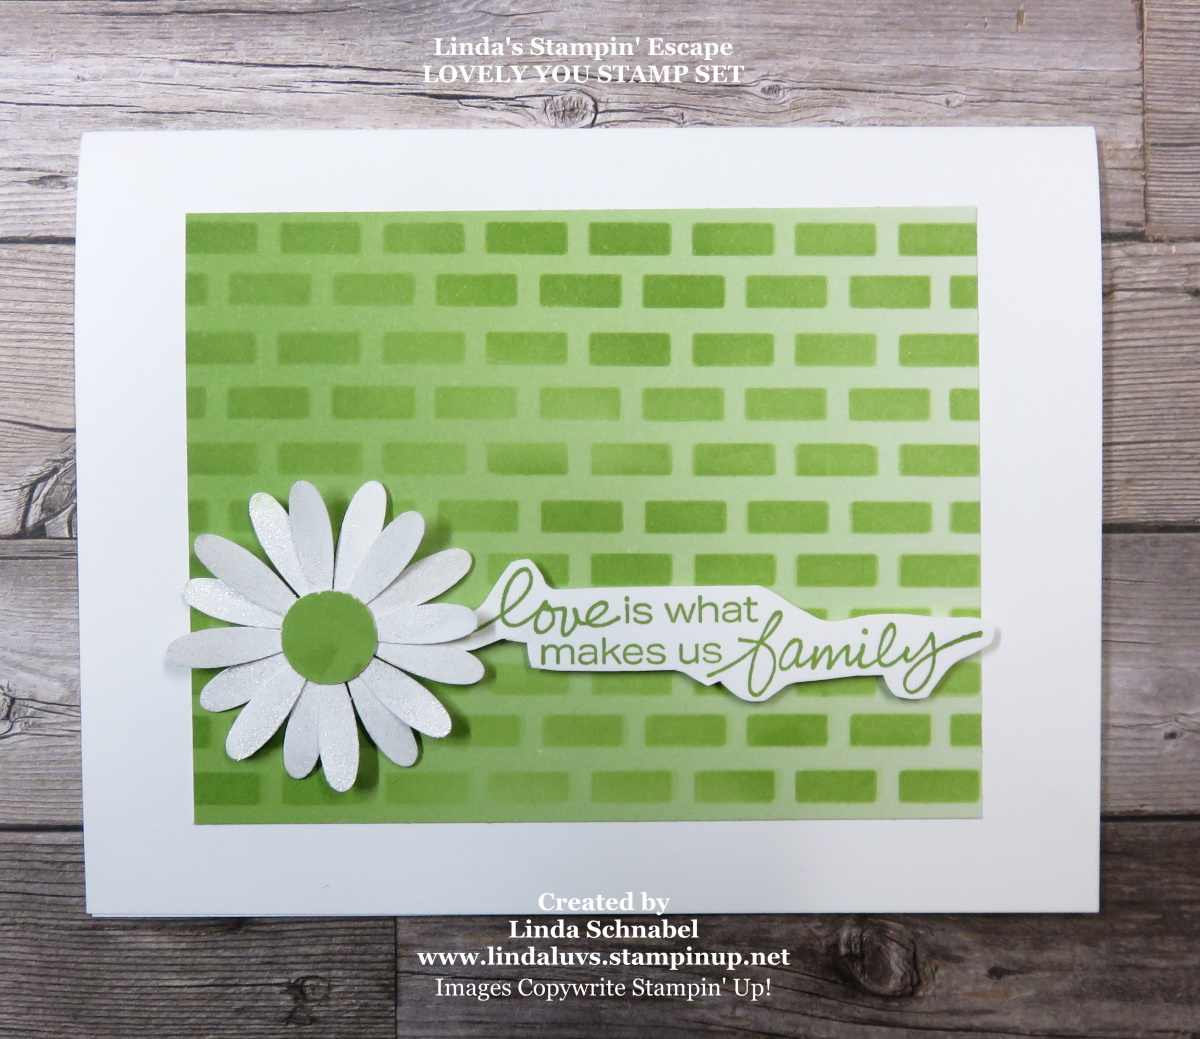
The sentiment comes from the “Lovely You” stamp set … and was hand cut it to highlight it.
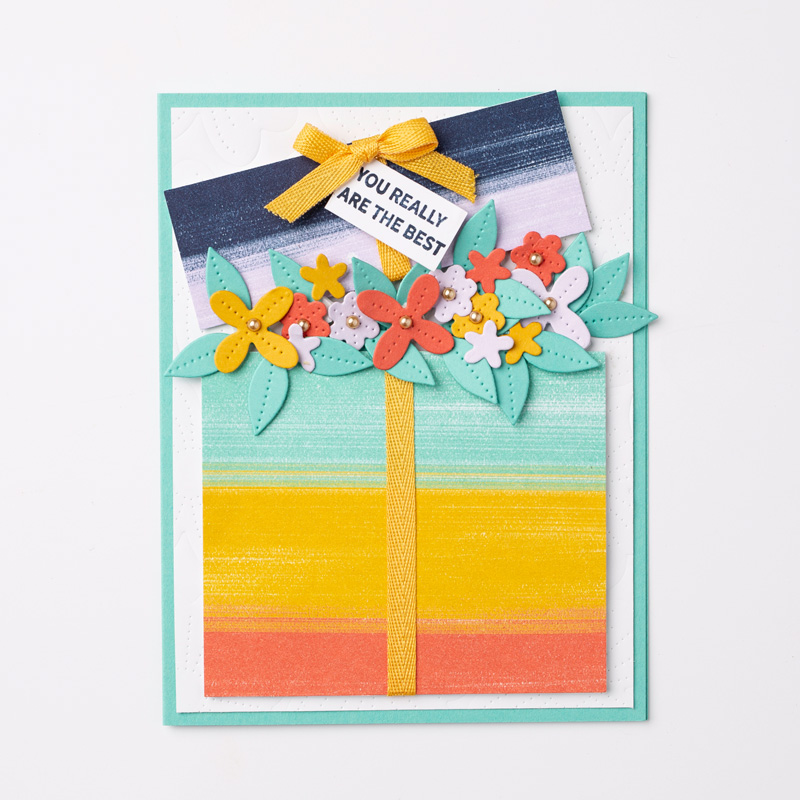
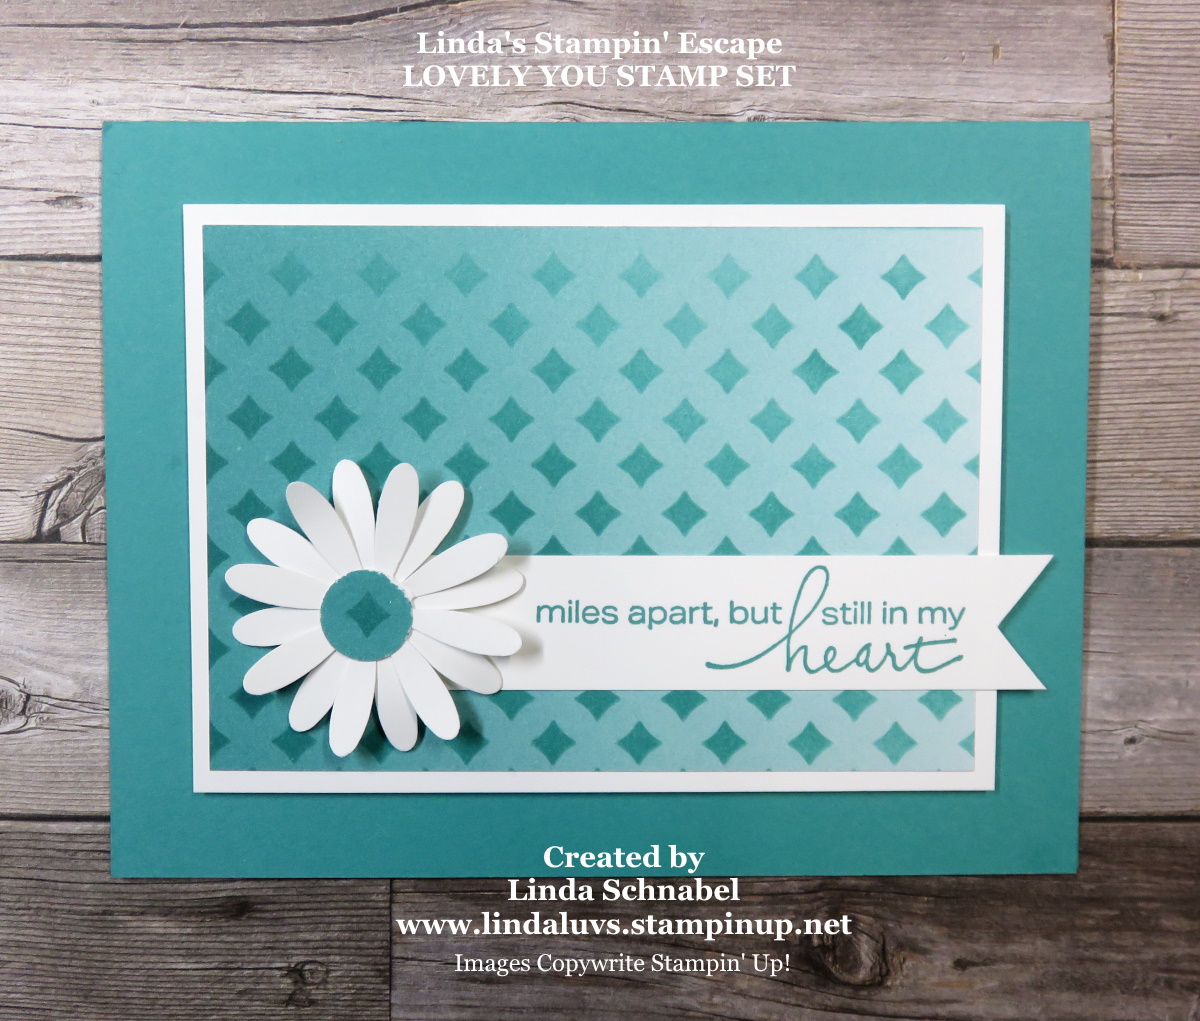
The third and last card uses a retired mask, and the “Oh So Ombre” designer paper which pops when backed with the Basic White cardstock. The Basic White Daisy and banner which hosts another greeting from the Lovely You stamp set.
I wanted to share with you how you can enhance your designer paper with the use of some basic tools … ink, a mask and the blending brushes. It’s quick, easy and really makes a beautiful impact on your cards…. and you can’t go wrong with a pretty daisy and some Wink of Stella!!
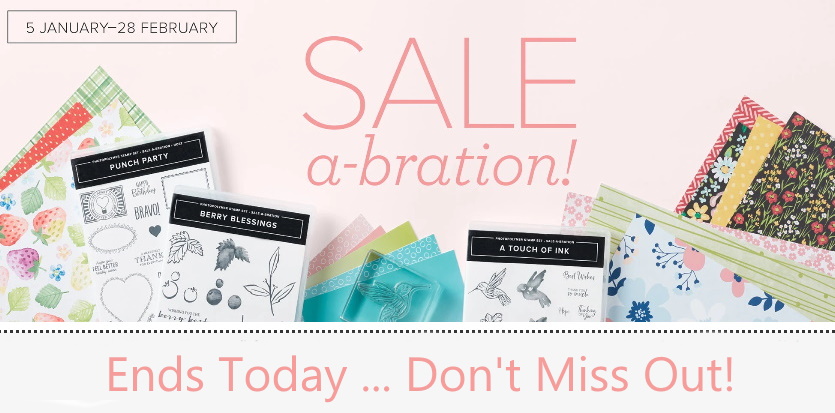
The “Oh So Ombre” Designer Series paper is just one of the Sale-a-bration items. Today is the last day which you can be rewarded with a FREE Sale-a-bration items … just wanted to share a reminder with you.
Thank you so much for joining me today. Enjoy yours ~

TODAY’S STAMPIN’ SUPPLY LIST … If you liked the products used in today’s projects, I have links for you below. Just click on the item you would like more information on, or to begin your shopping. It will take you directly to my website. Thank you ♥