Hello Stampin’ Friends ~
Today I’m sharing the wonderful Wildflower Birthday Suite collection. I have cards and a video to share with you today! This suite is a celebration of beauty, joy, and creativity, offering everything you need to craft unforgettable birthday cards, party invitations, and so much more. Whether you’re hosting a milestone celebration or sending birthday wishes to a loved one, this collection blends playful party vibes with the delicate charm of wildflower designs, making it perfect for any occasion.
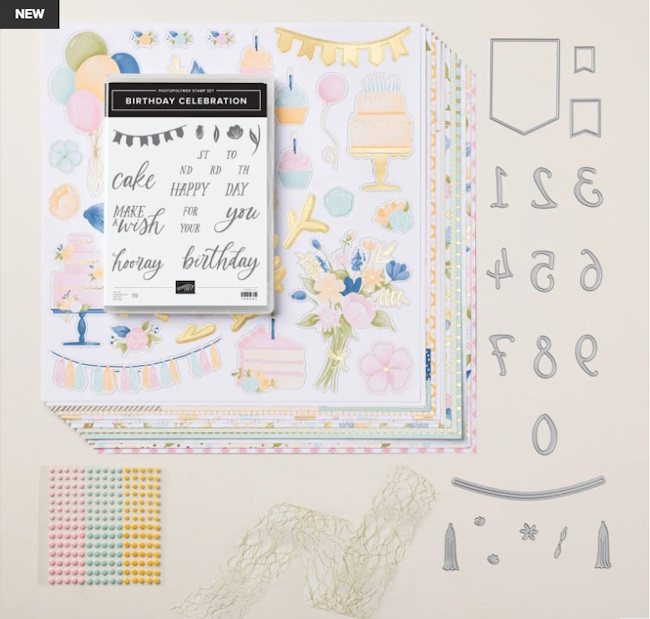
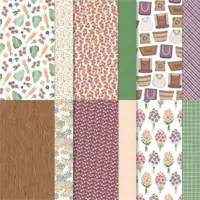
One of the highlights of this suite is the Birthday Celebration Dies, a true paper crafting essential! These dies include numerals 0 through 9, giving you the freedom to create die-cut numbers for any age or milestone. Imagine adding personalized touches to birthday cards, scrapbook pages, or even DIY decorations that celebrate life’s most special moments. From a child’s first birthday to a loved one’s big 50th celebration, these dies make it effortless to bring your vision to life.
To showcase the versatility and beauty of the Wildflower Birthday Suite Collection, I’ve created a video tutorial packed with inspiration and crafting tips. In the video, you’ll see how to combine the suite’s coordinating elements—stamps, dies, and designer paper—to craft a stunning birthday card that’s sure to delight. I’ll also share ideas for layering and embellishing to add extra dimension and flair to your projects.
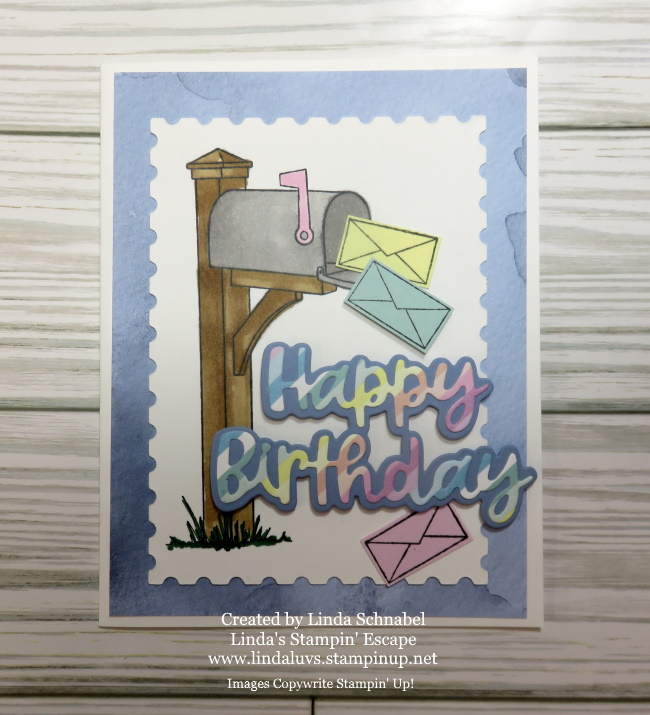
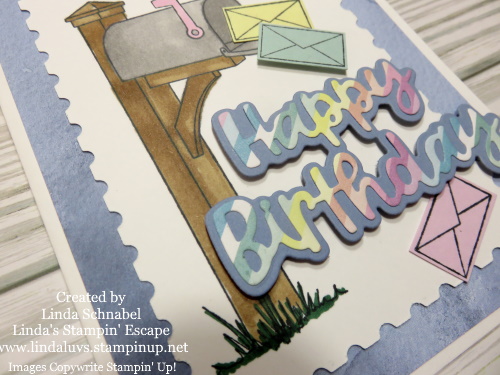
The second card in my Wildflower Birthday Suite Collection features the delightful balloon die cuts, from the suite’s stunning specialty paper. 🎈✨ These die cuts bring a burst of color and texture to the design. Paired with the hand-stamped “Happy Birthday” sentiment, this card radiates festive cheer while showcasing the versatility of the suite’s elements. Perfect for birthdays of all ages, this design is a joyful celebration on paper! 🌸

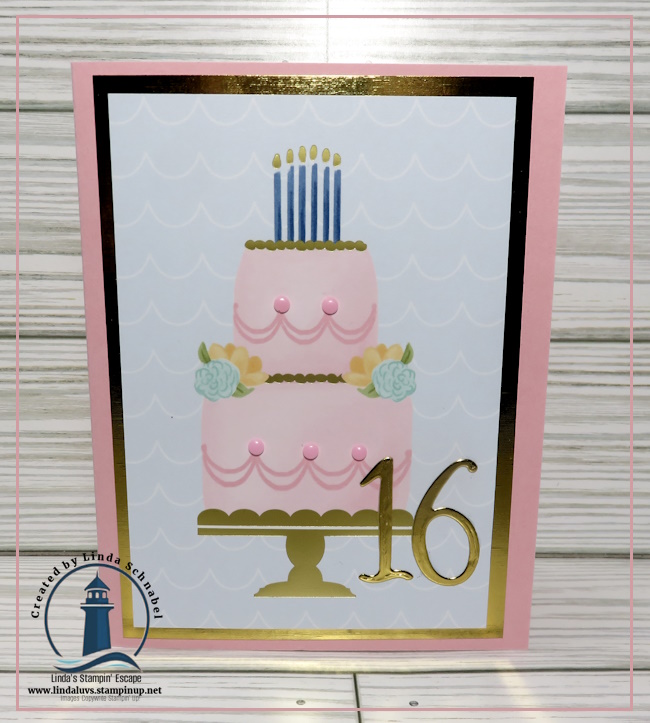
The final card in my Wildflower Birthday Suite Collection puts the spotlight on the designer paper featuring adorable birthday cakes with shimmering touches of gold—perfect for adding a hint of elegance to the celebration. 🌟 I used the pocket die to create a charming tuck-in spot for a little surprise (as seen in the video), making the card interactive and fun. The greeting, cut with the Wanted to Say Dies, ties the design together beautifully. Mixing and matching elements from different products is not only easy but also adds a unique flair to your creations! 🎂✨

Thank you for joining me as I showcased the Wildflower Birthday Suite Collection! 🌸 I hope these cards and ideas have inspired you to get creative and add a personal touch to your next celebration. Don’t forget to watch the video for step-by-step instructions and additional tips. I’d love to hear which project was your favorite, so be sure to leave a comment below!
Until next time, happy crafting! 🎉✨
Linda


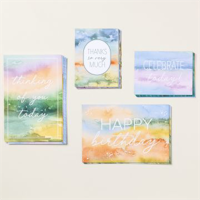
Price: $21.00