Hello Stampin’ Friends ~
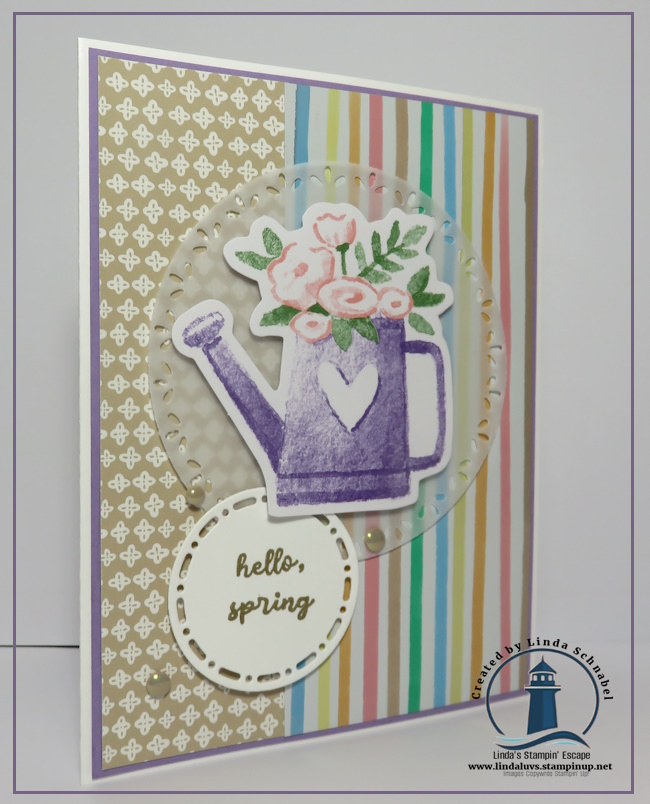
On Sunday, I shared a sweet little bunny card created with the Easter Time Mix & Match Ephemera Pack, and today I’m back with another simple, spring-inspired design—this time featuring the charming watering can. I love how this pack makes it so easy to create beautiful cards without overthinking every detail. The soft pastels, playful spring imagery, and ready-to-use pieces truly let the ephemera do the work for you, which makes crafting feel relaxing and joyful… just the way it should be.
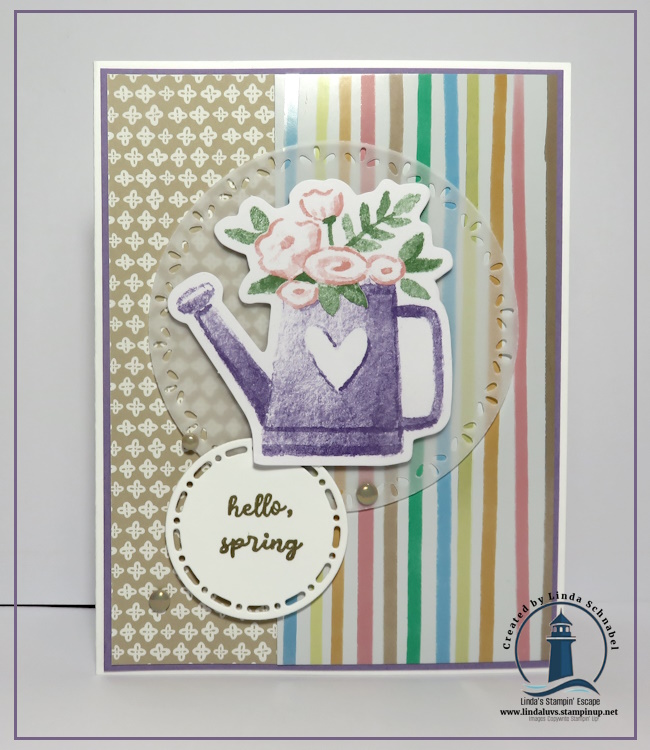
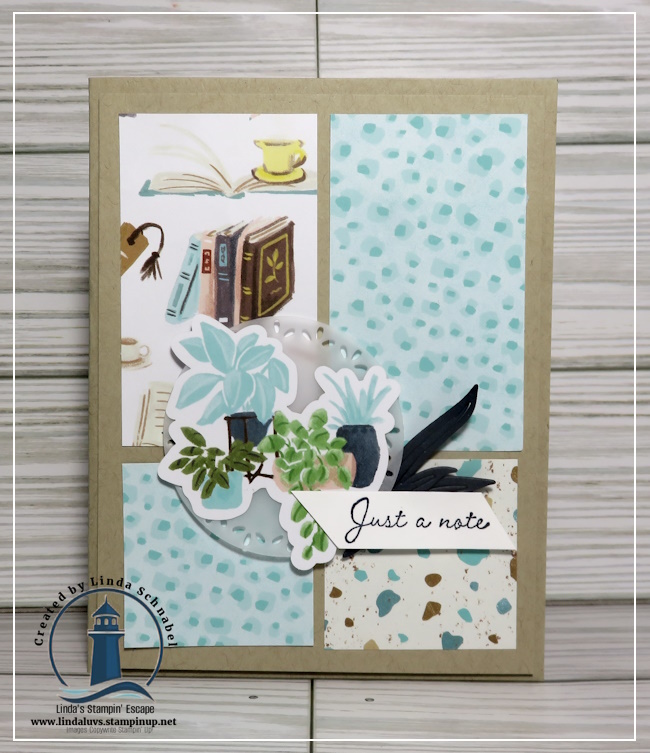
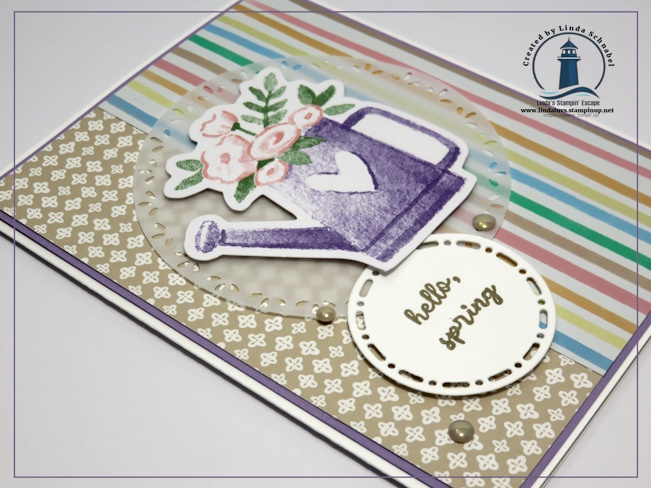
For today’s card, I paired the watering can ephemera with coordinating patterned paper that instantly says spring is here. The vertical stripes add a cheerful pop of color, while the softer patterned panel balances everything out beautifully. The watering can—filled with delicate spring blooms—becomes the perfect focal point, layered over a subtle die-cut circle for a bit of texture and dimension. A simple “hello, spring” greeting finishes the card without taking away from the artwork, making this a lovely design for birthdays, happy mail, or just because.
I’m sharing the replay of my LIVE demonstration / a step-by-step video that walks you through both cards—the bunny card from Sunday and today’s watering can card. In the video, I share all the measurements, layering tips, and simple tricks I use so you can confidently recreate these designs or use them as inspiration for your own spring cards. Whether you’re brand new to cardmaking or just looking for something quick and stress-free, this project is a great reminder that beautiful cards don’t have to be complicated.
I hope you enjoy today’s card as much as I enjoyed creating it. I hope you enjoyed the video … soaking in the inspiration, and most of all—have fun crafting.
Thanks so much for stopping by and spending your time with me. 💕