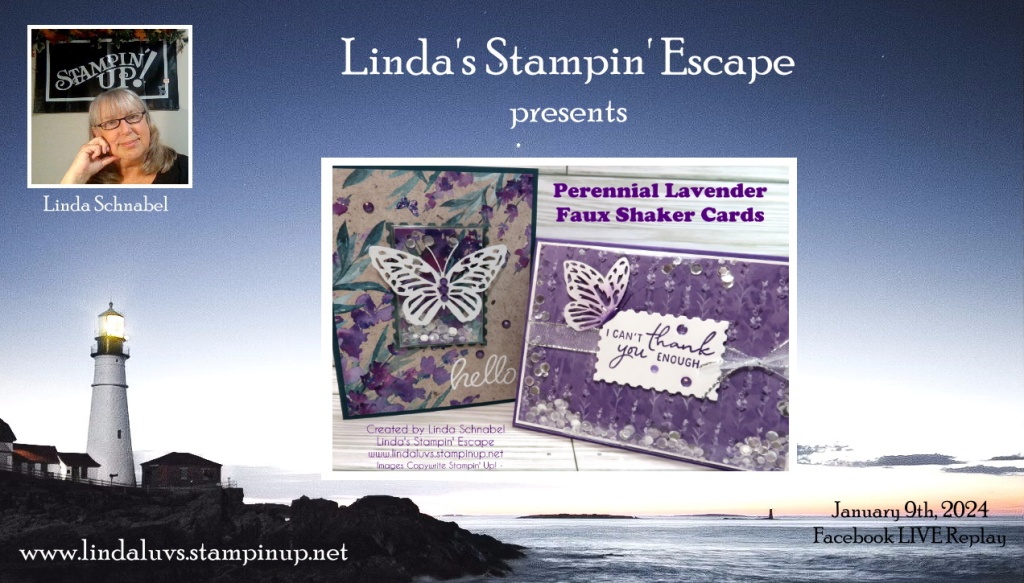
Welcome back, crafting enthusiasts!
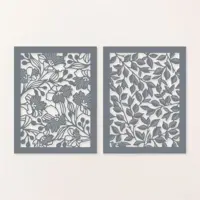
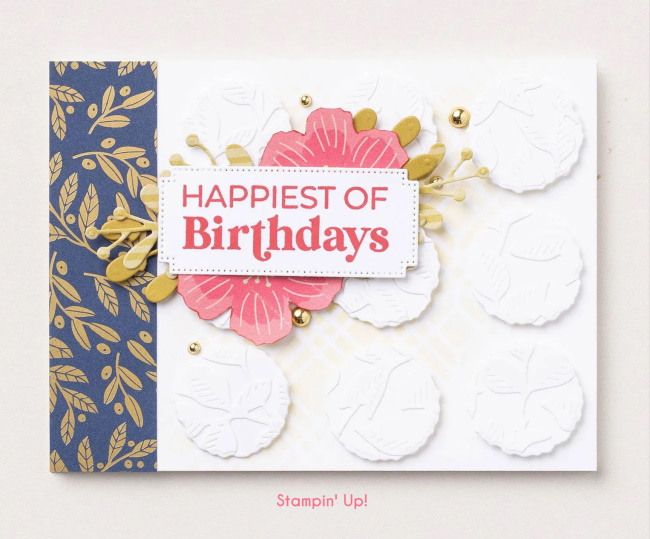
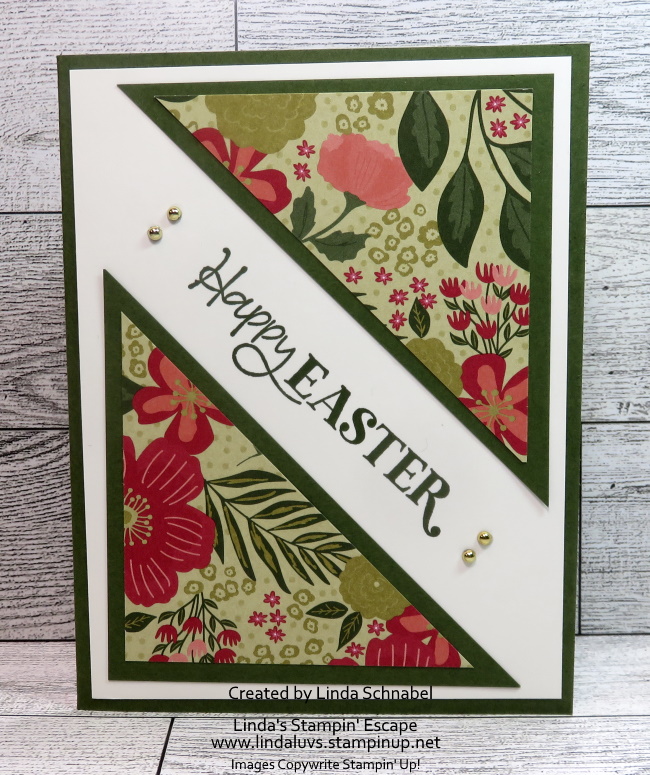
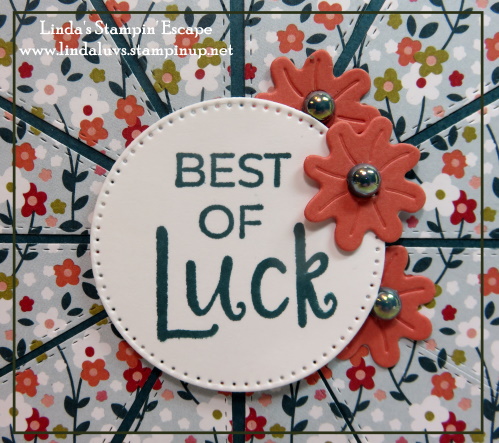
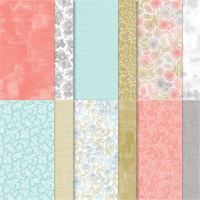
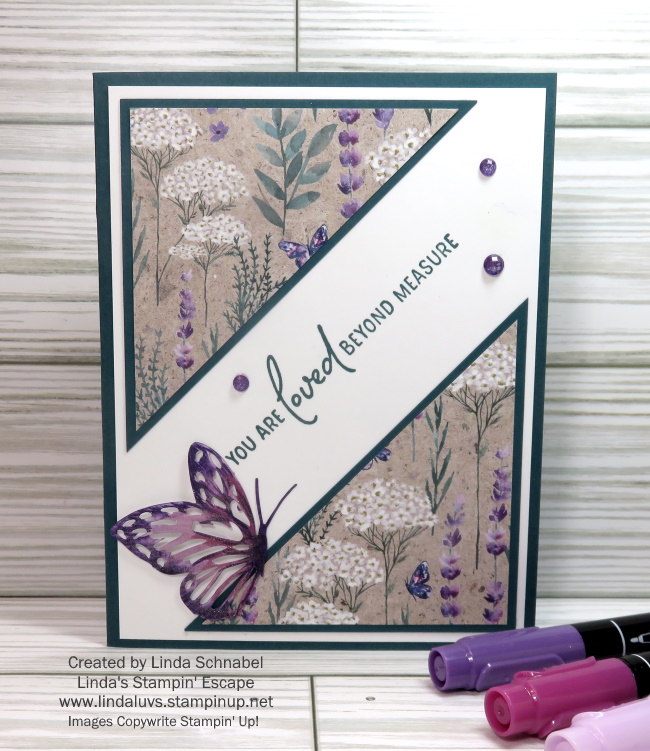
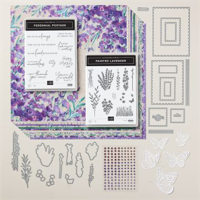
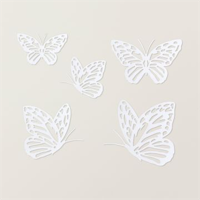
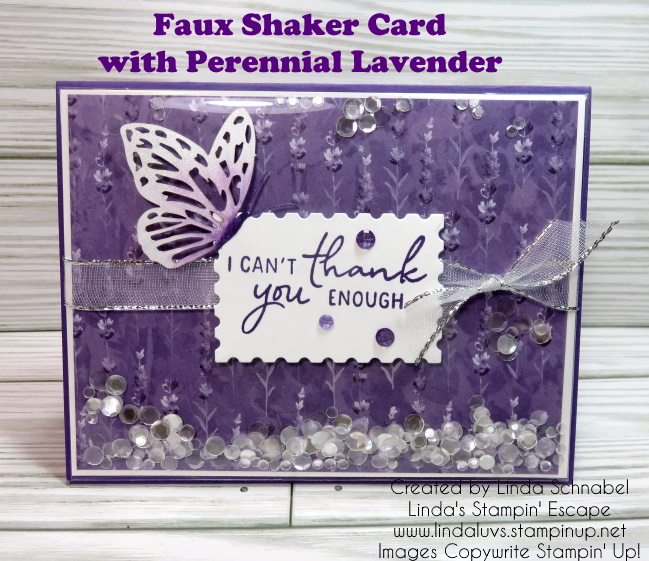
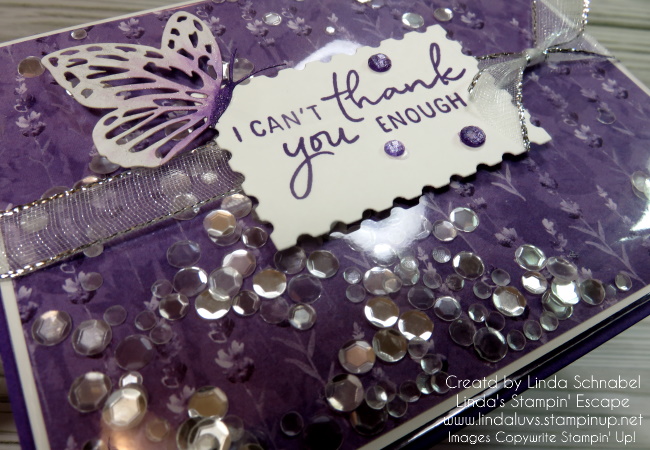
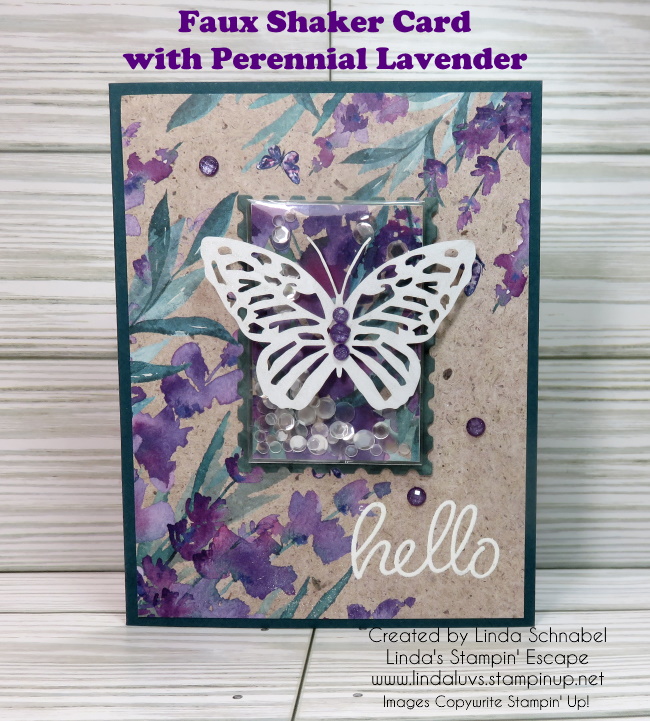
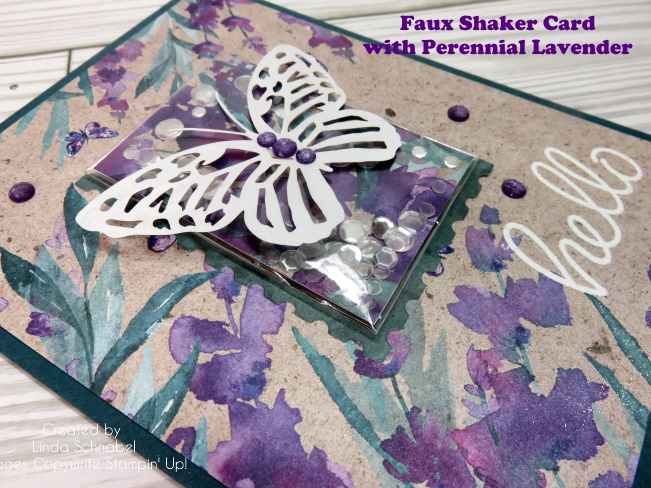
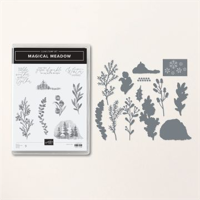
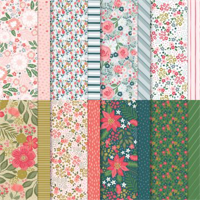
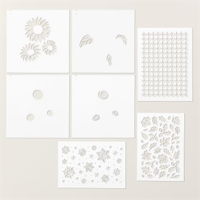
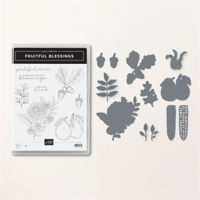
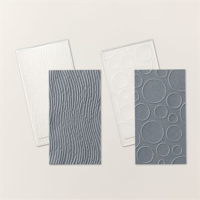
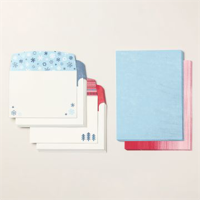
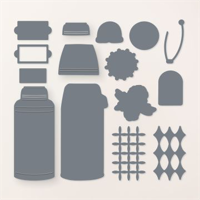
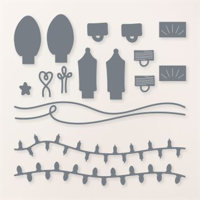
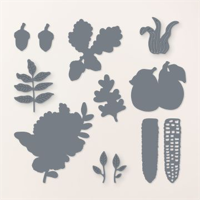
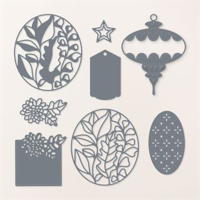
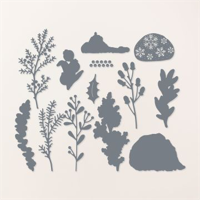
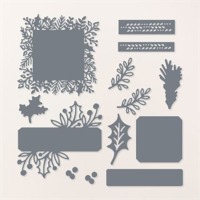
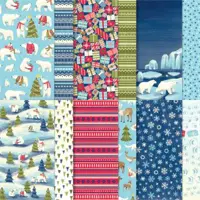
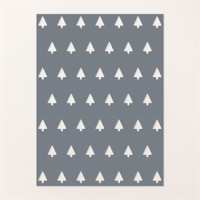
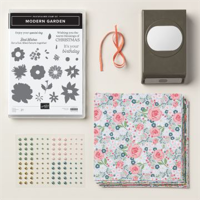
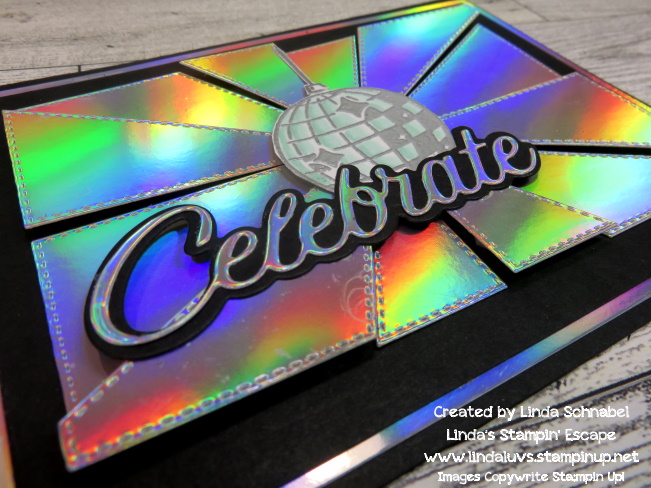
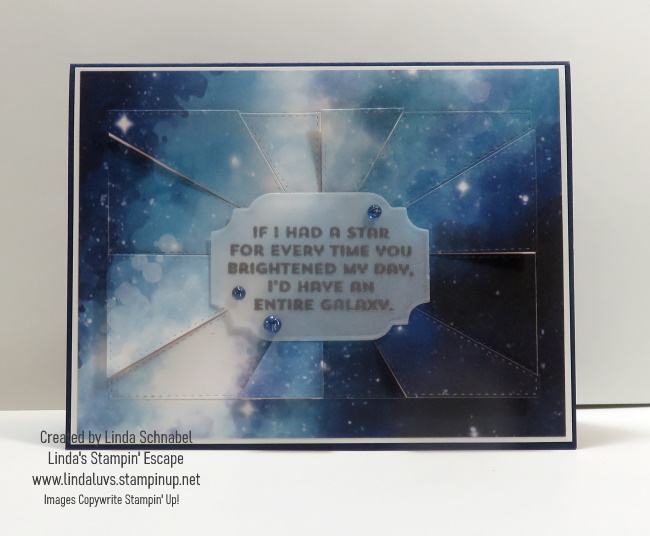
In my latest Facebook Live Replay, we delved into the mesmerizing world of creating background textures, bringing you a delightful card using the Gorgeous Garden Dies. The spotlight of our crafting journey was the Flight & Airy Designer Paper, adding a touch of elegance to our artistic exploration.
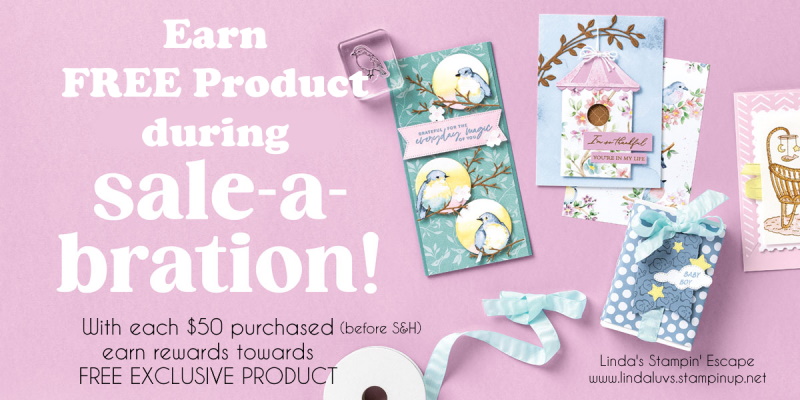
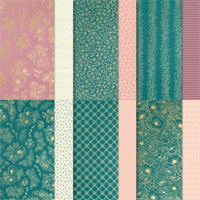
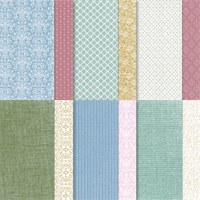
Exciting news for all our stampin’ friends – this exclusive technique is not only fun but also easy to master, and you can get your hands on the Flight & Airy Designer Paper for free with a $50 purchase during Sale-a-bration.
Join me with a cup of Hot Cocoa and watch the replay / Click on photo below …

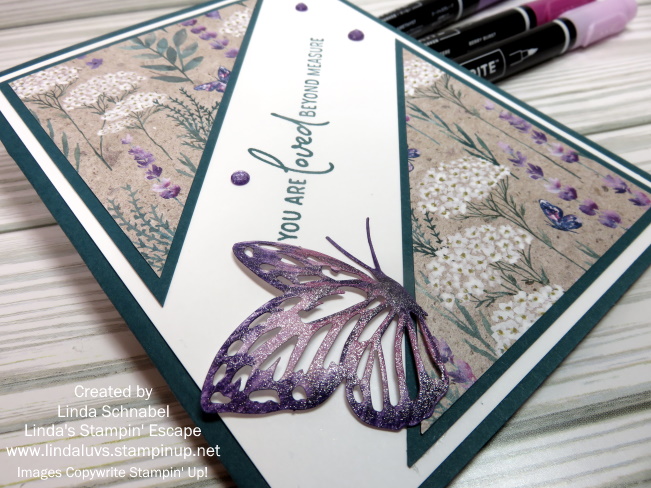
Crafting should be enjoyable… we sure had fun creating this card togthere, and our chosen technique is not only visually stunning but also incredibly fun. Experiment with different combinations of Gorgeous Garden Dies and Flight & Airy Designer Paper to discover your unique blend of textures and patterns.

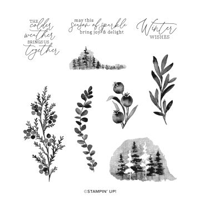
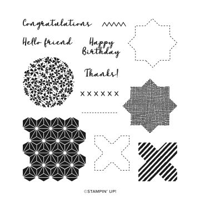
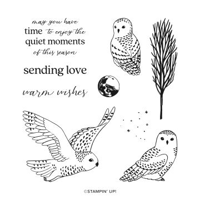
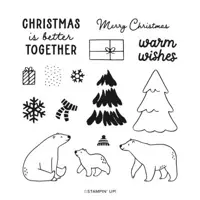
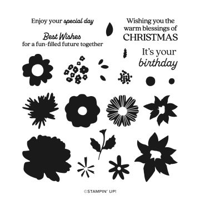
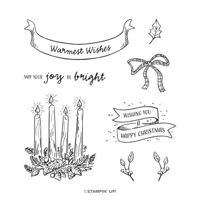
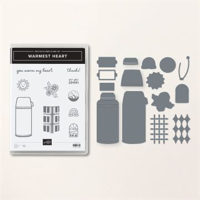
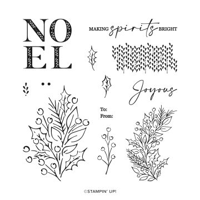
No crafting project is complete without a heartfelt greeting. Enter the So Sincere stamp set – the perfect companion for adding meaningful messages to your creations. The versatility of this stamp set ensures that your project speaks volumes, making it a cherished gift or a beautiful addition to your own collection.

The Gorgeous Garden Dies, paired with the Flight & Airy Designer Paper, allowed us to create breathtaking background textures effortlessly. Don’t miss out on the chance to elevate your crafting experience – grab the Flight & Airy Designer Paper for free with a $50 purchase during Sale-a-bration.
Unleash your creativity, have fun with the technique, and let the So Sincere stamp set add the perfect finishing touch to your artistic endeavors.
Happy crafting!