Hello Stampin’ Friends ~
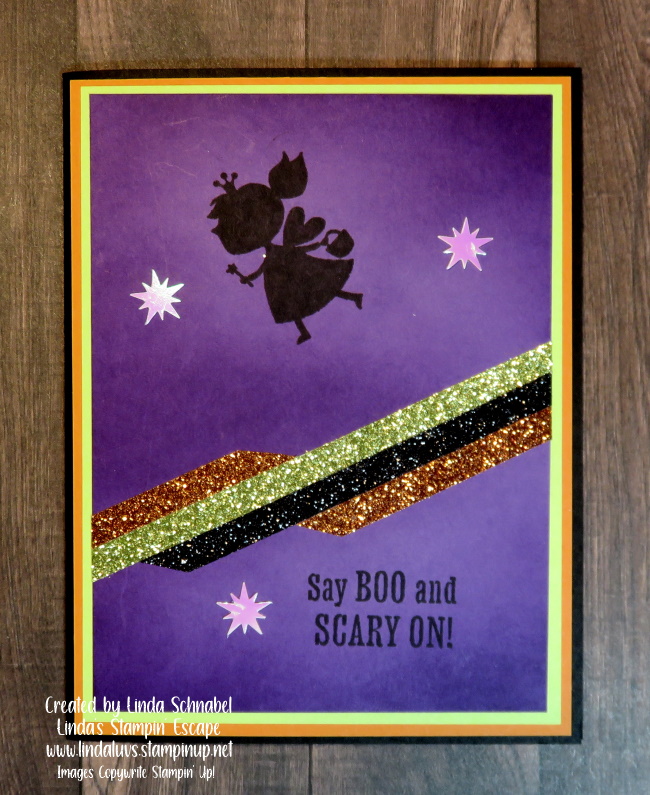
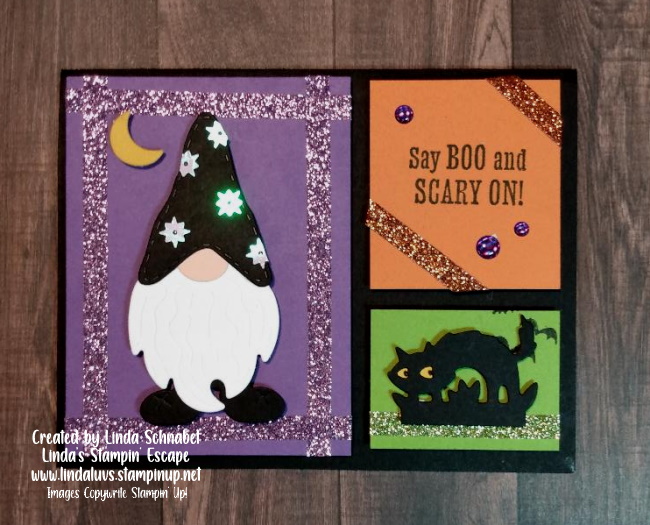
I’m excited to share today’s card with you … a Halloween card with a mash up of the Scary Cute and the Kindest Gnomes bundles, using the “Color Block” Technique!
You’ll be able to watch the replay of last nights Facebook LIVE which includes the card making, two fun stamping events, and an awesome SALE that starts TOMORROW!! Let’s begin with that sale …

You can CLICK HERE to download the list of discounted stamp sets!
Join me in watching the replay and see how to create the color block technique … it’s so simple and fun! You’ll also hear the class announcements and more.
That was easy (except maybe that washi tape I could not find the end to – LOL) However, the gnome was super simple to put together … I love how the die cut beard is embossed not only to show texture in the beard, but to help you place the nose and hat perfectly!!
Now let’s take a closer look at this cute card.

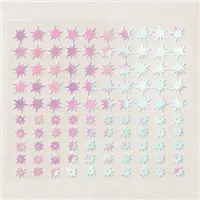
The washi tape in addition to the Adhesive Stars really adds some fun sparkle to the card, as if the bold colors weren’t enough! lol I just love how “playful” it turned out. You can use this same pattern for any style card …. Birthday, Christmas, Baby Shower, Anniversary … and the list goes on!
Here are the measurements for the “color blocks” …
- Gorgeous Grape: 3″ Width x 4″ Length
- Pumpkin Pie: 2″ Width x 2-1/8″ Length
- Granny Apple Green: 2″ Width x 1-1/2″ Length
Now I would like to invite you to my Virtual WORLD CARDMAKING DAY Party ….

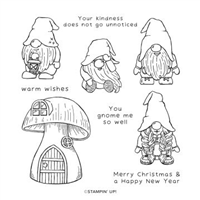
And while we are at it, and I announced it in the video, here is the invitation to join my “Stampin’ with my Gnomies” Class!! We’ll be making cards with the fun and festive Kindest Gnomes Bundle ….

Thank you for joining me today!! There was a lot to share. Have a great day!!

Here is a list of the ingredients I used for my Halloween Mash Up card today ….