Today is the day!! Stampin’ Up! is offering FREE shipping on orders subtotaling $50 or more. This incredible deal lasts for 24 hours only, so head over to my stampin’ store at: http://www.lindaluvs.stampinup.net and get ready to save!
Mark it on your calendar …. Thursday, June 24th …. FREE SHIIPPING with a purchase of $50 or more … It’s ONE DAY ONLY so get your lists ready!!
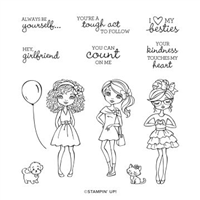
The clock is ticking—it’s your last chance to save up to 50% on retiring items! On 30 June, the Last Chance Products promotion will come to an end …. It’s a great time to stock up on your favorite designer papers and other supplies, stamps, etc.
TIP OF THE DAY …. Combine these two promotions from Stampin’ Up! and save even more!
Let me know if you have any questions or need any help placing an order, I’m here to help.
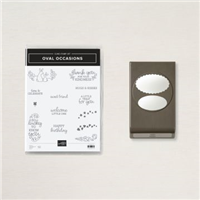
Today I’d like to share two cards with you from the “Hey Girlfriend” stamp set which will be retiring at the end of this month! This set is so fun and versatile you are going to fall in love with it.
My first card highlights one of the “girlfriends”, the lovely True Love Designer Series paper from the “Love You Always” suite, and the Oval Occasions Bundle. The Love you Always designer paper is the backdrop to the card … those cute little polka dots really add an element of FUN to the card.
Our first “girlfriend” is stamped on Basic White with our Momento Ink and colored in with the Stampin’ Blends. I have listed the colors below. They are so easy to use when coloring on your images because of the two shades that blend so effortlessly together … and I always have the color lifter by my side so I can pull some color up if needed and make those highlights pop! I finished off her outfit by adding a touch of my Wink of Stella to her top and the bow in her hair. Then added a touch of bling (because what girls doesn’t like a little bling) to the card with some Elegant Faceted Gems.
My second “girlfriend” also used the Oh So Ombre designer series paper, not only for the background … but for her dress! I just stamped her onto the designer paper and then cut out the dress. How fun is that!! The Oh So Ombre is Granny Apple Green and I teamed it up with Flirty Flamingo to really say “WOW”!! Girls love those fun bright colors.
This paper was from our January Sale-a-bration products … Our NEXT Sale-a-bration event will kick off August 3rd!! Sale-a-brations are always a big event because for every $50 you spend, you can chose an exclusive FREE Sale-a-bration item!!
Our girlfriend was stamped on Basic White with Momento Ink and cut out with the Rectangle Stitched dies. She too is colored with the Stampin’ Blends. These sweet girlfriends are so cute and fun to stamp with, and my favorite part is that they can be any nationality! My real friends come in all colors, so my cards reflect that … The world is full of beautiful people in every shade of color … let’s celebrate that.
The greeting comes from our Hey Girlfriend stamp set and was punched out using the the Oval Occasions punches. Add a bow and your card is complete! I had so much fun playing with this set, you are sure to see even more of these from me!
I brought in the “Oval Occasions” bundle to compliment my cards today …
First, the “So Lucky to Know You” greeting from my first “girlfriend” card came for the Oval Occasions stamp set, and the Double Oval punch was used on my second “girlfriend” card to punch out and highlight the greeting.
It’s so sad … the Hey Girlfriend stamp set, the True Love Designer Paper, and the Oval Occasions Stamp Set are on the RETIRING LIST and will be gone at the end of this month …. only 7 more days before they are gone forever. This Thursday Stampin’ Up! is offering FREE Shipping on all orders of $50 or more so you can get your favorite retiring products shipped directly to you FREE!! Nice way to save.
Thank you for joining me today, I hope you have a great day!
TODAY’S STAMPIN’ SUPPLY LIST … If you liked the products used in today’s projects, I have links for you below. Just click on the item you would like more information on, or to begin your shopping. It will take you directly to my website. Thank you ♥
Hello Stampin’ Friends ~ Today I’d like to share some exciting news with you …
Time for you to stock up and save on your favorite Stampin’ Up! products! What’s the big occasion? On 24 June only, we are offering FREE shipping on orders subtotaling $50 or more.
This incredible deal lasts for 24 hours only, so head over to my stampin’ store at: http://www.lindaluvs.stampinup.net and get ready to save!
Mark it on your calendar …. Thursday, June 24th …. FREE SHIIPPING with a purchase of $50 or more … It’s ONE DAY ONLY so get your lists ready!!
The clock is ticking—it’s your last chance to save up to 50% on retiring items! On 30 June, the Last Chance Products promotion will come to an end …. It’s a great time to stock up on your favorite designer papers and other supplies, stamps, etc.
TIP OF THE DAY …. Combine these two promotions from Stampin’ Up! and save even more!
Let me know if you have any questions or need any help placing an order, I’m here to help.
Hope you had a wonderful weekend. I had to work but afterwards my daughter Nicki treated me to my favorite coffee (enough for a month) and the flowers my oldest daughter bought me for mothers day, bloomed again for fathers day and the my middle daughter treated me to Surf & Turf … a nice Rib Eye Steak and Lobster! It appears all the hard work of being a single Mom had paid off ❤
Today, direct from Stampin’ Up! I have three stamp-tacular samples—one simple, one stepped-up, and one super stepped-up!
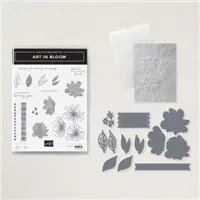
With a stamp set that pairs perfectly with both an embossing folder and set of dies, you can take texture to the next level. Stamp a floral shape onto paper, press the paper into the embossing folder, then cut each embossed shape with the coordinating dies—your project will pop off the page!
To duplicate these adorable designs, add our beautiful Art in Bloom Bundle to your order. The Art in Bloom Stamp Set features floral sketches, watercolor washes, and heartfelt phrases, while the Bloom Hybrid Embossing Folder boasts a flowering embossing folder and a set of cute, coordinating dies!
I like all three cards, which is your favorite? Simple is always great for a quick card but I really like the way the “super stepped-up” card looks as well.
Thank you for stopping by today, I hope you have a wonderful day!!
TODAY’S STAMPIN’ SUPPLY LIST … If you liked the products used in today’s projects, I have links for you below. Just click on the item you would like more information on, or to begin your shopping. It will take you directly to my website. Thank you ♥
Hello Stampin’ Friends ~ Let me wish any guys out there a “Happy Father’s Day” and a Happy Sunday to all of you. Today I have some great cards for you … If you are looking for some unique, pretty and simple ways to make cards, I have the answer for you today ….
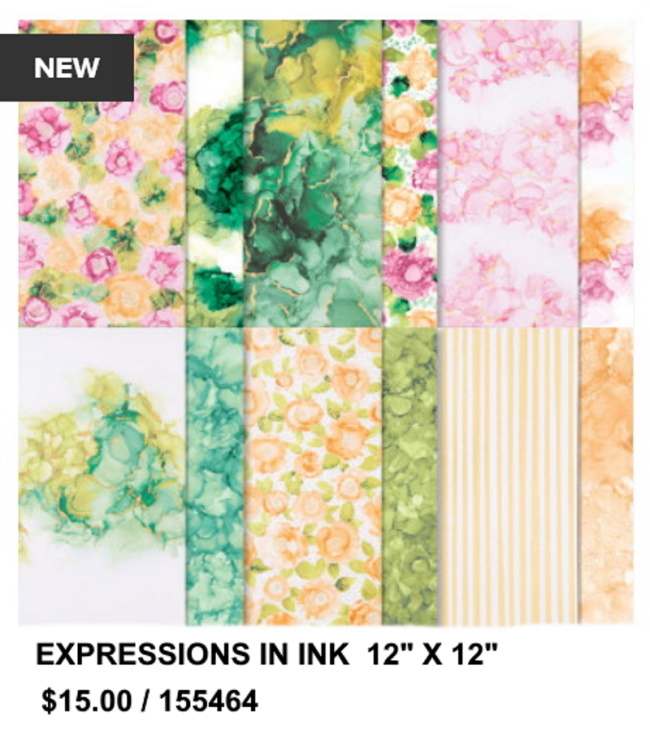
Get yourself the “Create with Friends” stamp set, a package of “Expressions in Ink” Designer Series paper, and a package of “Guilded Gems” and you’ll be ready to create cool, quick cards!
Don’t you just love the pretty patterns of this paper, oooooh … then add gold and it’s irresistible. Now it’s time for the “Create with Friends” stamp set …
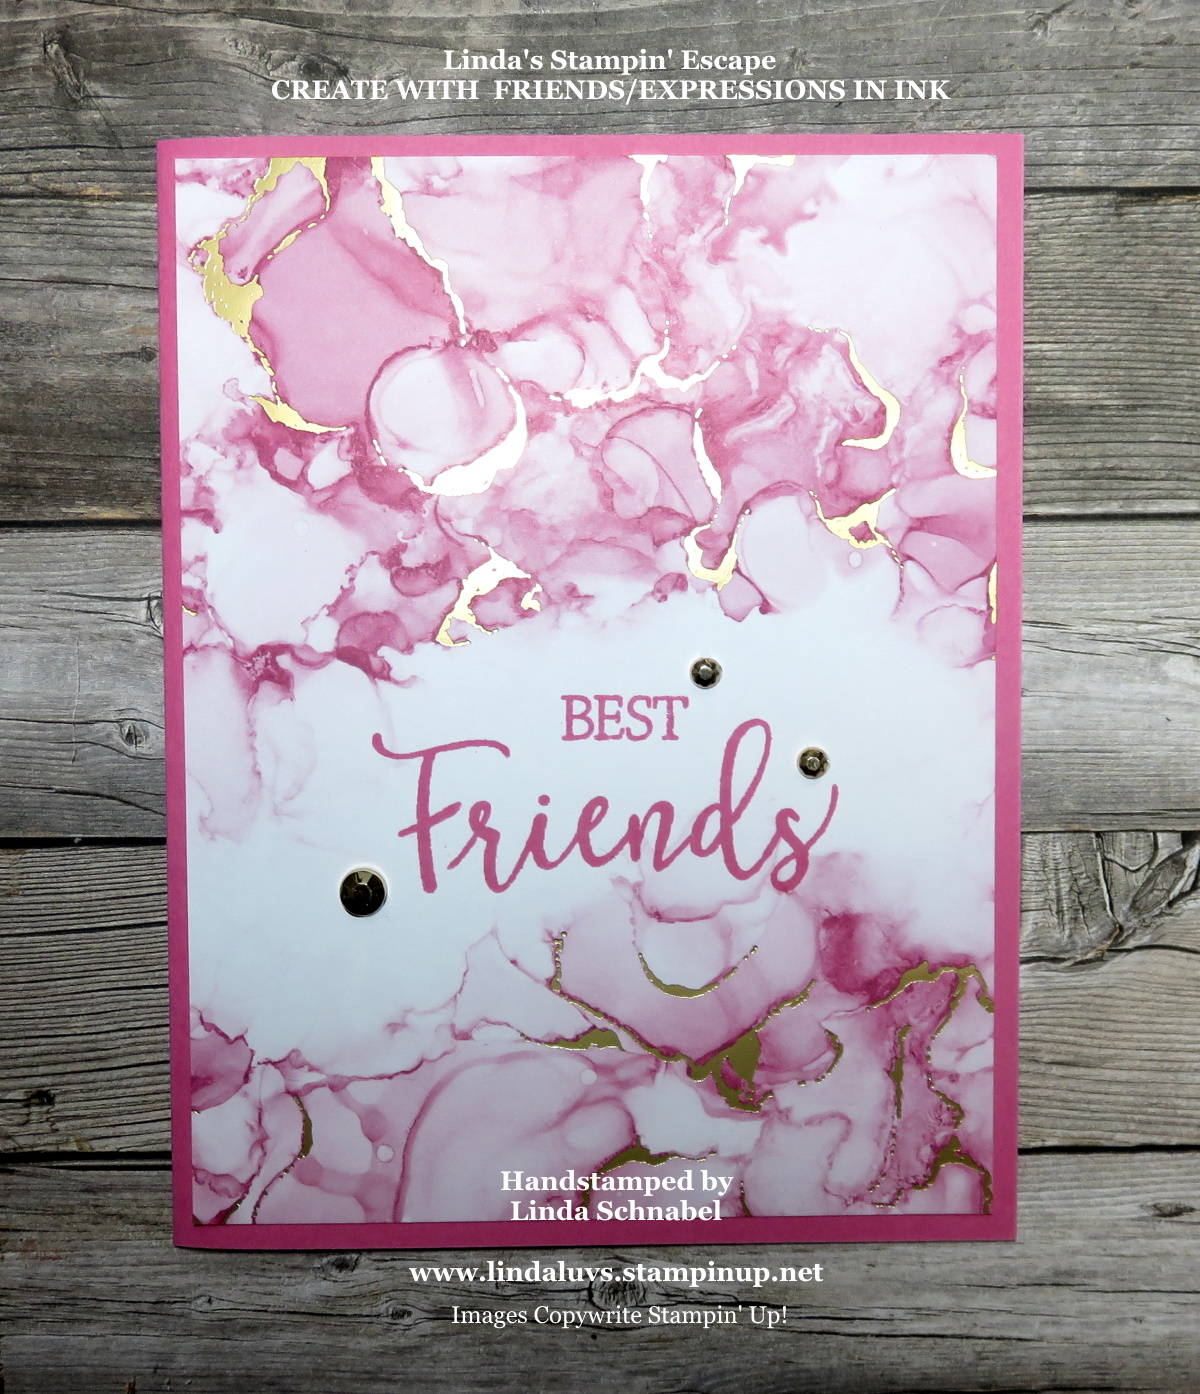
Now it’s time to get stampin’ and combine the two together … the hardest part will be deciding which one of the beautiful papers you want and what greeting you’d like on it. Maybe you want to send a card to a special friend, you can combine the stamps to create your own greeting …
I used Polished Pink cardstock and ink to coordinate with my designer paper. The watercolor splits perfectly in the center so you can highlight your greeting. It’s so pretty and so easy! #simplestamping
Let’s continue with another pattern, this time the designer paper was cut so the exposed area is on the side … a perfect place for our greeting.
I thought it would be pretty to emboss my greeting in gold to highlight the gold that is laced through the watercolor design of the paper. I think this card is perfect for birthday’s, a graduation, a new job … anything! On both cards I have decided to use the Gilded Gems, not only to coordinate but to add more depth and texture to the cards. They are way prettier than they appear on the cards.
I’m so happy you stopped by today to take a look. I hope you are having a wonderful day… Thank you.
TODAY’S STAMPIN’ SUPPLY LIST … If you liked the products used in today’s projects, I have links for you below. Just click on the item you would like more information on, or to begin your shopping. It will take you directly to my website. Thank you ♥
Whew … It was a warm one yesterday, so today I’m here to cool you off!! I’m sharing another card from the wonderfully versatile bundle … “Beauty of Friendship”. Yesterday I shared a simple card that showcased the designer paper and die cuts. Today will show you another pattern from the stunning papers and I will transform the tree just as the seasons do …
I chose the designer paper with the blue hues of Misty Moonlight …. the watercolor look almost appears as if it were in a painting with it’s layers of color. I was looking to create an alternative Christmas card, and here it is …
I used the same tree as yesterday’s card but this time I used Wink of Stella to create the snow affect upon it … a nice wintry look. I did the same to the “snow bank”.
Along with the tree and snow bank, I thought the birds would be a beautiful touch to this card so I die cut those out of Cherry Cobbler. Here you will get a better look at the way I painted the Wink of Stella on the tree … all on one side, as the wind blows!!
So I’ve taken you from a beautiful fall day (yesterday) to a wintry wonderland. There are so many other amazing patterns in the Beauty of the Earth Designer Series paper that you could create Spring and Summer just as easily.
I know some of my stampin’ friends are already working on their Christmas cards so I knew I couldn’t go wrong sharing this now.
Thank you for stopping by today, I hope you are enjoying your weekend!!
TODAY’S STAMPIN’ SUPPLY LIST … If you liked the products used in today’s projects, I have links for you below. Just click on the item you would like more information on, or to begin your shopping. It will take you directly to my website. Thank you ♥
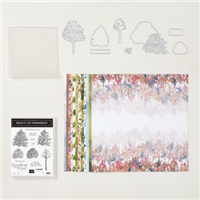
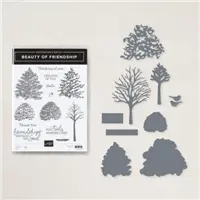
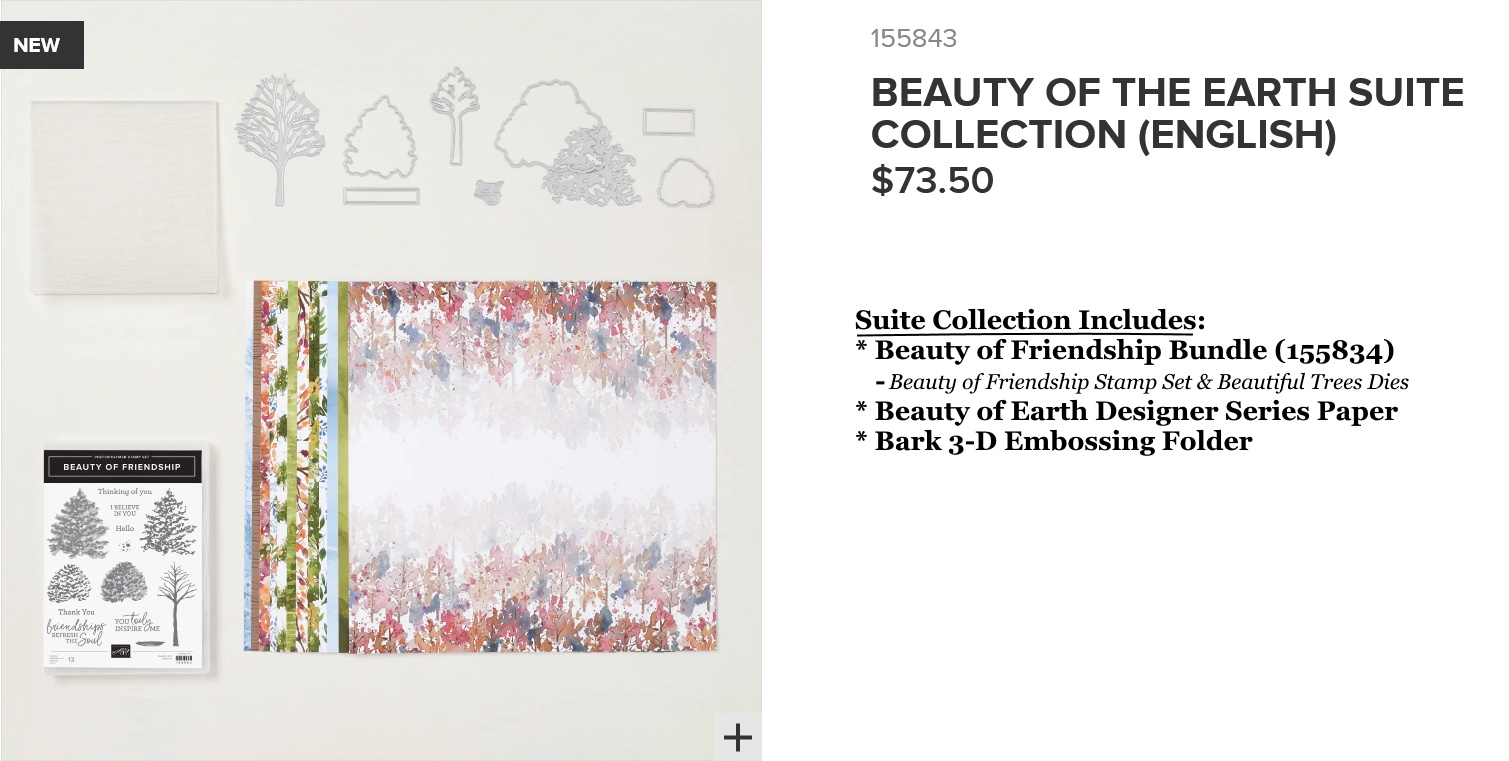
Today I’m going to share a masculine … or “earthy” card today that highlights the Beauty of the Earth Suite. You’ll see the Designer Paper, Dies and stamp set which will bring this card to life. Today’s my brothers birthday so I decided this was the perfect set for his card ….
The card showcases the Beauty of the Earth Designer Paper, in fact, it is the pattern shown above as the front piece…. I will show you a close up further down the post. It also highlights the dies …
It’s so easy to make a beautiful card using this suite … the designer paper creates depth, making you feel as if you are looking at the entire forest as it fades the farther away you get. The entire package of designer paper is just amazing!! Look at how bold and beautiful these colors are …. and for every season!
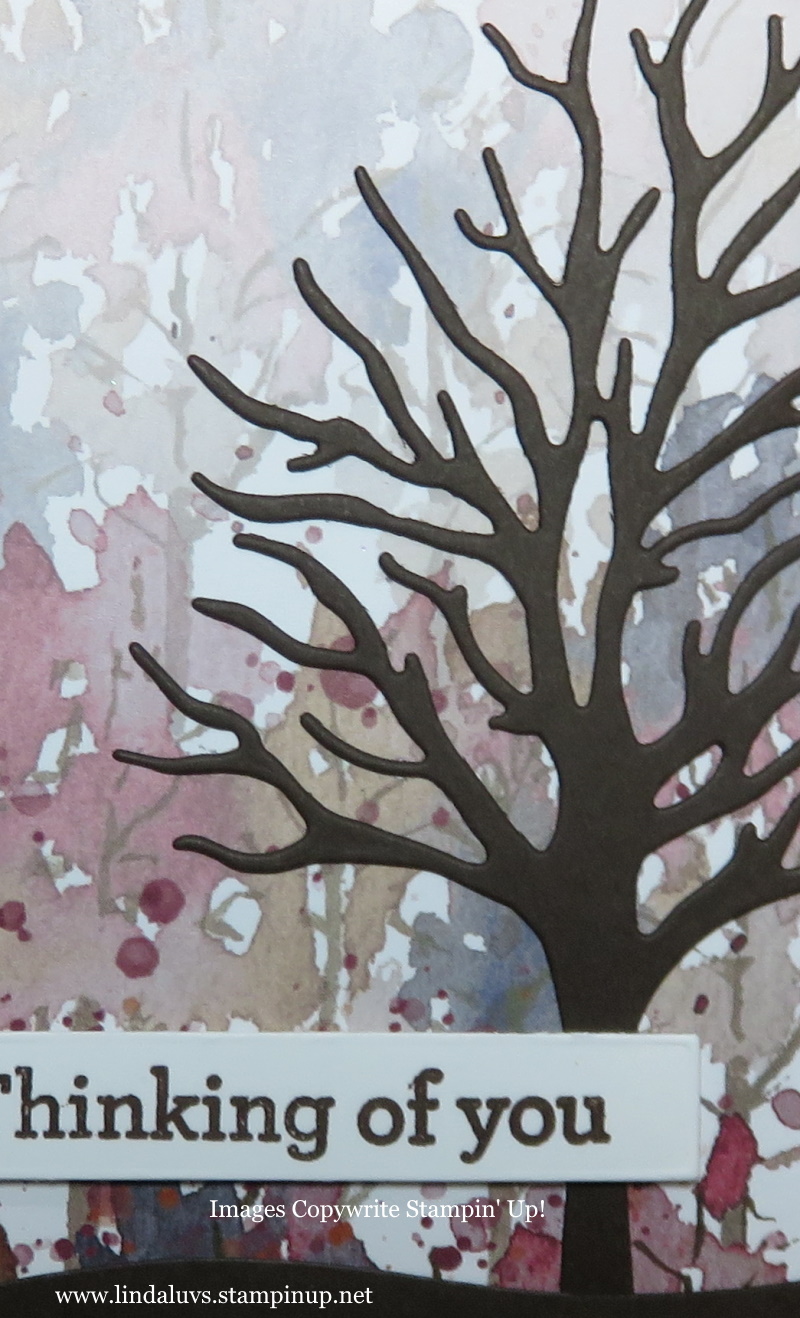
Let’s take a closer look at the watercolor effect they created on this designer paper ….
As you look from top to bottom the fade effect gets darker and the trees don’t have detailed definition but the watercolor look … even has “droplets” of color !
So Stampin’ Up! did all the work on the background of my card, so all I had to do was die cut the tree, stamp the greeting, and then die cut that (because that piece is included in the dies as well)!!
I finished off the card by die cutting the bottom piece and wrapping it with the White Bakers Twine to add a little texture, and to pull some white across the bottom. Nice balance.
I hope you enjoyed today’s card, this is only the first of many I have to share with you.
Thank you for checking in on me today, and have yourself an amazing weekend!!
TODAY’S STAMPIN’ SUPPLY LIST … If you liked the products used in today’s projects, I have links for you below. Just click on the item you would like more information on, or to begin your shopping. It will take you directly to my website. Thank you ♥
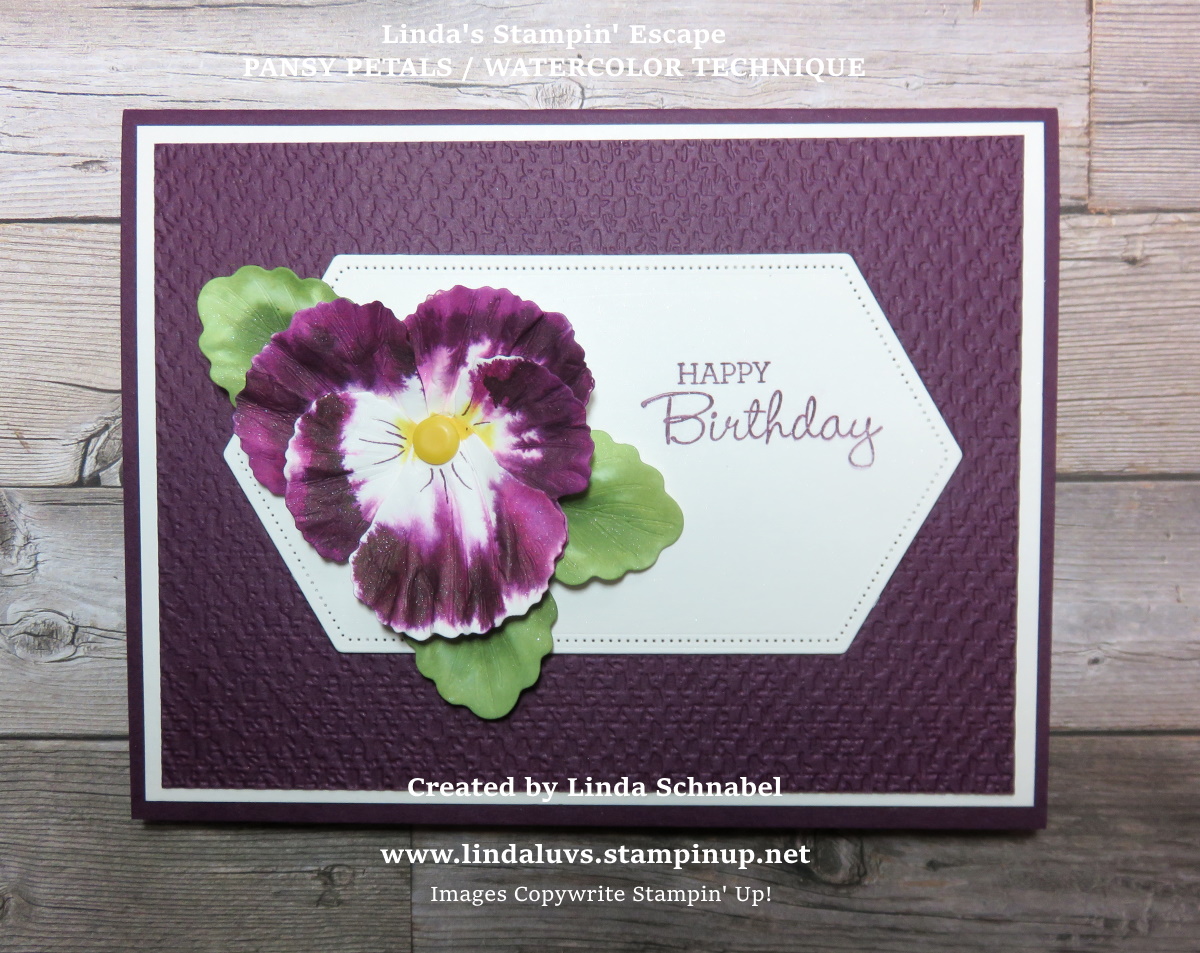
Today I have two cards to share with you today … I’ve been sharing quick & simple pansy cards that highlight the Pansy Petals Designer paper …
Then I showed how easy it was to use the layering of the pansy images to create pretty hand stamped pansies ….
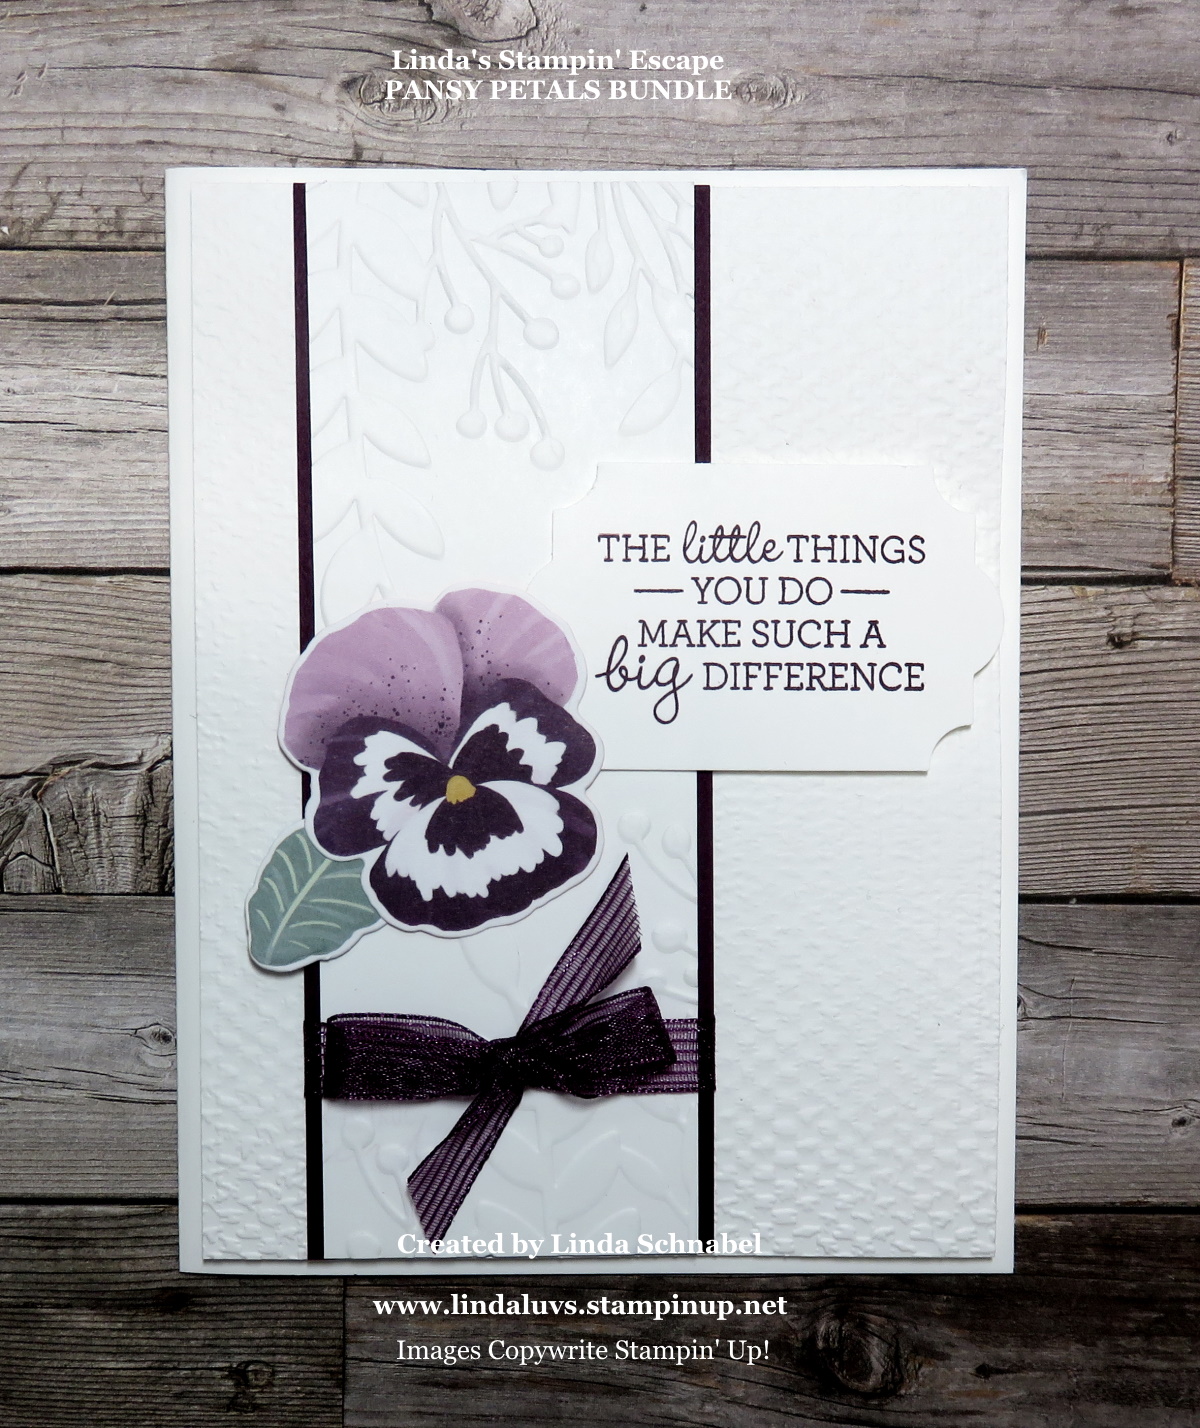
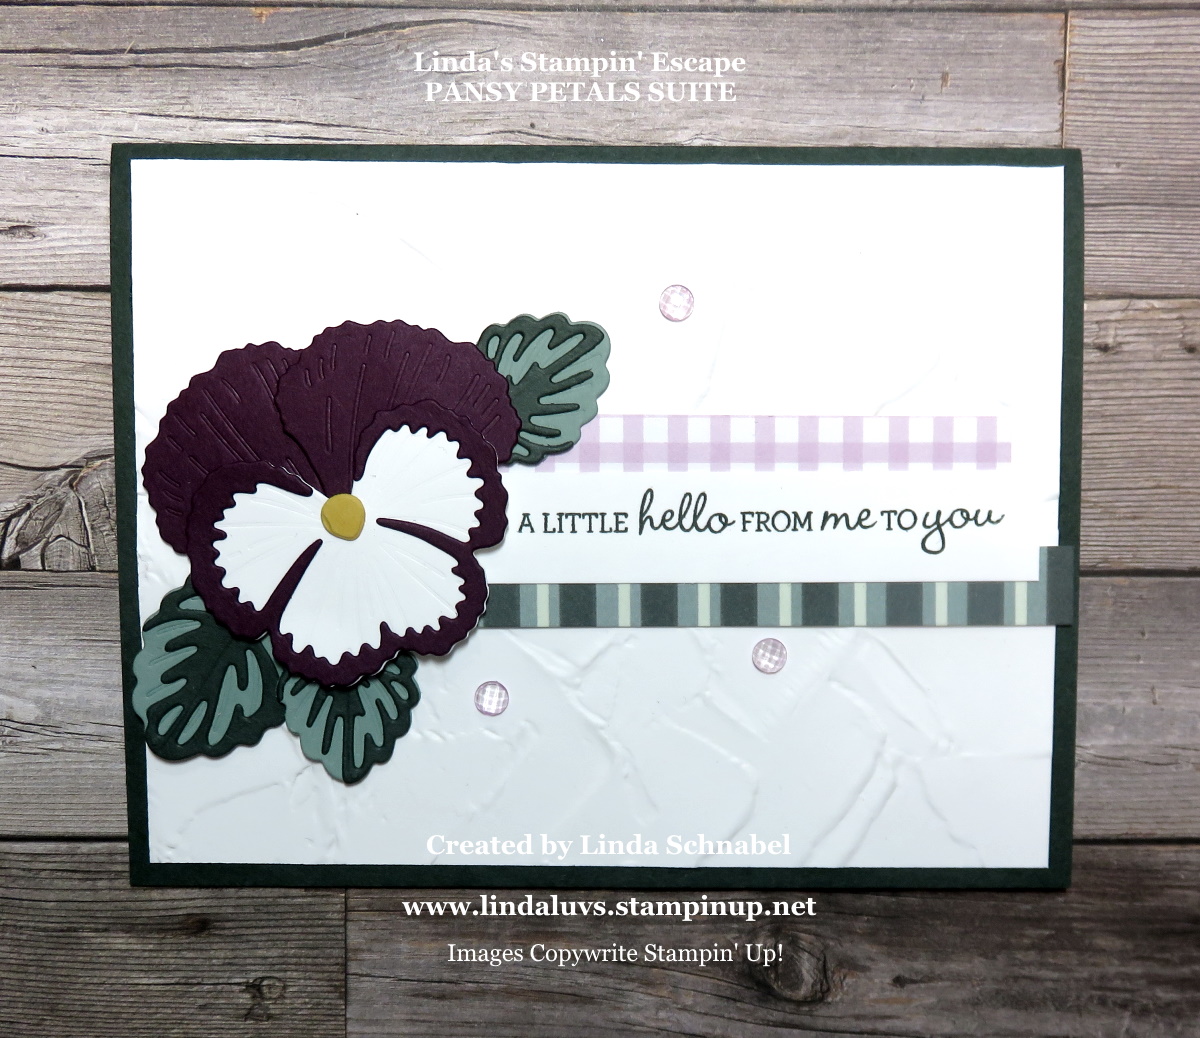
So today I’d like to share a card that also highlights the designer paper, but also the dies… because these dies actually are designed to not only cut your stamped images but the images on the designer paper …
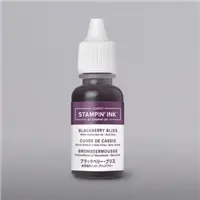
The cute pansy and leaves above were cut from the Pansy Petals Designer paper. They are layered on a piece of Basic White embossed with the “Greenery” Embossing Folder and backed with a piece of Blackberry Bliss … these are layered onto more Basic White that was embossed with the “Tasteful Texture” embossing folder. The embossing added some nice texture to the card.
If you like texture on your flower, then you’ll love the layered die cuts to create you pansy …
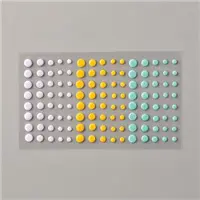
The dies not only cut but they emboss as well … amazing!! The layering of the die cuts gives you some fun texture on your cards, but that didn’t stop me from embossing the background with the “Painted Texture” embossing folder! I also added the cute little Elegant Faceted Gems to draw your eye around the card.
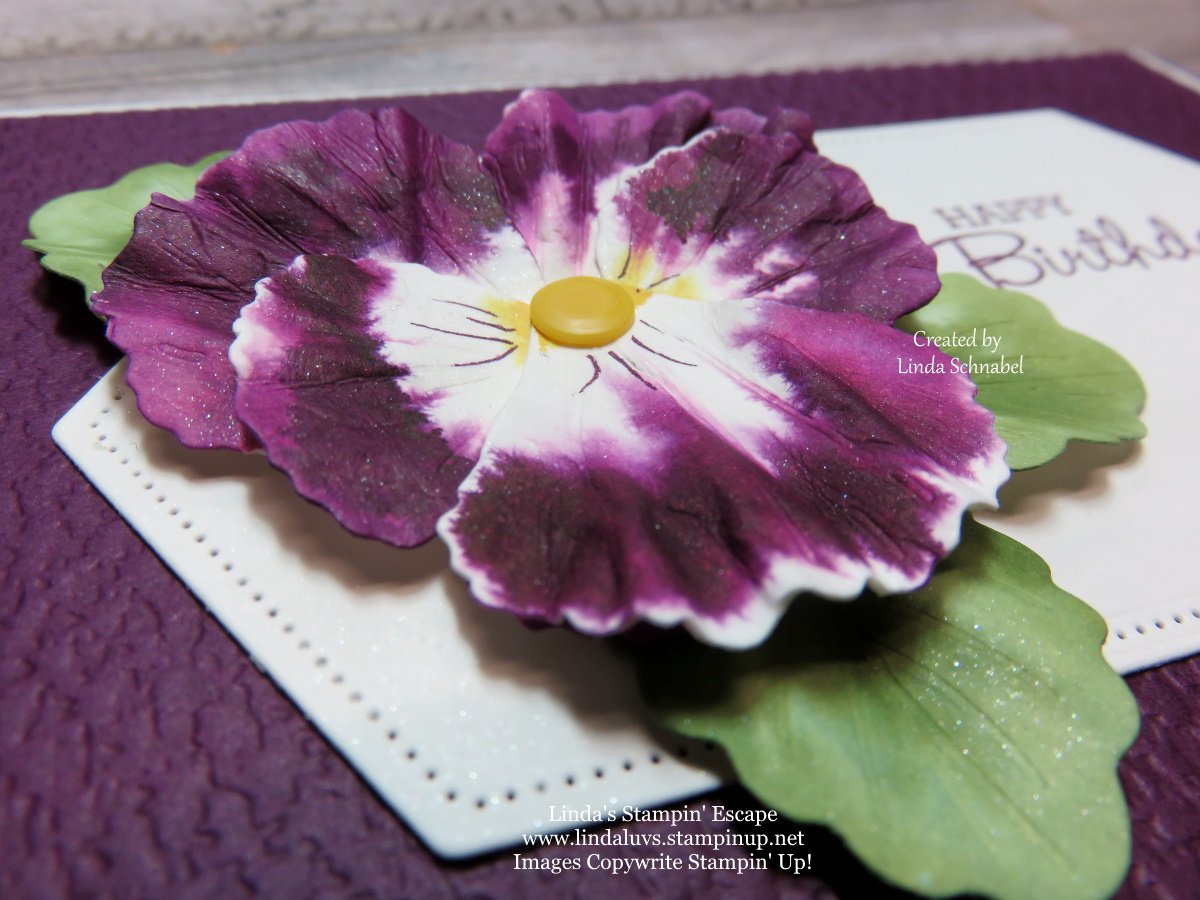
I have fallen in love with this suite, but the watercoloring technique I shared yesterday just took it to the next level ….
and here is the flower that inspired me…
I use nature a lot for inspiration in my stamping, especially for a true color pallet … this pansy inspired me to add the “ruffled” look to my die cut flower.
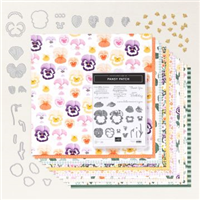
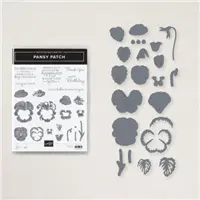
I announced yesterday that anyone who purchases the Pansy Patch Bundle before the end of June, will receive a special gift from me!! All you have to do is purchase, Stampin’ Up! will send me a notification … just make sure you choose me as your demonstrator … thank you.
Thanks so much for hanging out with me for a spell today. I hope your day is a beautiful one!!
TODAY’S STAMPIN’ SUPPLY LIST … If you liked the products used in today’s projects, I have links for you below. Just click on the item you would like more information on, or to begin your shopping. It will take you directly to my website. Thankyou ♥
I’m sorry I missed you yesterday, but I’m going to make up for it today with these stunning Pansies!! I am so excited to share this with you today … I have combined an old technique with our new Pansy Petals and the results are stunning!
I have created a video for you from my Facebook LIVE last night so you can watch step by step how easy it is to create these beautiful flowers …. They almost look real don’t they?
Isn’t that cool … I am in love with this technique! I loved it when I made pansies from the butterfly punch but this is more realistic!! It creates so much texture and depth when you “scrunch” your petals.
Those little white specs you see are actually the “shimmer” paper making a statement! It really is so pretty and you can do these in any color you’d like! Here is what I whipped up quickly last night after my LIVE demo ….
Not bad for a 2 minute card!! I used the Pansy Petals Designer paper from my background and just added the flowers and my greeting … simple!
I said I was going to share my “inspiration pansy” with you today but I’m saving it for tomorrow … along with another card!! You won’t be disappointed. Thanks for stopping by today!
Hope your day is an awesome one ~
TODAY’S STAMPIN’ SUPPLY LIST … If you liked the products used in today’s projects, I have links for you below. Just click on the item you would like more information on, or to begin your shopping. It will take you directly to my website. Thankyou ♥
How was your weekend? Hope you got a chance to enjoy it, no matter what you chose to do. Today I’d like to share a closer look at one of the cards I introduced you to in yesterday’s video. I’m using the beautiful Pansy Petals designer paper and teaming it up with the sparkly New Ombre Specialty paper …
I cut a 3″ x 3″ pansy pattern from the Pansy Petals Designer paper and added a Basic White mat … coordinates with the card base.
Between this is a 4″ x 5-1/4″ piece of the Ombre Specialty paper. I cut a piece from the upper corner of the Gorgeous Grape and it coordinates nicely with our designer paper.
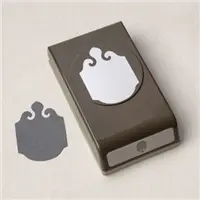
Now … the greeting!! I used the new Elegant Tag punch and punched both ends of my cardstock to create a unique and elegant tag. I added a clear gem from the Elegant Faceted Gems pack to “anchor” my tag.
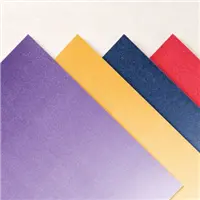
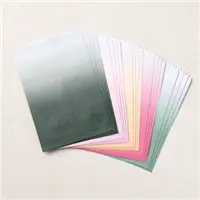
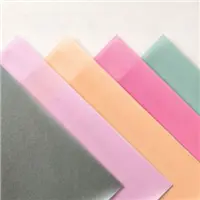
So what do you think about the pretty Ombre Specialty paper? It includes 4 – 12″ x 12″ Sheets (one each of 4 colors: Gorgeous Grape, Mango Melody, Night of Navy and Poppy Parade.
I’ll be sharing more tomorrow of these cute Pansies!! Be sure to join me at Linda’s Stampin’ Escape Facebook page on Tuesday as I’ll be taking these pansies you another level … we begin at 6:30pm.
Thank you for visiting with me today. I hope your day is a good one ~
TODAY’S STAMPIN’ SUPPLY LIST … If you liked the products used in today’s projects, I have links for you below. Just click on the item you would like more information on, or to begin your shopping. It will take you directly to my website. Thank you ♥
Hope you are enjoying your weekend. Today I’d like to share with you some tips on with you on stamping the Pansy Petals … I have a video for you because it’s just easier to show you that way!! You’ll see different color combinations and more.
Grab a cup of coffee and enjoy this short video …
Hope you enjoyed the video and you picked up some tips for stamping these amazing flowers. I’ve let them all set up so I can create even more combinations. Be sure to join me at Linda’s Stampin’ Escape Facebook page on Tuesday as I’ll be taking these pansies you another level!
From today’s sweet & simple card to stunning, make sure you’re there … we begin at 6:30pm.
Thank you for joining me today.
Enjoy the rest of this beautiful day ~
TODAY’S STAMPIN’ SUPPLY LIST … If you liked the products used in today’s projects, I have links for you below. Just click on the item you would like more information on, or to begin your shopping. It will take you directly to my website. Thank you ♥
Life is full of big adventures that are best experienced together! This month’s The Adventure Begins Paper Pumpkin Kit helps you celebrate those exciting new chapters in the most creative of ways with enough supplies to create twelve motivating cards—plus coordinating envelopes—all featuring the exciting colors of nature.
Like the still moments before a great adventure, the kit’s designs contain a quiet energy that hint at all the grand possibilities of what is yet to come. Share this kit with your family and friends about to embark on a new journey and make connections while you explore and discover new levels of your creativity!
Thank you for the visit today. Let me know if you have any questions about our Paper Pumpkin kits … I’d be happy to help you.
Have a wonderful day ~
TODAY’S STAMPIN’ SUPPLY LIST … If you liked the products used in today’s projects, I have links for you below. Just click on the item you would like more information on, or to begin your shopping. It will take you directly to my website. Thank you ♥
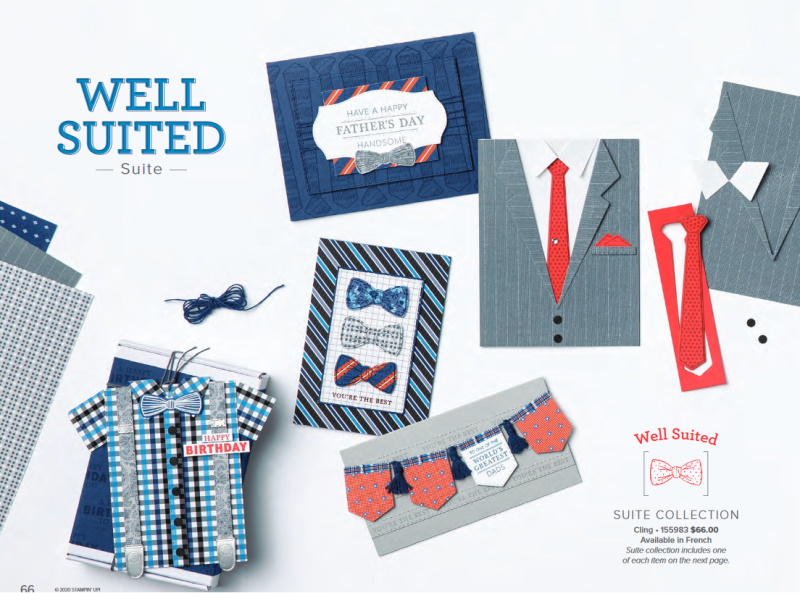
With Father’s Day creeping up on us quickly, I though it would me nice to share some cards created from the Well Suited Suite which can be found on page 66 and 67 of the Mini Catalog.
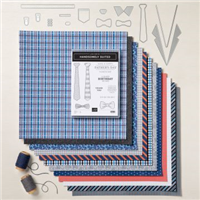
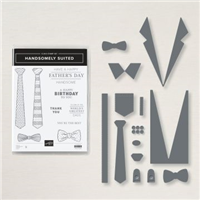
The suite includes the Handsomely Suited Stamp set, Suite & Ties Dies … both carried over to the Annual Catalog, and the Well Suited Designer Paper and the Well Suited Twine … both retiring!
Today we are going to begin just using simply; stamps * ink * paper! Isn’t this how the whole “stamping” thing got started? My color pallet will be Night of Navy, Merry Merlot and Basic White … masculine. I started with my base in Night of Navy and my mat in Merry Merlot and my Basic White to stamp on, and I choose the ties!
The greeting was stamped on a piece of scrap that I had lying around and fit it well, and then I added some Night of Navy to mat the greeting.
Next up, I thought I would use the ties again, however I’m introducing the Well Suited Designer Paper and the Suite & Ties Dies …
First, I used a simple yet masculine design from the Well Suited Designer Series paper as my background, and then using 3 other patterns of designer paper … I cut out my ties with the coordinating tie dies! It’s so much fun pick patterns and make your own ties! I felt like I could sew again … LOL!!!
Next up … I’m going all out, it’s time to introduce “A Sharp Dressed Man”!! I picked out two patterns from the Well Suited Designer Series Paper; one that reminded me of tweed and the other is paisley! That is how I started …
Your card base begins as any other; 8-1/2″ x 11″ and scored at 5-1/2″ … fold in half and your ready to dress your card. I took the “tweed” pattern paper and with the coordinating dies, cut out the suit. You get the suit and lapels.
The shirt consists of the White card base and the die cut collar … it is so easy to create. HOWEVER, before you adhere down the suit, you need tuck the tie under the collar and and suit. I just love that paisley tie!! You could add a pocket, buttons and more to dress up your card, the dies have them all.
This will be your last chance to purchase the suite as it retires at the end of the month, so the “bundle” with 10% saving … the Designer paper … and Bakers Twine will be gone. Let me know if you have any questions, and thank you for hanging out with me today.
TODAY’S STAMPIN’ SUPPLY LIST … If you liked the products used in today’s projects, I have links for you below. Just click on the item you would like more information on, or to begin your shopping. It will take you directly to my website. Thank you ♥
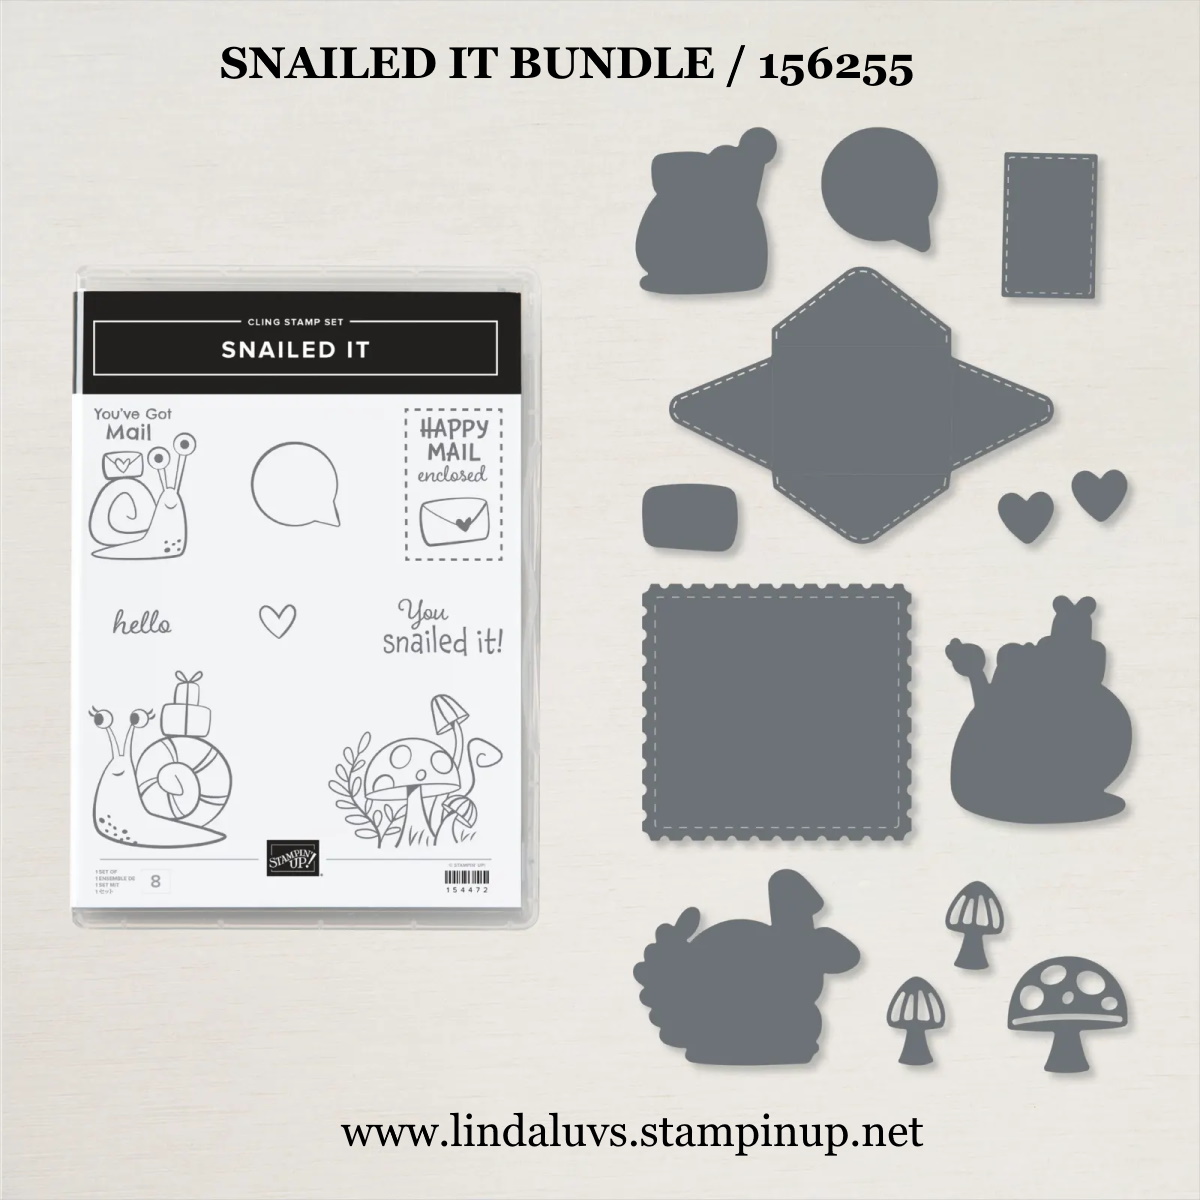
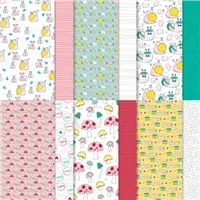
Sending a little love today via Snail Mail with this adorable collection, from the whimsical stamps to the enchanting Designer Paper is everything that is bright and delightful! The bold colors and whimsical style make it perfect for cards and projects that need an infusion of fun.
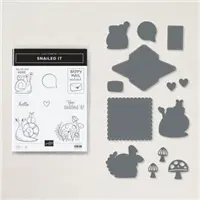
The entire suite and Snailed It Bundle will be retiring at the end of this month. The bundle includes the Snailed It Stamp Set and the Snail Dies. The Snailed It Stamp Set has the cutest mail carriers you have ever seen. With these carriers … you’ll be able to decorate all your letters and parcels with those adorable snails.
With the Snail Dies, mailing letters will never be the same again! The cute snail, mushroom and postal stamp dies cut of the stamped motives of the coordinating Snailed It Stamp Set. Additionally, you can also create a tiny envelope with one of the dies that everyone will love!
I created this adorable card to celebrate my granddaughters birthday …
The Bermuda Bay card base and Basic White mat are the perfect combination to make highlight the whimsical Snail Mail Designer Series paper … it just makes you smile! And so does the little birthday snail receiving the present.
This sweet -n- simple card highlights the cutest little snail with a touch of color underneath courtesy of our Blending Brush!! And our sweet little snail teamed up with the Many Messages Bundle to send you wishes from a grateful heart …
these two bundles pair so nicely together (actually the Many Messages stamp set pairs perfectly with any of our stamp sets!) Even the little stars and hearts came from the Many Messages stamp set.
It’s sad to see when an entire suite retires. Check out these cute ideas …
Thank you again, and have a wonderful day ~
TODAY’S STAMPIN’ SUPPLY LIST … If you liked the products used in today’s projects, I have links for you below. Just click on the item you would like more information on, or to begin your shopping. It will take you directly to my website. Thank you ♥
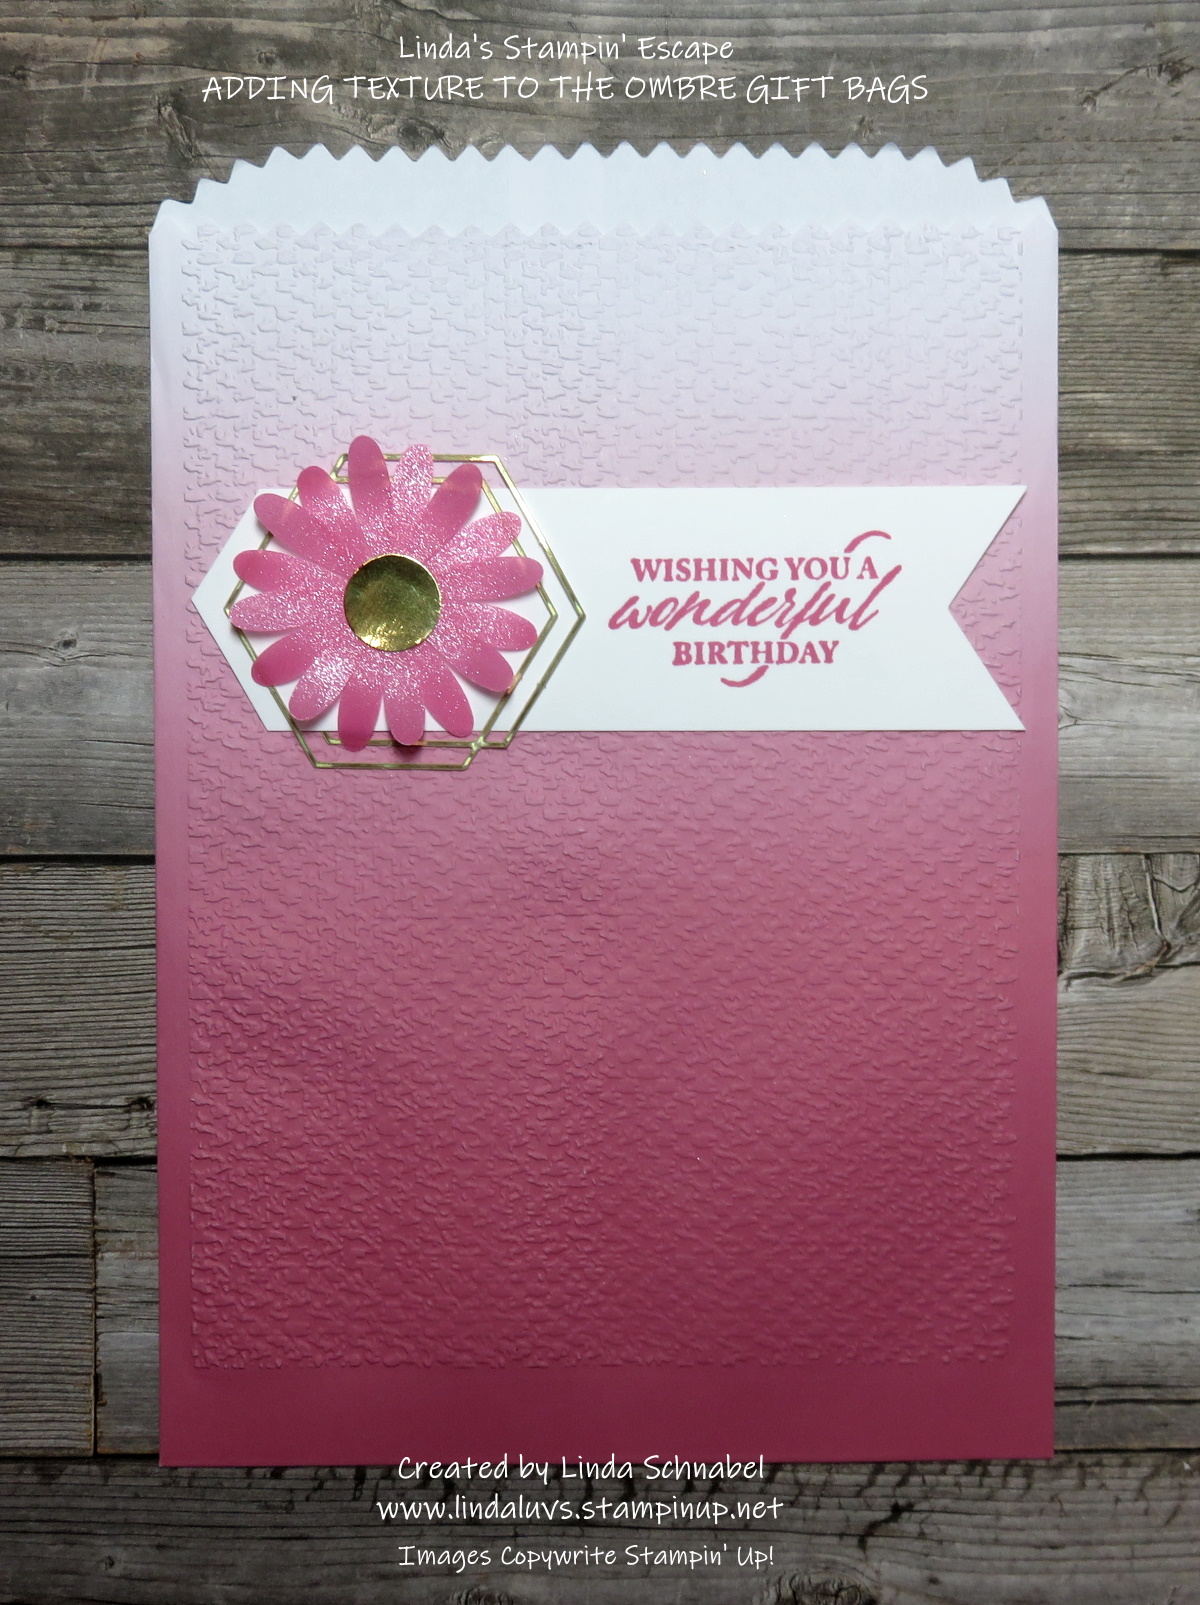
Today I’d like to share how fun and easy it is to add texture to our Ombre Gift Bags. They come in the 5 New In-Colors and each one is embossed with a different folder and decorated differently. Let me say that I was inspired by my fellow demonstrator Jan Farring who shared her embossed bags with all of us.
Please join me, sit back, relax and watch the video and then I’ll share each of the bags including the Soft Succulent which is not seen in the video!
Alright … the cover gives away my surprise! I embossed the Soft Succulent bag with the “Painted Texture 3D” Embossing Folder, it’s so versatile and can be used with so many different styles. I wanted to showcase the new Pansy Petals Designer Series paper as well …
The greeting comes from the Pansy Patch bundle and is stamped in Soft Succulent to coordinate with the bag (and the designer paper). I then punched it out using the Elegant Tag Punch and adorned it with the Soft Succulent Open Weave Ribbon. I completed this bag by adding the Silver Epoxy Essentials.
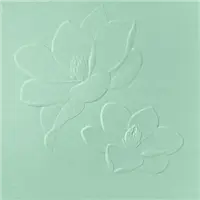
The Fresh Freesia bag is the first I demonstrated in the video and uses the Magnolia 3D embossing folder … It’s simple but pretty!
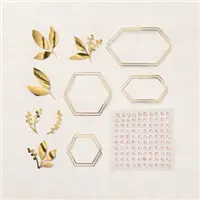
I used the folder “side-ways” for this one and decorated it with the Expressions in Ink Ephemera Pack, both the gold elements and the adhesive backed sequins come in the pack!! The gold piece you see here is actually the outer part of the piece I use on my Polished Pink bag …
My Polished Pink bag is embossed with the Tasteful Textile 3D embossing folder and embellished with the our stunning Shimmer Vellum punched from the Medium Daisy Punch which I highlighted with the Expressions in Ink Ephemera Pack!
If you do not like the space on the bottom … you can emboss from the bottom and then your un-textured area will be on the top, that is how Jan Farring did her bags… this means you will have texture on both sides, since I came in from the top, mine is only textured on the front.
My Pale Papaya card is textured on both sides because we embossed side-ways to give it a totally different look …
I used the Hammered Metal 3D embossing folder to texture this back … I really love it embossed sideways, it really gives definition to that area. I highlighted it even more by adding an oval from the Shimmer Vellum and another pretty daisy!! I added the Clear Epoxy Dots from the Silver & Clear Epoxy Essentials to finish off my Gift bag.
I thought I’d have a little fun with the Evening Evergreen Gift Bag …
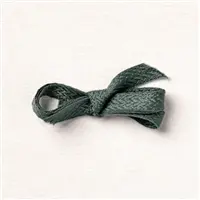
so I made it into a Christmas Gift Bag!! I used the Tidings of Christmas 6 x 6 Designer Paper and tied it up nicely with the Evening Evergreen Chevron Weave Ribbon.
I hope you enjoyed watching how easy it is to emboss these beautiful Gift Bags to give them some texture and then add a few embellishment (or more if you wish) to get them ready to “Gift”!
Thank you for joining me and checking out my video today …
I hope your day is a good one!
TODAY’S STAMPIN’ SUPPLY LIST … If you liked the products used in today’s projects, I have links for you below. Just click on the item you would like more information on, or to begin your shopping. It will take you directly to my website. Thank you ♥