Hello Stampin’ Friends ~
Today I thought we’d take a look at the Ice Cream Corner Suite. I’ve shared several samples with you at my Mini Catalog Launch Party and today we have some new ones for you. And … speaking of Launch Parties … there is a NEW Annual Catalog being released!! I’m excited … I’m making plans … Will you be joining me???
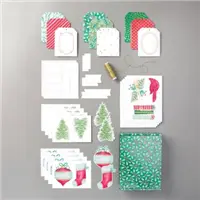
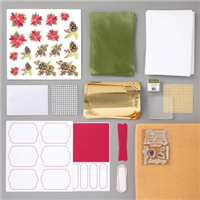
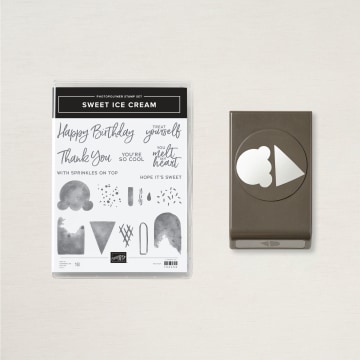
 Ice Cream Corner Suite
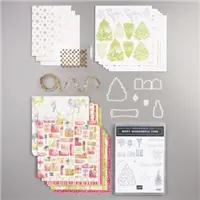
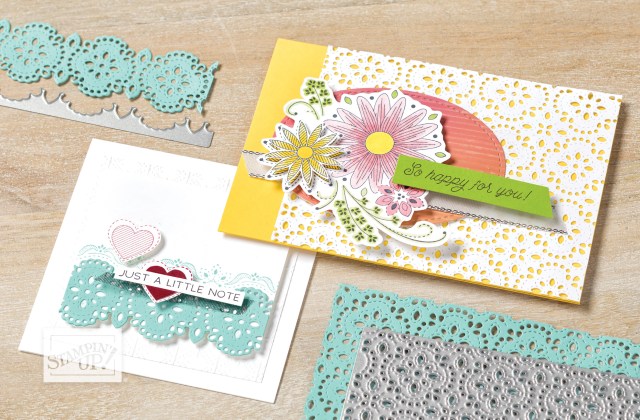
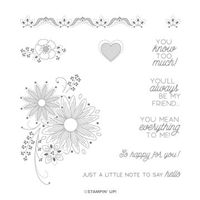
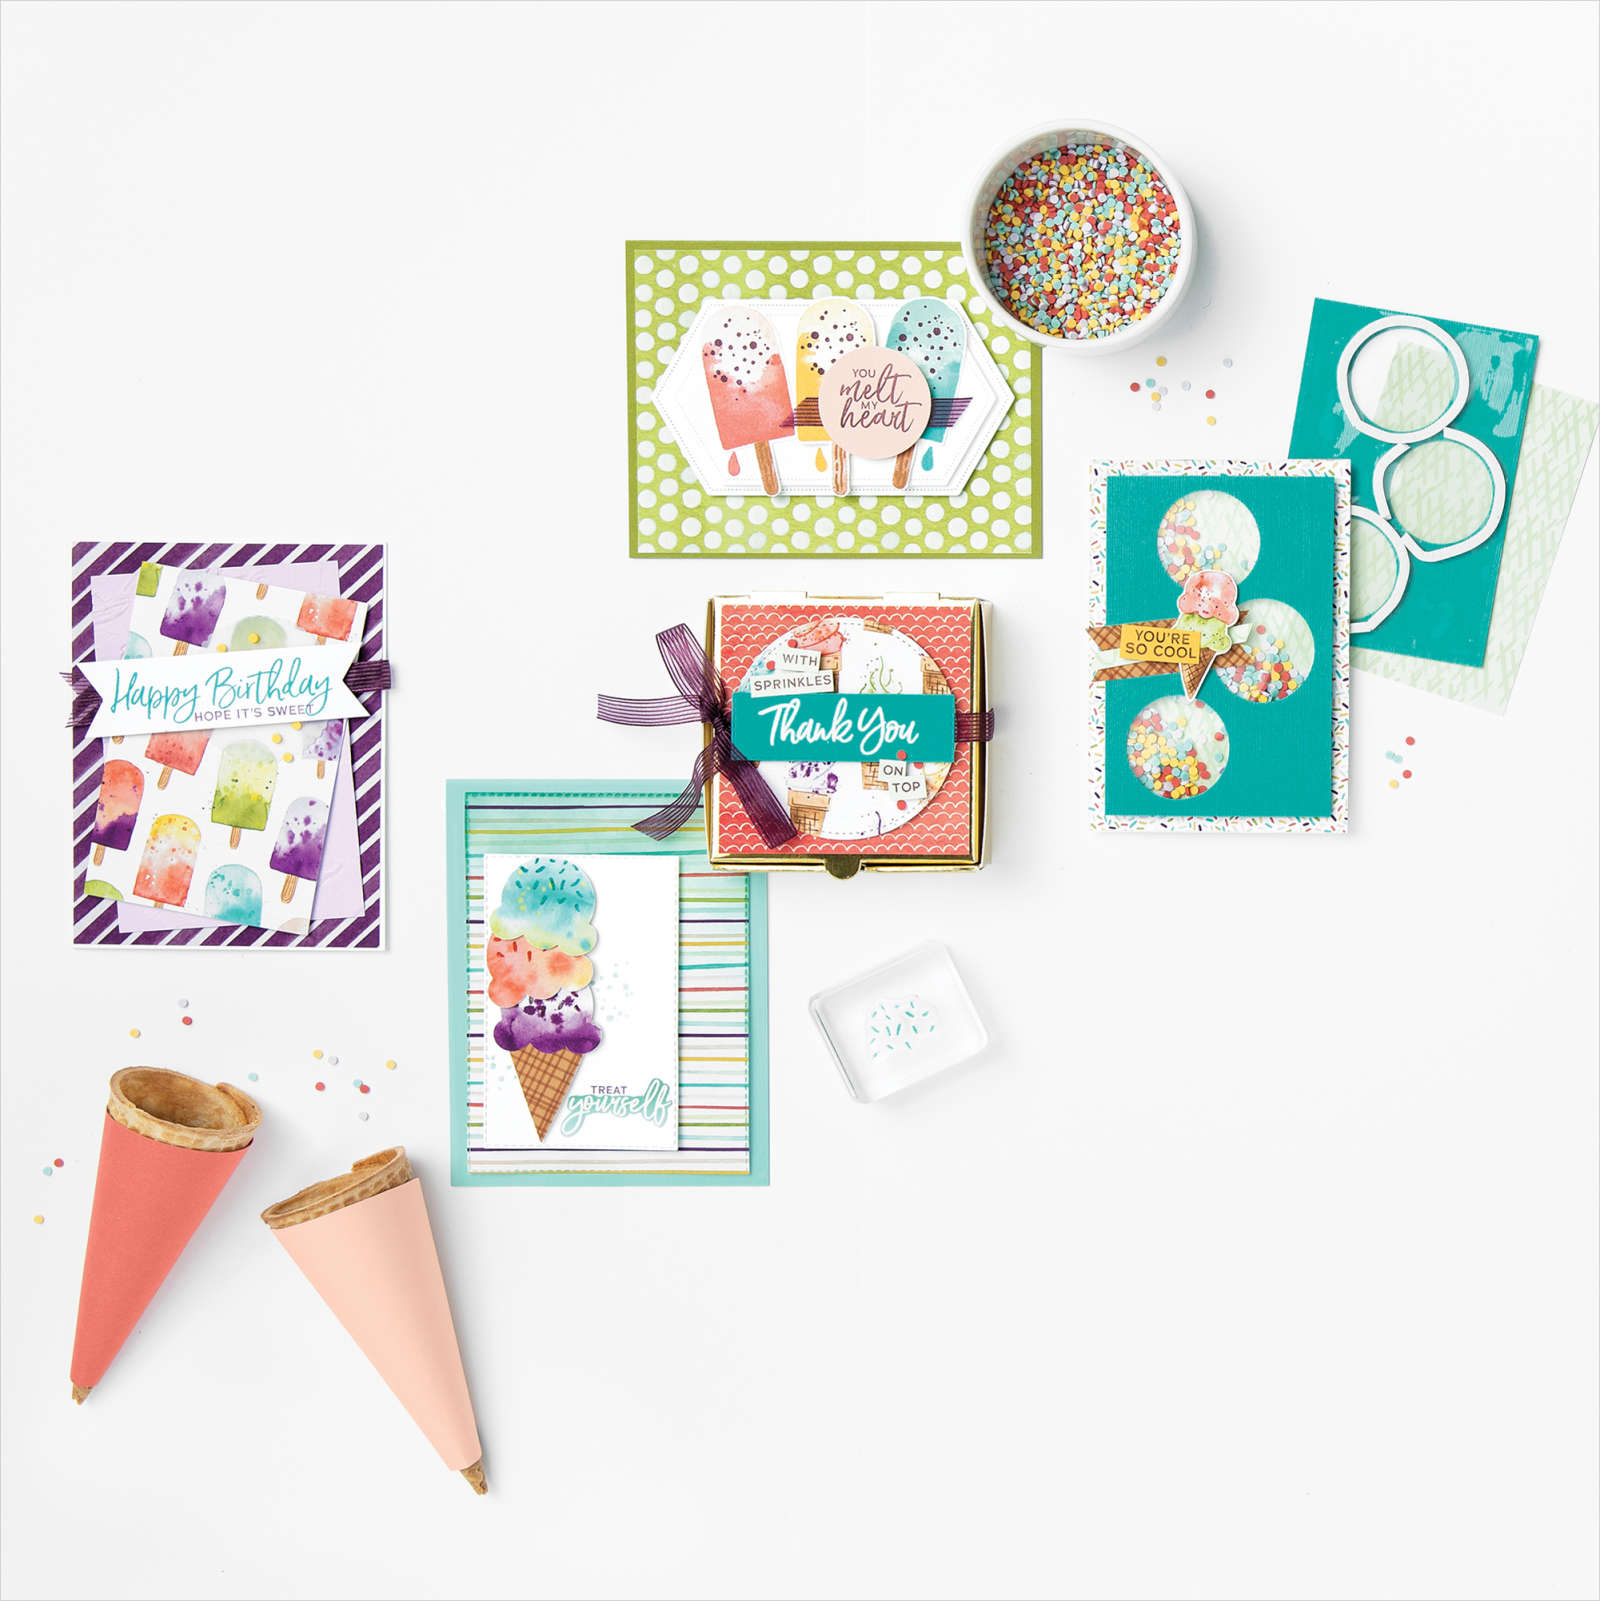
Sprinkle beautiful colors together with sweet images, add a hint of nostalgia, and you’ve created the perfect recipe for the Ice Cream Corner Suite!
Whether you are sending sweet thoughts and birthday wishes or creating cool summer memories, this coordinating two-step stamp set and punch bundle are a must-have combo. From kids to the young-at-heart you’ll create smiles with every project you make.
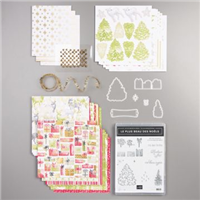
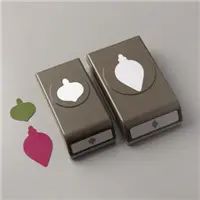
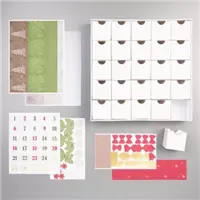
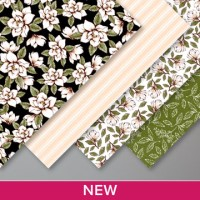
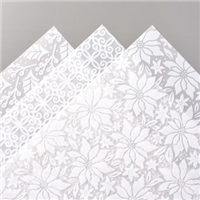
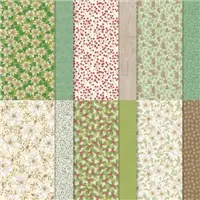
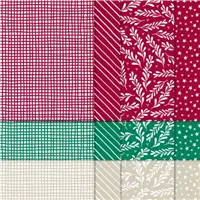
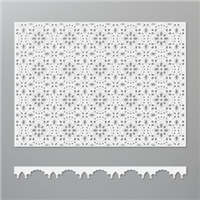
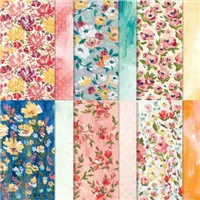
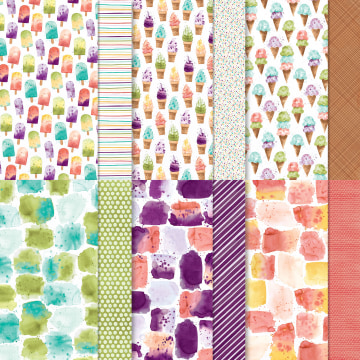
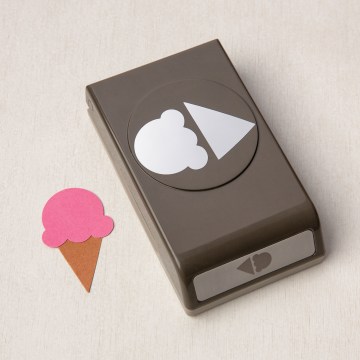
The bright, fun Ice Cream Corner Designer Series Paper adds the perfect backdrop for the ice cream cones and popsicle images, but it also coordinates so you can punch swirly ice cream scoops and waffle cones with or without stamping.
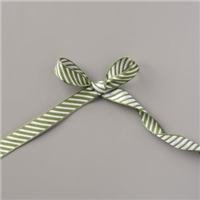
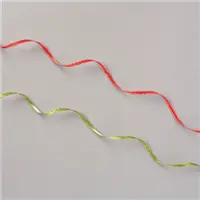
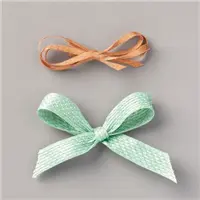
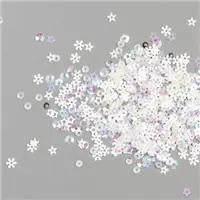
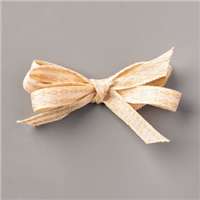
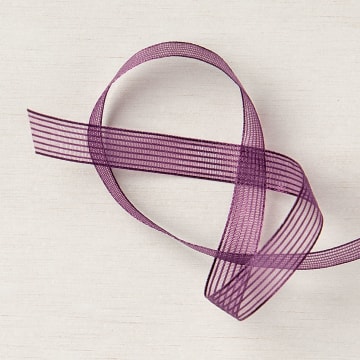
Add in the Ice Cream Corner sprinkles as embellishments or for shaker cards, and a pinch of BlackBerry Bliss Striped Ribbon to top off you ice cream creations in style!
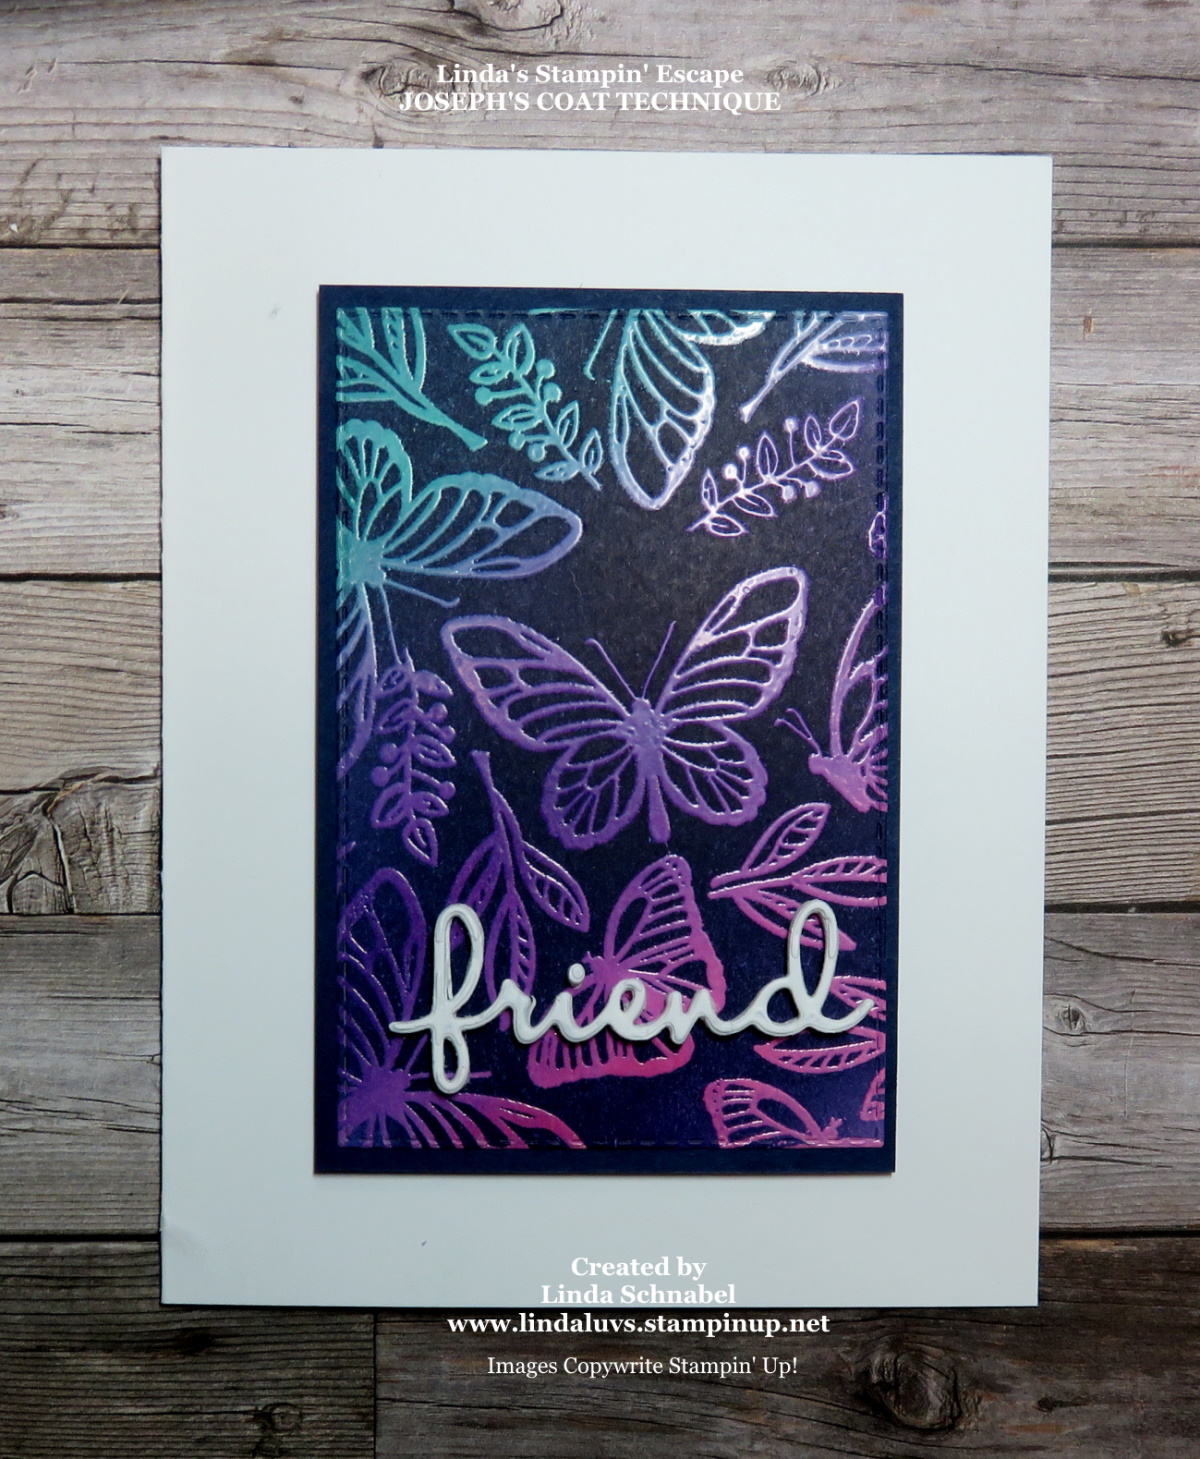
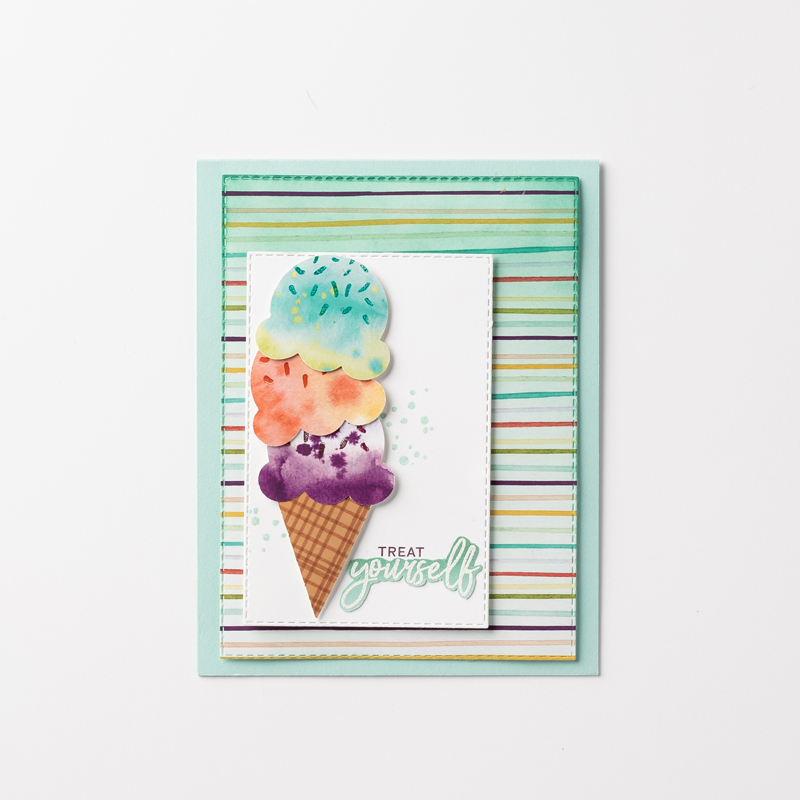
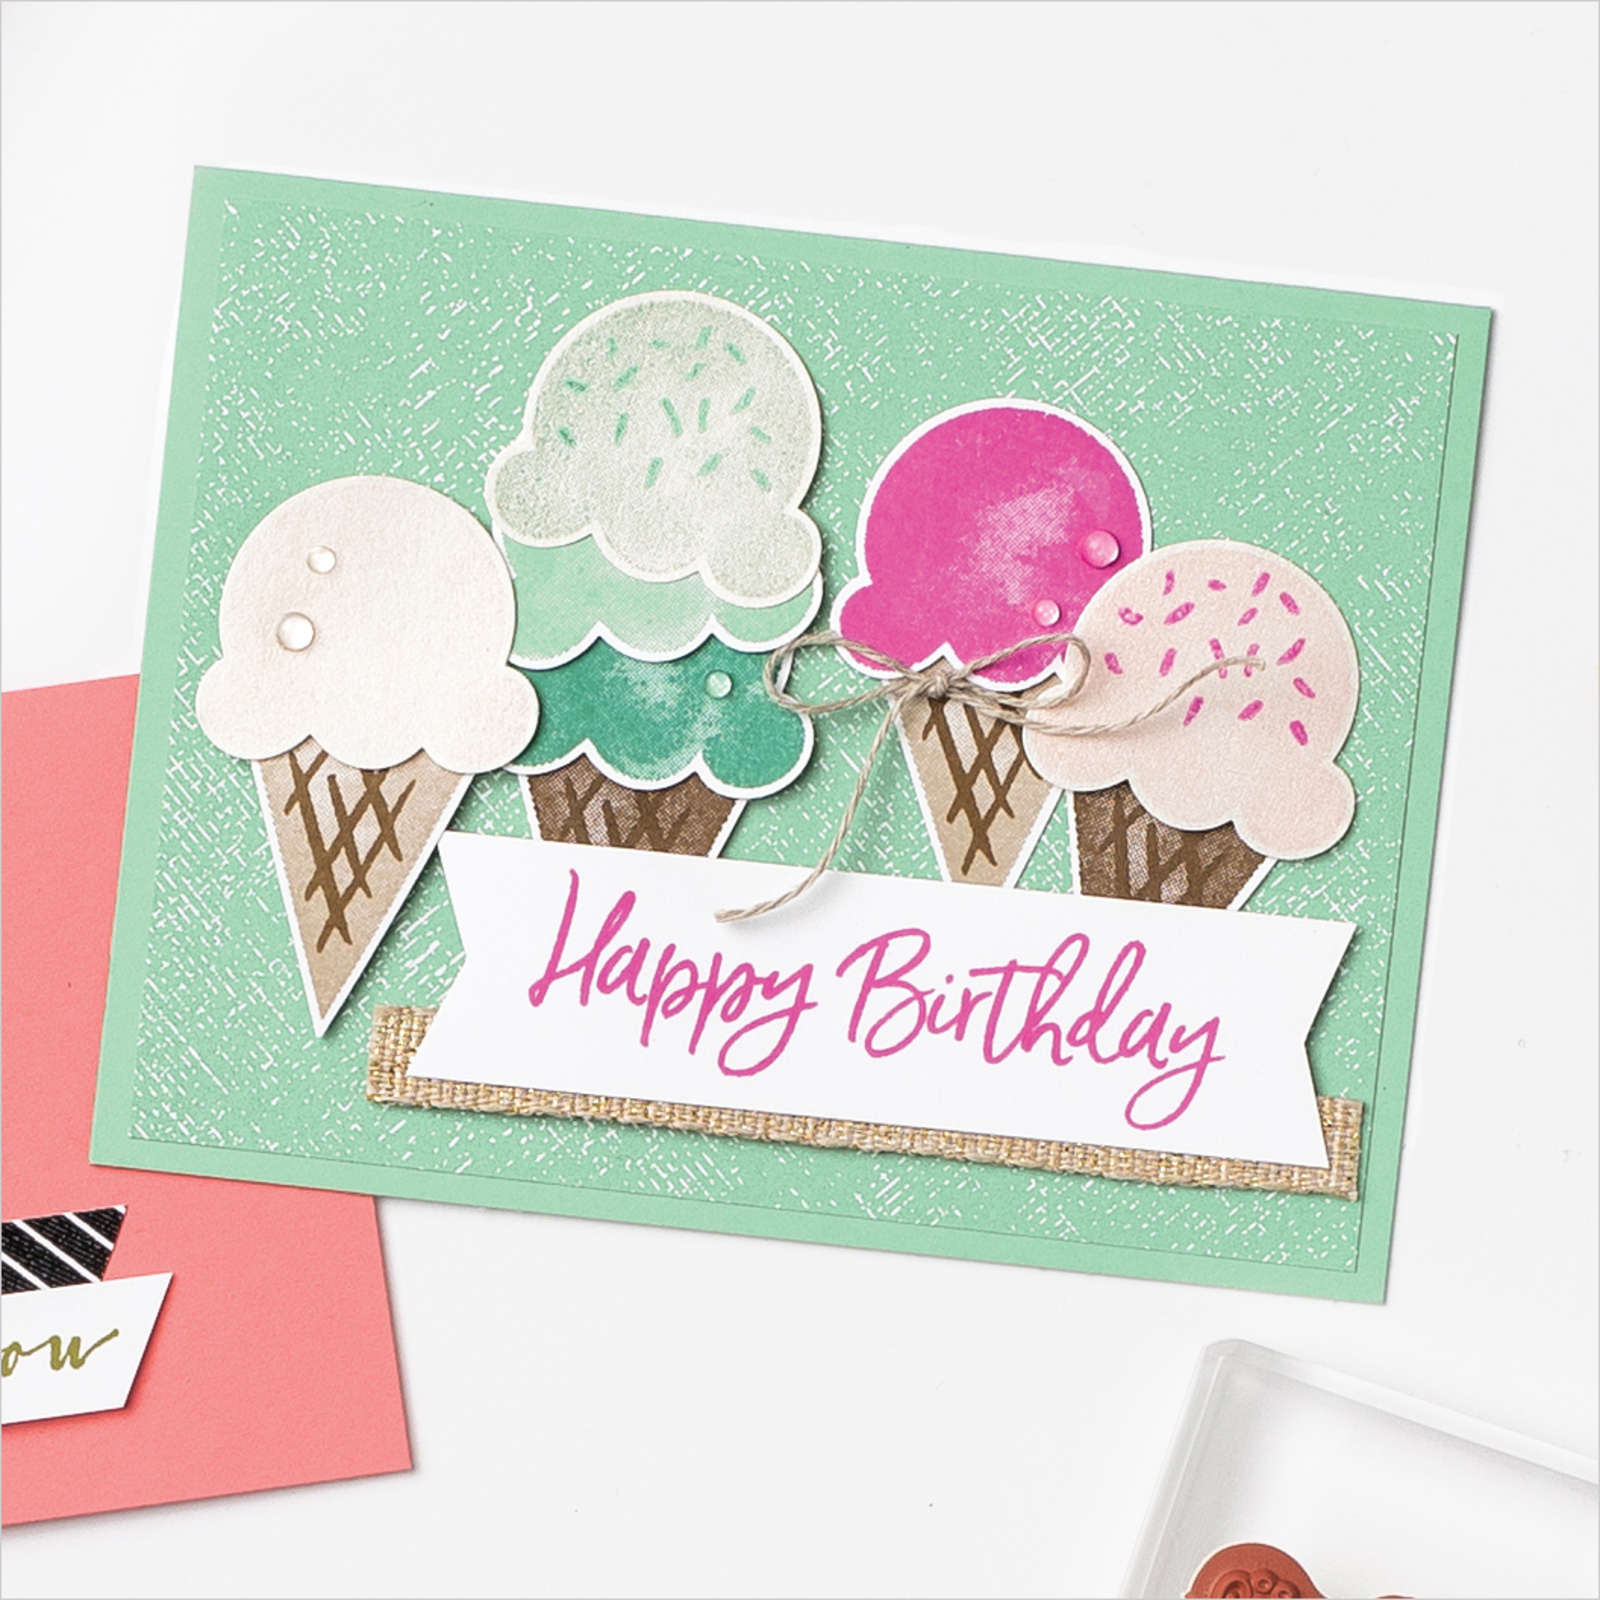
The tutorial below features the Ice Cream Corner Suite combined with an ombre background, sweet details, and scrumptious colors. This cool card will melt hearts, but won’t melt in the mail!
Have a beautiful day ~
Stampin’ Hugs, Linda
————————————————–
Ice Cream Corner Ombre Card
Join my Email Newsletter List and receive my tutorials by email. With each mailing you will receive a picture of the finished project, a supply list, card layout, and a step-by-step tutorial.
SUPPLIES:
STAMPS
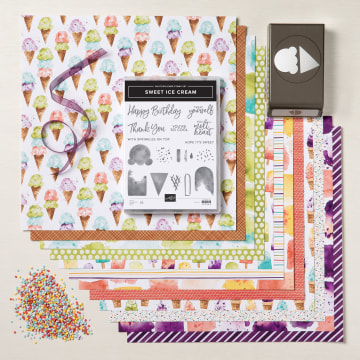
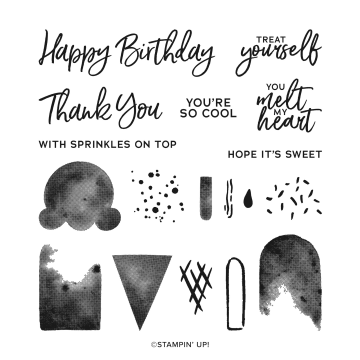
Sweet Ice Cream Photopolymer stamp set (#154456)
PAPER
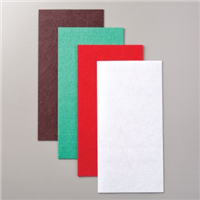
Pool Party (#122924), Thick Basic White (#159229), Ice Cream Corner Designer Series Paper (#154567)
INK
Blackberry Bliss Pad (#147092), Terracotta Tile (#150086), Bermuda Bay (#147096), Pool Party (#147107), VersaMark Pad (#102283)
ADHESIVES
Stampin’ Dimensionals (#104430), Multipurpose Liquid Glue (#110755), Stampin’ SEAL (#152813)
TOOLS
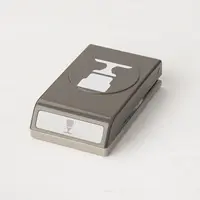
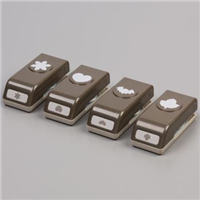
Paper Snips (#103579), Rectangle Stitched Dies (#151820), Blending Brushes (#153611), Ice Cream Cone Builder Punch (#154241), Heat Tool (#129053)
EMBELLISHMENTS
White Stampin’ Emboss Powder (#109132)
Coordinating Products

 ORDER SUPPLIES ONLINE
DOWNLOAD OUR LATEST CATALOG

Please feel free to share or save ...