The weekend is here and I’m a bit late with my post! Had a nice breakfast with my daughter and the 3 boys, and my AJ paid!! He treated us all … what a sweet young man.
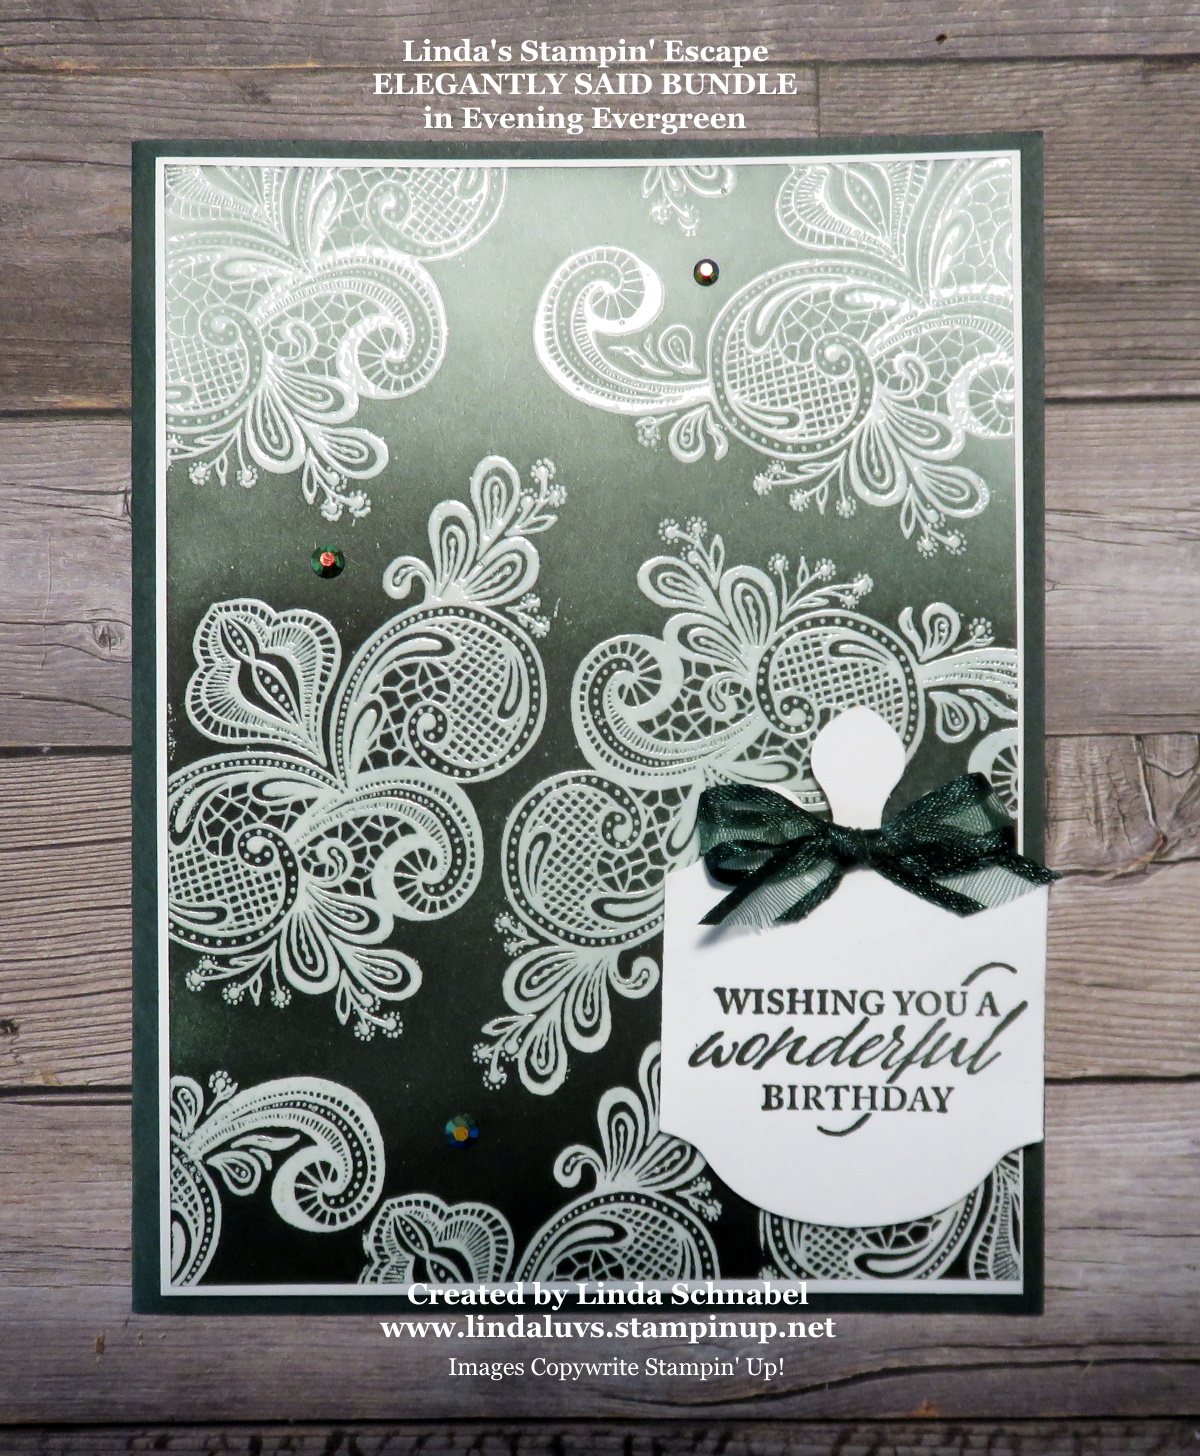
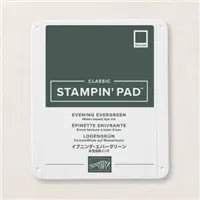
Today I have a beautiful card to share with you today. I brought back the heat embossing but instead of the white, I embossed clear emboss powder on Basic White cardstock. Then it was time to pull out my Blending Brush and the Evening Evergreen ink and create the “Ombre” technique!!
This technique of light to dark, combined with this elegant stamp pair up beautifully and really makes a statement. I added my punched greeting off center … actually, right to the edge!
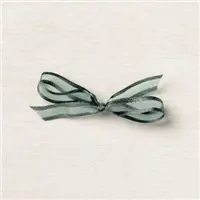
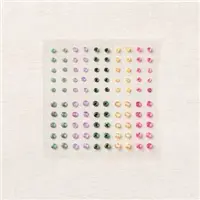
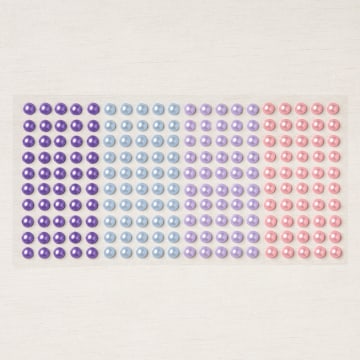
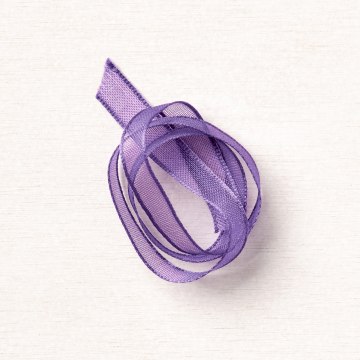
The In Color Gems were placed around the card to draw your eye to the punched greeting, and then the greeting was topped off with the coordination ribbon.
Thank you for hanging out to check out today’s card.
Enjoy your weekend ~
TODAY’S STAMPIN’ SUPPLY LIST … If you liked the products used in today’s projects, I have links for you below. Just click on the item you would like more information on, or to begin your shopping. It will take you directly to my website. Thank you ♥
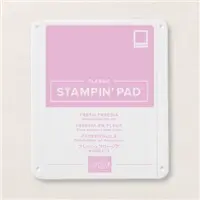
Hello Stampin’ Friends ~ Happy Friday!!! I’m excited to share another of the NEW In-Colors with you … Fresh Freesia.
Today’s card is going to take a technique from each of the past two cards and combine them … Color on Color and Creating your own background! Here is what you get ….
On Wednesday we did the Color on Color technique which represents the bottom half, and yesterday we created our own back ground (designer paper) which represents the top half and it turned out beautifully.
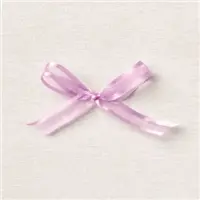
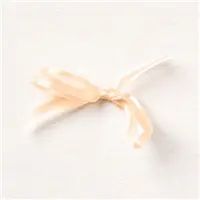
I’m not one for exposed raw edges so I used a 3/4″ of Vellum cardstock to distract your eye from the harsh line … then I covered it in the beautiful Fresh Freesia ribbon!
To add a little twist to my card … I stamped and punched my greeting and turned it side ways!! This gives it a different look than the past two days … and adds an element of fun. Of course the pretty little In Color gems have been added as well.
I hope you enjoyed today’s twist on the past two cards … isn’t it amazing how the “same stamp” and the “same greeting” can look so different from day to day!
Thank you for joining me today … give me a “LIKE” if you have enjoyed today’s post.
Have a marvelous weekend !
TODAY’S STAMPIN’ SUPPLY LIST … If you liked the products used in today’s projects, I have links for you below. Just click on the item you would like more information on, or to begin your shopping. It will take you directly to my website. Thank you ♥
Today I have my second card out of the 5 New In-Colors to share with you. I’ve decided to use the Elegantly Said bundle on all the cards to show you the easy and versatility of this bundle as well.
We’re going back to basics today, and in doing so we are creating our own designer paper with stamps! The Elegantly Said stamp set is perfect for that, let me show you ….
The shape of this beautiful detailed stamp lends itself to this technique so easily … you can see how it interlocks with itself (I demonstrated that in yesterday’s video) creating an elegant background to highlight any greeting.
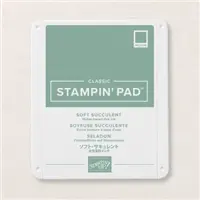
The Soft Succulent looks amazing with this stamp … I’m going to have to try some additional techniques with this combination!! I used the punch and stamp as I did yesterday, but added a mat behind my greeting and a strip of ribbon.
I also decided to use my In Color Gems directly onto my tag today to really draw your eye to the focal point … your sentiment /greeting. Such a simple card to make, yet it is what the stamp title is … elegant.
Thank you so much for joining me today, can’t wait to share another with you tomorrow. Give me a “LIKE” at the bottom of the page if you enjoyed today’s post … it helps others like yourself, find me. Thank you.
Have a great day ~
TODAY’S STAMPIN’ SUPPLY LIST … If you liked the products used in today’s projects, I have links for you below. Just click on the item you would like more information on, or to begin your shopping. It will take you directly to my website. Thank you ♥
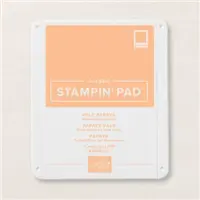
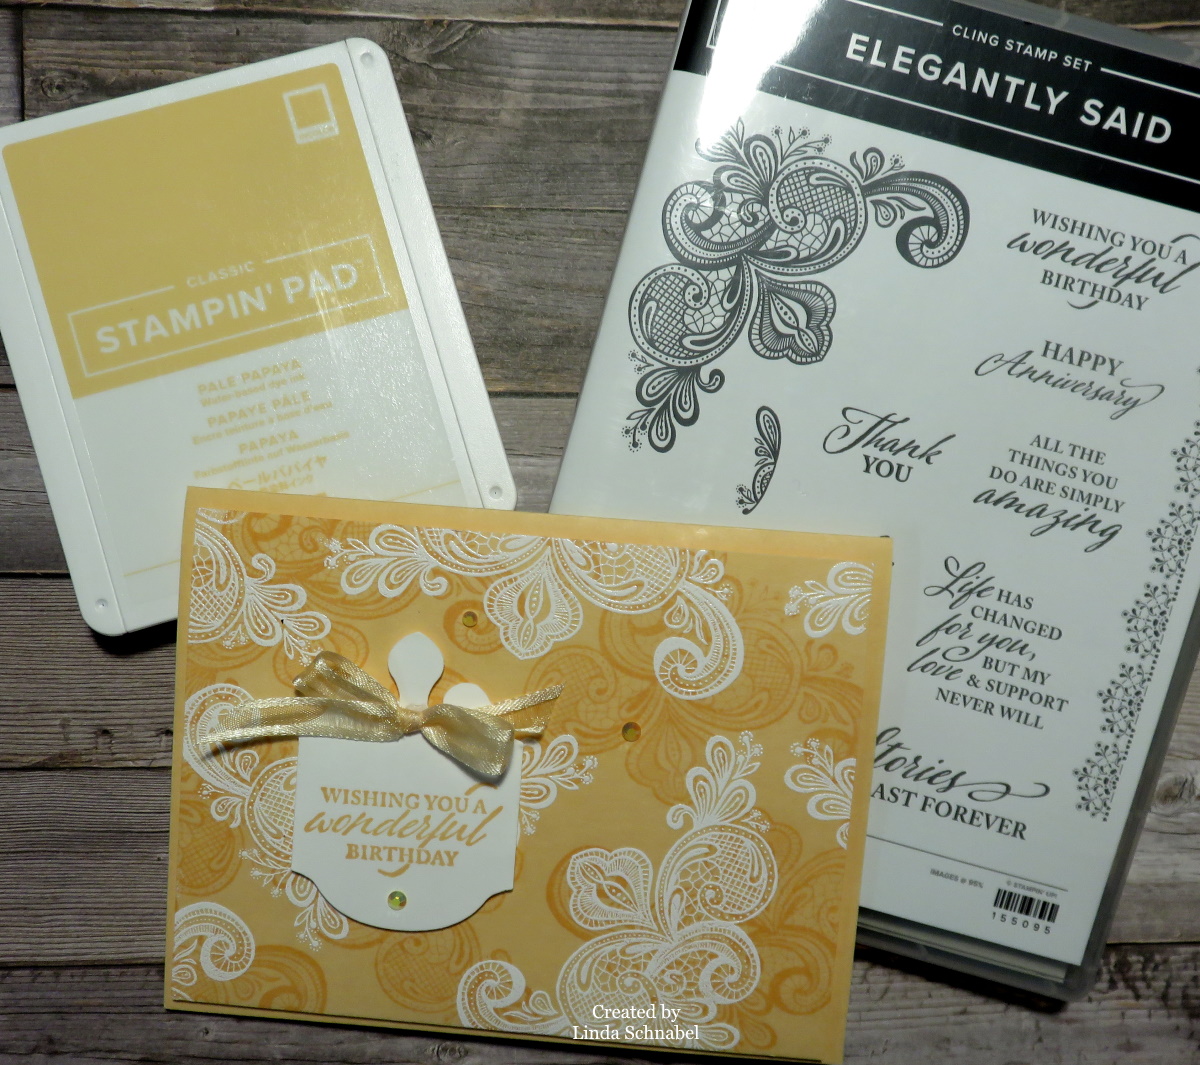
Yesterday Stampin’ Up! kicked off the New Annual Catalog so of course I followed suit with a presentation featuring the Elegantly Said Bundle done in the new Pale Papaya In Color.
In the next few days I will be highlighting the New 2021-23 In Colors, each day will feature a new color. Grab a cup of coffee and join me for a replay of my Facebook LIVE last night ….
It’s amazing how these two simple techniques can create so much depth and texture to your card … your results are simply elegant!
I’m liking that fun punch too and I’ll have more to share with you at my Catalog Launch Party! Notification / Invitations will be sent out soon. The Elegant Said bundle will be highlighted, but until then … let’s take another look at today’s card ~
A closer look is really shows the depth and texture on this card. The cute little tag really adds another element (and focal point) to the card … the Pale Papaya ribbon really adds a soft touch to the tag, and who doesn’t love those little In Color gems!
I want to “Thank You” for taking the time to sit with me today and check out my first “NEW” Catalog Card!!
Have yourself a great day and I’ll see you tomorrow with another amazing In Color.
TODAY’S STAMPIN’ SUPPLY LIST … If you liked the products used in today’s projects, I have links for you below. Just click on the item you would like more information on, or to begin your shopping. It will take you directly to my website. Thank you ♥
It’s the moment you’ve all been waiting for—the 2021-2022 Annual Catalog is finally here! We hope you’re as excited as we are about our biggest publication of the year.
Are you ready for a year filled with friendship, fun, creativity, and connection? That’s what our Annual Catalog is all about! With the turn of every page, you’ll find stunning product suites, inspiring project ideas, and the kind of coordination you can’t find anywhere else.
Since 1988, Stampin’ Up! has been helping people discover and share their creativity with our exclusive stamps and paper craft products. Contact me to get yours!
Today I’d like to share the new In Colors with you via a Color Chart … you can download it HERE. Just click on the link, download it and print!! All week long I will be sharing card samples highlighting the new In Colors … and more!
Or … You can just click on the picture, hit copy and save to your files! I hope you’ll enjoy collecting the new In Colors.
I have a list of our new In Color products below for you to view / purchase … just click on any of the products for more information about it. Also, join me tonight for my Facebook LIVE at Linda’s Stampin’ Escape Facebook page!
Have a wonderful day, hope to see you tonight! I’ll be back tomorrow with the first of my In Color card samples!
Thank you for joining me today!
TODAY’S STAMPIN’ SUPPLY LIST … If you liked the products used in today’s projects, I have links for you below. Just click on the item you would like more information on, or to begin your shopping. It will take you directly to my website. Thank you ♥
Today I have two cards to share with you that feature some of our NEW In-Colors. These three new colors go together so well, I can’t wait for you to get your hands on them!!
New colors are the perfect springboard for fresh creativity and that’s exactly the idea around the In Colors. 5 new on-trend colors are released each year. They remain available for two years and then rotate out.
I’m excited to inspire you with three of the new 2021-2023 In Colors colors: Evening Evergreen, Pale Papaya, and Soft Succulent. These three are a great modern take on the colors of nature and I think they are going to be super popular! What do you think?
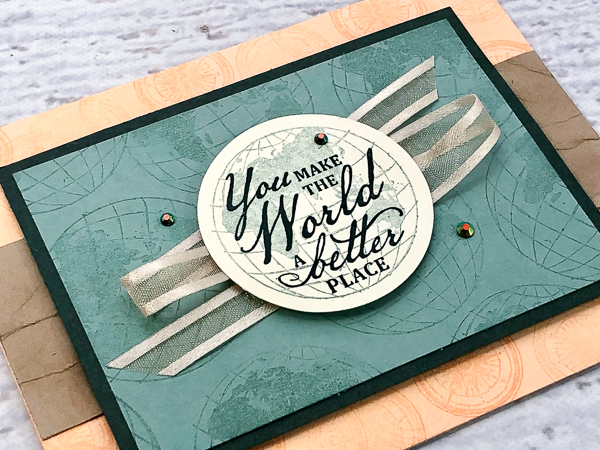
The first card features the retiring Beautiful World stamp set (#152994). The Beautiful World Bundle (#154091) with stamps and dies is available at a 10% savings only until May 3rd or while supplies last. The 2″ Circle Punch (#133782) is another retiring product. These retiring goodies are combined with the new In Colors, In Color Jewels (#155571) and Pale Papaya Ribbon (#155672) for a fresh, yet timeless, look.
The second card features a simple, modern layout and the new Quiet Meadow stamp set (#155082). This set is great for the collage technique and more! The In Color Jewels (#155571) add at touch of sparkle to this nature-themed card.
I hope you enjoyed today’s color inspiration and I thank you for checking in on me today.
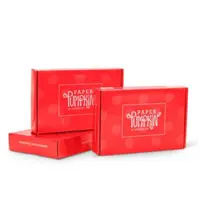
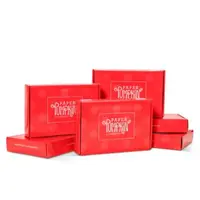
Wow … If you’re looking for a way to make quick, colorful and fun birthday cards for the kids in your family (or friend circle) then the April 2021 Paper Pumpkin has just what you’re looking for!! Today I have three cute samples from the kit … two with a simple twist, and one that I have turned into a full card.
Let’s watch the video to see how easy these are to put together …. Grab yourself a cool popsicle and take a look at how you can craft with this refreshing, summery kit!
With shaped cards, shimmery elements, and two sticker sheets, this kit is perfect for crafting with loved ones across the generations! Can’t wait to see what sweet treats you make with our So Cool kit! Here’s mine ….
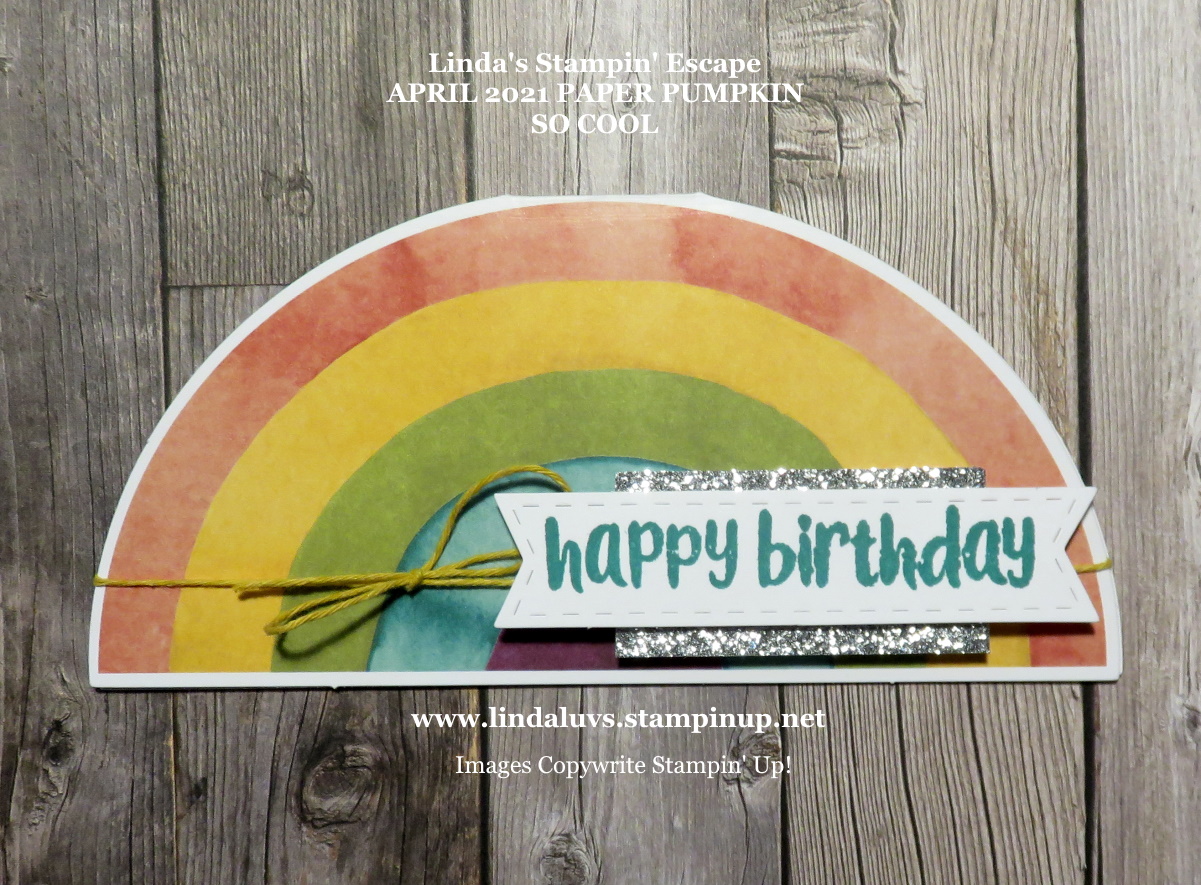
My first card is the Rainbow … I followed this card per the directions and love how cute it is!!
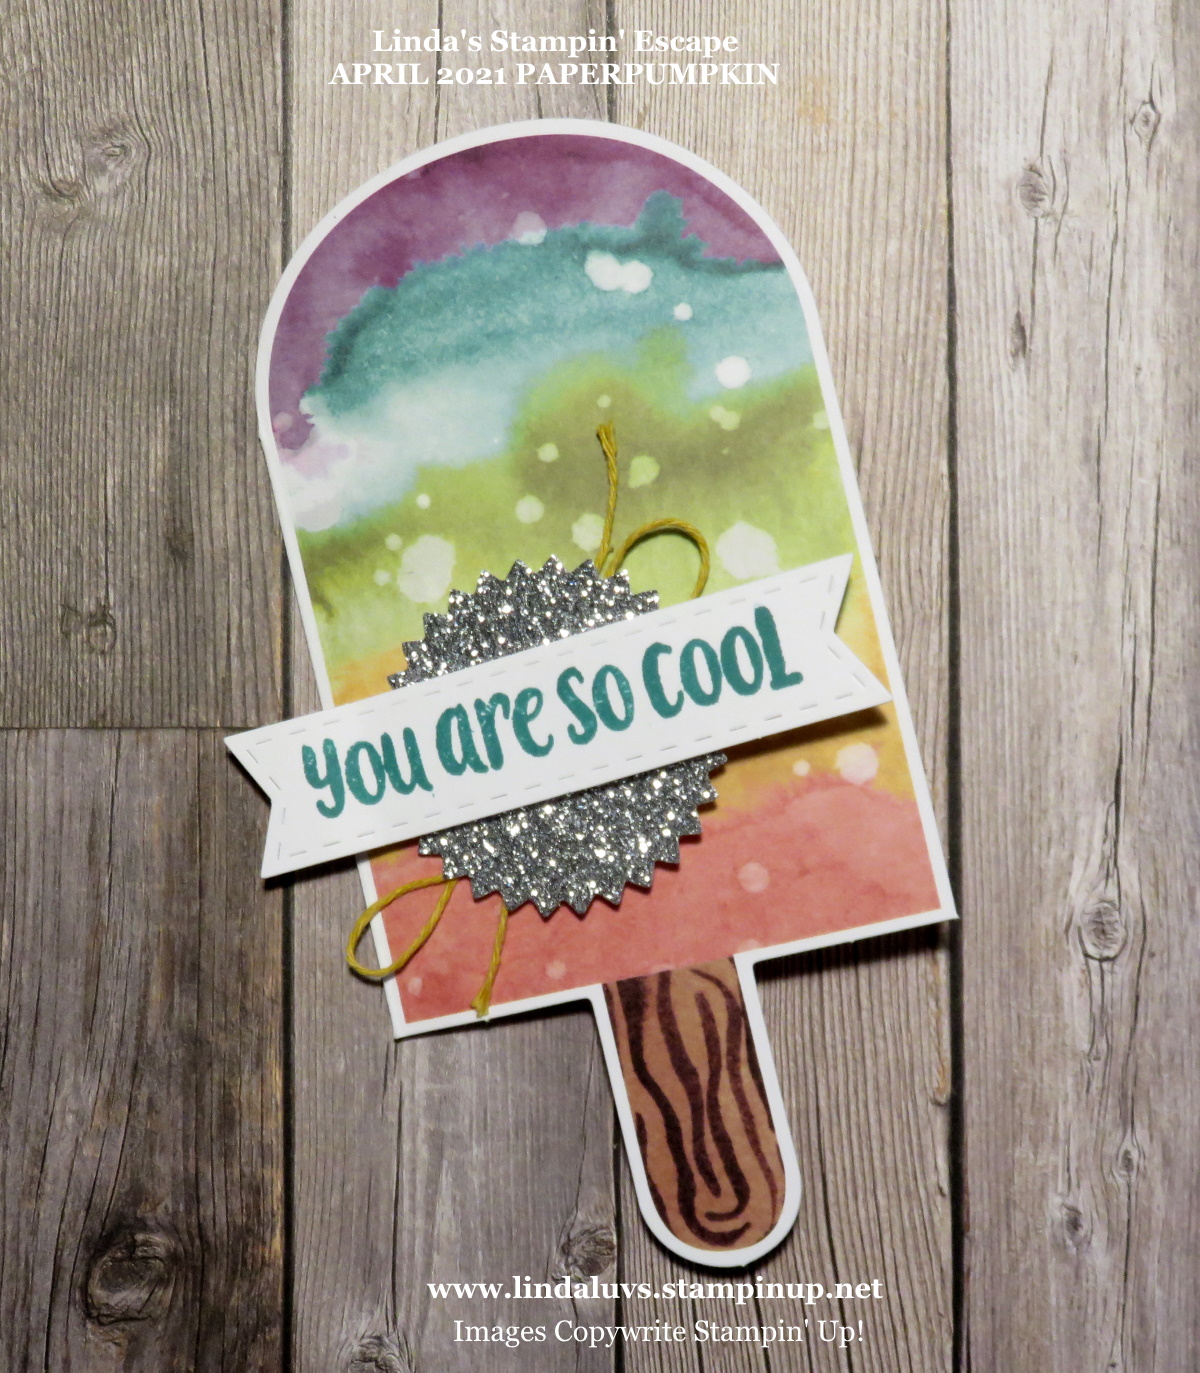
The next card is the rainbow Popsicle, the only thing I changed was the silver glitter embellishment … instead of the long banner, I used the circular banner!
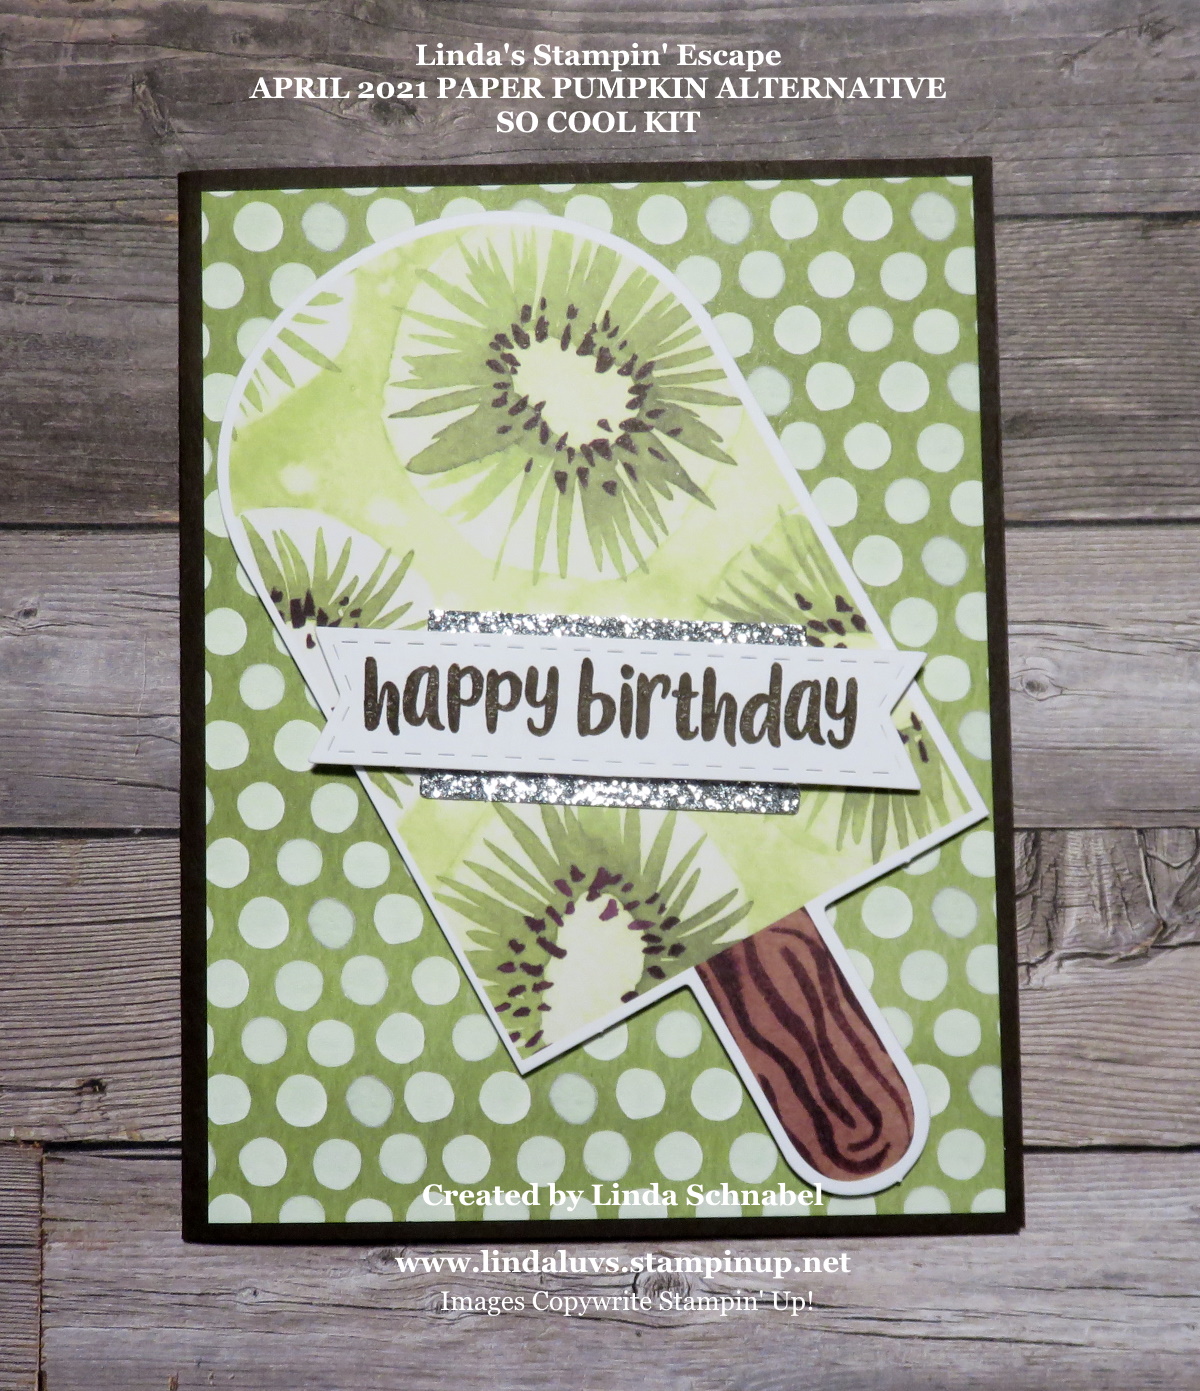
Next up is another Popsicle card … this one is the Kiwi (how cute is that!) Love the greens so I wanted them to pop so I used Early Espresso as my card base … this also pulls that color out of the design.
I used the Ice Cream Designer paper as my background … the circles add to the fun of a Popsicle card!! I simply cut the pre-made Popsicle card in have … now I’m going to use the other have of my card to create a second card!! No waste.
I hope you enjoyed today’s fun and simple cards. I have listed options below so you can join us in discovering the fun and excitement of our Paper Pumpkin kits.
PLUS … I have a Private Paper Pumpkin page on Facebook that I am building with samples and videos for you to enjoy and see additional ways to use your kits. My “Pals Page” is reserved for “my” Paper Pumpkin subscribers. Come join us … subscribe by clicking HERE or purchase a subscription below.
Thank you for stopping by and checking out my blog today!
Enjoy this beautiful day ~
TODAY’S STAMPIN’ SUPPLY LIST … If you liked the products used in today’s projects, I have links for you below. Just click on the item you would like more information on, or to begin your shopping. It will take you directly to my website. Thank you ♥
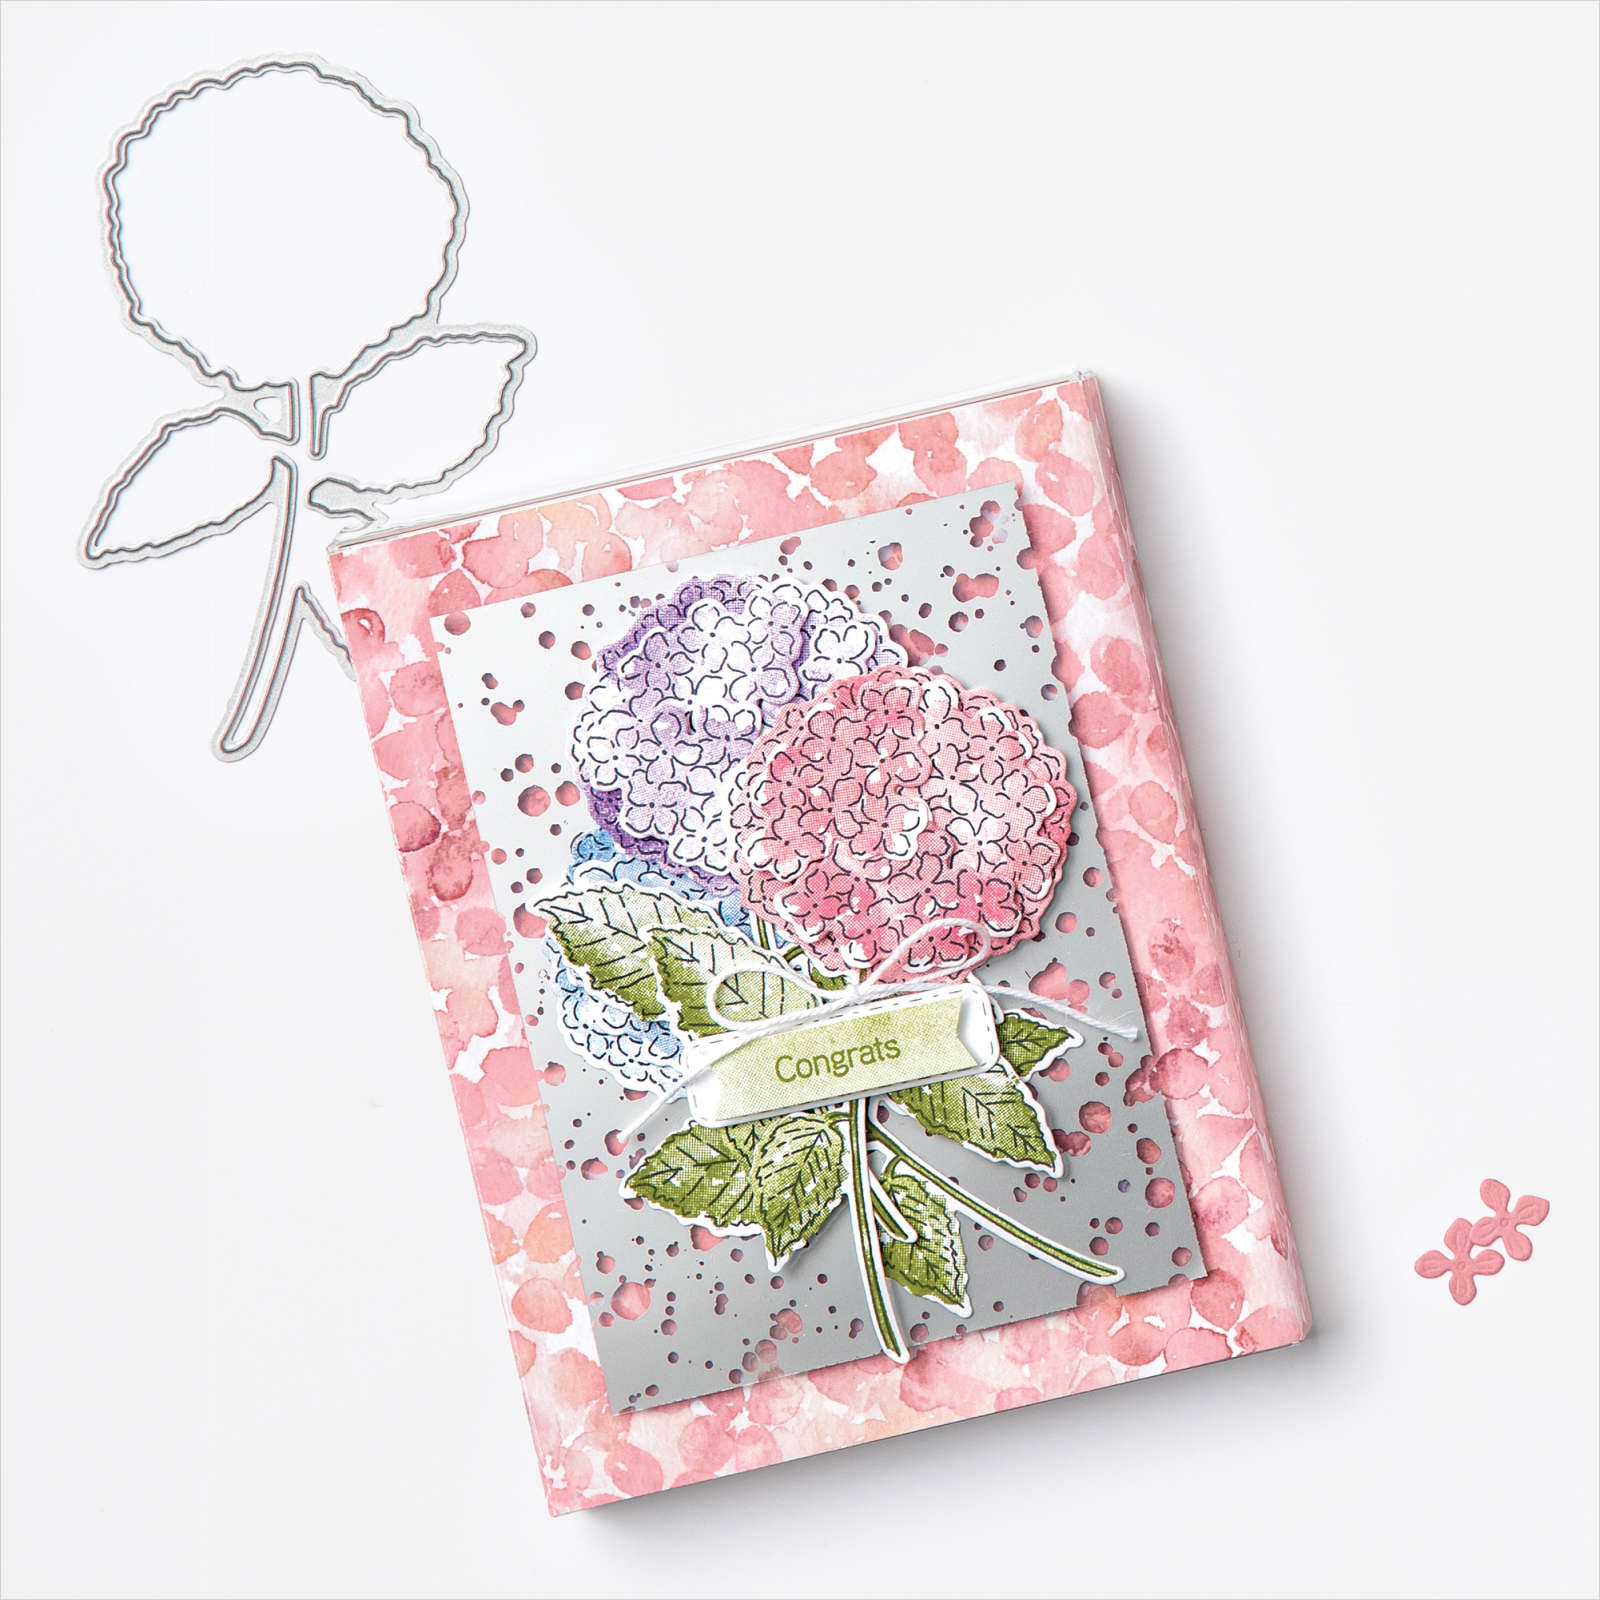
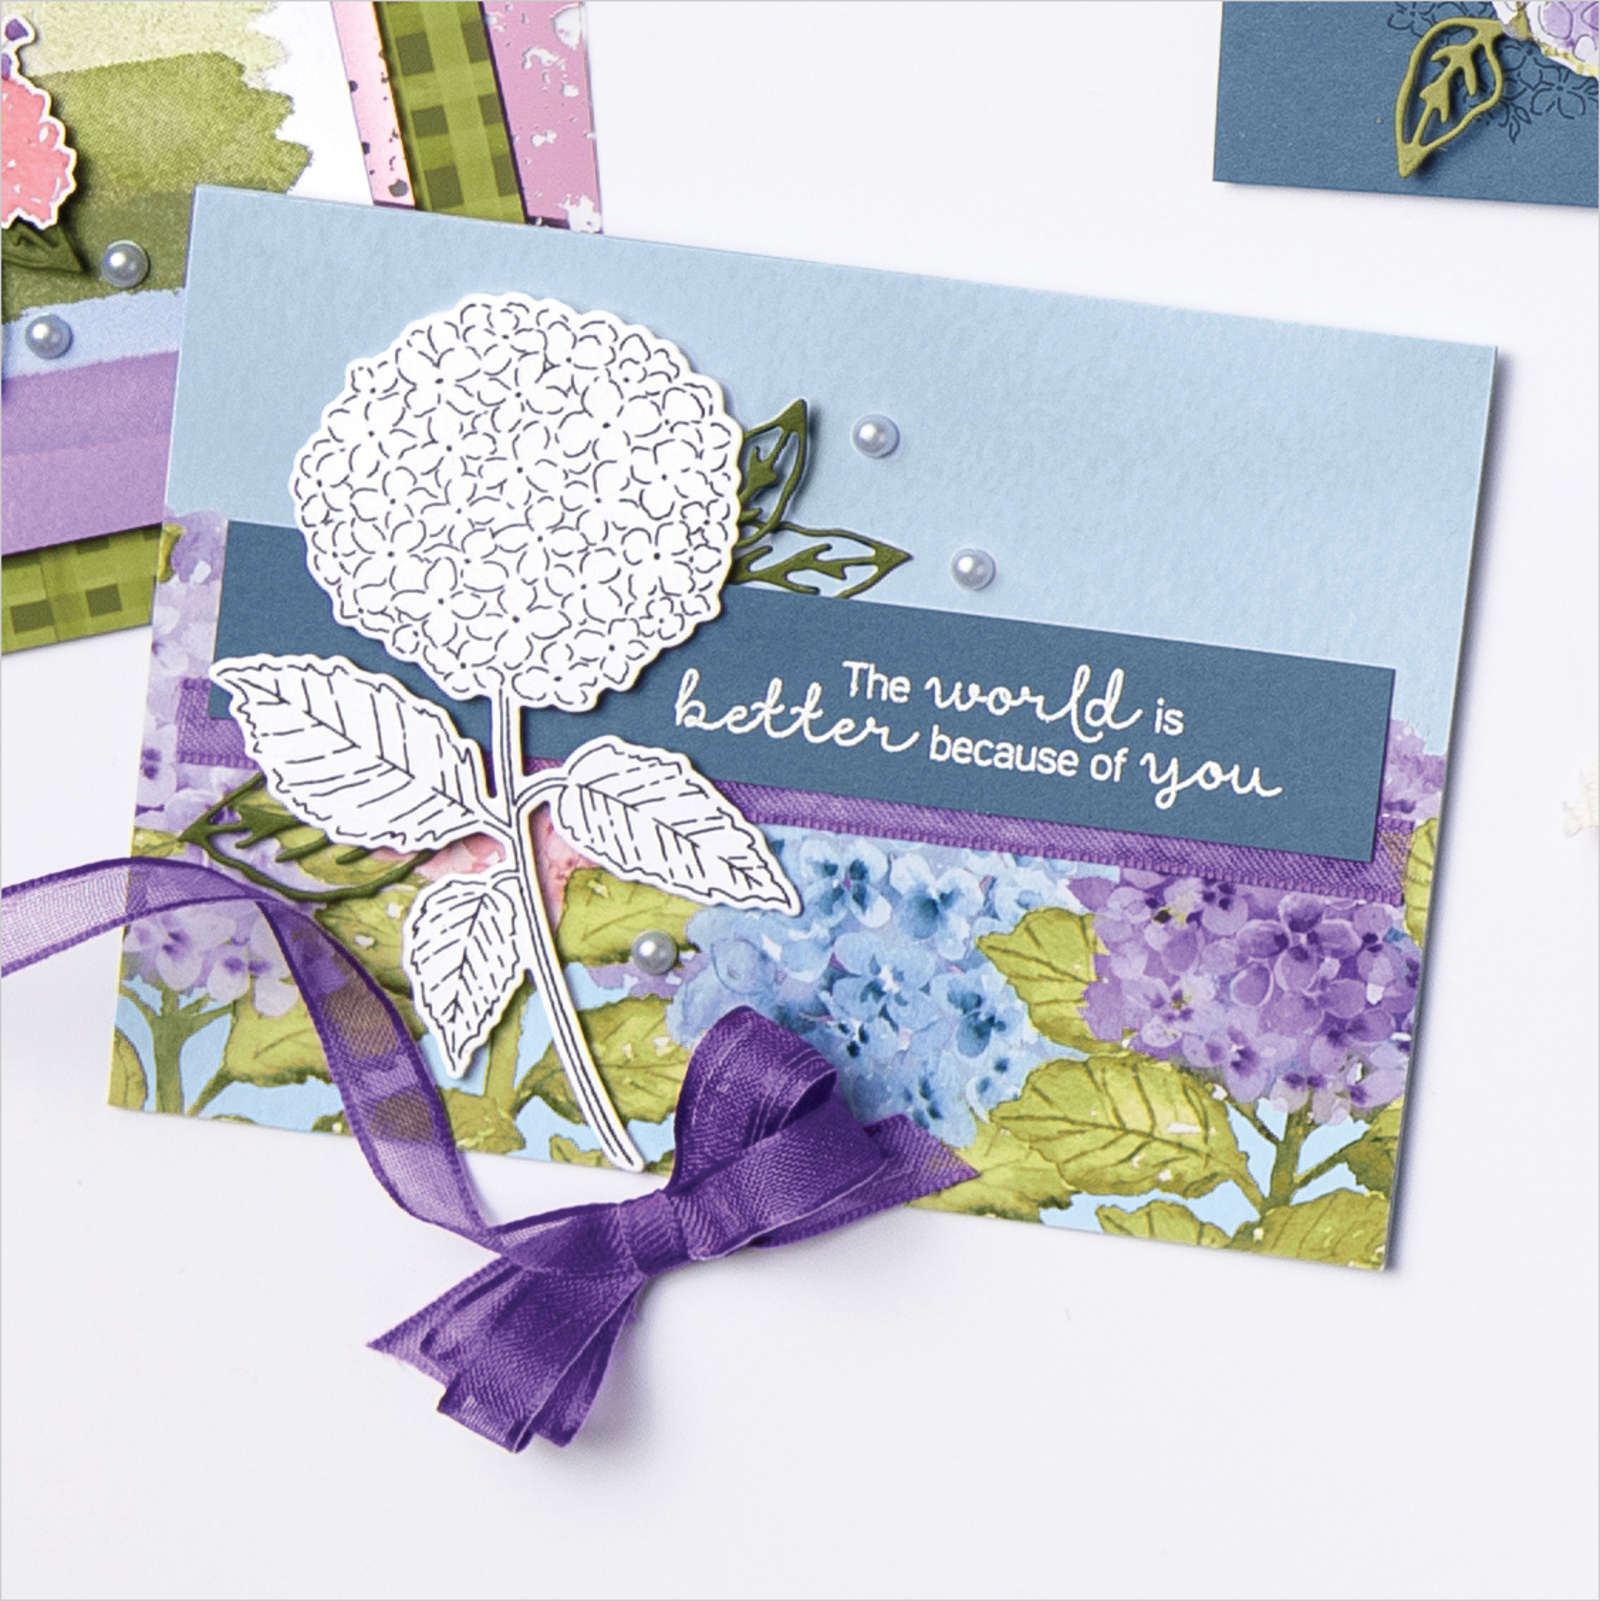
I’m delivering flowers to you today … May Day! Happy May 1st to you and have a wonderful day. Join me tomorrow for my Simply Sunday post.
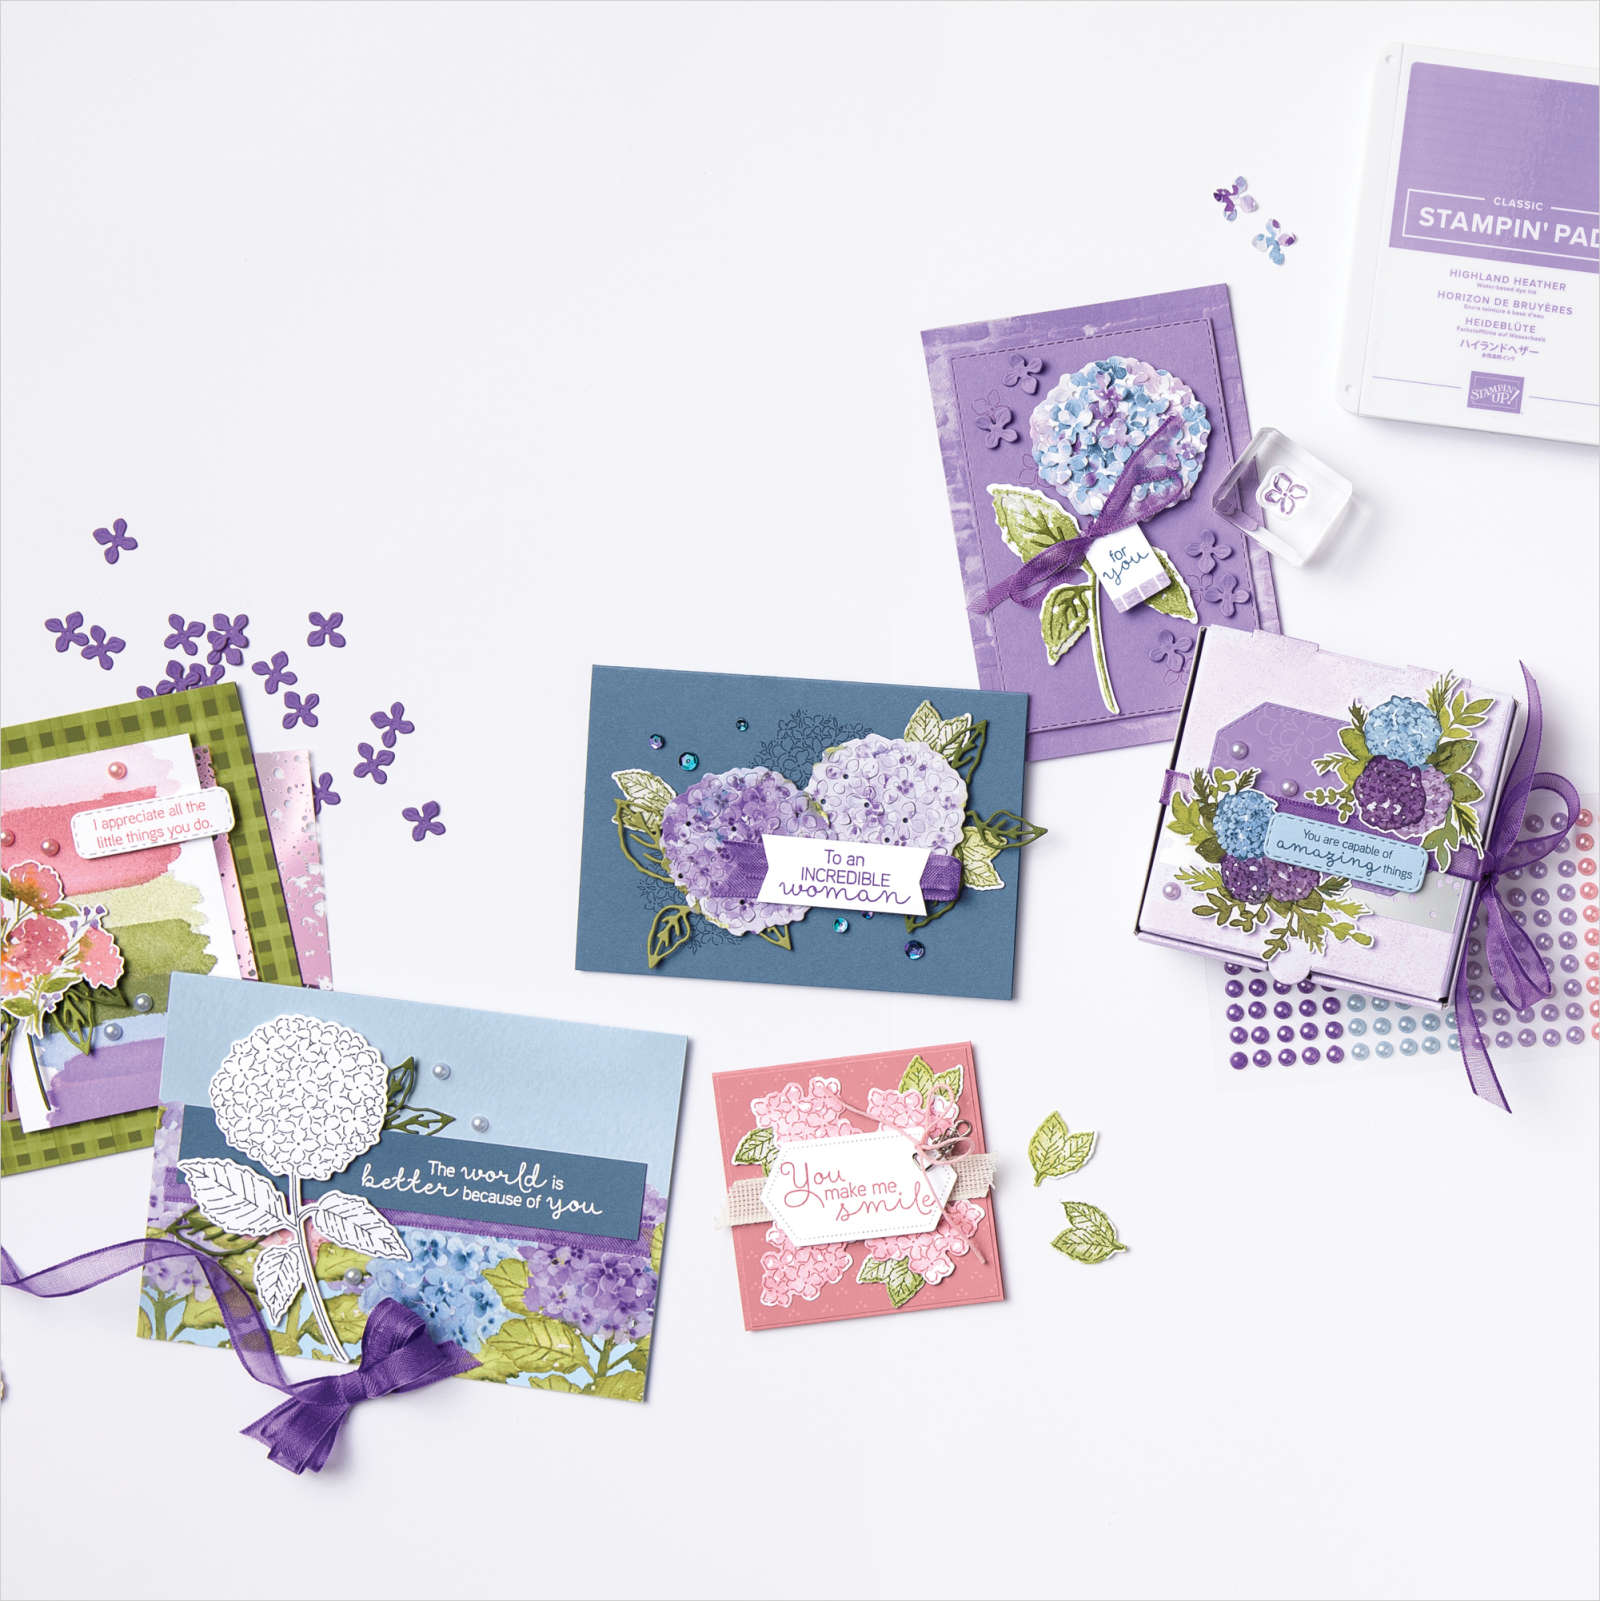
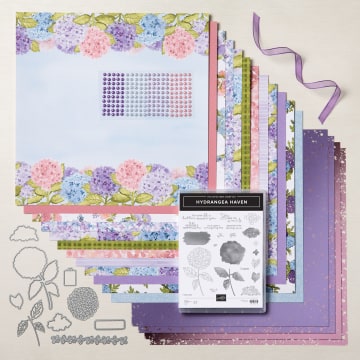
Hydrangea Hill Suite
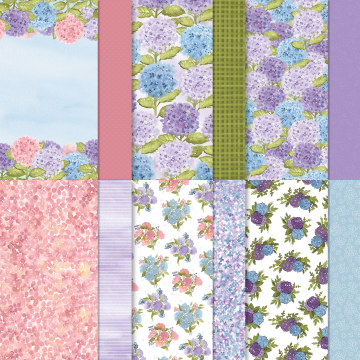
Hydrangeas represent gratitude, grace, abundance, and beauty. The Hydrangea Hill Suite makes it simple to add the beauty and grace of hydrangea flowers to your Spring projects of all kinds.
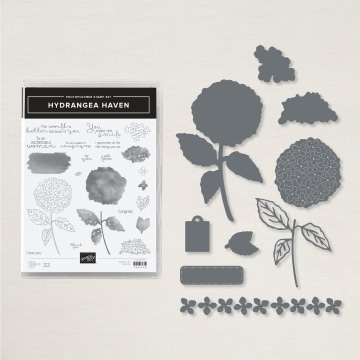
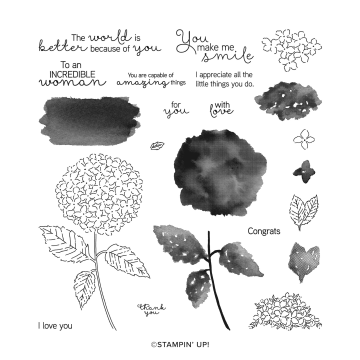
The two-step style of this set makes it quick and easy to create simple stamped cards that wow. Add in the coordinating dies, paper, and embellishments from this suite and you can step it up and let your creative style bloom abundantly!
Have a beautiful day ~ Stampin’ Hugs, Linda
————————————————–
Hydrangea Hill Card/Gift Box
Join my Email Newsletter List and receive my tutorials by email. With each mailing you will receive a picture of the finished project, a supply list, card layout, and a step-by-step tutorial.
SUPPLIES:
BUNDLE
Hydrangea Haven stamp & dies bundle (#156251)
STAMPS
Hydrangea Haven Photopolymer Stamp Set (#154470)
PAPER
Hydrangea Hill Designer Series Paper (#154570), Hydrangea Hill Mercury Glass Designer Acetate (#154574), Basic White (#159276)
INK
Tuxedo Black Memento (#132708), Old Olive (# 147090), Highland Heather (#147103), Rococo Rose (#150080), Seaside Spray (#150085)
TOOLS
Hydrangea Dies (#154326), Stamping Sponges (#141337) or Sponge Daubers (#133773)
Today I’m just compiling a few of my favorite samples is the DINOROAR … Why is it going 😦 I’m so sad, this is such a cute stamp set and coordinating dies!
Although the designer paper has retired last year … I wanted to share the idea of creating “Welcome Baby” with this stamp and die set. Totally unique and oh so cute!!
What better way to give a gift than to dress it up with dinosaurs~
I tucked gift cards inside the box … hidden in the packing material. YES … it was a bit messy but oh so much fun! They loved it.
Probably my favorite dino out of this set, the little guy with his arms wide open because I love you this much ❤ Above and below are two samples using the same dinosaur but totally different look.
And we’ll finish off with a grand showcase of several samples…
I hope you enjoyed sitting with me and looking through a few samples from the amazing Dinoroar set and coordinating dies.
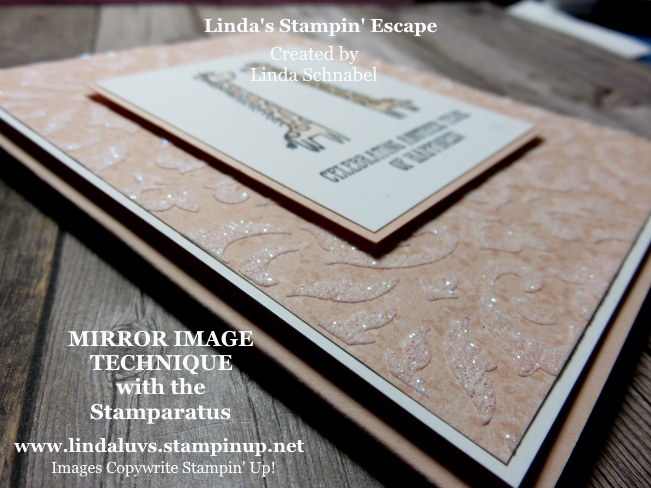
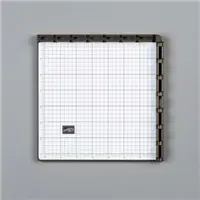
I could not get my Facebook LIVE video from last night to upload so while I work on that I’d like to share my Facebook Live video and card that I created using the Stampartus and highlighting the Mirror Image Technique. You will discover the “secret” or simple trick to creating the Mirror Image.
Sit back, grab your coffee and enjoy the short video …
The video explains the steps that I took to come up with the size and layout of the stamped area… and also explains the background I’ve used. It is actually one of the backgrounds I demonstrated the Embossing Paste with last week!
Let’s get a closer look at the card …
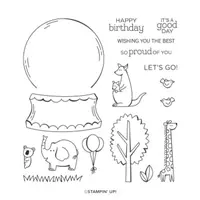
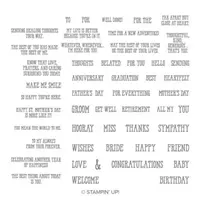
Our cute giraffes come from the Zoo Globe stamp set, and our verbiage come from the Well Said stamp sets.
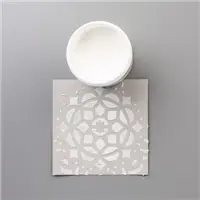
The background was created with the Shimmery White Embossing paste and the masks … you can watch the video HERE.
Now before we go … lets take a look at the layering and see how amazing a few Stampin’ Dimensionals can change up a card! Besides the beautiful texture you get from the Embossing paste, you ‘ll get great dimension and height.
I hope you enjoyed today’s card and are inspired to try this fun technique. Please don’t forget that all of the items used in today’s card are available in the Online Extravaganza (with the exception of the Memento Ink) …
Thank you for hanging out with me today. I hope your day is a good one.
TODAY’S STAMPIN’ SUPPLY LIST … If you liked the products used in today’s projects, I have links for you below. Just click on the item you would like more information on, or to begin your shopping. It will take you directly to my website. Thank you ♥ PLEASE NOTE: SOME ITEMS MAY NO LONGER BE AVAILABLE or AT THE PRICE LISTED.
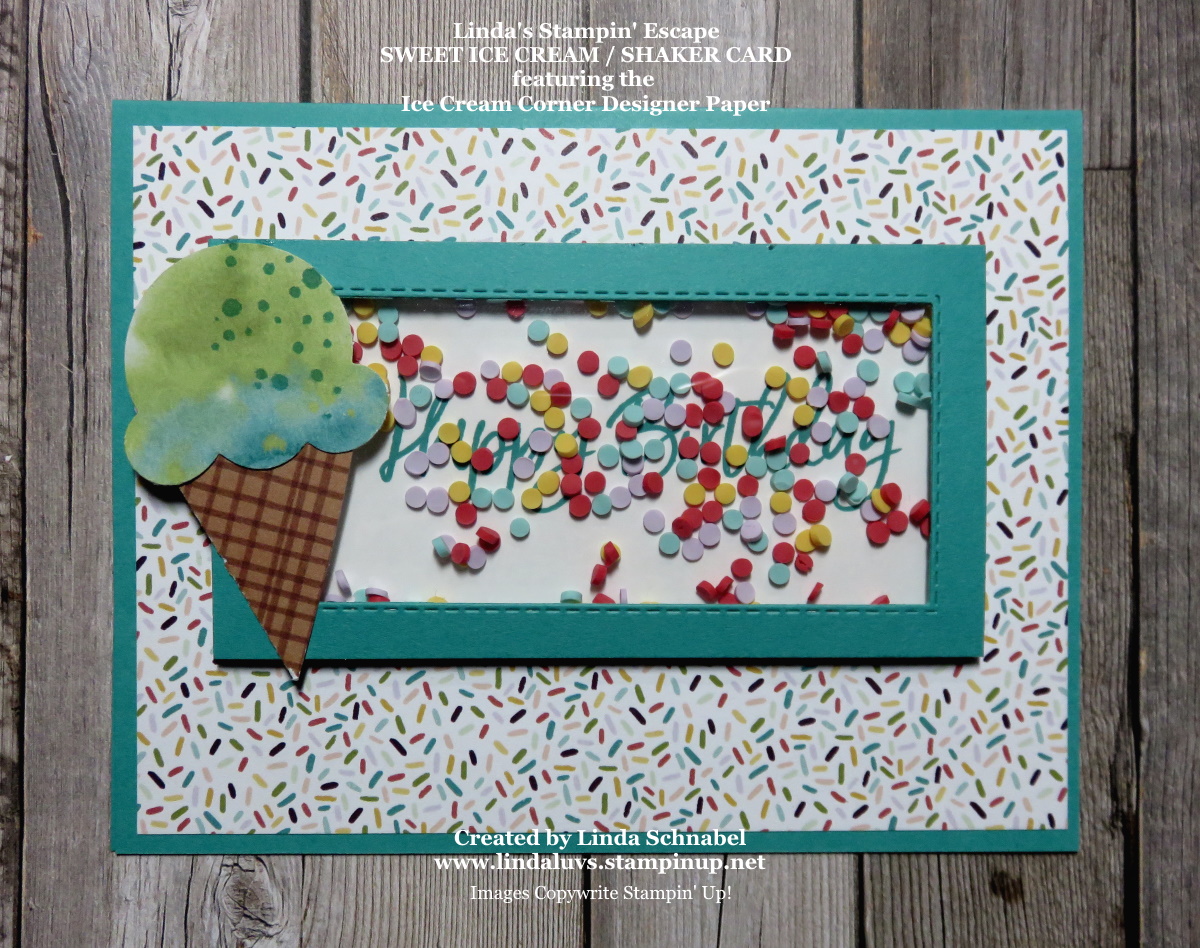
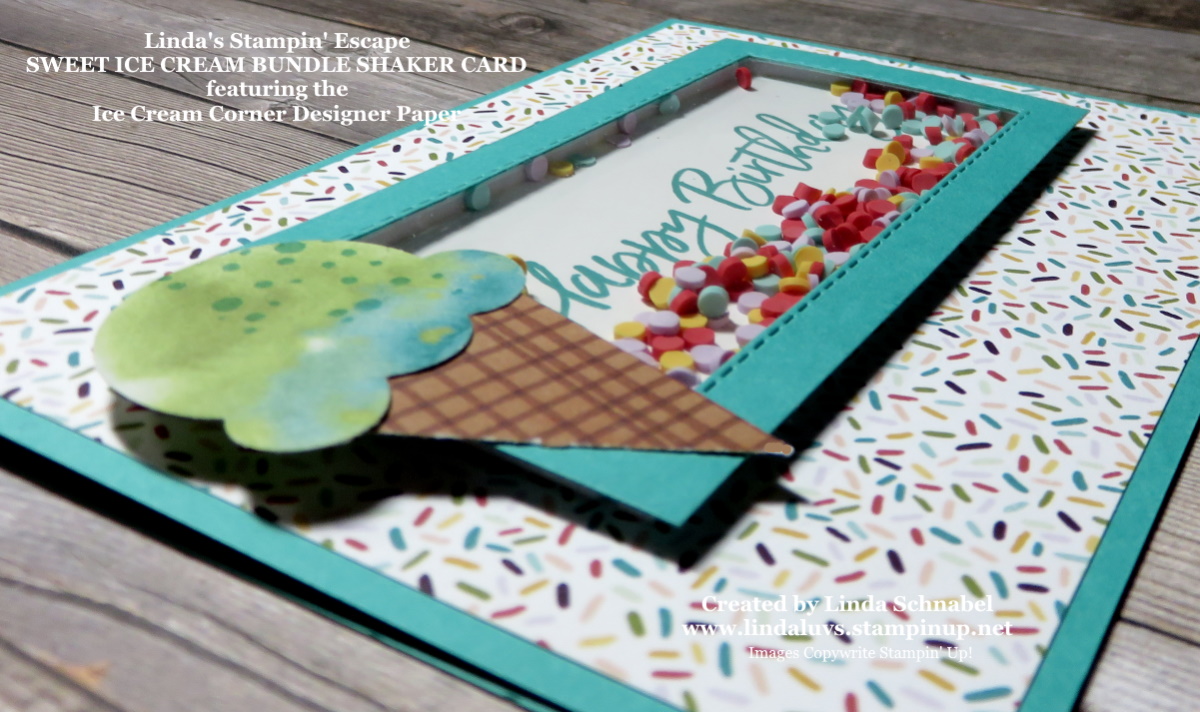
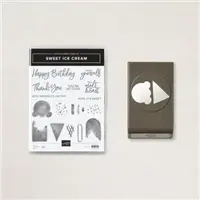
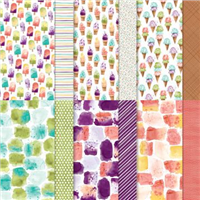
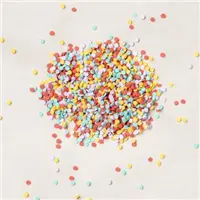
There is nothing better than sprinkles on ice cream or inside your “Shaker Cards” … and that is what I have for you today along with several other Ice Cream cards that highlight the Ice Cream Corner Designer Series paper. This tasty treat of a designer paper will be disappearing as fast as ice cream at my house! Let’s begin with our Shaker card …
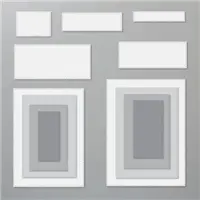
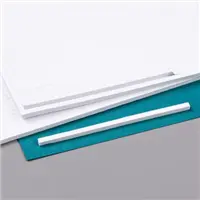
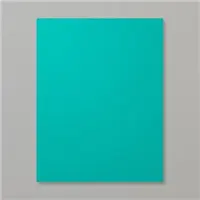
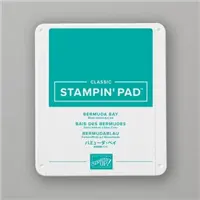
The background is from the Ice Cream Corner Designer Paper … I picked the sprinkle design. I cut my window out of the Bermuda Bay using the Rectangle Layered Dies, and then attached the window sheet to the back. Once the window sheet is attached I used the Adhesive Strips to create the height needed for the “shaker”.
You have the greeting stamped … I used the “Happy Birthday” from the bundle and then sprinkled my “Ice Cream Corner Sprinkles” onto the greeting and laid the window sheet assembly on top. With a little adhesive, I attached the “shaker” to the card.
I punched out the Ice Cream and the Cone from the Designer paper!! It was designed to make creating your cones easier!! It also works for quick and easy backgrounds …
I love using designer paper for backgrounds, especially when they are so cute!! All I had to do for this card was add a greeting!! I also used some of the cute sprinkles from the shaker card and the Polka Dot Tulle (sold out) because of the dots … it all coordinates so nicely!!
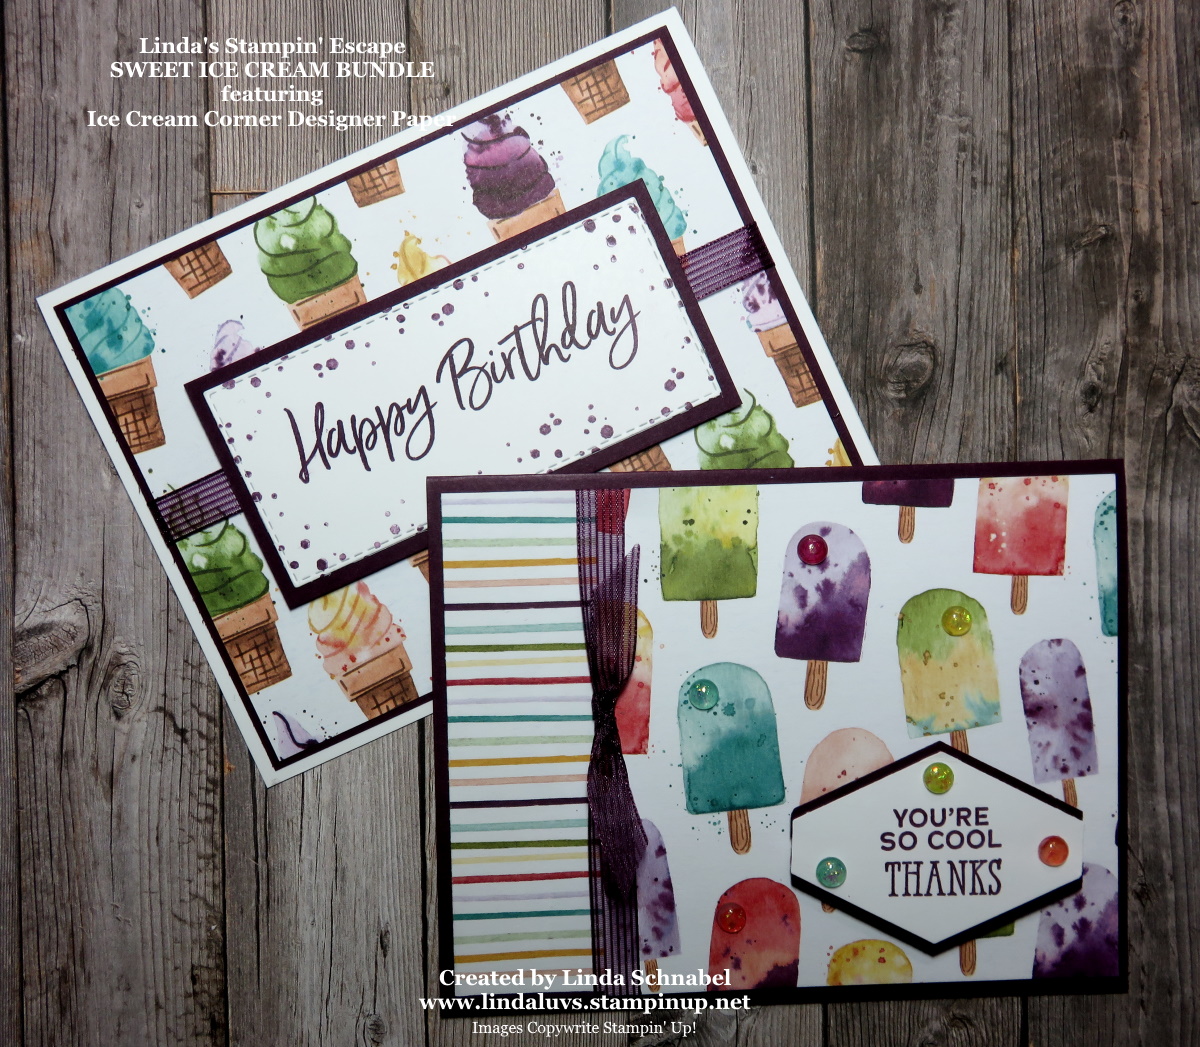
Let’s look at a few more cards made with different patterns from the Ice Cream Corner Designer Series paper …
The one in the back has the same as our last card but the greeting makes it look so different. On the card in front … I used the Popsicle paper … too cute, and the Opal Rounds were colored to coordinate with the flavor!! lol The pretty ribbon that is embellishing both cards is also on the retiring list 😦
Thanks much for hanging out with me today, I hope you have a good one!
TODAY’S STAMPIN’ SUPPLY LIST … If you liked the products used in today’s projects, I have links for you below. Just click on the item you would like more information on, or to begin your shopping. It will take you directly to my website. Thank you ♥
I am back! I have put my total attention into my 2020-21 Catalog Retirement Party this weekend, and WOW … did we have fun! It’s amazing how even in a Facebook party, stampers make friends with those they are hanging out with over a weekend! So much fun, so many prizes and a whole lot of happy!!
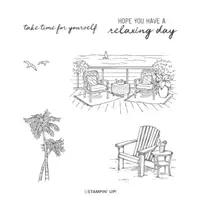
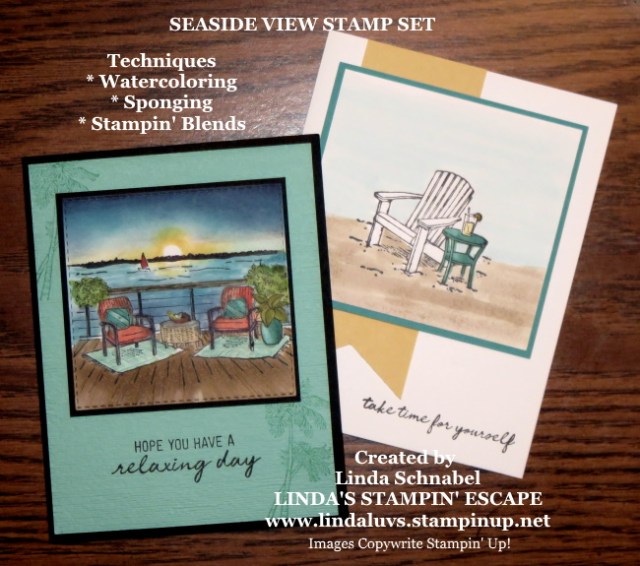
Today, I’m in the mood for a Seaside View! The card is not only simple to create but brings you back to simpler times on a warm sunny day …
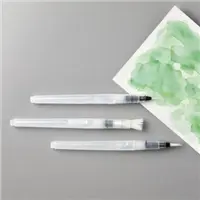
I used the Seaside view stamp set for both my cards today. I used the “watercoloring” technique for my card … it’s quick and easy and the sublte color is perfect for this card. Can’t you image yourself relaxing in the chair with a cool lemonade?
My grandma and grandpa had white adirondack chairs, so mine had to be white … memories! So I got my pop of colors come from the Bermuda Bay table and the lemonade … thus the So Saffron banner!
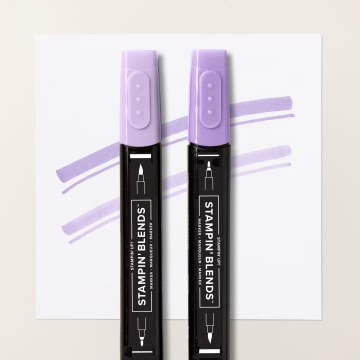
Yesterday’s card is a bit more detailed!! I applied the sponging technique along with the Stampin’ Blends Alcohol markers. It’s my vision of the perfect summer night …
I stamped my image with the Black Momento ink and then added the black horizon line. Then I used a Rhinestone for my sun … and sponged Daffodil Delight around it (then pulled it back off) I also used Calypso Coral, Bermuda Bay and Night of Navy for my sky and water. I then highlighted the water with the Markers.
The plants, chairs and deck were all done with the Stampin’ Blends markers. Oh yes, and a touch of Real Red for the sail on the boat!
I hope you enjoyed today’s cards and this delightful stamp set. With a few fun techniques you can take this set from simple to spectacular … and everything in between.
Thank you for stopping back again today. I’d love to hear your thoughts on today’s cards… If you really love this stamp set, I must tell you it is on the retirement list and we only have about a week before it’s gone for good.
Happy Sunday!
Here are the items I used to create today’s cards … Click on any image for more information on the product or to begin shopping from my online store.
Today is the day that I kick off the Catalog Retirement Party! We’ve been looking at retiring products and beautiful handcrafted projects, playing some fun games, and gettin’ into the mood for our kick off tonight!
I’ve got interactive posts during the day, a “Word Play” game,
LIVE presentation at 6:30 pm
and BINGO at 8:30 …
Are you a member in my Retirement Party Facebook Group? If not you can still join us… Click on the link https://www.facebook.com/groups/296817105346109 and request membership. Everyone is invited (however I do reserve prizes for my customers and downline members) Saturday is a big day … I’m so excited to hang out with you this weekend!!
Thank you for stopping by and I hope you join us!!
I’m excited to share today’s 5 cards with you … YES, 5 cards! Since I shared the beautiful In Color ribbons yesterday, I thought you would enjoy these ribbons used yet again! I’ve got a great way for you to make sweet -n- simple cards that really showcase the pretty In Colors.
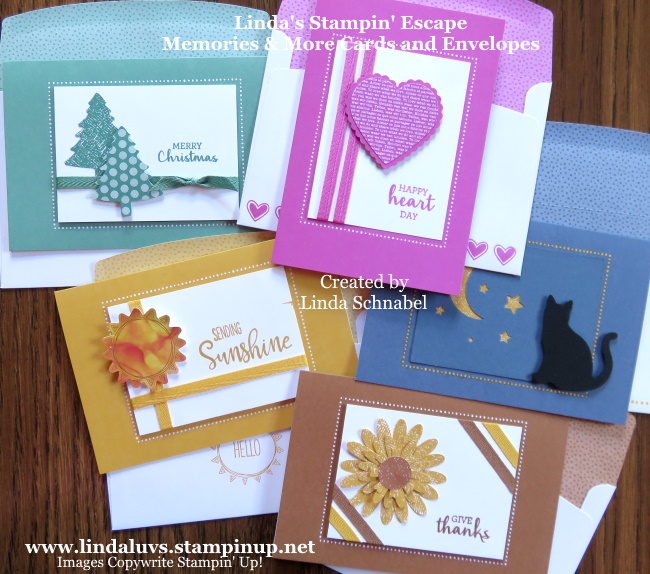
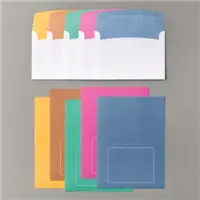
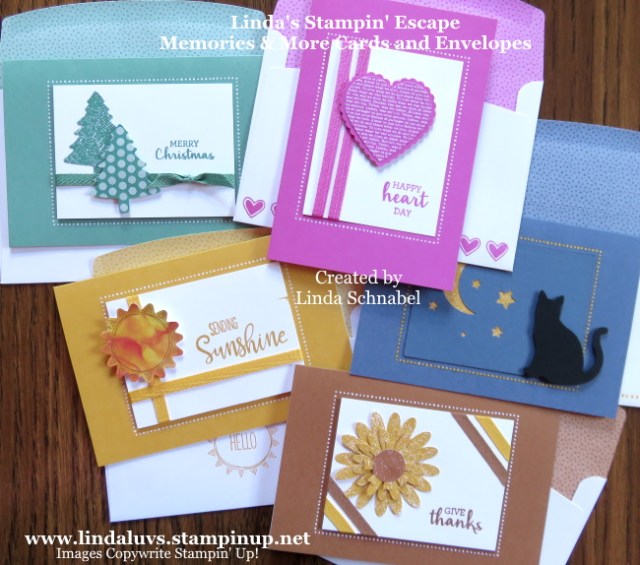
Let’s begin with a card kit … the Flowers for Every Season Memories and More Cards & Envelopes. These cute cards come in our new 2020-2022 In-Colors, and look … the envelopes are already decked out for us!!
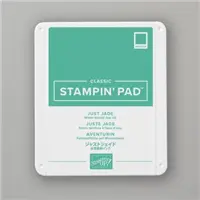
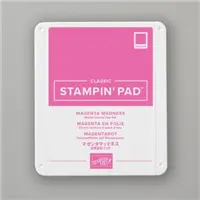
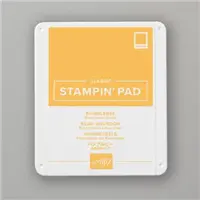
I love these card bases for quick and easy cards. There are 2 each of 5 2020–2022 In Colors. 10 printed card bases and 10 printed envelopes. Discover Bumblebee, Cinnamon Cider, Just Jade, Magenta Madness, Misty Moonlight.
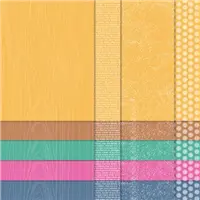
I think the Polka dots are cute so I didn’t want to hide them so my first layer … usually Whisper White measures 4″ by 3″ and fits nicely inside my polka dots. To add a touch of color I will add the coordinating In Color 6 x 6 Designer paper pack and the ribbon. For some fun … we’ll use some of the punches we have. Let’s begin ….
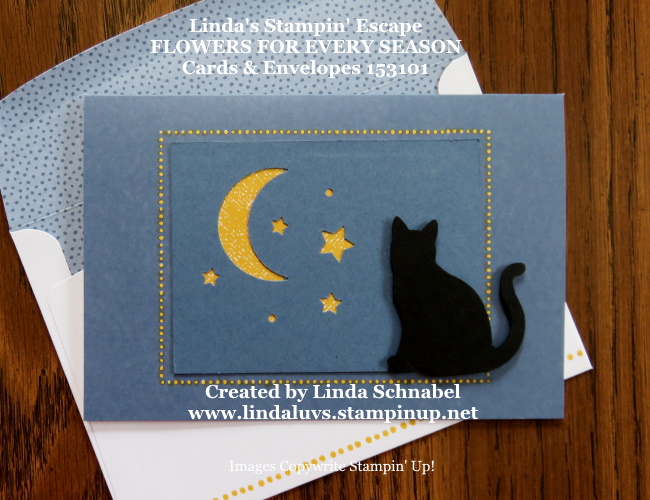
My first card highlights the Misty Moonlight, so what better to start with than the “Cat” punch ….
My apologies for using the “retired” moon & stars … Looks like I need to check my catalog a little closer, but it does look nice with our Cat silhouette. I colored the polka dots with my Stampin’ Blends … one touch and they were “Bumble Bee”. I also used it on the envelope (and a ruler to guide me)
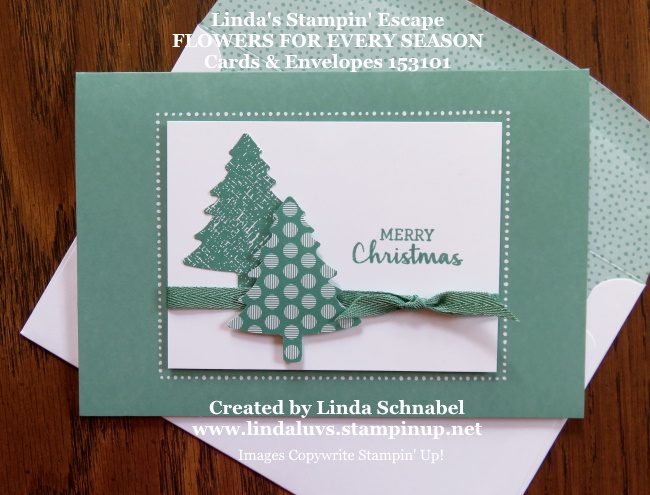
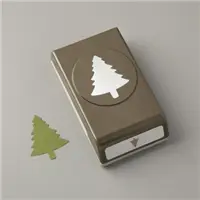
The next card highlights the Just Jade and the “Pine Tree” punch …
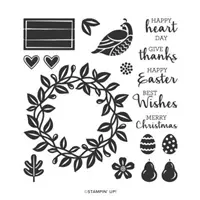
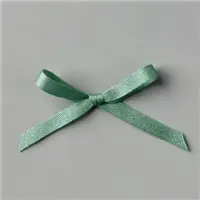
I punched the tree from two different patterns, added the ribbon with a bow (it is Christmas) and our greeting comes from the “Arrange a Wreath” stamp set. I used this stamp set for the rest of my cards today.
The third card brings us into Spring and the Magenta Madness …
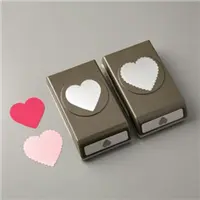
I used the “Heart Punch Pack” to create this card… the scallop heart is punched in the Magenta Madness cardstock and the other heart is punched from the In Color 6 x 6 Designer paper pack. I also changed the layout from horizontal to vertical … they can be used either way.
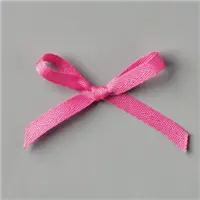
I also switched up my ribbon from a simple bow to two lines of ribbon. Ribbon is the perfect way to add texture and color to your projects at a budget friendly price … there is a lot of ribbon on those bolts!!
My fourth card uses the ribbon in a similar fashion, more to dress up the card than to create a bow …
Talk about a simple card … I took the “sun” embellishment out of this months Paper Pumpkin kit! It’s cute and matches perfectly. The Paper Pumpkins are designed to coordinate with other products … and the stamp set, you guessed it – also from this kit! Each month you get an “Exclusive” stamp set that you’ll have around whenever you need it.
The fifth and final card today celebrates both the Bumblebee and the Cinnamon Cider …
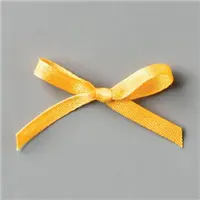
I used both Daisy punches to create a sunflower and both the Bumblebee and Cinnamon Cider ribbon to create a pop of color and texture. The greeting is again from the “Arrange a Wreath” stamp set.
So, as you can see with the Flowers for Every Season Memories and More Cards & Envelopes as your base and a little designer paper, ribbon and punches you can create “Simple yet Stunning” cards for all occasions!
Doesn’t that look like a mailbox full of fun! I hope I inspired you to start creating, and use some of those items you have in your collection to make something fresh and new.
Thank you for spending a part of your day with me. Stop back tomorrow I’ll have more goodies for you. If you like what you saw today, feel free to leave me a quick note below or hit the LIKE button.
Here is a list of the supplies I used to create today’s cards. Find out more information about these products by clicking on the image … or you can begin your shopping from here as well. Thank you!
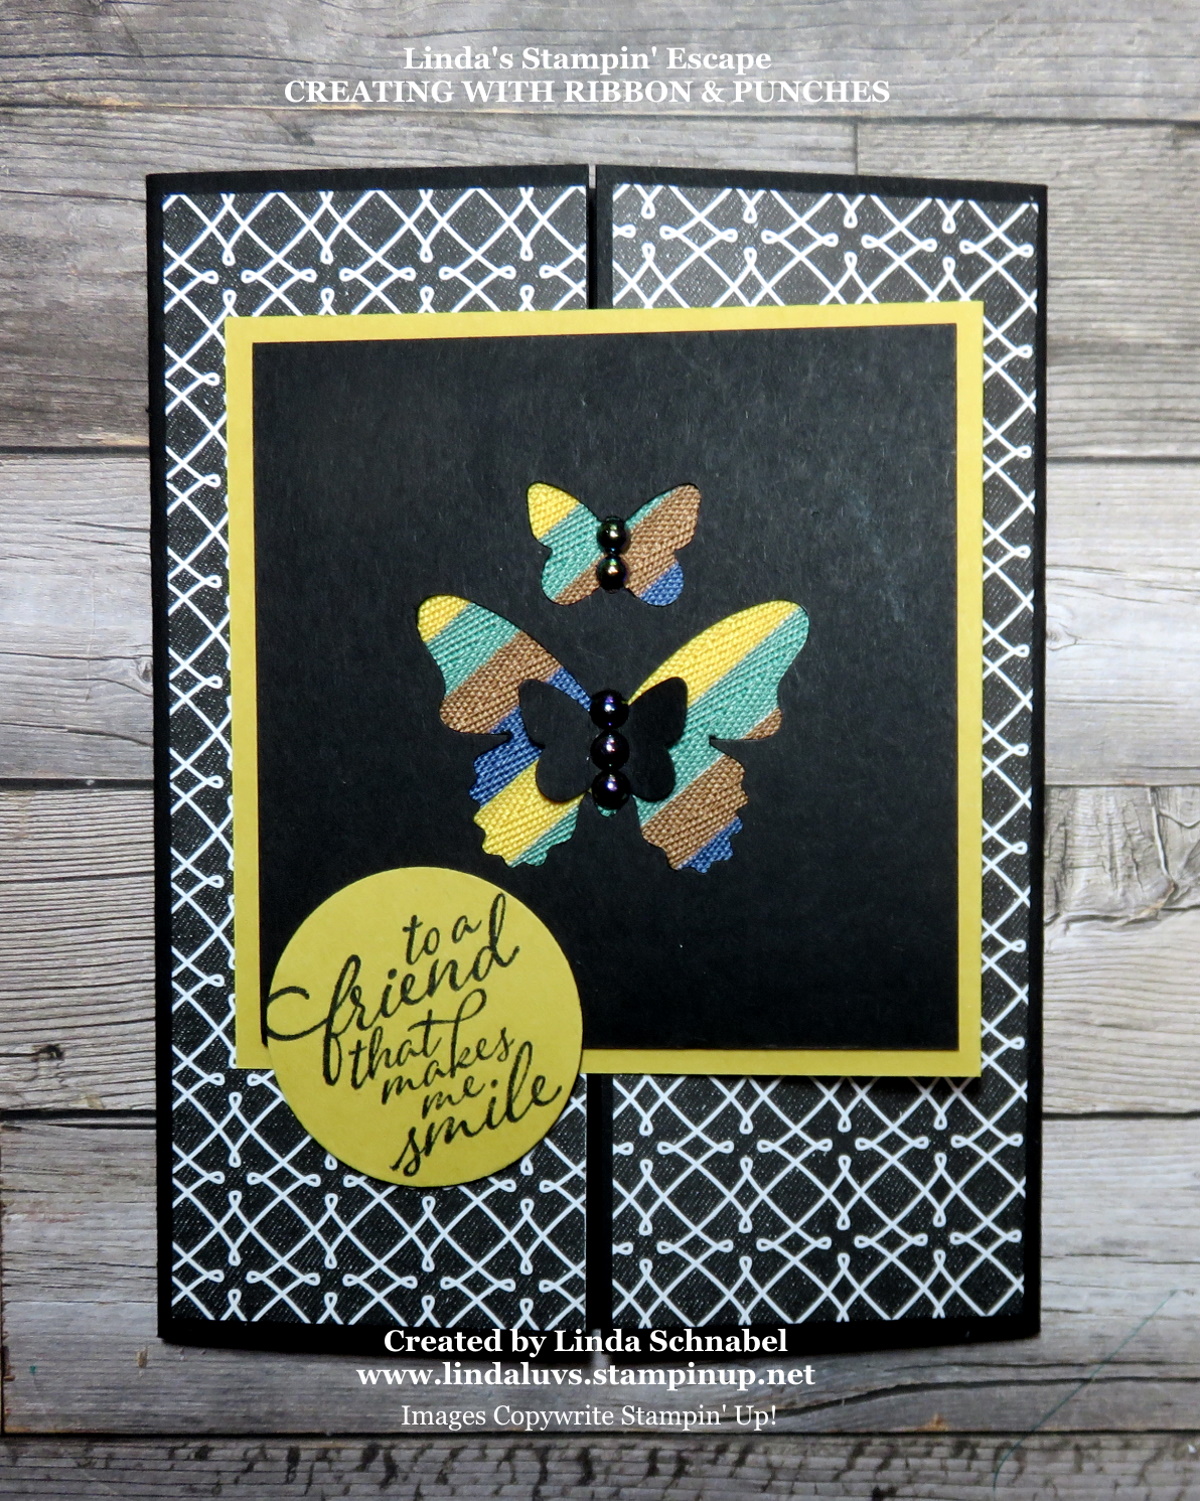
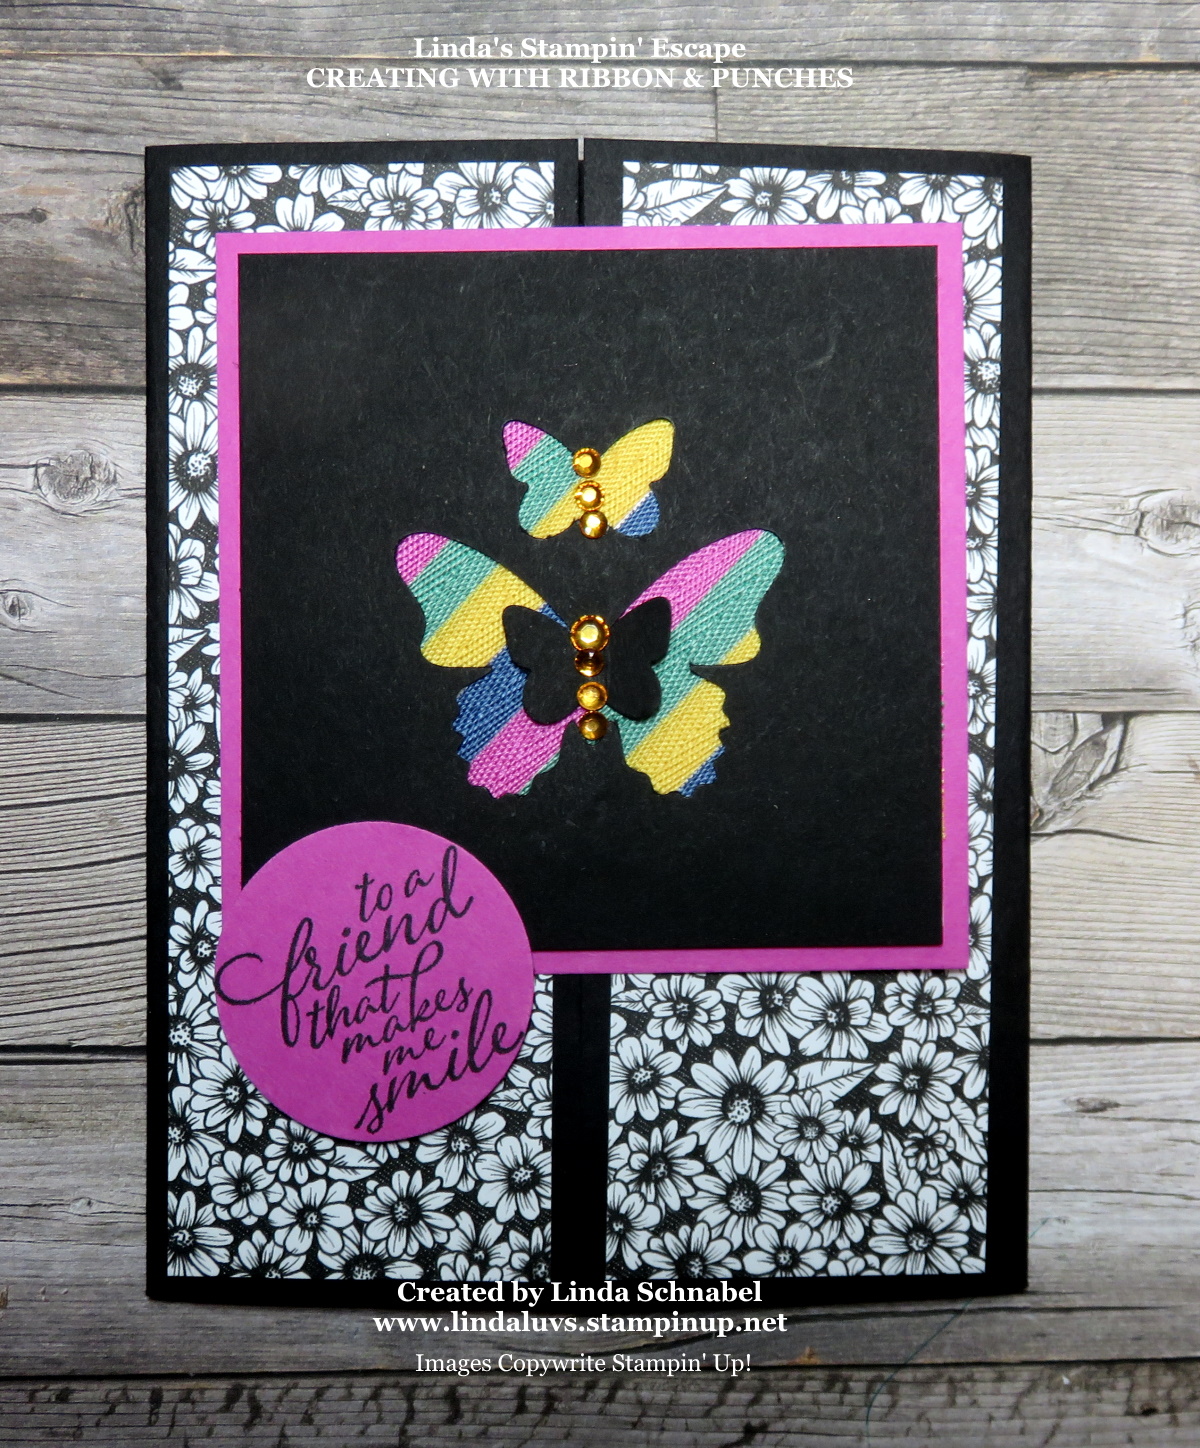
Today I’ll be sharing my creations from last nights Facebook Live along with the video, and the “new” card that I talked about in my video. These unique cards turned out so cute … it’s amazing the things you can do with ribbon and some punches!
Grab a cup of coffee and kick back while you enjoy the video …
Oh my gosh … that is so easy and such a fun way to create with ribbons. and it adds so much texture to a card. Here is a close up of the cards …
The dimensions for the squares I used were as I stated in the video … The piece that I put the ribbon on was 3″ x 3″, the punched square is 3-1/4″ x 3-1/4″ and the colored mat is 3-1/2″ x 3-1/2″.
Above the mat color is Bumble Bee and below is the Magenta Madness …
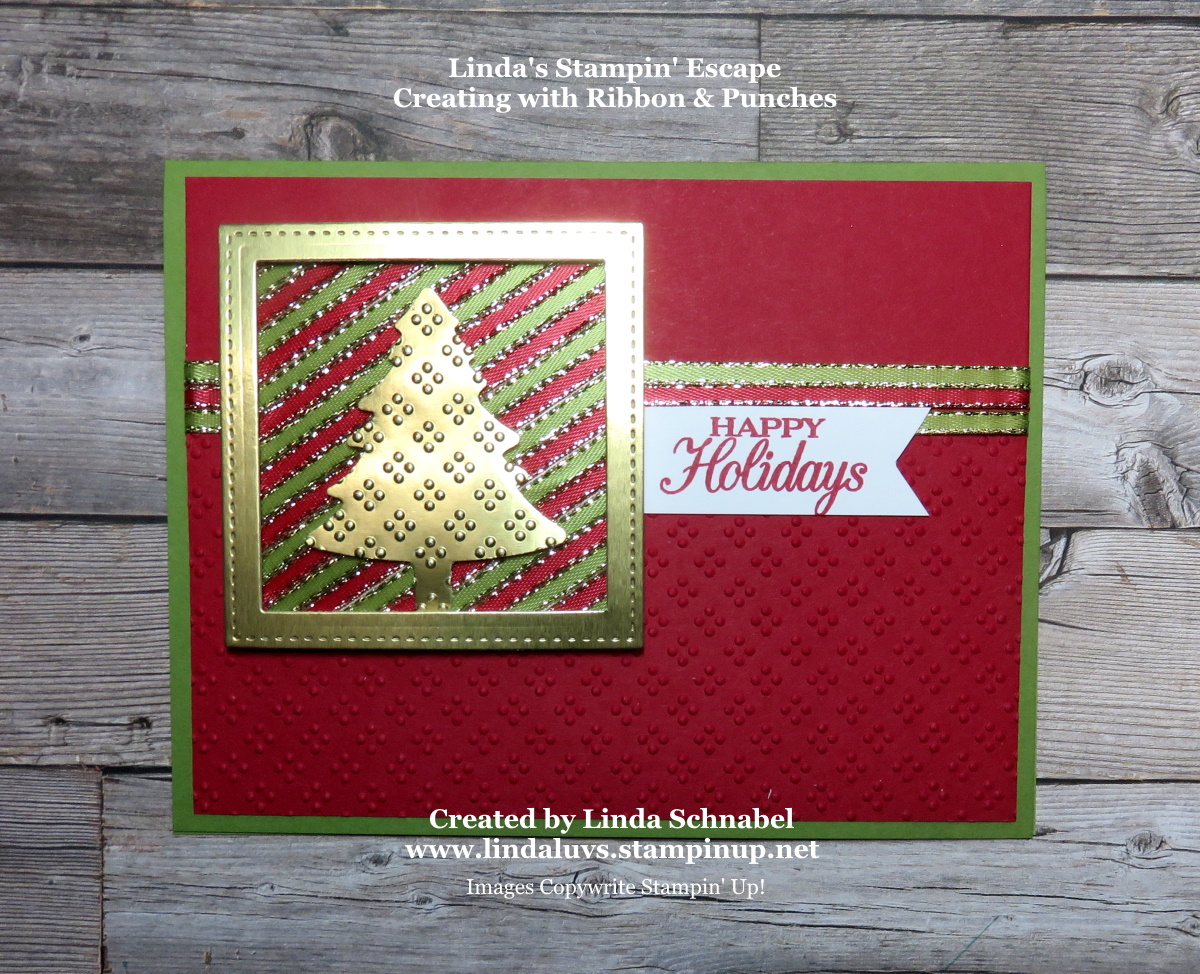
I like sharing the close up pictures with you after the video so you can get a better look at the cards. They really turned out cute! Now I’m sure you want to see what I did with the gold edged Red & Green ribbon …
I wanted to take a different approach to this card, so instead of using the reverse punched area … I’m using the actual punch, Pine Tree punch to be exact. Then I framed it … both items were done in the Gold Foil paper which is also on the retiring list (along with the butterfly and Pine tree punches).
Thank you for stopping by today. Be sure to stop back tomorrow because I have 5 cards that highlight the In Color Ribbon and more.