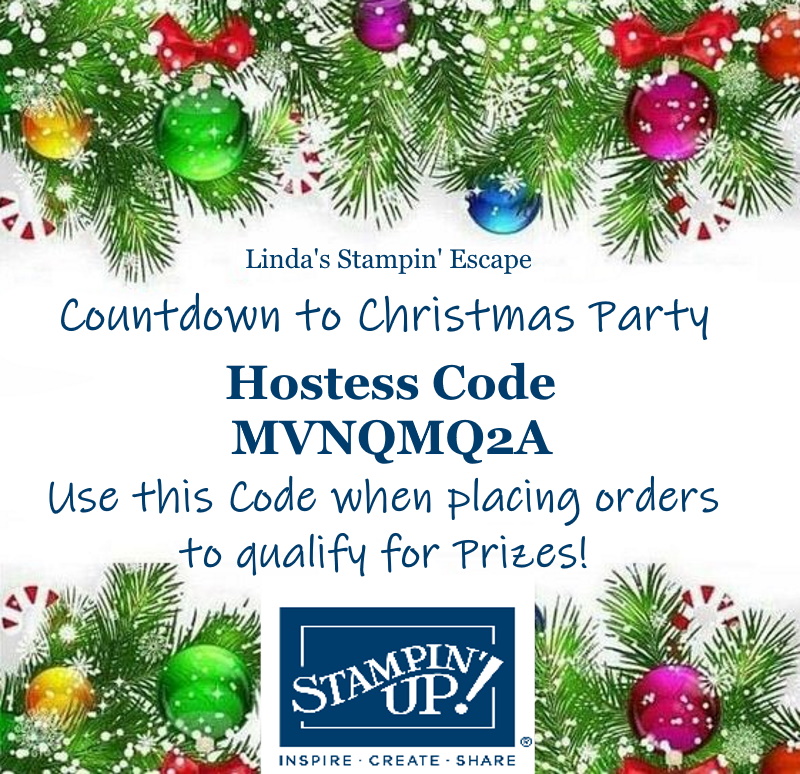
I have an exciting announcement from Stampin’ Up! They are hosting a 24 hour FLASH SALE from the Annual Catalog (the real big one!)This sale is for ONE DAY ONLY … November 24th.Soooo … I will kick off my Countdown to Christmas Party in conjunction with this sale, this way you can qualify for the Prizes … please join us!
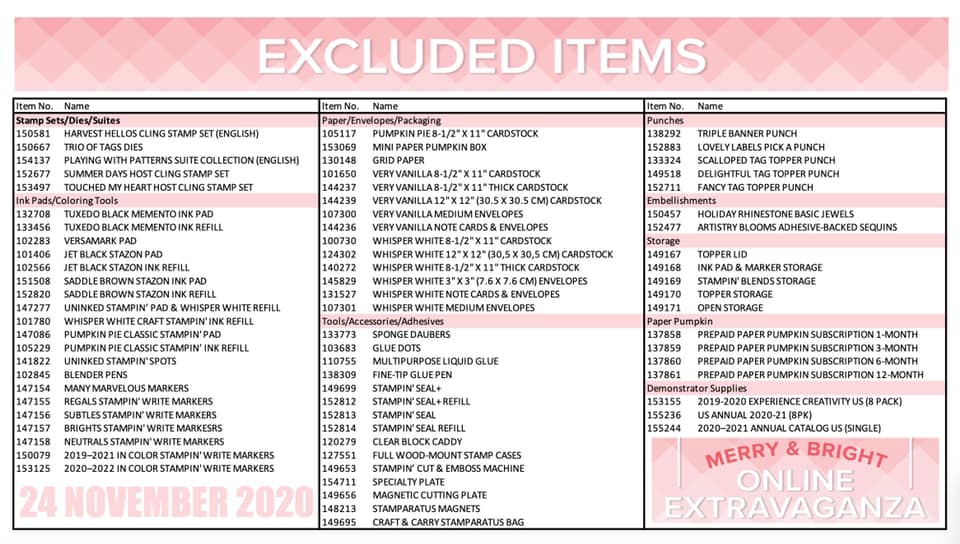
Stampin’ Up!s On Line Extravagonza is putting the ANNUAL CATALOG on SALE!!
There is a small list that is excluded, but that means the rest of the Annual (BIG) Catalog is yours to shop from at a discount. This sale does not include the Holiday Catalog.
This is the PERFECT time to do your Holiday Shopping for the Crafter / Cardmaker / Scrapbooker in your family! And when you join the party, you could WIN some FREE Prizes as well. Why not have FUN while you SHOP …
The party is on Saturday the 28th … but Shop Early on TUES. Nov. 24th to get in on the SALE prices, then join us Saturday for the FUN!
I’m excited to share what I came up with from the “Embossing Paste” background I made on Tuesday night. I hope you got a chance to watch the video yesterday, if you did … you know that I’ve created a card with the “polka dot” embossed background. Using the embossing paste adds such a fun texture to your card.
Well my friends, I couldn’t decide how I wanted to do this … so I did two cards!! I mentioned that the background reminded me of Minnie Mouse, so I thought … How Cute Would That Be??
I am just tickled pink with how it turned out!! It’s all glitzy … the background was done with the Shimmery White Embossing Paste, Minnie is from the Black Glitter paper and the greeting is highlighted with “Wink of Stella”!!
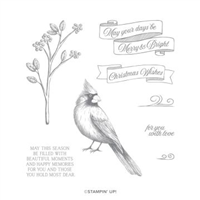
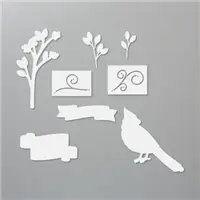
I used the “bow tie” from the upcoming “Well Suited” bundle with the Red Foil paper. The greeting comes from the Toile Christmas stamp set and die cut from the Christmas Cardinal die set. The greeting banner was colored with the Garden Green marker to coordinate with the leaf that was cut from the Poinsettia dies.
I couldn’t stop there, I had to have a Mickey!!
Made the background the same as above … polka dot mask and Shimmery White Embossing paste, I love it!! Mickey was made the same as Minnie but the hair bow was turned into a bow tie.
I used the “celebrate” from a past Paper Pumpkin kit but felt that it worked perfect for this card. This is one of the biggest benefits of being a Paper Pumpkin subscriber. I die cut it from the Tasteful Labels dies…. same with the Black Glitter base.
I hope you enjoyed seeing what I created with the polka dot embossing paste … I had a “HOOT” making these! I may end up using Mickey for my daughters birthday, she is way more into Mickey than she is a “foo foo” card!
Thank you so much for sharing part of your day with me. Join me back here tomorrow as I share the “lacey” background on the Peony Garden Designer Paper.
Enjoy your day ~
TODAY’S STAMPIN’ SUPPLY LIST … If you liked the products used in today’s projects, I have links for you below. Just click on the item you would like more information on, or to begin your shopping. It will take you directly to my website. Thank you ♥
Have you ever looked through the catalog and wondered “What is that for” … “How would I use that”? Well, today I’d like to answer that question on our “Shimmer White Embossing Paste! Time to make things Shimmer & Shine!!
You can now create tasteful texture and subtle sparkle with our Shimmery White Embossing Paste, and my video will show you how easy it is to apply. Grab a cup of coffee or your favorite beverage and sit back and enjoy …..
I hope you enjoyed the video and watching my “creative process” as I work through how I built up this card. Can’t wait for you to see how the other “embossed masks” look when completed!
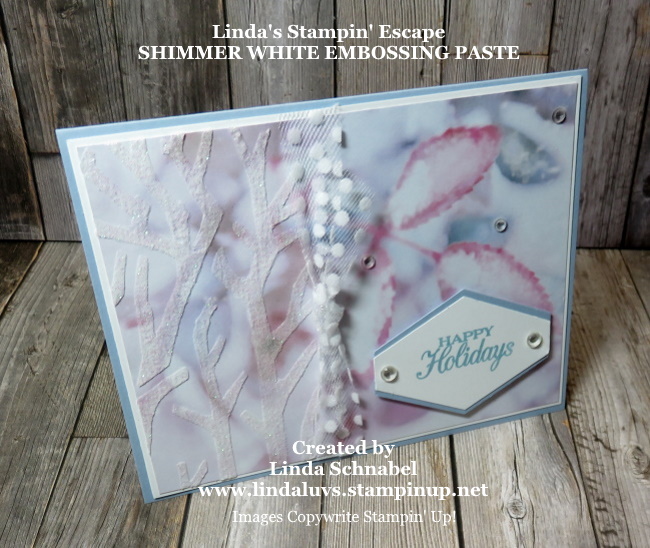
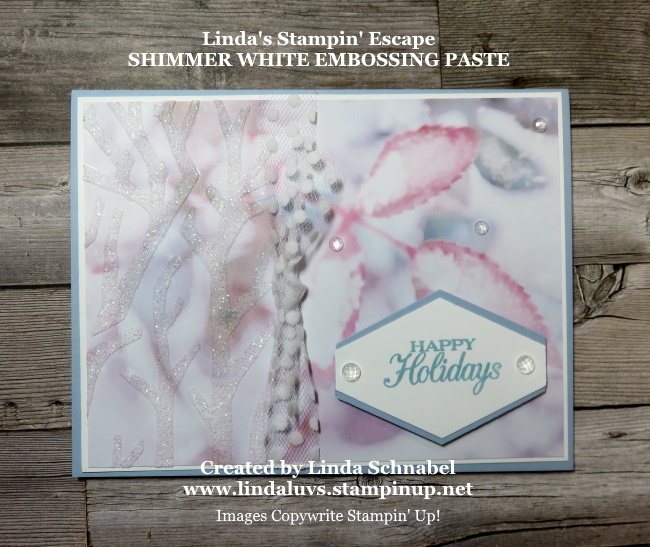
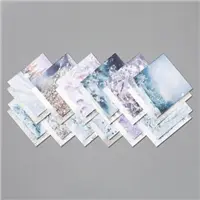
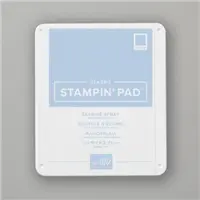
Here are some different angles of today’s card. We began with the Feels Like Frost Designer Series Paper and Seaside Spray cardstock and ink ….
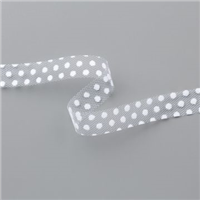
I added the ribbon on my card because of a little line left from the masking. I do believe if I had used some washi tape or removable tape, it would have stopped that from happening.
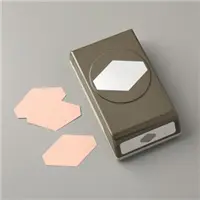
My greeting was added and punched out with the Tailored Tag Punch, I then added some of the Seaside Spray cardstock behind the greeting before I popped it up with the Stampin’ Dimensionals.
The above photograph really shows what I wanted to highlight with my design … the shimmery tree from the paste and mask turned out so well and pairs perfectly with the images on the Feels Like Frost Designer paper.
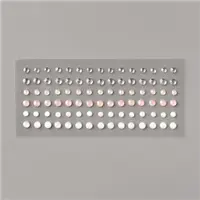
The Elegant Faceted Gems really highlight the entire card as well … that little sparkle ties in so nicely with the Shimmery White Embossing Paste.
** Just make sure you clean off your mask and tools as you work, it will make it much easier when you are finished with your card.
Thank you so much for hanging out with me today, to view the video and check out my cards. Are you inspired to try the Embossing Paste? I hope so … I have even more to show you with this fun medium!
Have a sparkling good day ~
TODAY’S STAMPIN’ SUPPLY LIST …If you liked the products used in today’s projects, I have links for you below. Just click on the item you would like more information on, or to begin your shopping. It will take you directly to my website. Thank you ♥
I’d like you to join me for a Sneak Peek into the upcoming January-June 2021 Mini and Sale-a-bration Catalogs!! As an attendee at the Stampin’ Up! OnStage event, I had the opportunity to pre-order, before the demonstrator Pre-Order!! How cool is that!
I have some amazing product suites and Sale-a-bration items I can’t wait for you to see. I know some of you have been waiting for this video, so grab a cup of coffee, sit back and relax … and enjoy!
My head is reeling with ideas to share with you, but before we get to that, we have so much more in the Holiday catalog!! As much as many of us would like to see the end of 2020 … I’m looking forward to Thanksgiving and Christmas with family.
And … I hope you join me on Small Business Saturday to get a last look at our Holiday Catalog during my Countdown to Christmas party!! Here is the LINK: https://www.facebook.com/groups/1497489893793307
I hope you join me for a fun day, some great demonstrations and some terrific specials and prizes!Have a wonderful day!
I hope you had a wonderful weekend relaxing, stamping or enjoying family or friends. I have been having fun planning and preparing for my upcoming Small Business Saturday: Countdown to Christmas Party … this will be held on Facebook from Friday, November 27th and All Day Sunday, November 28th.
I’ll be sharing projects with you here all week in conjunction with what I’ll be sharing before and during the Christmas Countdown Party.
If you would like to join in on the FUN … Copy this link: https://www.facebook.com/groups/1497489893793307 and put it in the Search Box … then request to be a member! I would love to have you join us! It’s going to be a party!!
Thank you for the visit, meet you back here tomorrow with a fun project.
Today I have one more Christmas card that I created using the Wonder of the Season Memories and More card pack. This cute card couldn’t be simpler to make ….
The printed bells card was trimmed down to 4″ x 5-1/4″ … then I stamped the greeting onto the card. The greeting comes from the stamp set Cherish the Season.
Now it was time to take our Silver Bells to the next level … just grab your Wink of Stella to highlight the bells, it’s magical.
The Wink of Stella adds a beautiful shine to the bells, but I couldn’t stop there … I added the Glitter Crystal Effects to the berries … it added a nice texture to the card and really made them stand out.
To finish off the card … I secured the card to the Real Red card base with the Stampin’ Dimensionals. Super simple to make but oh so pretty.
I thank you for joining me today. I hope your Sunday is a good one.
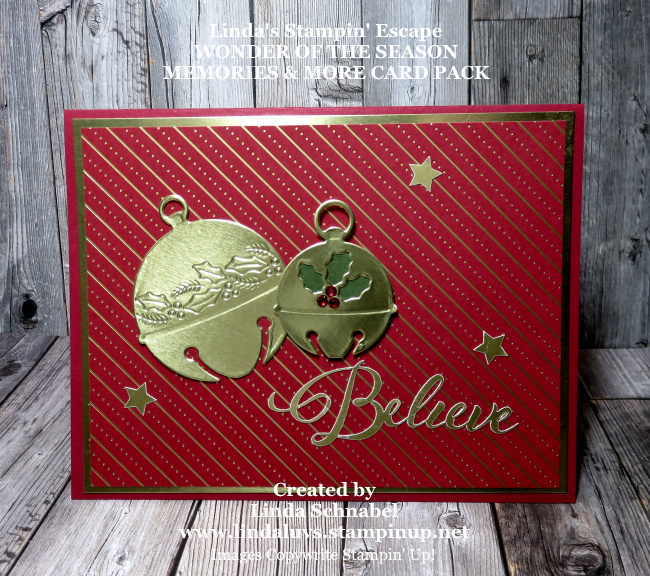
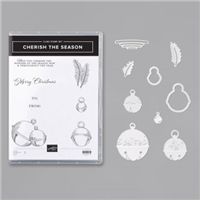
Today I have another cute card created with the Wonder of the Season Memories & More Card pack. This time I’ve teamed it up with the Cherish the Season stamp set. You would think these two were meant for each other!
I used the Gold Foil sheets as a base to the Wonder of the Season Memories & More card pack … it really shows off the pretty gold in the card. I also used the gold to die cut the pretty bells from the Cherish the Season bundle.
The die cut bells actually cut out the holly images however I chose to keep the images intact and put a little scotch behind it to hold it together.
On the smaller bell, I let the holly image cut out and then put a scrap piece of Old Olive behind it. Then it was popped up with Stampin’ Dimensionals.
The stars and the “believe” came from the sticker sheet that comes from the Wonder of the Season Memories & More card pack . To finish off the card I added three Red Rhinestones … it adds dimension and a nice tie in to the red on the card.
Thank you for stopping by today and checking out my blog. It is truly appreciated! I hope this gives you a better look at the Wonder of the Season Memories & More card pack. I’ll have one more card to share with you tomorrow.
Have a beautiful day!
TODAY’S STAMPIN’ SUPPLY LIST … If you liked the products used in today’s projects, I have links for you below. Just click on the item you would like more information on, or to begin your shopping. It will take you directly to my website. Thank you ♥
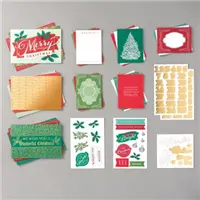
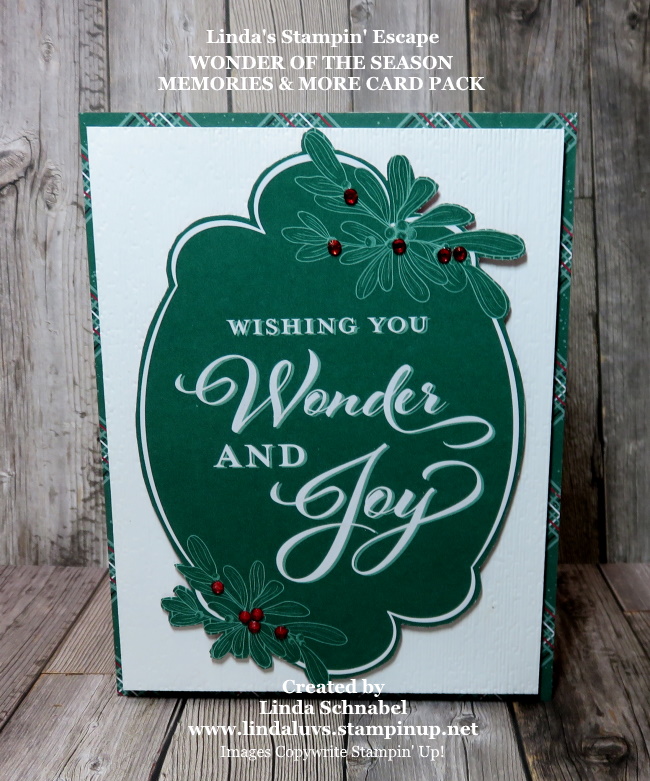
I’m thrilled … it’s Friday, and I have a great new product to share with you today. Whether your a scrapbooker or card maker, you can simplify your craft with our Wonder of the Season Memories & More Card Pack.
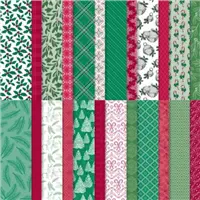
You’ll get 48 double-sided printed cards you can use for quick Christmas or winter card fronts, pocket scrapbooks, and more. The card pack also includes 8 sheets of stickers to further embellish your projects.
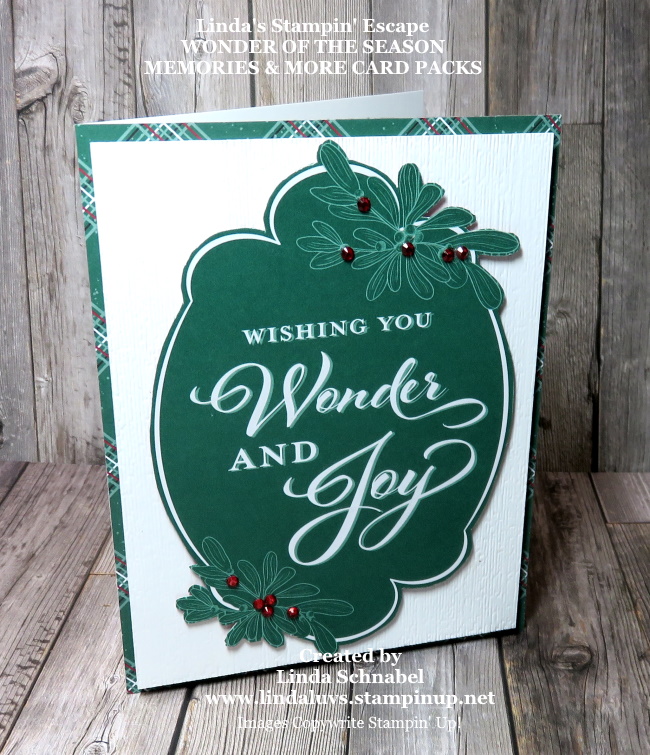
I like using these card packs for quick cardmaking … I used one of the 4 x 6 inch cards and trimmed it down to highlight it’s shape and greeting …
My base is Whisper White but covered with the Tis the Season Designer Series paper… it brings out the colors from our card. Behind it is another piece of Whisper White that was embossed with the Subtles Embossing Folder.
So the front piece is actually a card from the Wonder of the Season Memories and More Card pack ….
I fussy cut all around the greeting and the foliage on the card. I added the Red Rhinestones for some added texture and to bring in the red color from the designer paper.
I actually highlighted the greeting with some Wink of Stella, it just really added a holiday flair to the card. Super simple to make and the results from using these cards is amazing … I’ll be sharing more of these in the next couple of days.
Hope today’s post inspired you to take the Memories and More kits beyond your scrapbook pages and get even more value by creating cards with it as well.
Thank you for joining me today. Enjoy your weekend.… Join me for a sneak peek at some amazing items in the upcoming Spring & Sale-a-bration catalogs.
TODAY’S STAMPIN’ SUPPLY LIST … If you liked the products used in today’s projects, I have links for you below. Just click on the item you would like more information on, or to begin your shopping. It will take you directly to my website. Thank you ♥
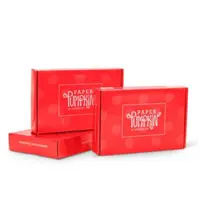
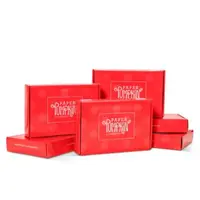
I am anxiously waiting my Jolly Gingerbread Paper Pumpkin kit, filled with curly cutouts, sugary stickers, and delicious die-cut designs in a special-edition box, but until that arrives so I can share my projects with you … I want to introduce you to our December kit.
If you haven’t heard already, Paper Pumpkin is our monthly One-Stop Box™ that offers a wide variety of unique papercrafting projects for subscribers of any skill level! These themed, all-inclusive craft kits encourage customers to explore their creativity, try new techniques, and discover their potential in papercrafting.
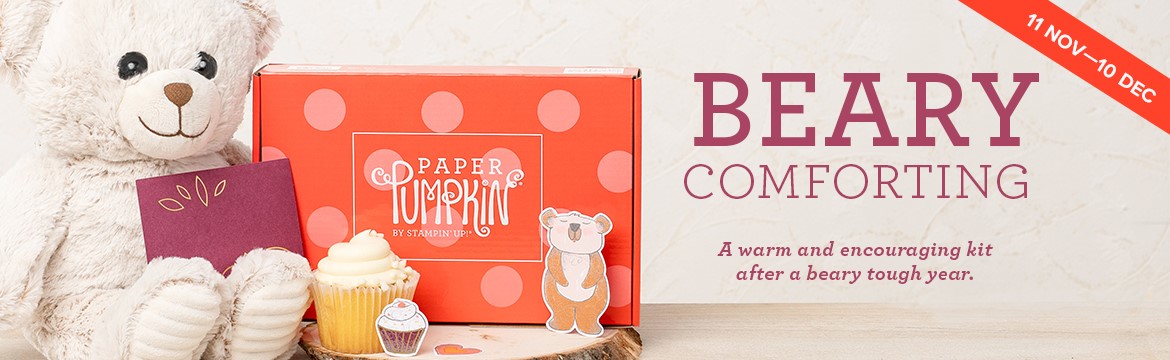
December’s cute and cuddly Paper Pumpkin kit—called “Beary Comforting”—is designed to uplift your loved ones as this beary tough year finally comes to a close. After a year like 2020, we all could use a big bear hug! With the help of this bear-themed kit, you can create 12 unbearably cute cards featuring warm and fuzzy friends, sweet stamps, and meaningful messages. Near or far, send your friends and family the extra comfort, love, and encouragement they need with this month’s Paper Pumpkin kit!
The holidays are a perfect time to subscribe to Paper Pumpkin, it makes crafting easy, and you can gather with friends or family to create these special products … You can also give them as a gift!
Thank you so very much for checking out my blog today, please let me know if I can help you with your Paper Pumpkin subscription.
Have a good day ~
TODAY’S STAMPIN’ SUPPLY LIST … If you liked the products used in today’s projects, I have links for you below. Just click on the item you would like more information on, or to begin your shopping. It will take you directly to my website. Thank you ♥
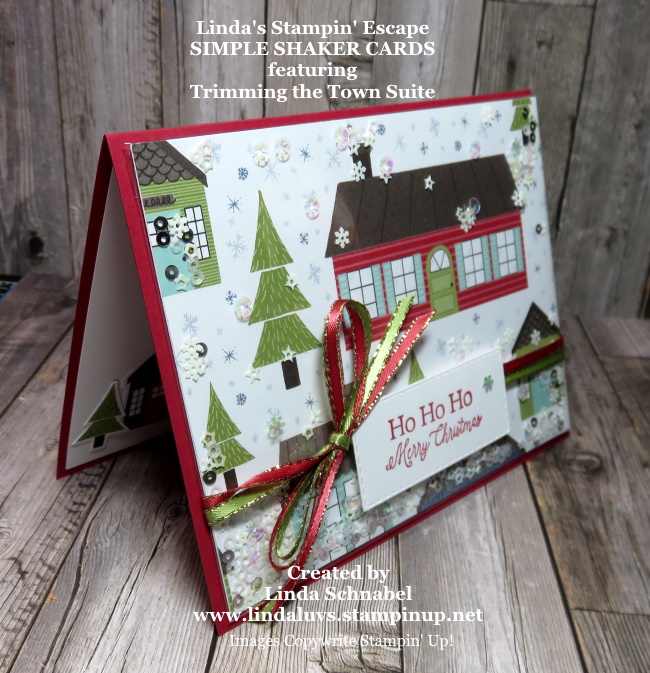
Shake it, Shake it baby … oooh, oooh!! I am excited to share with you today to cards that I created for my Technique Tuesday, Facebook LIVE. I’m sharing a super simple way to make Shaker Cards that I saw at my OnStage event last weekend.
The demonstration was done by fellow demonstrator Rosemarrie Gonzalez. She shared a really fun new suite with Ice Cream cones and Popcicles … your going to love it! But until then, let me know you the technique. Sit back for a few minutes and watch my Facebook LIVE from last night. Just click on the image below to watch the video …
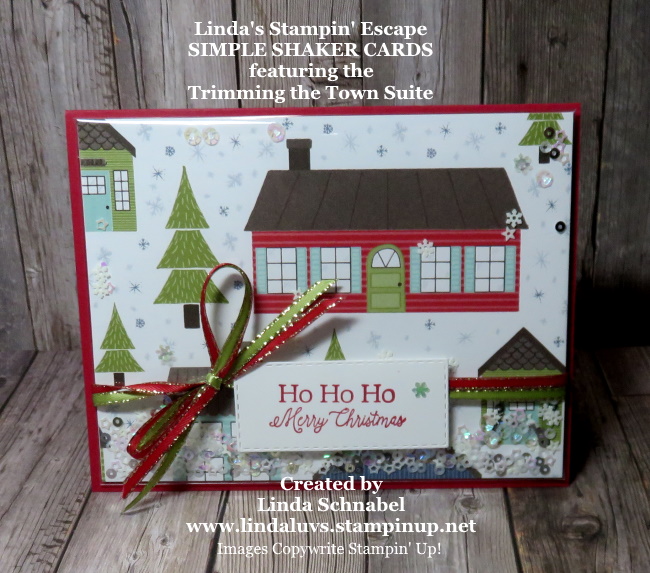
Isn’t that a cool idea … using clear envelopes to create shaker cards. So quick and easy!! I had so much fun making the cards. You begin with your 8-1/2″ x 5-1/2″ card base scored at 4-1/4″ … fold in half. Your designer paper will be cut 4″ x 5-1/4″ – you could put some cardstock behind it if your want it a little sturdier for tying bows.
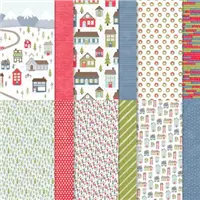
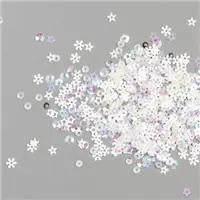
On this card I used the Trimming the Town Suite … I’ve used the designer paper and the All the Trimmings Ribbon Combo. The Snowflake Sequins are encased in the Clear Envelope.
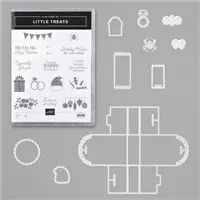
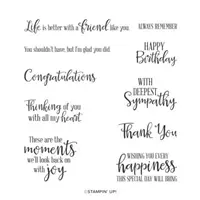
The sweet little greeting comes from the Little Treats stamp set from the Little Sweets Bundle.
I had some die cut pieces left over from our Holiday Catalog & Virtual Retreat Party and used them on the inside of the card. They are die cut from the designer paper!
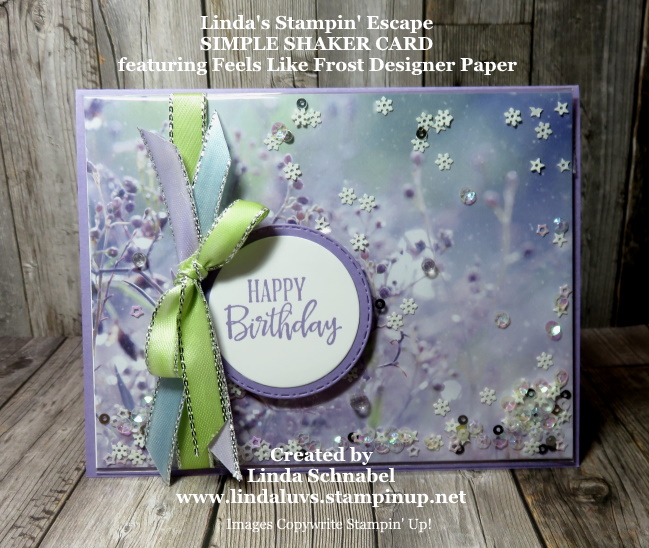
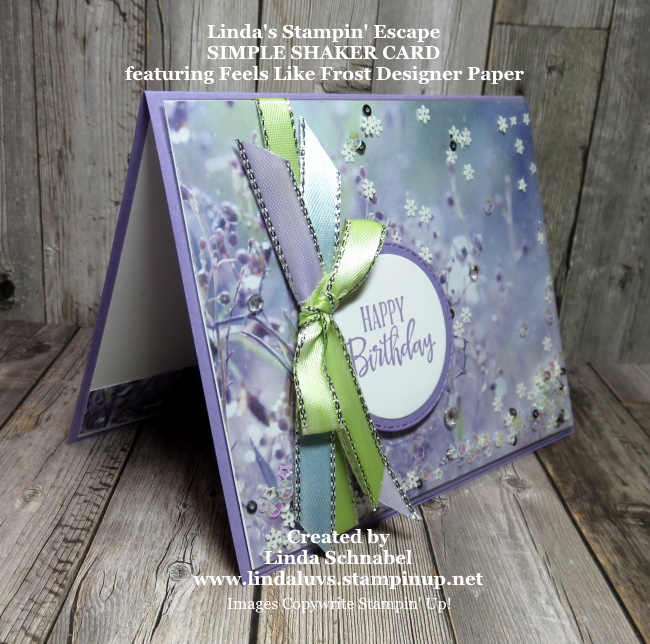
My next card is made for my daughters December birthday, and features the Feels Like Frost Designer Series Paper.
I began with a Highland Heather base and then slide my Feels Like Frost into the Clear Envelope before sprinkling in the Snowflake Sequins in. I was amazed at the change in the sequins … it picked up the color from the designer paper.
The ribbon was the fun part and accented the stunning paper, beautifully! I used the Layered Circle die and the stitched edge die from the Warm Hugs bundle.
When I trimmed the designer paper down to 4″ x 5-1/4″ … I used a piece of the scrap on the inside of the card. The Metallic Edge Ribbon is easily dyed with the Stampin’ Blends. You can also use our regular markers or even your ink refills!
I hope you enjoyed seeing how easy it is to create the fun and beautiful cards. Don’t forget you can even embellish the outside a little too!!
Thanks so much for hanging out with me today. Hope you were inspired to create “Shaker Cards” like I was when I saw it. I have listed the items used in the cards for your convenience.
Have a wonderful day ~
TODAY’S STAMPIN’ SUPPLY LIST …If you liked the products used in today’s projects, I have links for you below. Just click on the item you would like more information on, or to begin your shopping. It will take you directly to my website.Thank you ♥
We’ve baked up something special for your November Paper Pumpkin! Make the Christmas season a little sweeter with the Jolly Gingerbread kit! This box is filled with peppermint candy embellishments, curly designs, and an exclusive stamp set you’ll love!
Today is the LAST DAY to subscribe to this kit …
Paper Pumpkin is our monthly subscription service that offers unique papercrafting projects for crafters of any skill level! In these all-inclusive kits, subscribers receive pre-cut paper pieces, embellishments, ink, and an exclusive stamp set designed to encourage and explore your creativity.
As your subscription continues, you will have a collection of cards—and other creations—for a variety of occasions, in addition to a stockpile of supplies! Don’t wait, you’ll want to this sweet holiday kit …
So, what’s in store for this month’s Paper Pumpkin kit? November’s cute, gingerbread-themed kit contains enough supplies to create one-of-a-kind Christmas crafts! Whether it’s a gift card carrier, traditional card, or tasty-looking tag, this sweet and seasonal kit is the key to heartfelt holiday gifting. With curly cutouts, sugary stickers, and delicious die-cut designs in a special-edition box, a jolly holiday will be on its way with this kit!
The holidays are a perfect time to subscribe to Paper Pumpkin, it makes crafting easy, and you can gather with friends or family to create these special products … You can also give them as a gift!
Thank you so very much for checking out my blog today, please let me know if I can help you with your Paper Pumpkin subscription.
Have a good day ~
TODAY’S STAMPIN’ SUPPLY LIST … If you liked the products used in today’s projects, I have links for you below. Just click on the item you would like more information on, or to begin your shopping. It will take you directly to my website. Thank you ♥
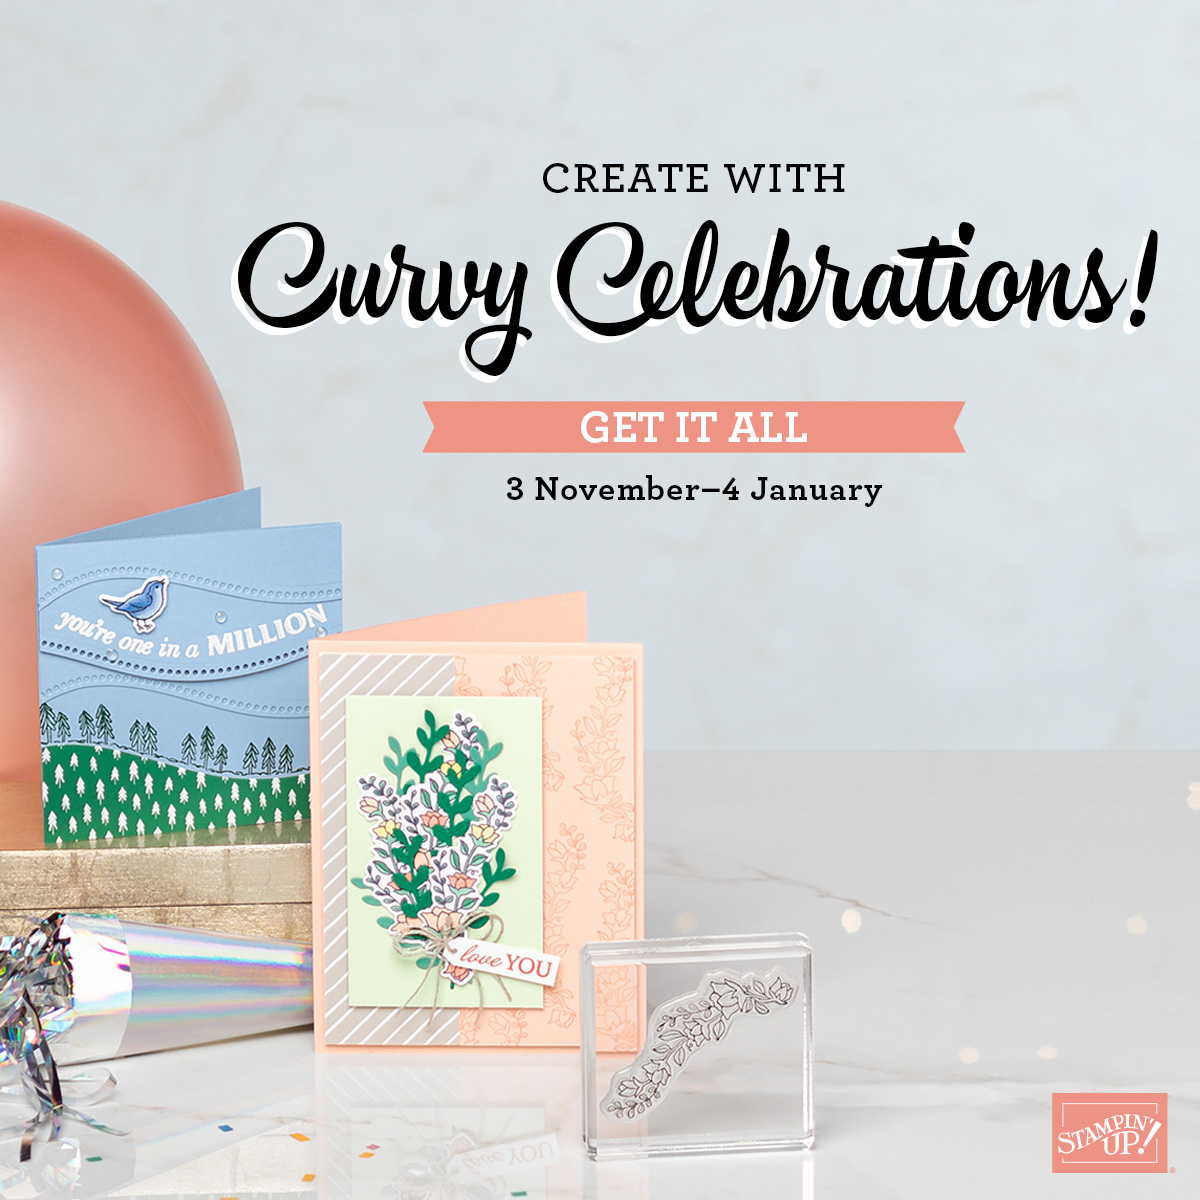
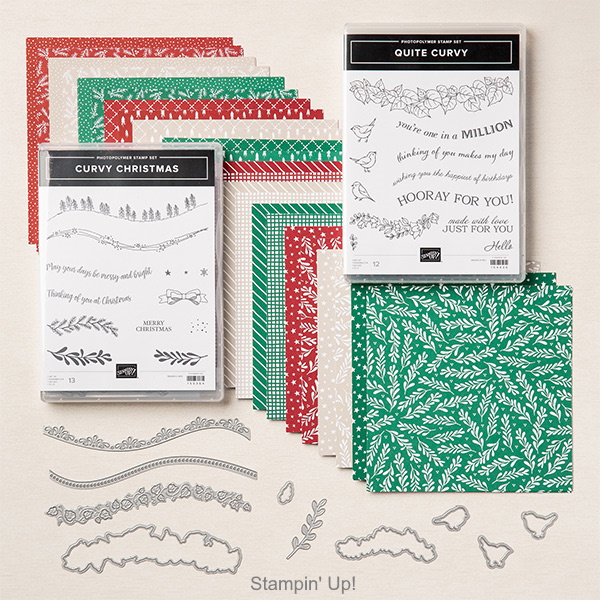
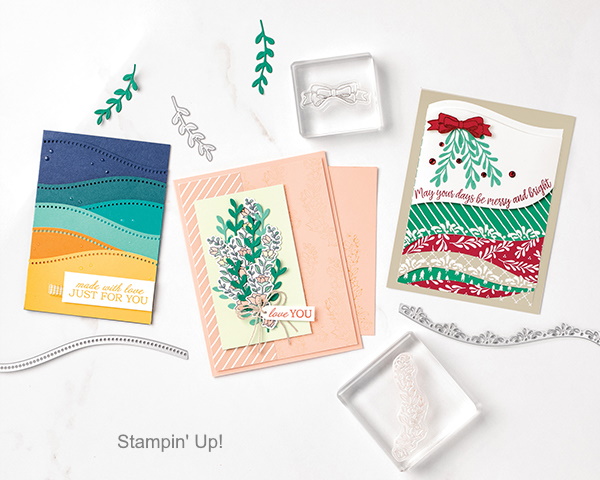
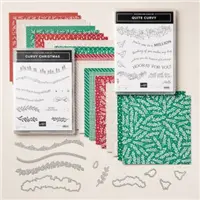
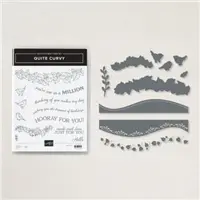
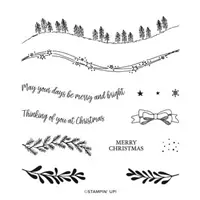
I just had to share this amazing new suite with you! It’s called the Quite Curvy bundle or the Variety Bundle which includes a Curvy Christmas! I’m so excited for this new product offering right before Christmas!!
The Quite Curvy Variety Bundle can be used for Christmas, New Year’s, and Valentine’s Day crafts. The products can be bought separately, or you can save 10% by purchasing them all! The Quite Curvy Variety Bundle includes everything your customers need to create cards for a variety of upcoming special occasions.
156228 – QUITE CURVY BUNDLE
158396 – QUITE CURVY VARIETY BUNDLE
This is a limited time only offer … The sales period runs 3 November 2020–4 January 2021… Let me know if you’re ready for one!
Thank you for stopping by and checking out this amazing new bundle, or should I say “Bundles”.
Have a great day ~
TODAY’S STAMPIN’ SUPPLY LIST …If you liked the products used in today’s projects, I have links for you below. Just click on the item you would like more information on, or to begin your shopping. It will take you directly to my website. Thank you ♥
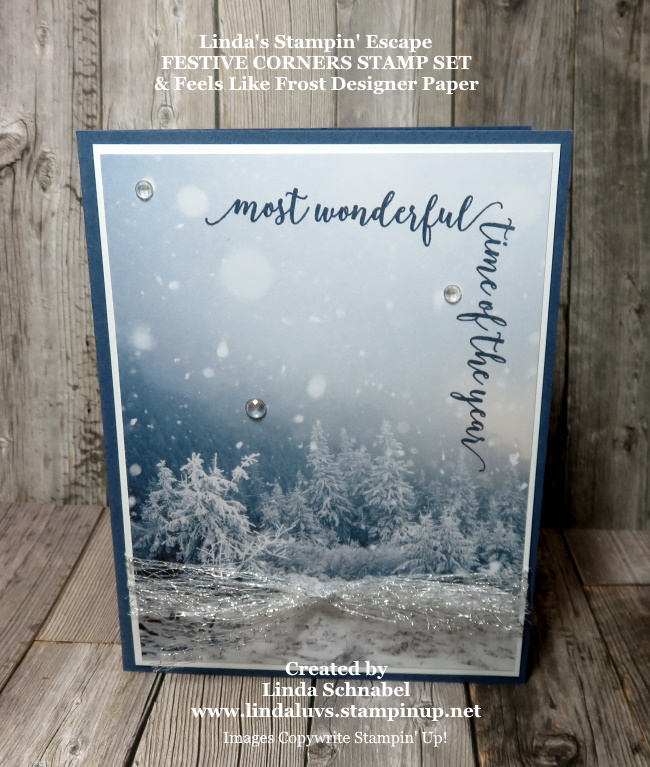
How are you today? It is a bright sunny day here in Wisconsin … 68 degrees in November is sure to bring a smile on your face!! I have something else that will bring a smile to your face … a stunning Christmas card that will only take minutes to make!
Have you seen the Feels Like Frost Designer Series paper? Oh my … it’s beautiful! Stunning images on one side and silver foil designs on the other.
This only gives you a glimpse of the paper but I hope you get a picture of this, otherwise click on the link below and you will be able to see them close up.
Now lets get to that stunning and simple card that I created in minutes…
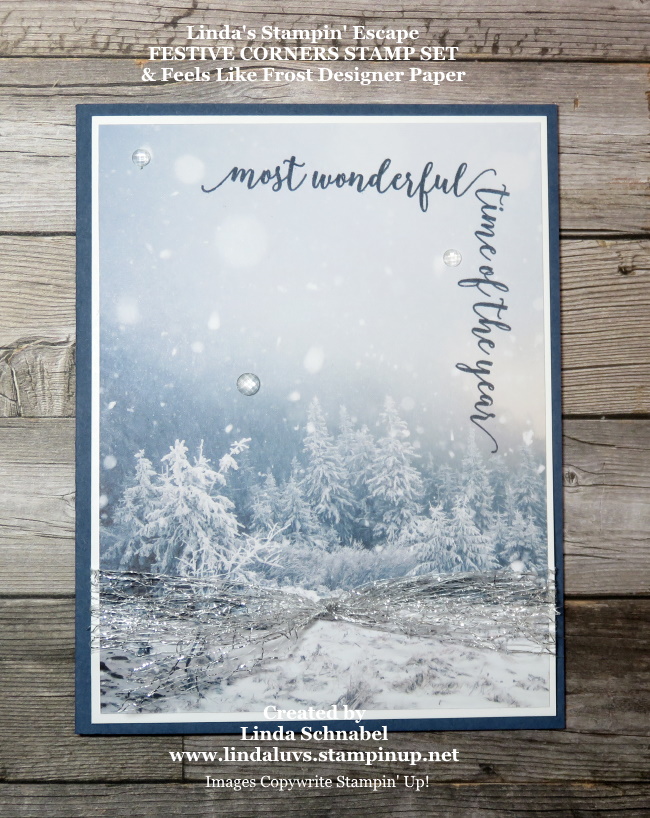
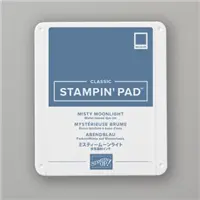
I began with the Misty Moonlight for my card base, which looked great with the pattern I chose. The snowy scene is like looking at a photograph.
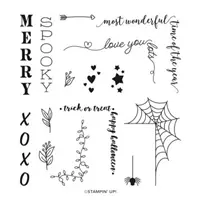
I chose the Festive Corners for my greeting … it is so much fun to add to a card, yet the sweet font really adds beauty to the card. This was stamped with the coordinating Misty Moonlight.
The Feels Like Frost designer paperwas trimmed down and matted with Whisper White to set the card off and help highlight those snowflakes.
Speaking of snowflakes … I highlighted them with the amazing “Elegant Faceted Gems”. They add a little sparkle and dimension to your card. And speaking of sparkle ….
Can you see the sparkly Metallic Mesh Ribbon (from the Magic in this Night Suite) this pretty bow is tied around the tree line in the card and really pulls your eye into that area … so pretty!
How amazing is this card and it only took around 5 minutes to create. Super … Simple … Stunning! These are the kind of cards I love. We all get a little busy, so it fits perfect into my schedule. (I still like some fussy cards too)
Hope today’s card inspired you to dig out some of your pretty paper and make some quick cards. Or if you have to have the Feels Like Frost … just click on the link below and it will take you to my online store.
Thank you for hanging out with me today! Hope you have a warm and wonderful day!
TODAY’S STAMPIN’ SUPPLY LIST … If you liked the products used in today’s projects, I have links for you below. Just click on the item you would like more information on, or to begin your shopping. It will take you directly to my website. Thank you ♥
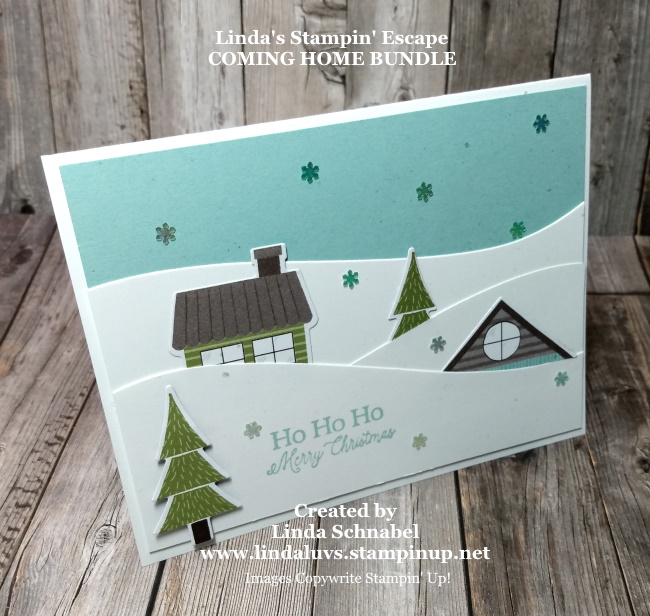
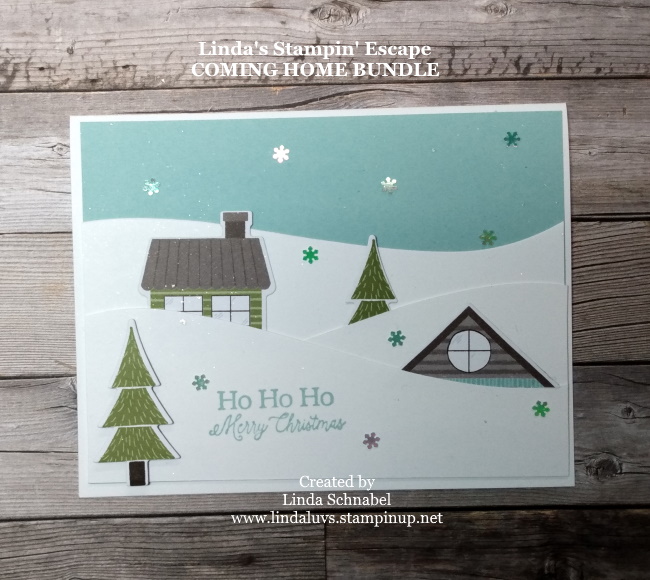
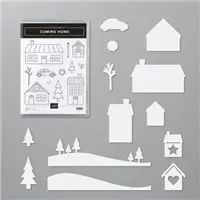
They say third time is a charm, so today is my third and last (for now) in my series of cards from the Trimming the Town Suite Collection. Today I’ll be using the dies from the bundle with focus on the Trimming the Town designer paper.
Our back ground is Pool Party and Snow … well, Whisper White cut into hills of fluffy layers of snow.
The dies not only cut out the stamped images but they also cut the house images on your designer paper … now that is what I call extra value.
I have another great tip that will bring even more value to your bundle … when cutting out the images on your designer paper (yes, you can cut out the trees too!) Don’t forget to cut the partial images as well … this is what I used, and hid them behind the snow!!
With our partial buildings and trees deep in the snow banks, I couldn’t help but add those sweet little Adhesive-backed Snowflakes.
This next picture shows a spattering of the “Wink of Stella” … this is done by tapping it onto a marker or such…
Just a reminder ….
When you purchase the Coming Home Stamp set individually or as part of the bundle or suite … $3 will be donated to charities devoted to adoption, foster care, and infertility. You can help make a difference in the lives of those affected.
Thank you for stopping by today.
Have a great day ~
TODAY’S STAMPIN’ SUPPLY LIST …If you liked the products used in today’s projects, I have links for you below. Just click on the item you would like more information on, or to begin your shopping. It will take you directly to my website. Thank you ♥
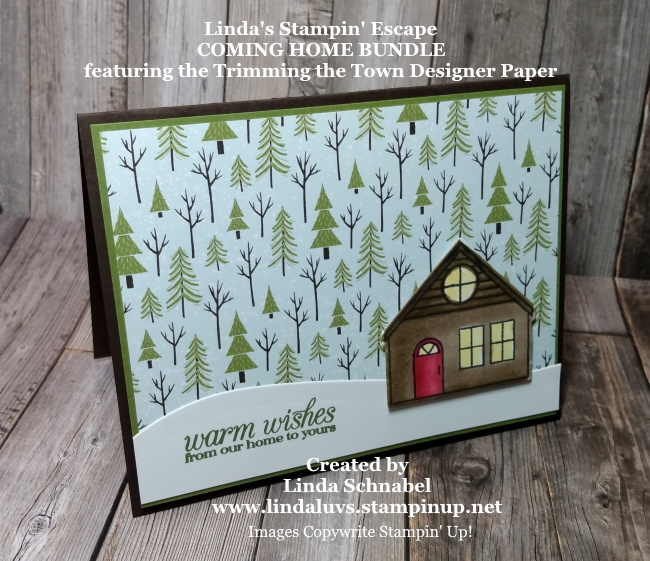
Today is the second in my series of cards from the Trimming the Town Suite Collection. Today I’ll be using the dies from the bundle along with the designer paper.
The Trimming the Town designer series paper is the backdrop to the card … with the forest of trees and a sprinkling of snow, it’s the perfect setting for my cabin.
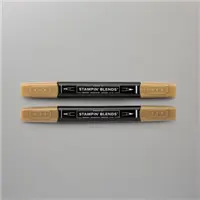
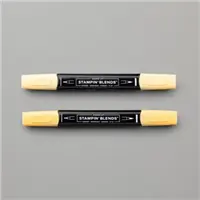
I stamped my cabin on Whisper White with Tuxedo Black Momento ink and then colored it with the Soft Suede Stampin’ Blends. I also used the Real Red for the Door and So Saffron for the Windows.
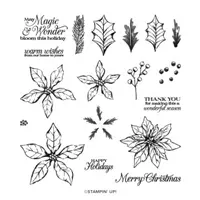
The snow was cut from the die included in the Coming Home Bundle… The greeting comes from the Poinsettia Petals stamp set.
The “Warm Wishes” greeting fits perfectly in this serene setting. I have fallin’ in love with this bundle… besides being an amazing bundle/suite, you can make a difference with the purchase of the set …
When you purchase the Coming Home Stamp set individually or as part of the bundle or suite … $3 will be donated to charities devoted to adoption, foster care, and infertility. You can help make a difference in the lives of those affected.
Thank you for taking the time out of your busy day to visit me and learn about this opportunity to help others. Please let me know if you have any questions …. I am available to help.
Have yourself a wonderful day ~
TODAY’S STAMPIN’ SUPPLY LIST …If you liked the products used in today’s projects, I have links for you below. Just click on the item you would like more information on, or to begin your shopping. It will take you directly to my website. Thank you ♥