Hello Stampin’ Friends ~
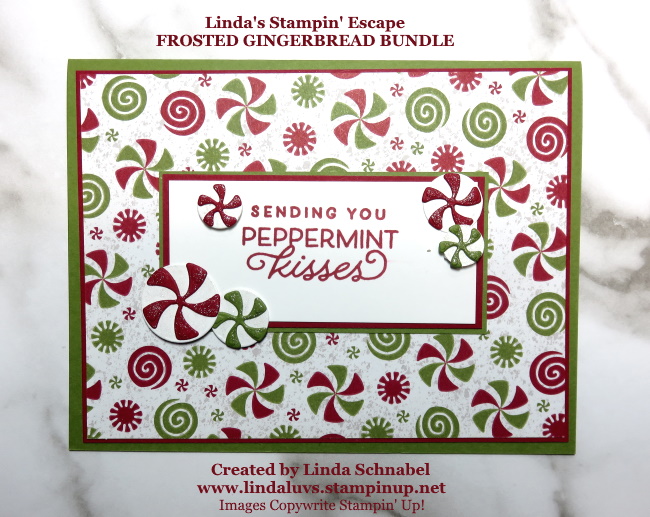
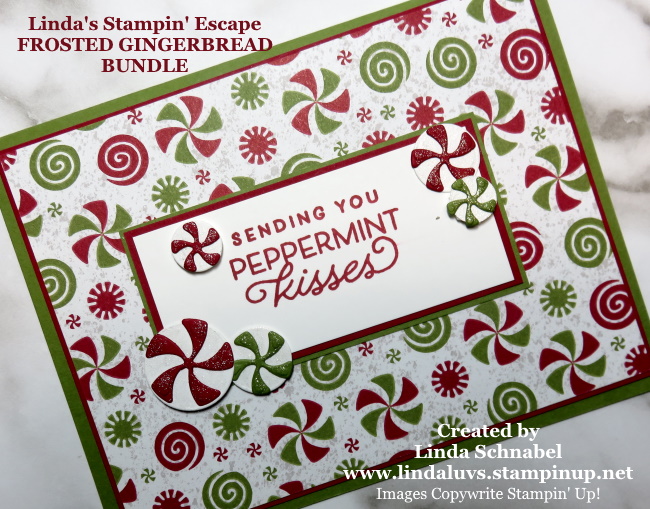
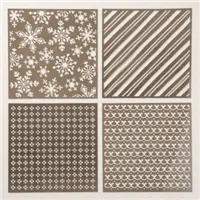
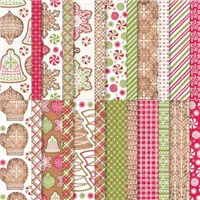
We had a discussion at my Stampin’ Retreat this past weekend about Embossing Paste so I’m excited to share the cards from one of my Facebook LIVEs … I shared how you can enhance your designer papers using Embossing Paste and the Adorning Designs Decorative Masks. I figured the masks were in the Gingerbread & Peppermint suite for a reason … so that is where I started!

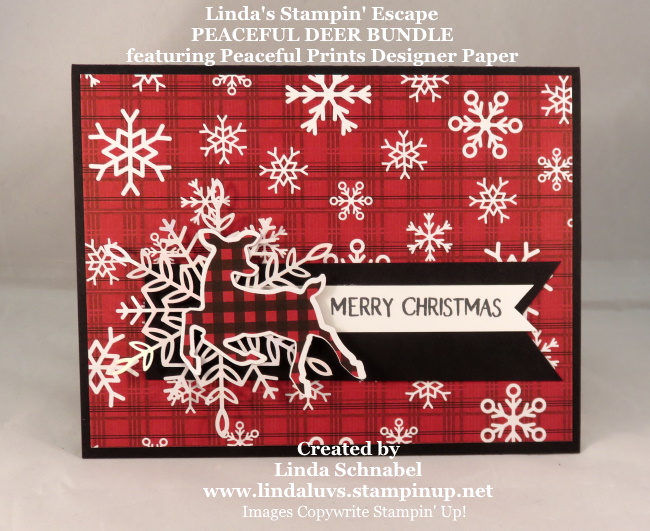
I also wanted to show you that some of the masks line up pretty nice with some of our other designer papers. Here I used the Peaceful Deer bundle and the Peaceful Prints Designer paper from the Sale-a-bration Catalog (no longer available).

Now join me and watch the video as I show you how easy it is to create these cards! Then I will be sharing the card where I used the Beauty of the Earth Designer Paper!!
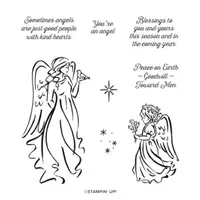
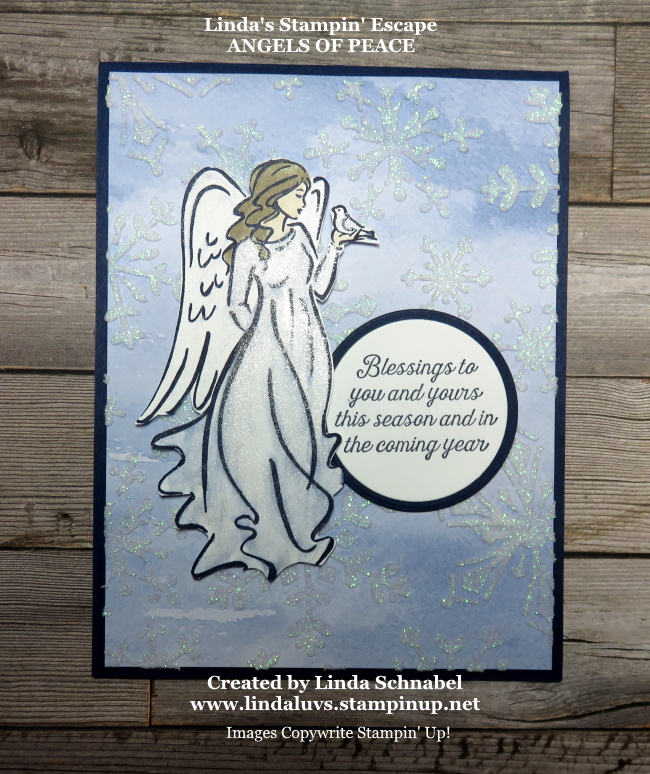
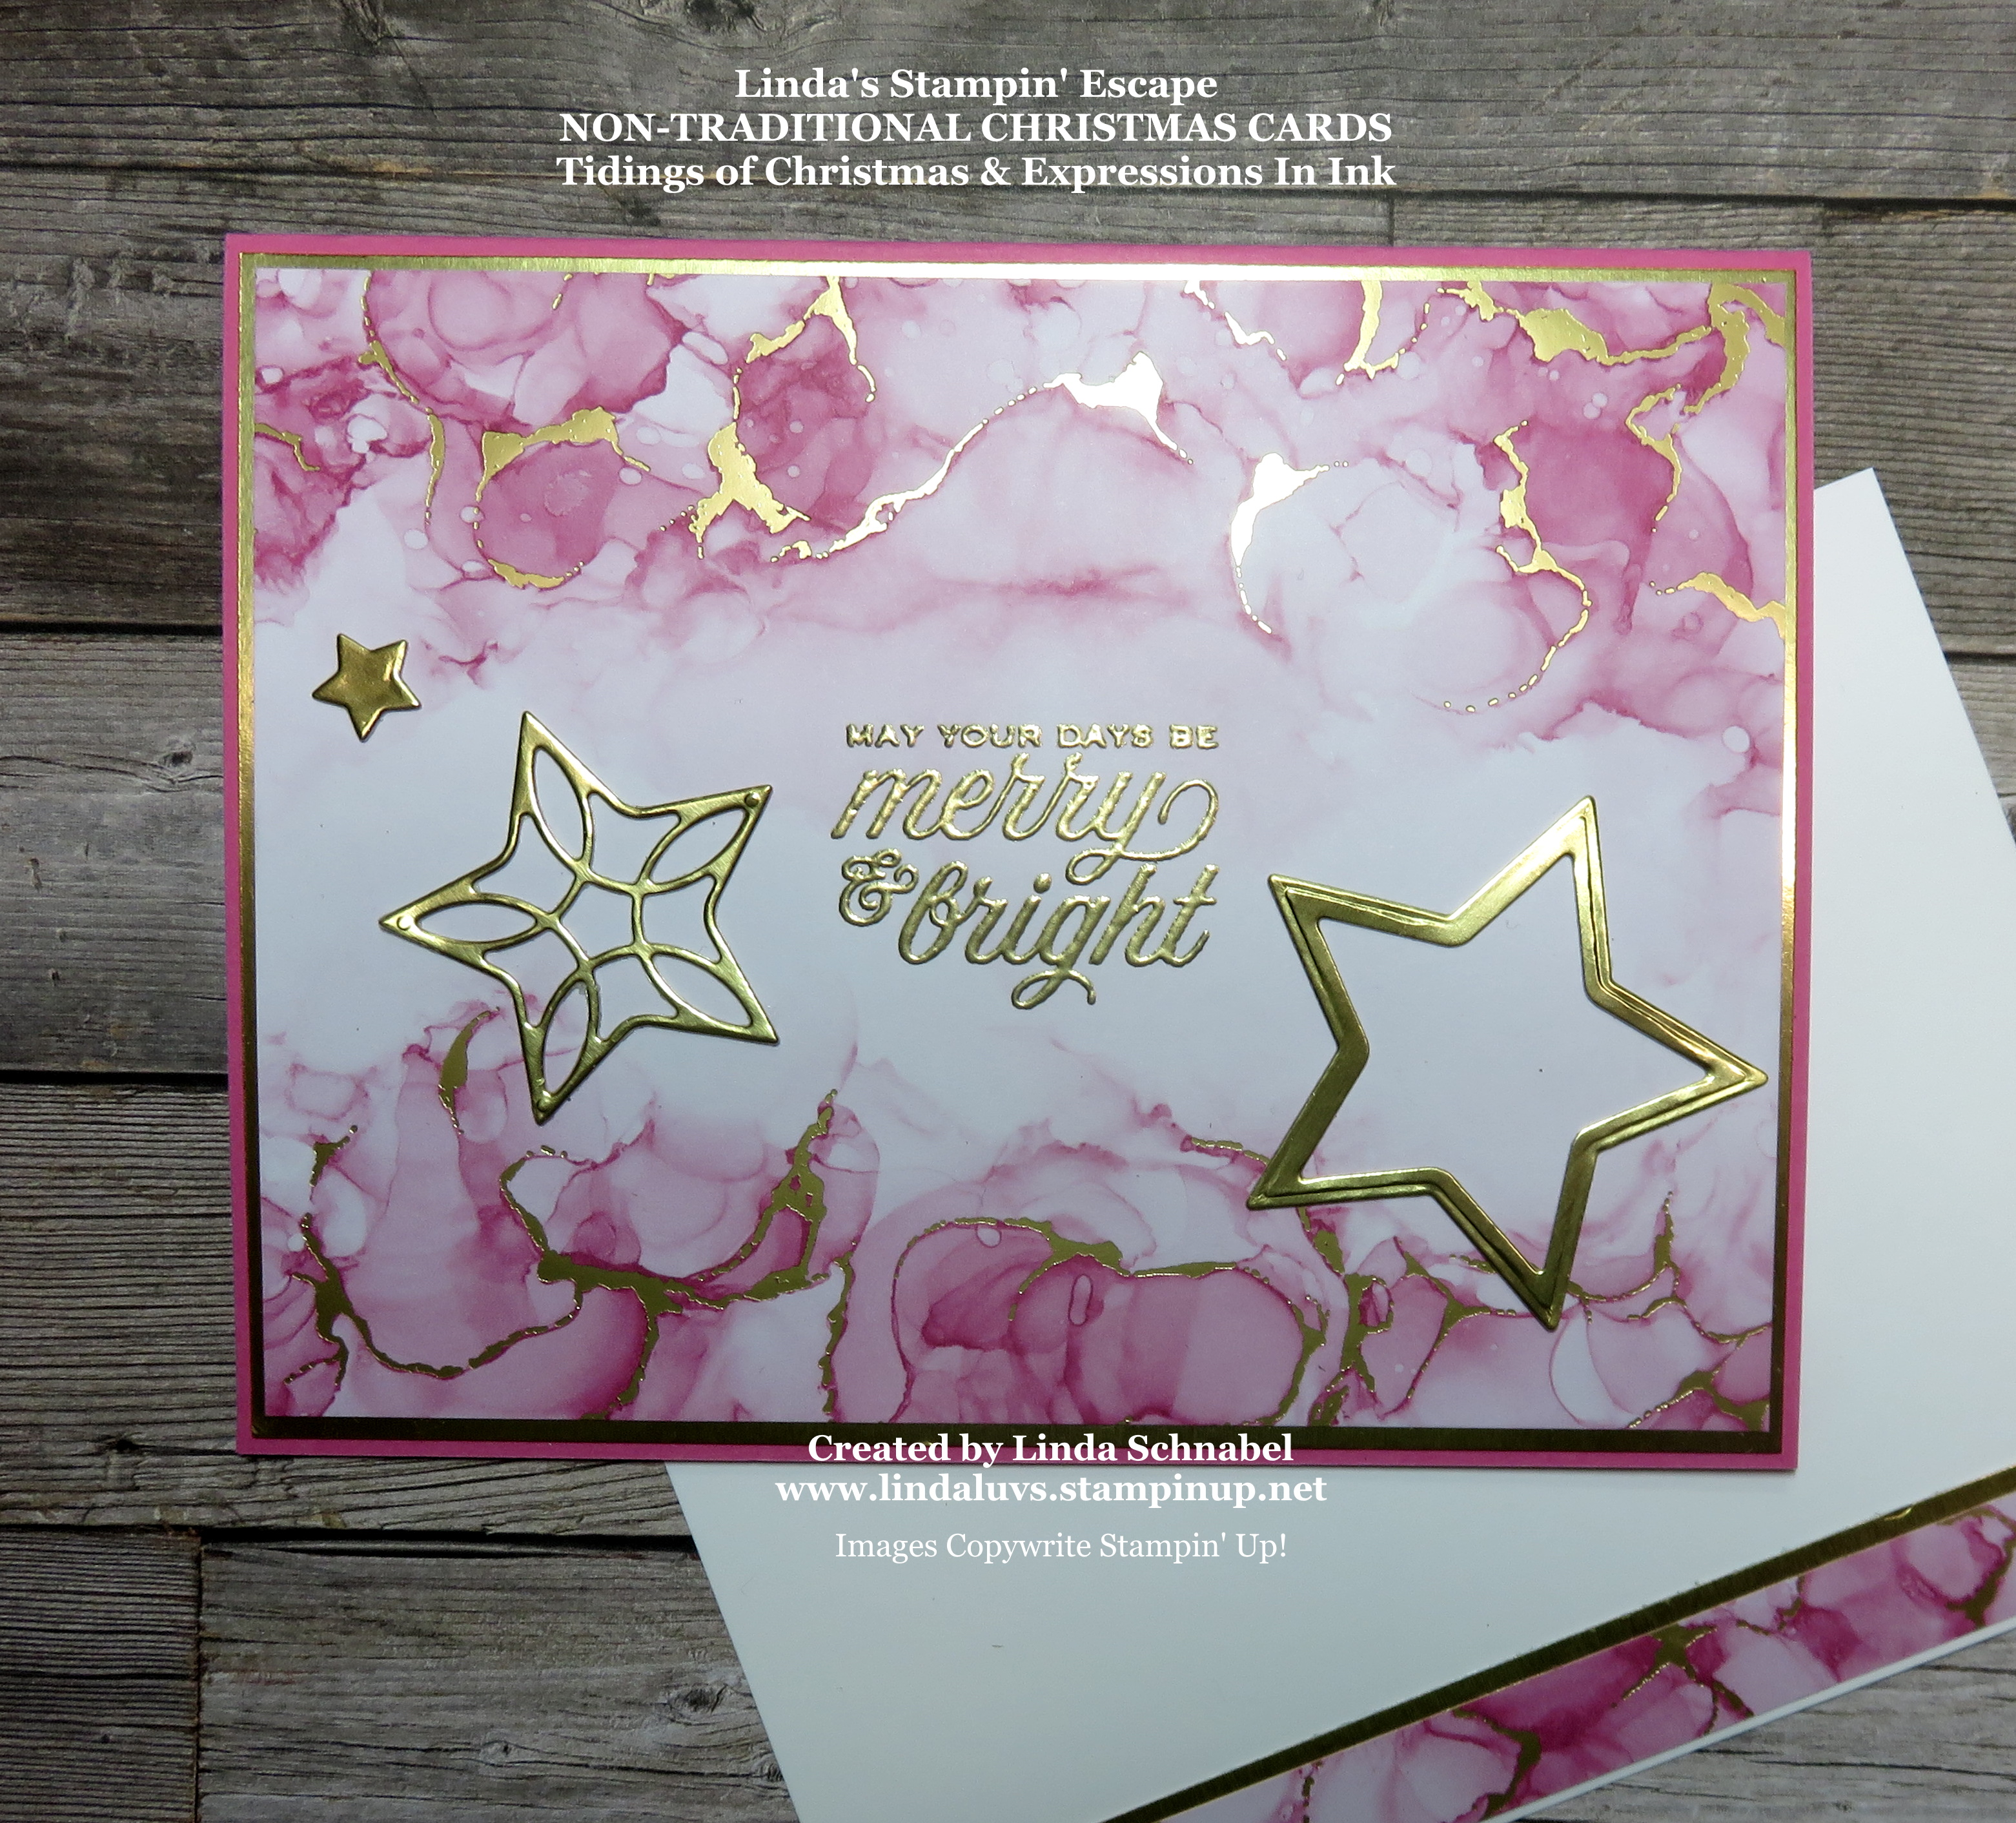
I am thrilled to share my next card with you!! I feel in love with the “Angels of Peace” stamp set the moment I saw it. She is so lovely and delicate and these angels can be used for so many different occasions …

The sentiment “Sometimes angels are just good people with kind hearts”… is the second reason I had to have this stamp set. The water washed background of the Beauty of the Earth designer paper was the perfect background for the snowflake mask and the Sparkling Embossing Paste…. and the angel was meant to go with them.
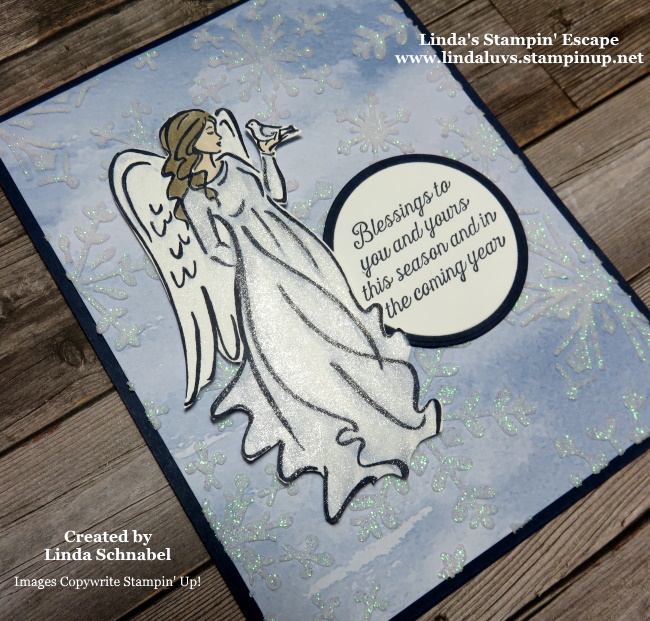
I stamped my angel in Night of Navy and then gently used the Wink of Stella to add some some sparkle to her. I was VERY careful on the wings as I wanted them mostly white, and the wetness of the Stella will smear the Night of Navy ink. On the other hand … I used the Wink of Stella to pull some of the color out of the lines and into her dress to give it that soft blue look.
The greeting was also stamped in Night of Navy and then cut out using the Layering Circle Dies. I also cut a Night of Navy mat to coordinate with her dress and the card base. It all flows so nicely and completes the card.
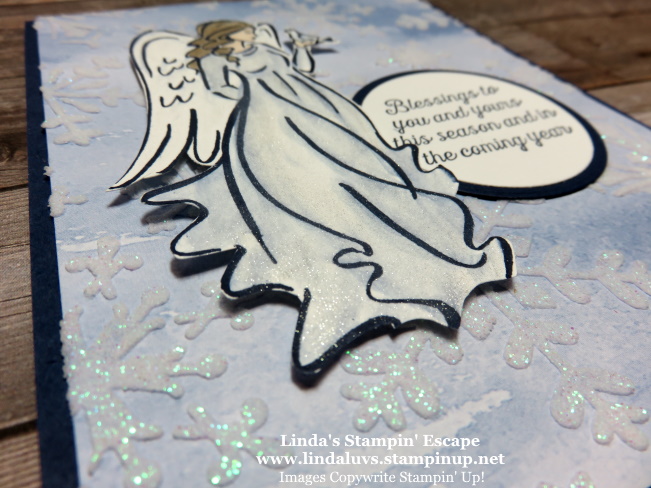
This angle of the photo is to show you the beautiful texture on this card!! The sparkle in the snowflakes is accented by the Wink of Stella on our Angel. One of my favorite cards that I ahve made in a while!
I invite you to join me tonight at 6 pm Central Time for my Facebook LIVE presentation … we’re getting ready for Christmas!! Click Here to my Linda’s Stampin’ Escape Facebook page.
Have a beautiful day, and take good care ~

TODAY’S STAMPIN’ SUPPLY LIST … If you liked the products used in today’s projects, I have links for you below. Just click on the item you would like more information on, or to begin your shopping. It will take you directly to my website. Thank you ♥


")
")
")
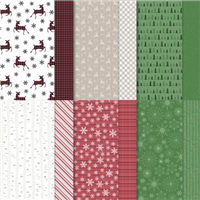
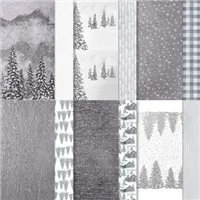
 Specialty Designer Series Paper")


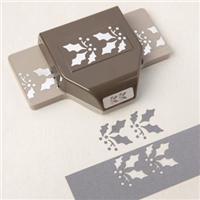
 Specialty Pack")

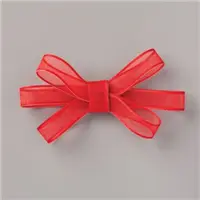
 Glittered Organdy Ribbon")
 Velvet Sheets")