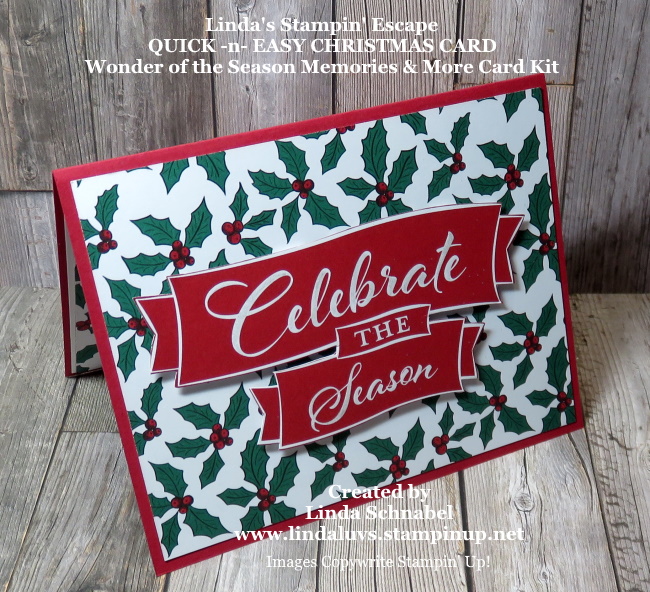
Hello Stampin’ Friends ~
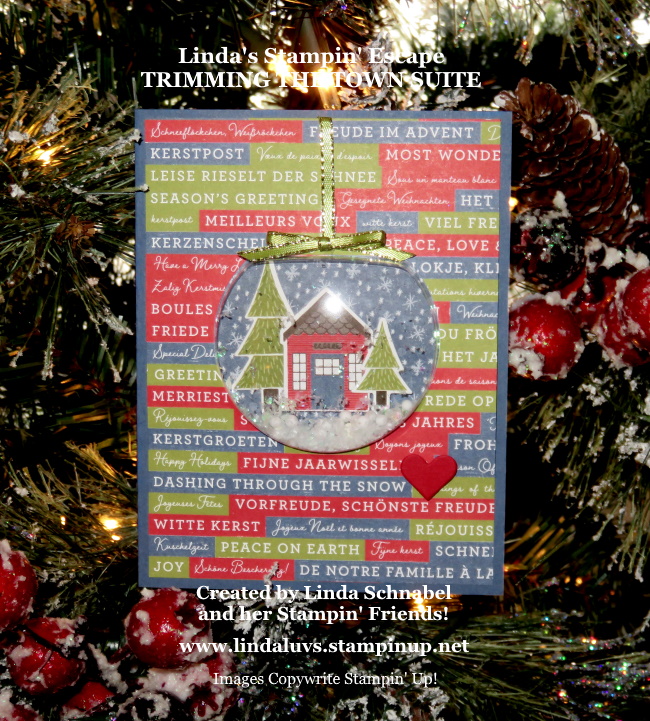
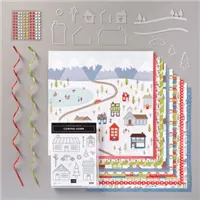
Today I will be sharing one of our Christmas Card kits that was brought back to the Holiday Catalog by popular demand. This is an amazing product suite. I was lucky enough to receive this suite as a gift from Stampin’ Up! on the Greece Incentive trip.

We spent that day in Santorini … such a beautiful place. I wish I was back there!
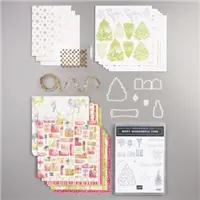
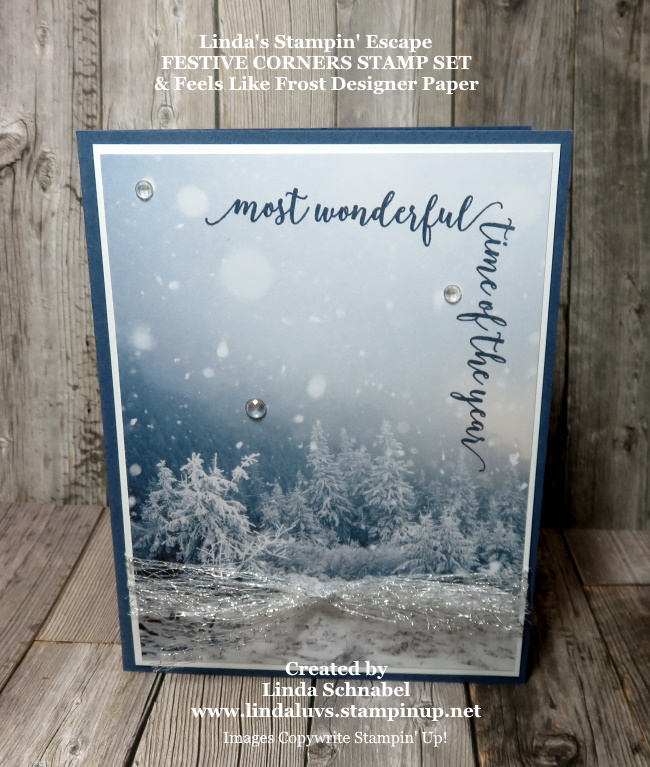
When we returned to our rooms that evening we got a really cute bag from Stampin’ Up! and it was filled with the “MOST WONDERFUL TIME PRODUCT SUITE” and a note that said we should bring this with us to Make & Takes in the morning…

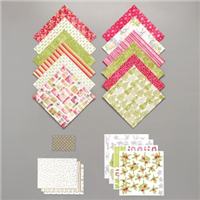
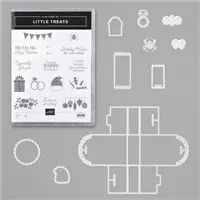
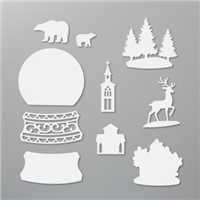
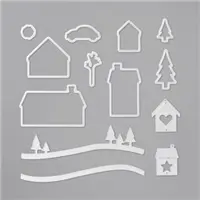
Everything you need to create your projects are included in the Wonderful Time Product Suite. Stamp Set, dies, designer papers, embellishments and more, and that is what the is too.
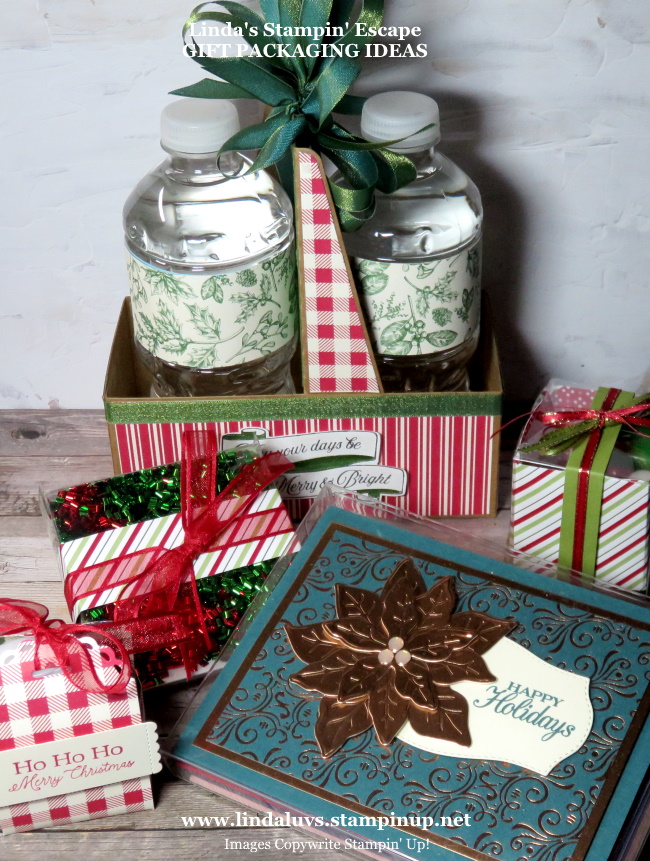
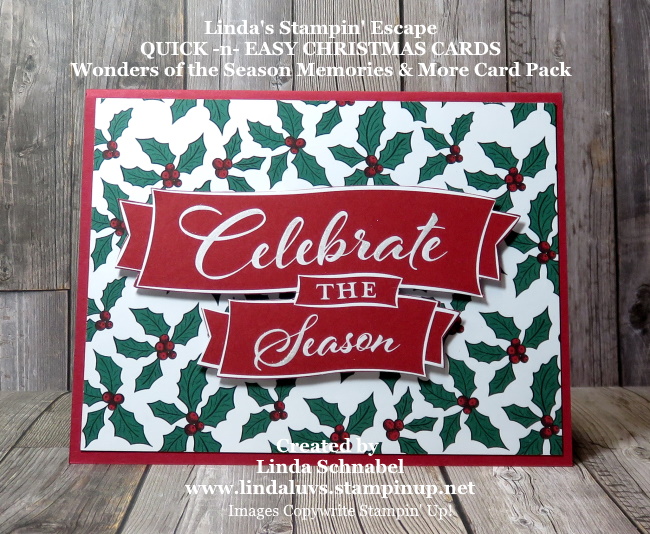
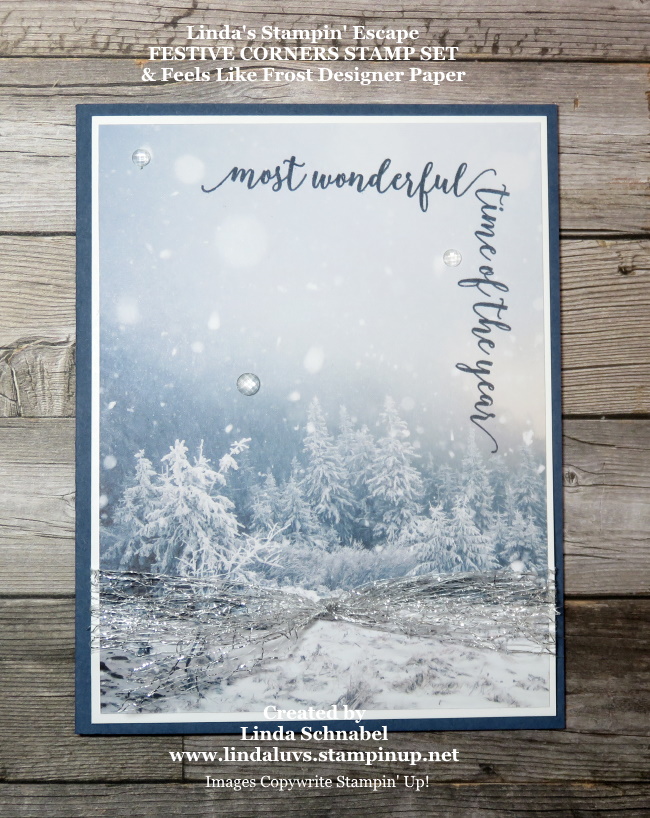
Here are the three cards that we made during our Make & Take session yesterday morning. I love how cute the Christmas tree’s look with the tinsel trim and the designer paper with the “gold” that glimmers so beautifully ….

I love the deer but I just can’t get over how cute that Christmas tree is with the tinsel wrapped around it … Perfect for St.Nick!
Thank you so much for taking a part of your Friday to visit my blog …
Have an amazing day!

TODAY’S STAMPIN’ SUPPLY LIST … If you liked the products used in today’s projects, I have links for you below. Just click on the item you would like more information on, or to begin your shopping. It will take you directly to my website. Thank you ♥