Hello Stampin’ Friends ~
There’s something about sunflowers that warms the heart, even on the chilliest days… and today’s project captures exactly that feeling. I’m shining a little spotlight on the Sunflower 3-D Embossing Folder, and oh my goodness — this folder truly does all the work for you. With just one pass through your machine, you get this gorgeous, dimensional sunflower design that instantly elevates your card. Whether you’re creating a background for your cardmaking or adding texture to a scrapbook layout, it brings that soft touch of nature we love.
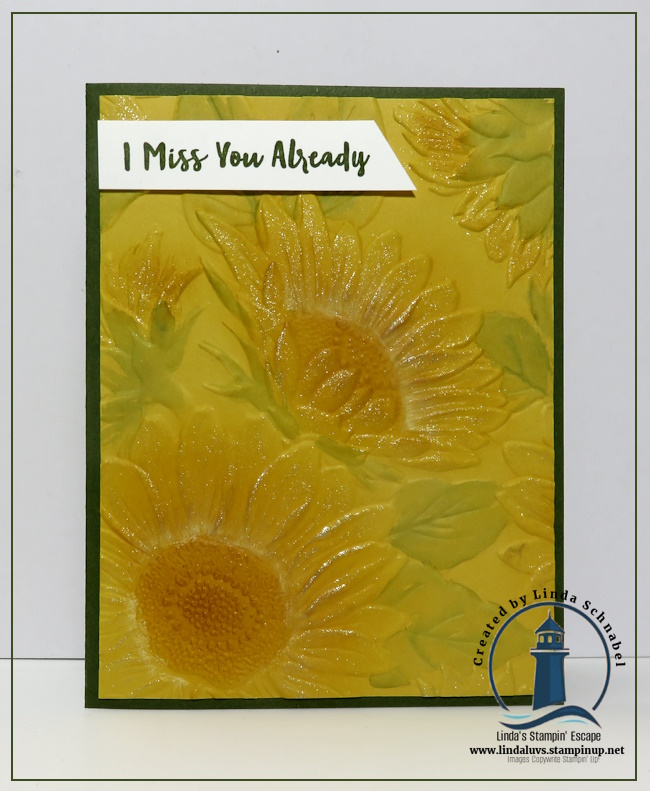
My card today uses the most simple layout — proof that you don’t need complicated steps to create something beautiful. The Garden Green card base (8-1/2″ x 5-1/2″, scored at 4-1/4″) frames the Crushed Curry embossed layer perfectly. And from there… it’s all about the little touches. I added a wash of Garden Green to the leaves using our Water Painters, just enough to give a soft, watercolor feel without overpowering the sunflowers. Then, with a light hand and a sponge dauber, I brushed Crumb Cake ink into the centers and lightly onto the petals, adding warmth and depth. A little Wink of Stella brings that gentle sparkle — like sunlight catching the edges of each petal.

To finish the card, I stamped I Miss You Already from the Right Words Stamp Set. It felt fitting today… the air has turned crisp, the last leaves have drifted from the trees, and autumn seems to have slipped quietly away. I miss it already — and this sunflower brings a little of that golden glow back.
I hope this card inspires you to pull out your embossing folders and play with color, texture, and sparkle. The Sunflower 3-D Embossing Folder is truly a must-have for quick, stunning cards — and you’ll find all the product links below if it’s calling your name.
Thanks for stopping by today, my friends. Stay warm, stay creative, and let your craft space brighten your day. 🌻✨