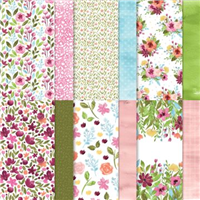
I have a bright and fun card to share with you that highlights the new In-Colors and shows you how to use up some of those scraps … even the thinnest ones.
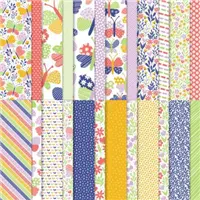
We’re using two 1/8″ strips of Sweet Sorbet, Parakeet Party, Tahitian Tide, Starry Sky, and Orchid Oasis. These are applied at an angle and then the edges are trimmed off. For the greeting, you’ll mask off the unused part of the stamp before inking then remove the mask to stamp and stamp the sentiment.
Then, die cut “Thanks” from Thick Basic White and shadow with Starry Sky. Glue together and attach to card front. Attach card front to the card base using dimensionals. Thick Basic White was used for the card base and front.
To complete the card attach Matte Decorative Dots above and below the greeting to draw your eye around the card. I love the color and dimension that it adds as well.
Thank you for stopping by today! Have a great week.
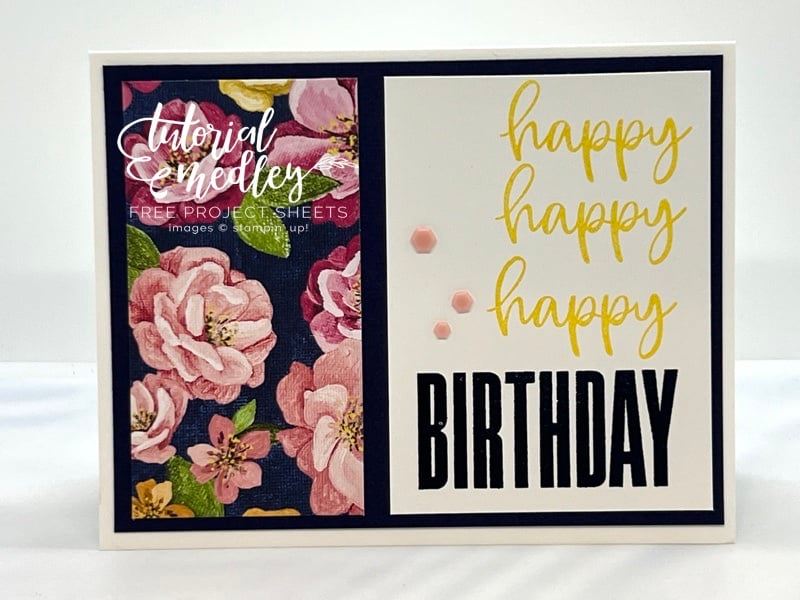
Today I have a cute birthday card for you that highlights the Biggest Wish Stamp Set and is accented beautifully with the Hues of Happiness Designer Series paper. This simple layout makes card making quick and easy … and very pleasing!
The card bases is Basic White as is our hand stamped area. The card front is Night of Navy and the Hues of Happiness and stamped white are both secured to it. The ink used is the Night of Navy for the “Birthday” and Daffodil Delight for the “happy, happy, happy” … these two colors compliment each other and coordinate with our designer paper.
The pink Adhesive Backed Hexagons were used to draw your eye across the card and to balance the color of pink from the Hues of Happiness Designer paper. So cute … so easy! Birthday cards are probably the most hand-made and sent cards and what a wonderful way to celebrate someone you love!
Thank you for joining me today. I hope your day is a good one.
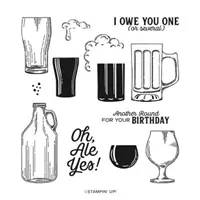
It’s another FREE Tutorial Friday and if your from Wisconsin that also means it’s time for a Friday Fish Fry … and what goes better with your Fish Fry than a nice cold brew!! Today’s card tutorial features the Brewed for You stamp set.
Measurements:
Card Base: Crushed Curry 5 ½” x 8 ½”
Cardstock #2: Basic White 4” x 5 ¼”
Instructions:
Cut a 5 ½’ x 8 ½” Crushed Curry card base. Fold in half.
Cut a 4” x 5 ¼” Basic White panel.
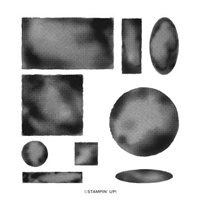
Stamp (3) large and (4) small Watercolor Circles onto the Basic White panel using Crushed Curry ink.
Lightly spritz a little water to soften the edges. Let dry completely.
Using a Water Painter, add Crushed Curry ink to the brush and tap to speckle ink all over the panel as desired. Let dry completely.
Adhere the panel to the card front.
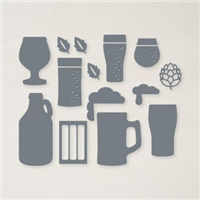
On a scrap piece of Basic White, stamp the glasses and foam using Jet Black Stazon ink.
Color the glasses using Crushed Curry ink and a Water painter. Cut.
Cut a ¾” x 2 ½” strip of Basic White cardstock.
Stamp the sentiment using Jet Black Stazon ink. Cut the right edge to form a banner.
Adhere the sentiment to the top of the card using Stampin’ Dimensionals.
Cut a 2 ¾” Crushed Curry circle.
Cut a 2 1/8” Basic White circle.
Stamp the sentiment onto the circle using Jet Black Stazon ink.
Adhere the sentiment to the Crushed Curry Circle.
Adhere the circle to the card front.
Adhere the glasses to the card front using Stampin’ Dimensionals.
I think this is a perfect card for a Friday FREE Tutorial, Oh, Ale Yes!! Enjoy your Friday and enjoy your weekend.
Thank you for hanging out with me for a cold one today!
Here is a list of supplies used to create this card ….
Did you know it was National Pink Day? Well there is no better way to celebrate than to share a card with your friends! My card today is made with Polished Pink and the Awash in Beauty Designer Series paper. A simple layout but oh so cute!
The card base is Polished Pink and cut at 8-1/2″ x 5-1/2″ and folded in half. The Basic Black mat is 4″ x 5-1/4″ while the designer paper was trimmed 1/8″ to allow just a little black to show.
I used the Gingham Ribbon and dyed it using the Polished Pink Stampin’ Blend … just simply run the painting tip (larger one) along the ribbon! Then I stamped my greeting from the Lovely You stamp set and punched it out using the Dual Oval Punch.
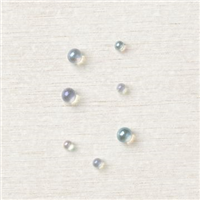
Don’t you love the dimension and texture on this card!! I popped up the greeting with the Stampin’ Dimensionals and the added the in-color gems … in Polished Pink to highlight the greeting.
The Awash in Beauty Designer Paper makes cardmaking an easy task … and fun when you add the special touches of dyed ribbon and a little bling. Happy National Pink Day!!
Thank you so much for sharing a part of your day with me! I truly appreciate your time … if you haven’t yet, make sure you “follow” my blog for daily inspiration.
Have a Happy National Pink Day~
Here is a list of the supplies I used to create my card ….
Hello Stampin’ Friends ~ Hope you had a great weekend! I spent mine cleaning my stamp room by pulling all retiring stamps, dies, folders … you name it. I love being more organized and knowing that I can’t grab a “retired” set. One of my faves that I was happy to see carry over into the new catalog is the Brilliant Wings and Butterfly Brilliance Stamp Set.
How about inking up those beautiful butterflies in Night of Navy and stamping them onto Balmy Blue cardstock (I like using the Stamparatus here) and then die cutting it with the Rectangle Stitched dies before mounting it onto your card base.
Stamp another set of butterflies with Momento ink onto Basic White … then pick out your favorite butterfly and color it with Daffodil Delight, Pumpkin Pie and Cherry Stampin’ Blends… die cut and mount over vellum. That just draws your eye directly to the beautifully colored butterfly – now that’s a focal point!!
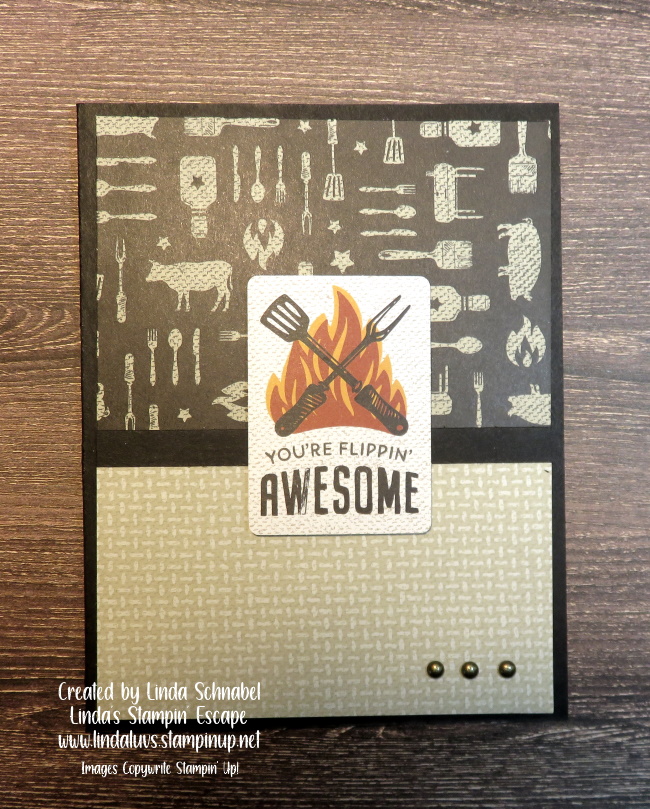
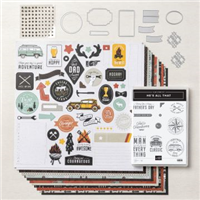
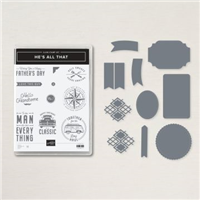
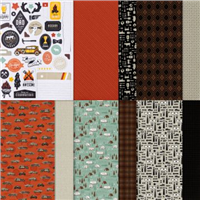
To celebrate Father’s Day I’m sharing samples from the perfect suite for the man in your life. I am thrilled to share the NEW “He’s the Man” product suite with you today. This suite includes the He’s All That bundle, the He’s The Man Specialty Designer Paper and the Rustic Metallic Adhesive-Backed Dots!
You can use these products together to make creative projects, cards, scrapbook pages and more. You can also make labels and tags in a variety of shapes and sizes.
Let’s learn a little more about this suite. Join me and let’s check out the video now …
Vintage style gets a fresh look with the wonderful images in the He’s the Man Suite. The eclectic range of imagery has something for everyone in your life! Whether you know a car enthusiast, a dapper dude, or a great backyard cook, you can create throwback cards with the images designed in a modern-vintage style.
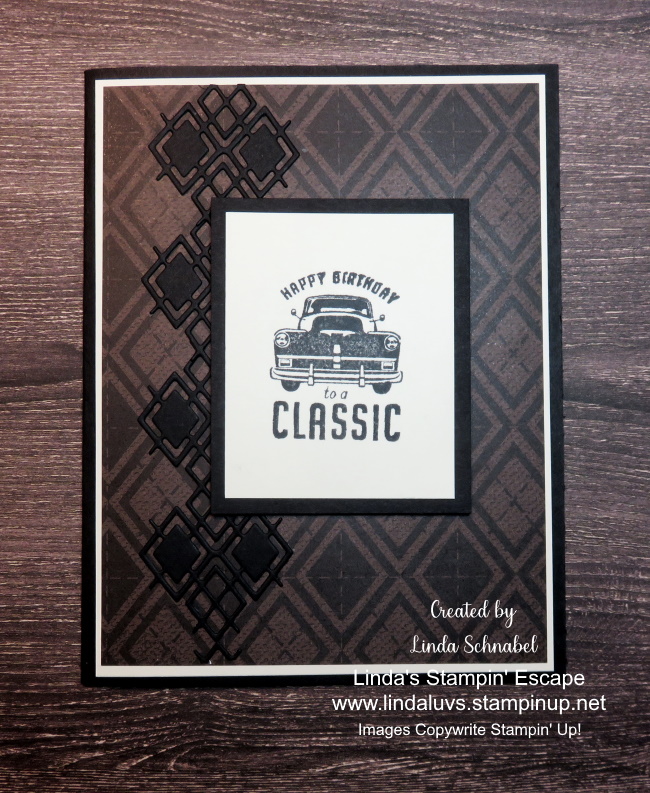
Making cards is easy when the designer paper is has coordinating die cuts included … I already have another pack on order!! Here is the card we made with the He’s the Man Specialty Designer paper with Die Cuts ….
I have a STAMPIN’ TIP to share with you … The more I moved around the die cut sheets, some of the images began to come off, so I took the clear cellophane jacket that the dies are enclosed in and tucked all my die cuts and embellishments in there so I don’t loose any.
The card was just tooooo simple to create … Here is another card using the die cuts and the Layering Designs Vellum from the Artfully Composed Suite. This vellum has carried over into the NEW Annual Catalog.
On this card I wanted to highlight the coordinating dies, especially the argyle style dies … they actually align nicely on the designer paper …
Thank you for stopping by today. Have a great day!! I have the supply list of items listed below for your convenience.
TODAY’S STAMPIN’ SUPPLY LIST … If you liked the products used in today’s projects, I have links for you below. Just click on the item you would like more information on, or to begin your shopping. It will take you directly to my website. Thank you ❤
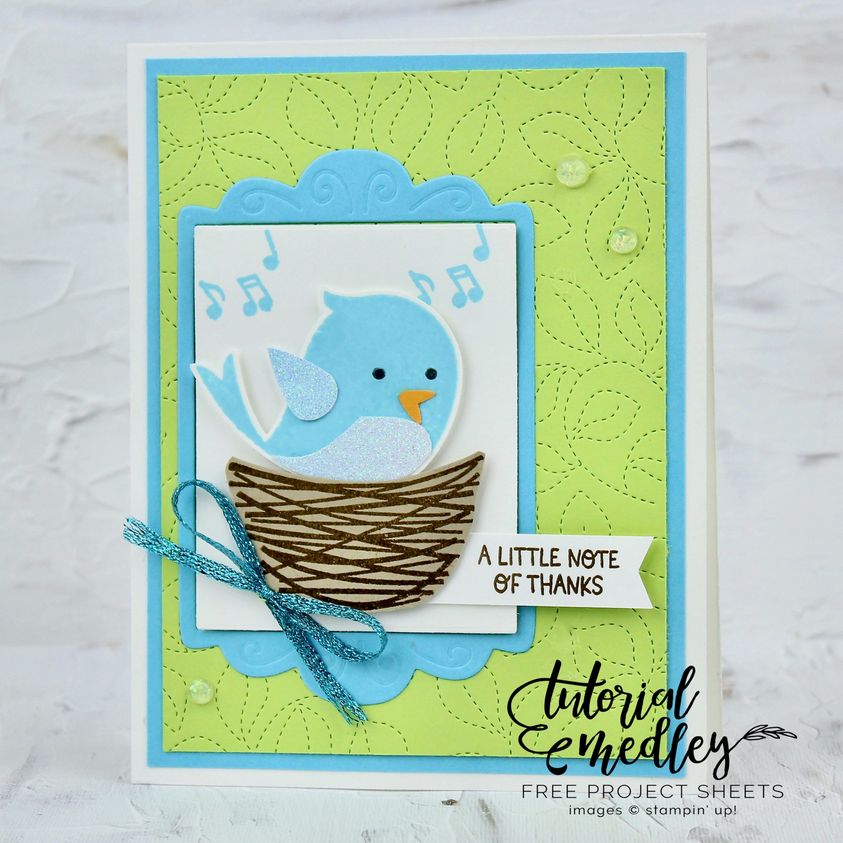
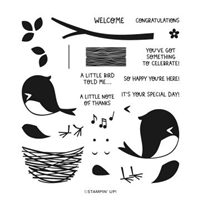
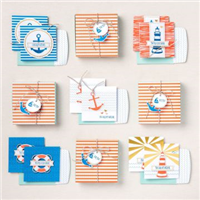
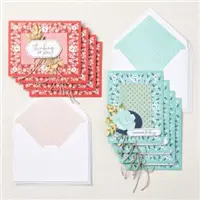
Today I’m going to share the cutest card with you… on my FREE TUTORIAL FRIDAY! This card features the Sweet Songbirds stamp set. This cute little bird is delivering a note of thanks.
Measurements:
Card Base: Thick Basic White 4-1/4” x 11, scored at 5-1/2”
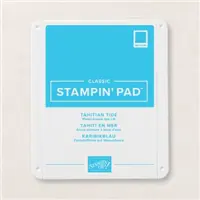
Cardstock #1: Tahitian Tide 4” x 5-1/4”
Cardstock #2: Parakeet Party 3-3/4” x 5″
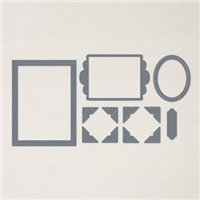
Cardstock #3: Tahitian Tide 3-3/4” x 4-1/4” (for die cut frame)
Cardstock #4: 2-3/8” x 3”
Cardstock #5: Basic White 1-3/4” x 1/2”
Scraps of Basic White, Crumb Cake, Mango Melody Cardstock and Supple Shimmer Specialty Paper for stamped / punched images
Instructions:
Fold the Thick Basic White card base in half and burnish the fold.
Die cut the Parakeet Party Cardstock with the Stitched Greenery Die, then adhere to the Tahitian Tide Cardstock.
Adhere the Tahitian Tide Cardstock layer to the Thick Basic White card base.
Die cut the frame from the Tahitian Tide Cardstock and adhere to the card.
Stamp the musical notes on the piece of Basic White Cardstock in Tahitian Tide ink, then adhere to the inside of the frame with Stampin’ Dimensionals.
Stamp the nest in Soft Suede ink on a scrap of Crumb Cake Cardstock, fussy-cut around image and adhere to the card with Stampin’ Dimensionals.
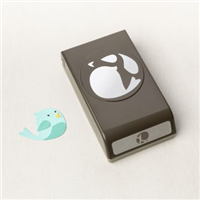
On a scrap of Basic White Cardstock, stamp the bird in Tahitian Tide ink, stamp the bird’s eyes in Soft Suede ink, then punch the bird out and adhere to the card with Stampin’ Dimensionals
Punch the bird’s wing and chest from a scrap of Supple Shimmer Specialty Paper and adhere to the bird’s body.
Punch the bird’s beak from a small scrap of Mango Melody Cardstock and adhere to the bird.
Stamp the sentiment in Soft Suede ink on the strip of Basic White Cardstock, punch the right side with the Banner Pick a Punch and adhere to the card with Stampin’ Dimensionals.
Tie a bow using the Tahitian Tide Metallic Woven Ribbon and adhere to the card using a Mini Glue Dot.
Add three Rhinestone Basic Jewels (one large, two small) to the card front as shown.
Don’t you just LOVE this color combination? It’s a sure sign of spring. Such a cute card.
Thank you for joining me today. I hope today’s FREE TUTORIAL FRIDAY has inspired you too add a little sparkle to your projects ~
Have a wonderful day!!
TODAY’S STAMPIN’ SUPPLY LIST … If you liked the products used in todays projects, I have links for you below. Just click on the item you would like more information on, or to begin your shopping. It will take you directly to my website. Thank you ❤
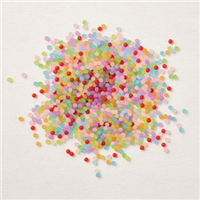
Just the other night my Stampin’ Club and I were talking about a great way to make Easy Shaker Cards!! Today I’d like to bring back one of my favorite videos showing you how easy it is to create using this cool technique!
Grab a cup of coffee or tea and join me for a few minutes and check this out …
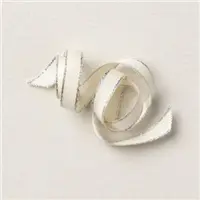
Cool right … and you even got to see how I dye my white ribbons!! Just think of all the beautiful designer papers there are in the catalog, and which many of you have at home! Try out this technique … you will fall in love with it and your card recipient are going to be all shook up with excitement!!
Thank you for taking a small step back in time with me … I hope I inspired you to create your own shaker card (if so, I’d love to see it).
Have a great day ~
Here are a few of my suggestions for Designer Paper, “shakeables” and ribbon I think would work great with this technique!Click on any of the items listed below to shop with me. Thank you!!
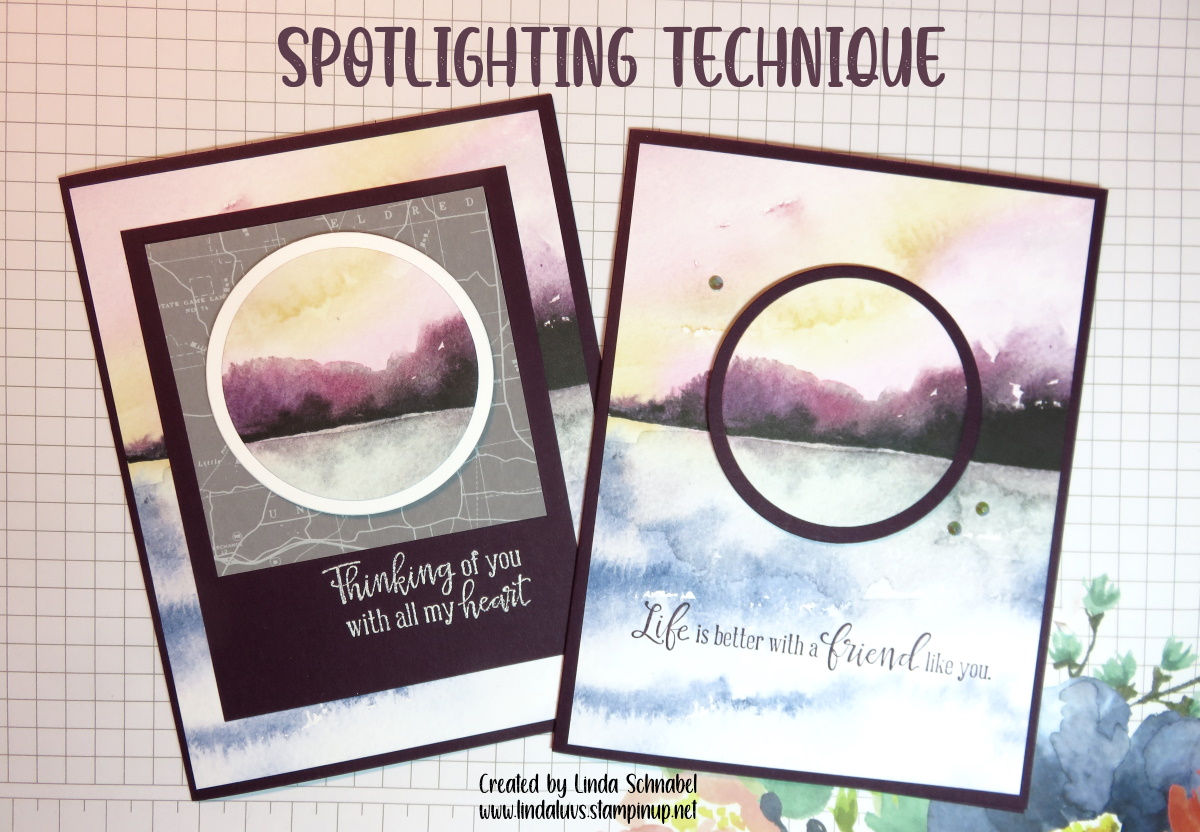
Today I’m going to share a twist to the SPOTLIGHT Technique with the New Horizons Designer paper. You can catch a replay of last nights Facebook LIVE where I showed “how” I cut and then let my guests choose which one they wanted to see put together. The great thing is … today you will see both cards finished off and ready to send!
Let’s begin with the video …
Now that you’ve seen the video, let’s take a closer look at those cards. I’ll start with the initial and simple SPOTLIGHT card. Here we just cut out a piece of our designer paper, and then the coordinating Blackberry Bliss cardstock as a mat.
The greeting comes from the Peaceful Moments stamp set … I think this is a must in your collection, so many amazing greeting for so many occasions. I put the link for you below.
Now we are going to “step it up” a bit or adding a twist to the SPOTLIGHT Technique by adding another layer (or two) ….
On the video I showed “how” I put this together but what I didn’t say is that the reason I used the Basic White as a mat, was to highlight the white that I used when heat embossing the greeting. Besides … it really does make the “SPOTLIGHT” pop!!
Did you notice the addition to the vellum? It’s the Layering Designs Vellum and can be found in the Annual Catalog. I think it really adds to the card … especially if you are sending this card “across the miles”!!
I love highlighting techniques that were used many years ago and we tend to forget … obviously they were popular for a reason. I love the SPOTLIGHT Technique and with the New Horizons paper.
Thank you for stopping by today, I hope it’s a good one.
Here is a list of the ingredients used for today’s cards … excluding the New Horizons paper as it has already retired.
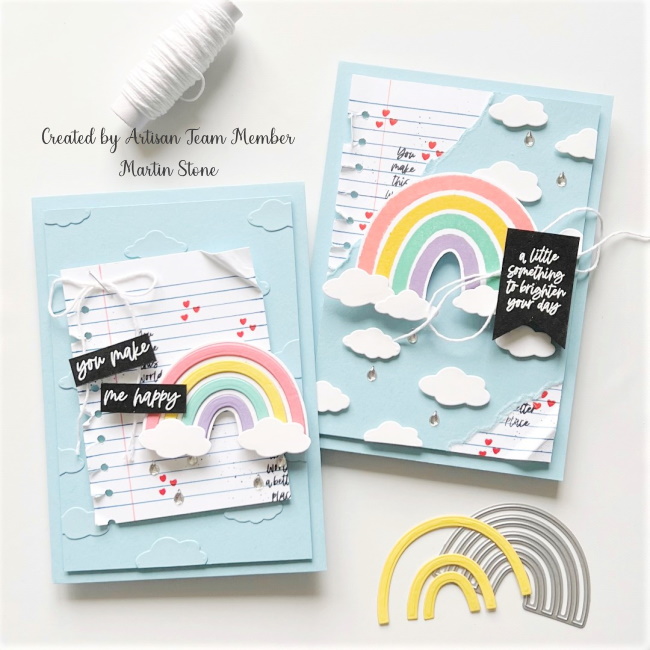
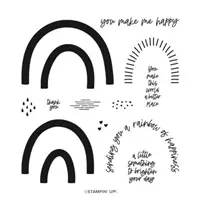
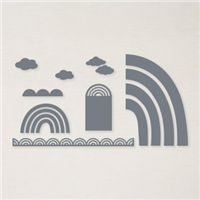
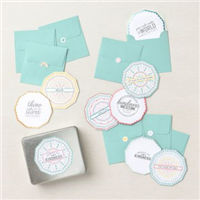
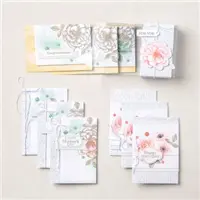
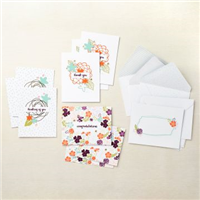
I love rainbows … do you? They are the comfort after the storm to tell us everything is alright. I have some very special cards to share with you today. These projects were made with the Rainbow of Happiness Bundle by our global Artisan Design Team members Berdien Weideveld, Martin Stone, and Tami Hewlett.
I have noted the designer on their creations to make sure they get the credit they deserve … You are in for a treat, and will be inspired by the different styles.
The bow-shaped greetings in the stamp set can be stamped on die-cut pieces for a unique look. The A Little Something To Brighten Your Day greeting is sized perfectly to fit on the tag piece in the die set. Add clouds and scallops to your handmade cards for extra texture and dimension.
The color pallet on these cards is amazing, so bright and fun!! I have one more set of these beautiful cards for you today. Baby cards …. Don’t you just love it when you find inspiration that is out of the box!
I’m sad that this bundle “DID NOT” make it into the NEW Annual Catalog so it will be gone forever after the 30th of this month.
Thank you for the visit today, hope you enjoyed these pretty cards as much as I did!!
TODAY’S STAMPIN’ SUPPLY LIST … If you liked the products used in today’s projects, I have links for you below. Just click on the item you would like more information on, or to begin your shopping. It will take you directly to my website. Thank you ❤
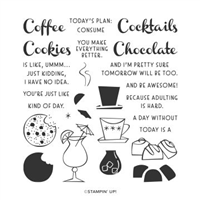
Today I’m going to share the cutest card with you… on my FREE TUTORIAL FRIDAY which features the Nothings Better Than stamp set. Grab your cup of coffee because I have mine right here … if that doesn’t wake you up, this color pallet will do the trick.
Measurements:
Card Base: Polished Pink 4-1/4” x 11, scored at 5-1/2”
Cardstock #1: Basic Black 4” x 5-1/4”
Cardstock #2: Basic White 3-7/8” x 5-1/8”
DSP #1: Parakeet Party (plaid pattern) 3-3/4” x 2”
DSP #2: Parakeet Party (striped pattern) 3-3/4” x 2-7/8”
Scrap of Basic White Cardstock for stamping and die cut images
Instructions:
Fold the Polished Pink card base in half and burnish the fold.
Adhere the Parakeet Party DSP pieces to the Basic White Cardstock layer.
Adhere the Basic White Carstock layer to the Basic Black Cardstock, then adhere to the Polished Pink card base.
Using the Stylish Shapes Dies, cut out the largest square from Basic White Cardstock.
Stamp the sentiments on the die cut square in Momento ink as shown.
Stamp two coffee cup outline images on the die cut square in Momento ink. Stamp one filler image in Parakeet Party ink and one in Coastal Cabana ink.
Stamp the steam images in Momento ink and then stamp three of the tiny star images in Parakeet Party ink.
On a scrap of Basic White Cardstock, stamp the coffee cup outline image in Momento ink, then stamp the filler image in Polished Pink ink. Die cut with the coordinating die from the Love You More Than Dies and adhere to the square with Stampin’ Dimensionals.
Stamp the sentiment in Momento ink on the Parakeet Party striped DSP, use the die cut square as a guide for placement.
Adhere the die cut square to the card with Stampin’ Dimensionals.
Tie a bow using the black baker’s twine and adhere to the card using a Mini Glue Dot.
Add three Rhinestone Basic Jewels (one large, one medium, one small) to the card front as shown.
Don’t you just LOVE this color combination? The Polished Pink combined with the Parakeet Party will set the mood and the Basic Black really makes it pop!! Such a fun card.
Thank you for joining me today. I hope today’s FREE TUTORIAL FRIDAY has inspired you too add a splash of color to your projects ~
Have a wonderful day!!
TODAY’S STAMPIN’ SUPPLY LIST … If you liked the products used in todays projects, I have links for you below. Just click on the item you would like more information on, or to begin your shopping. It will take you directly to my website. Thank you ❤
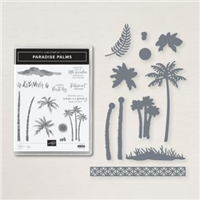
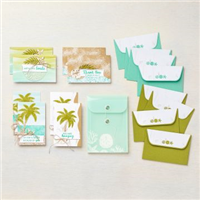
Today I’m going to share another Paradise Palms Card with you… with a TROPICAL VIBE! This card and transport yourself (or your friend) someplace warm and relaxing! It’s created with a simple technique that adds some fun texture to the card ….
You have a card base of Basic White cut to 8-1/2″ x 5-1/2″ then scored and folded at 4-1/4″. Then your front is 4″ x 5-1/4″ … here is where your texture comes in: Bring out your Simply Score or use your Paper Cutter to add score lines every 1/2″. I love this technique as it’s so simple but gives you that beach shiplap look!!
To create that colorful sun behind your tree, simply cut 1/2″ strips of Mango Melody, Bermuda Bay, Coastal Cabana and Daffodil Delight … all four of these colors come from our Brights Collection, so if you’re new to stamping, you can just purchase the collection of cardstock on page 126 of our annual catalog instead of buying each color of cardstock. It’s a nice way to gradually get into the colors without breaking the bank.
Once all your strips are cut, I like to attach mine to the adhesive sheets (you can cut it down to the size you need, which I made slightly larger than the circle die. It’s two sided so you simply layer the strips onto one side. Then you’ll die cut using the largest circle die from our Layering Circle dies … then simply peel off the backing and attach it to the scored card front.
The greeting is embossed in white and die cut using the Stitched Rectangle dies. Both the Layering Circles and the Stitched Rectangle sets of dies are must haves in your stamp room, so very versatile!
Hope you enjoyed another look at the Paradise Palms Bundle and today’s TROPICAL Card. Thank you for stopping by ~
Have a wonderful day!!
TODAY’S STAMPIN’ SUPPLY LIST … If you liked the products used in todays projects, I have links for you below. Just click on the item you would like more information on, or to begin your shopping. It will take you directly to my website. Thank you ❤
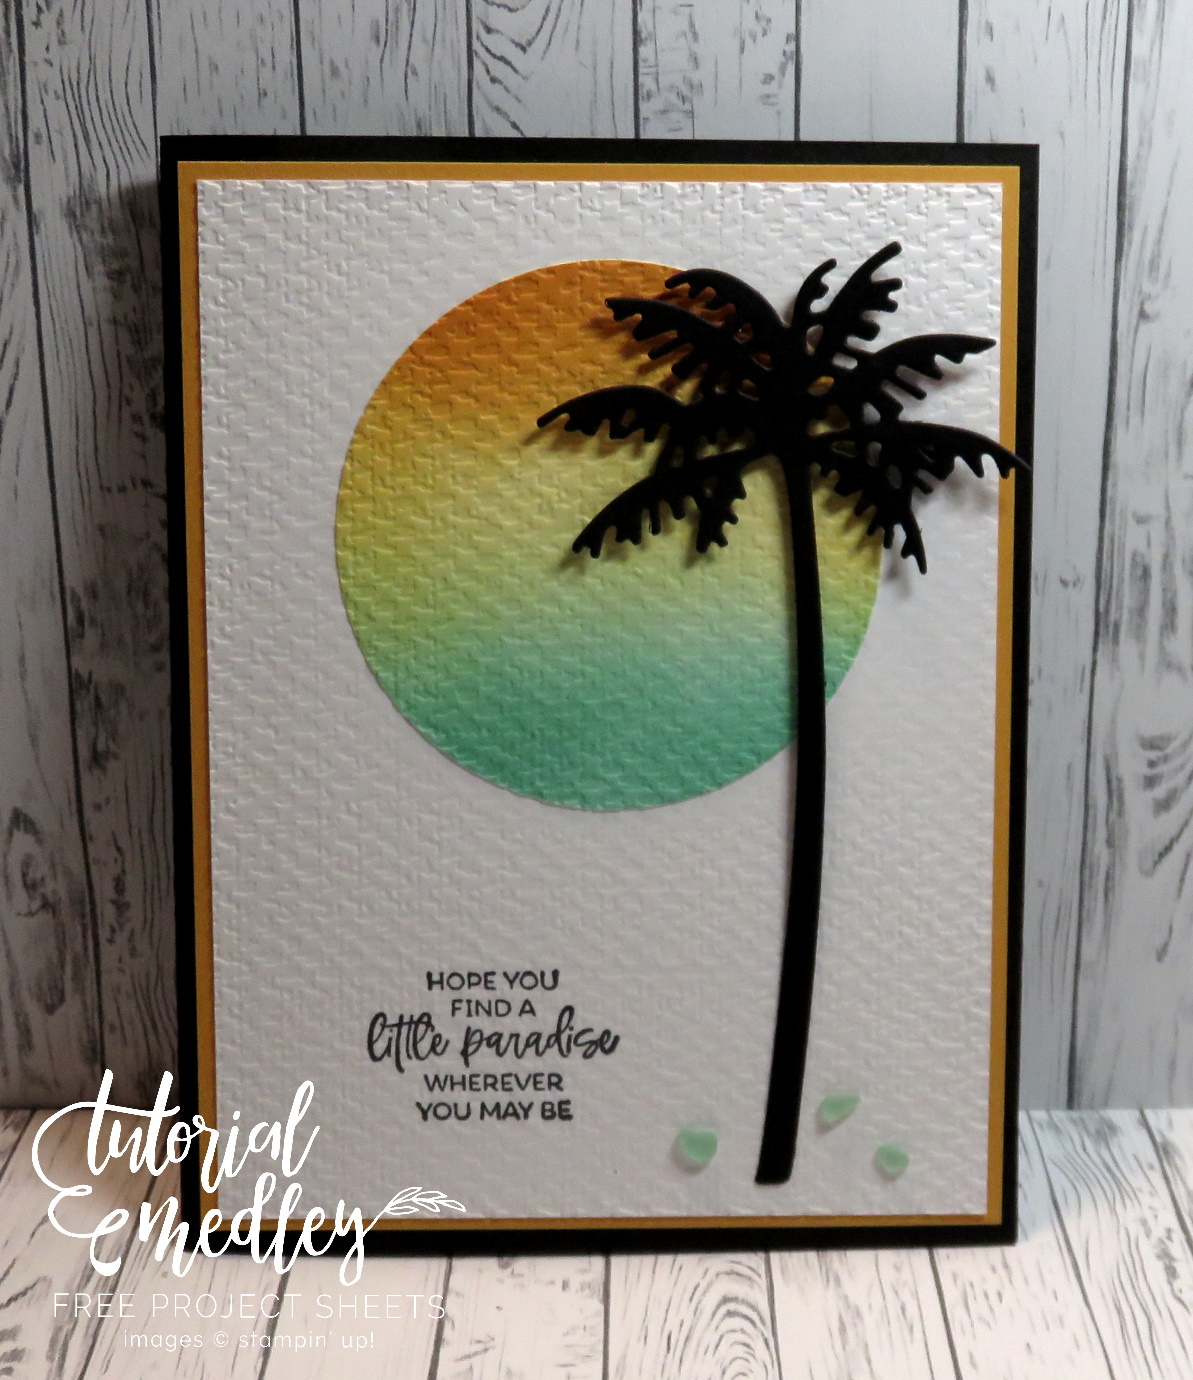
Today I’m going to share my Paradise Palms Card with you… Finding a Little Paradise which I think we could all use right now. I’ll also be sharing the dimensions and step by step directions so you can create this card and transport yourself (or your friend) someplace warm and relaxing!
Measurements:
Card Base: Basic Black: 8-1/2” x 5-1/2”, Score at 4-1/4” and fold in half. Also need a piece of scrap to die cut palm tree.
Cardstock / Mango Medley: 5-1/4” x 4”
Cardstock / Basic White: 5” x 3-3/4” (front) 5-1/4” x 4” (inside) plus 4” x 4” to color with blending brushes.
Instructions:
Attach the Mango Melody cardstock onto your Basic Black Cardbase.
Using 4” x 4” piece of white and a Blending Brush, apply Daffodil Delight to the center of your card and brush out all the way to each edge.
Repeat the application of color using Mango Medley to the top portion of the card (edge to edge) and blend down into the Daffodil Delight.
Repeat the application of color using Coastal Cabana to the bottom portion of the card (edge to edge) and blend up into the Daffodil Delight.
When your cardstock is fully covered with ink, die cut using the () circle die.
Die cut large palm tree out of the scrap piece of Basic Black.
Attach the circle in the upper / center section of the Whisper White.
Stamp greeting with Momento Ink onto Basic White on the left hand side.
Take this assembly and using the Tasteful Textile Embossing Folder, run it through the Stampin’ Cut & Emboss Machine.
Secure die cut Palm onto front of card with a Mini Dimensional on top and adhesive on the bottom.
Attach card front assembly to the base of your card and the 5-1/4” x 4” Basic White to the inside of your card.
Don’t you just LOVE a fully textured card? Oh my gosh … it totally transforms this card. And of course I could not walk away without adding the Faux Sea Glass to my card, it even pulls color from the circle background.
Thank you for stopping by ~
Have a wonderful day!!
TODAY’S STAMPIN’ SUPPLY LIST … If you liked the products used in todays projects, I have links for you below. Just click on the item you would like more information on, or to begin your shopping. It will take you directly to my website. Thank you ❤
Have you ever just lost your mojo and find it hard to come up with a card idea? Are you new to stamping and aren’t sure where to start? Well let me help you with these problems … because I can bring you a full stamping kit that you can whip out a beautiful card without a second thought … or the mess!
And for my new stampers … these amazing kits come with everything you need and full instructions to guide you to perfection! I’m talking about the Stampin’ Up! Kit Collection and they are having a BOGO sale!! Buy one, get one at 50% off.
These kits are fun and with so many different styles to pick from, you’ll want more than one. And with this BOGO sale … make sure you pick up one for your friends. AND … they make the perfect birthday or graduation gift for your crafting loved ones.
Here is a list of our fabulous kits. Click on anyone of them for more information or to begin your shopping. Stampin’ Up! will automatically give you the discount on the “higher priced” kit when you shop directly online.
Today I have a cute card that is easy to recreate so we’ll celebrate the Hooray Birthday Card! Let’s begin with the main attraction, the Alphabest Bundle found on page 115 of your annual catalog.
Our base is Pool Party … and a Basic White cardstock front embossed with the Hives 3-D embossing folder. Use up your scraps for the greeting … We’re heat embossing the alphabet onto the scrap cardstock and then punch!!
To create the illusion of stringing up your greeting … simply glue your Bakers twine to the front of the card and attach your greeting (after punched) with either Glue Dots or Stampin’ Dimensionals.
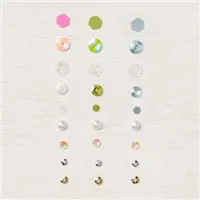
Our pretty “Sparkle & Shine” Sequins Assortment finish off the card perfectly. How cute is that Hooray Birthday Card!? This little cutie could be sent to anyone on your birthday list.
Thank you for joining me today. Hope your day is a good one.
I have the list of ingredients for the Hooray Birthday Card for you …