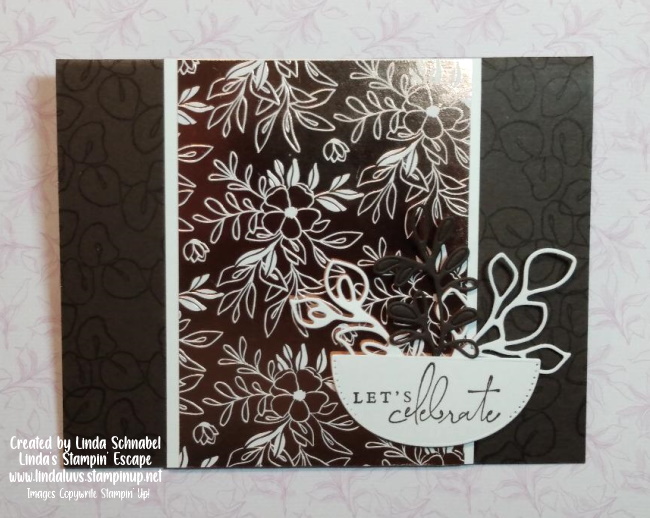
Hello Stampin’ Friends ~
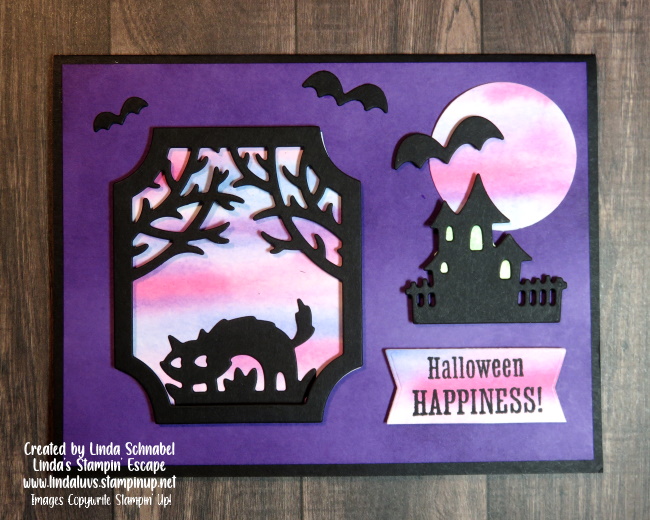
Today we are taking a bewitching turn, a peek into some Halloween fun. The Glitter Washi Tape was sitting in my newly opened box from my Mini Catalog order and it was “just calling my name”!! Grab your June – December Mini and open it to page 56 and check out this cute bundle … Scary Cute to be exact! These cute little trick or treaters are going to make such fun cards, gifts and scrapbook pages!
We’re starting with a card today as I create a little flying fairy ….
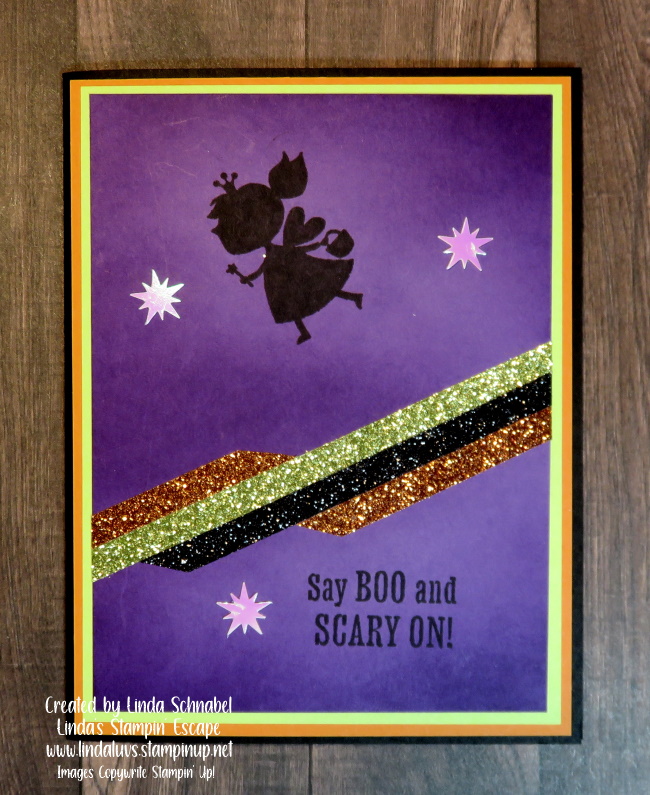
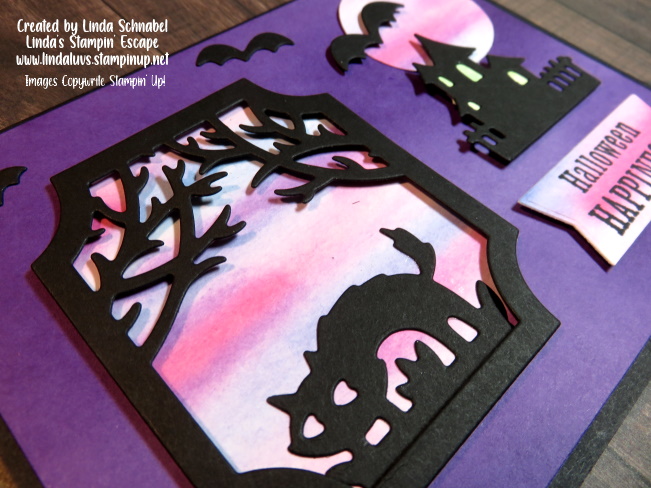
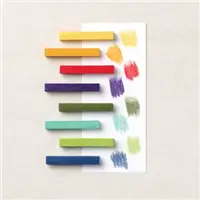
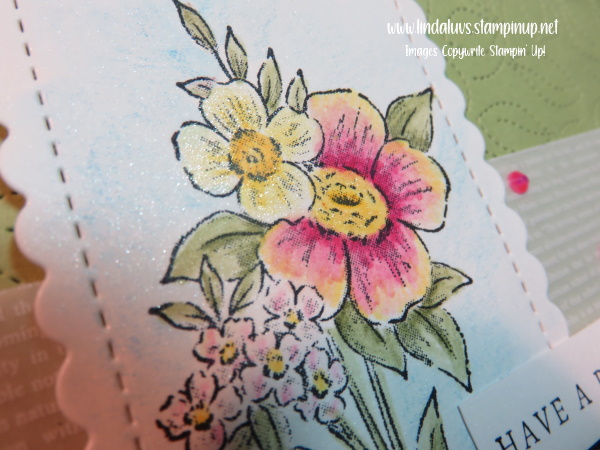
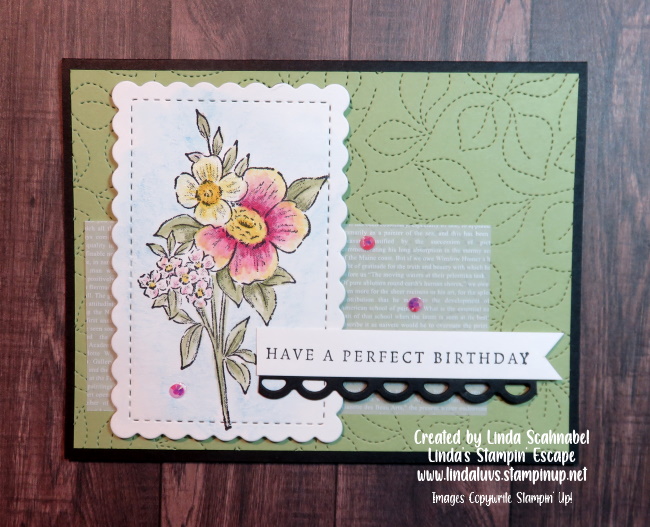
I began with my “Washi Tape” and used it as my color inspiration: Black, Highland Heather, Old Olive and Pumpkin Pie. I opted for Gorgeous Grape cardstock and used my Blending Brush to add some color on color which creates that soft “spooky” kind of look. This technique of brushing on color is easy and adds no cost to your project!
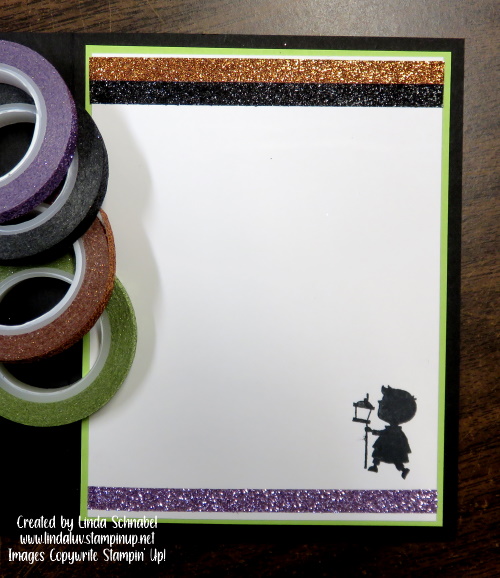
Now it was time to add my Glitter Washi Tape!! I decided to use the Pumpkin, Olive and Black and a slight diagonal and trimmed the edges to soften the look. I gave myself plenty of room to stamp my image and greeting.
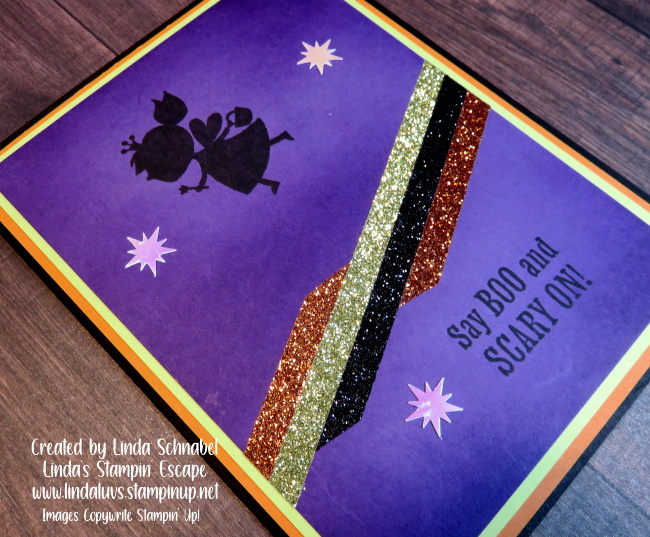
This is the second card I created with the bundle, my first card highlighted the dies. (See it here) So today, I knew I was going to stamp the little girl with the wings so I could turn her into a little fairy and let her fly! Of course she was going to by high on the card, so the greeting went in the lower right-hand corner.
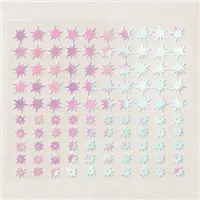
It looked OK … but I knew I had the Adhesive Backed Stars that came from the “Santa Express Suite” and I thought they would look perfect with my little fairy … and well, what do you think?? Cute right? The cute iridescent stars worked perfectly with my brushed background, it truly looks like a spooky Halloween starry night!
I wanted to bring the colors of my Washi Tape into the rest of my card so I layered it onto Parakeet Party (instead of Olive) the Pumpkin Pie and then I mounted it onto the Black card base. I layered and glittered my inside too!!
If you are a Halloween fan like I am, I think this is the perfect fit for your stamp collection … it is different that what we’ve had before and the dies are so much fun too. You’ll see much more of this bundle from me, but don’t wait to get yours … you’ll want to start playing right away!
Thank you for checking out my blog post today, it’s appreciated.
Have a great Sunday!

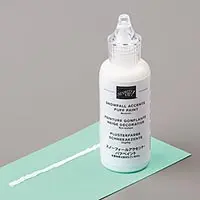
Here are the links to the products I used on my card today. Adding the “Washi Tape” to your bundle will get you a FREE Sale-a-bration item! If you’re not sure what that is … message me.