Hello Stampin’ Friends ~
There’s something so special about creating a card that speaks from the heart… and today’s projects do exactly that. If you’ve ever struggled with what to say—or how to design a card that feels meaningful without being complicated—you are going to love these.
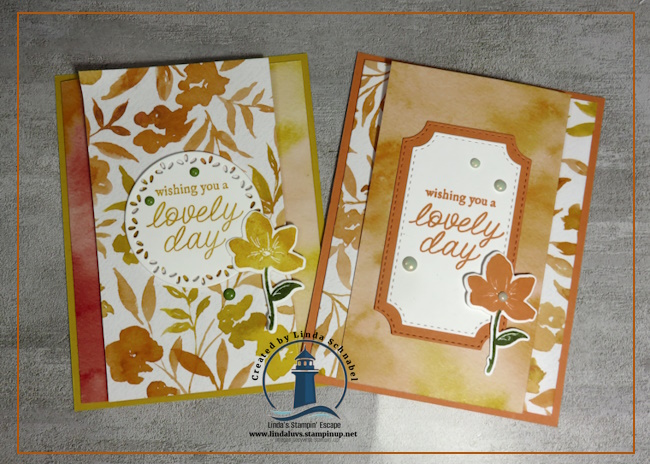
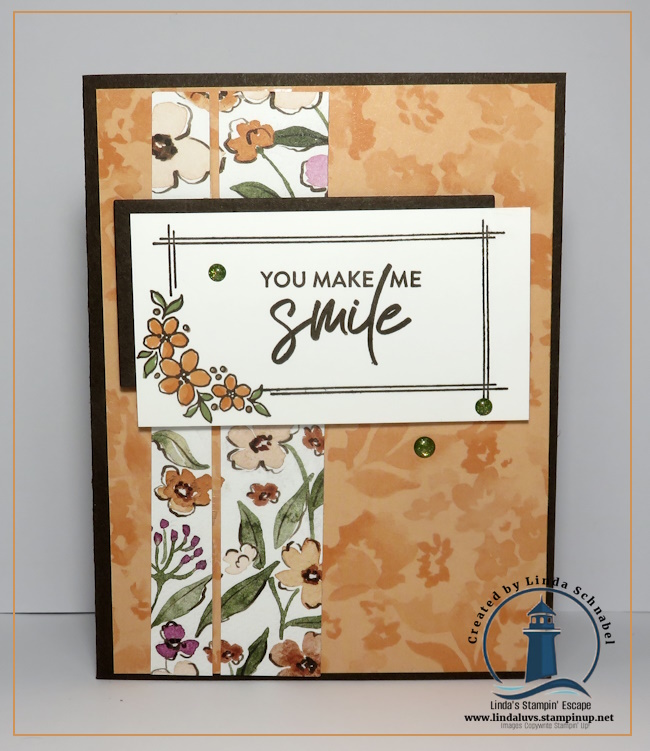
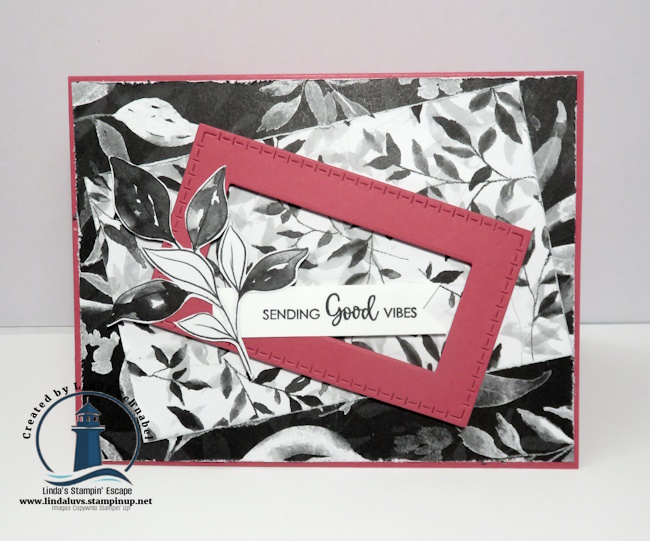
Today I’m sharing two easy yet absolutely beautiful cards created with the Gallery Blooms Bundle and the stunning Beautiful Gallery Designer Series Paper… now on the “Last Chance List”. These designs are proof that you don’t need complicated techniques to create something truly elegant—sometimes the paper does all the work for you.
Inspired by the feel of stepping into a timeless art gallery, the Beautiful Gallery 6″ x 6″ Designer Series Paper features moody florals, soft brushstrokes, and rich, artistic textures. Each piece feels like a miniature painting, making it perfect for creating cards that are both simple and striking.
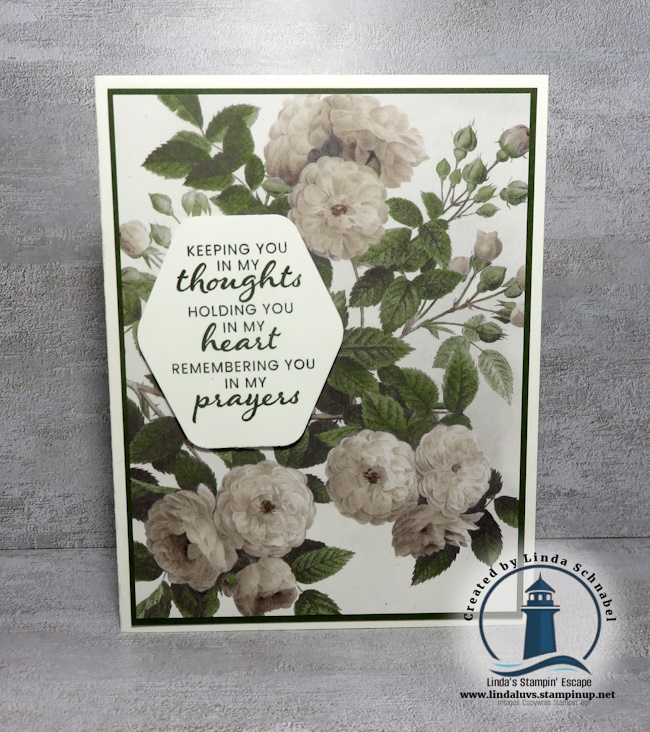
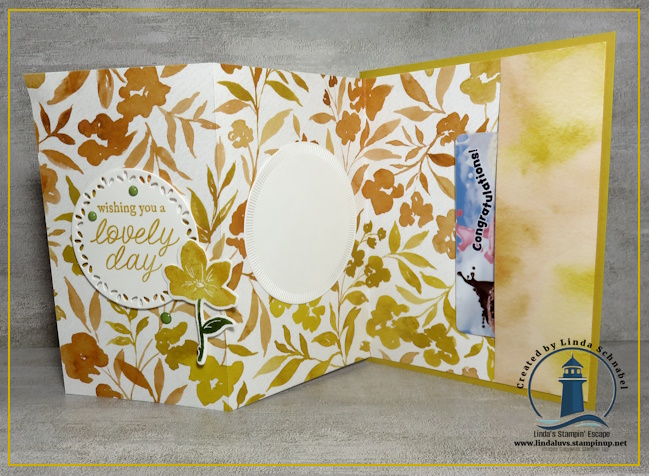
In the first card, showcases a natural, botanical feel with soft greens and vintage-inspired florals. By letting the designer paper take center stage and pairing it with a simple sentiment, this card comes together quickly—but still feels thoughtful and refined.
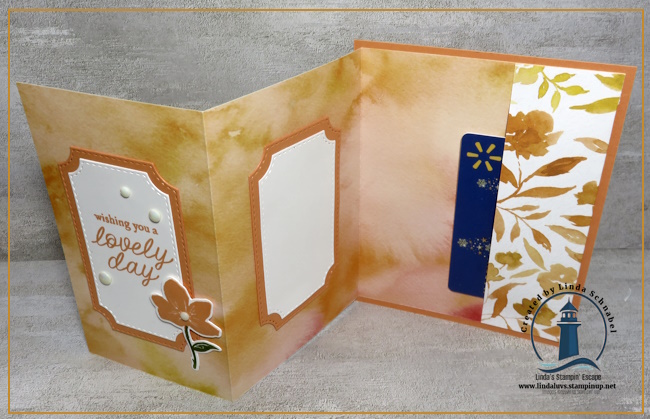
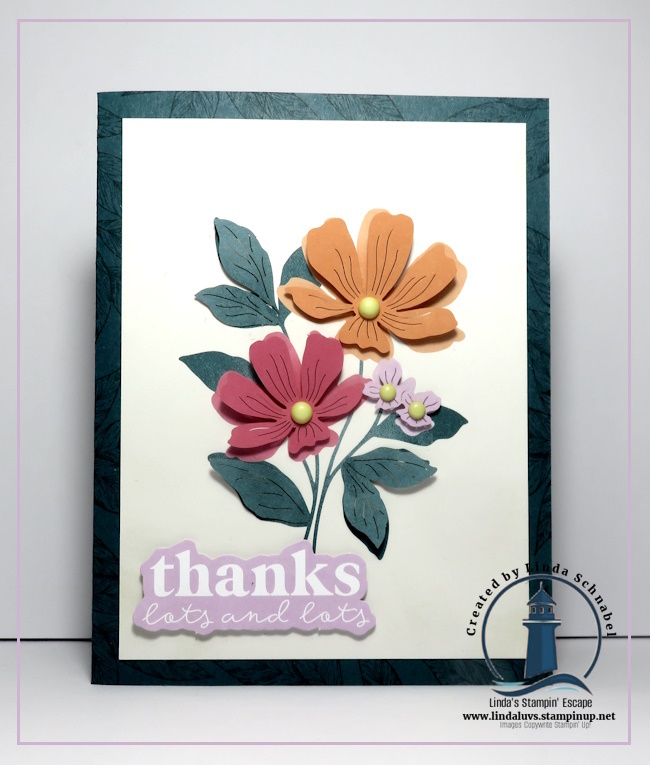
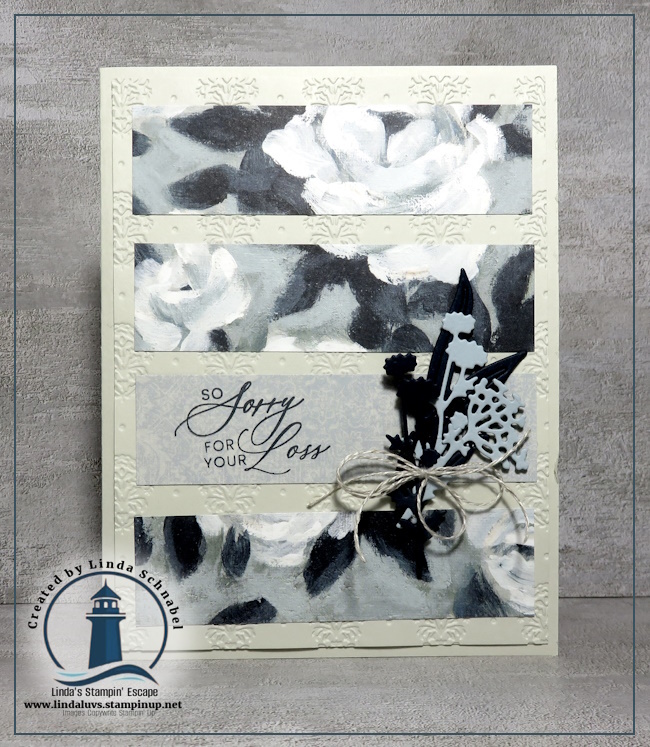
For the second card, I leaned into those soft grayish blue scale florals to create a heartfelt sympathy design. The layered strips add subtle dimension, while the delicate die cuts and twine bring in just the right touch of detail without overwhelming the beauty of the paper. It’s quiet, elegant, and truly meaningful.
The best part? These cards are beginner-friendly and come together with ease. In today’s video, I’ll walk you through each step, including all the measurements and tips to help you recreate these designs with confidence.
Click HERE to Watch on YouTube
If you’ve been looking for a way to create beautiful cards without overthinking the design, this is your moment. Let the paper inspire you… and let your creativity flow.
Be sure to watch the video below for step-by-step instructions, and don’t forget—you’ll find all the product links listed below so you can start creating right away.
Thanks so much for stopping by… and as always, I’m here to help you shine the light on your creativity. 💙 Stampin’ Hugs, Linda
Today’s Ingredient List