Hello Stampin’ Friends ~
Here today to share another card from the “Beautiful You” stamp set with a focus on creating backgrounds. This is card 2 of my trio. The background on this card was created by “Masking” and sponging. Again, going back to basics. Simple yet dramatic.
First we stamped the lady in the lower left hand corner of our card, then we placed the “circle mask” in the upper right hand corner. Using the Soft Sky ink pad, we inked up our sponge and dragged it across the cardstock and mask to create the background. Leaving some white space gives you the illusion of clouds. Remove mask. Stamp greeting.

Then we used Sahara Sand for the lower part of the card. This was mounted onto Basic Black and then “popped up” with dimensionals onto the Sahara Sand card base.
I tried coloring the image but did not like it, so I just used my Wink of Stella brush to color her dress and umbrella! Subtle but very effective. I think if I would have tried using the new “Watercolor Pencils” … it would have turned out, I used the markers and they were too bold for the rest of the card.
Thank You for stopping by today, hope to see you back again tomorrow for my Simply Sunday series.
Have a beautiful day ~


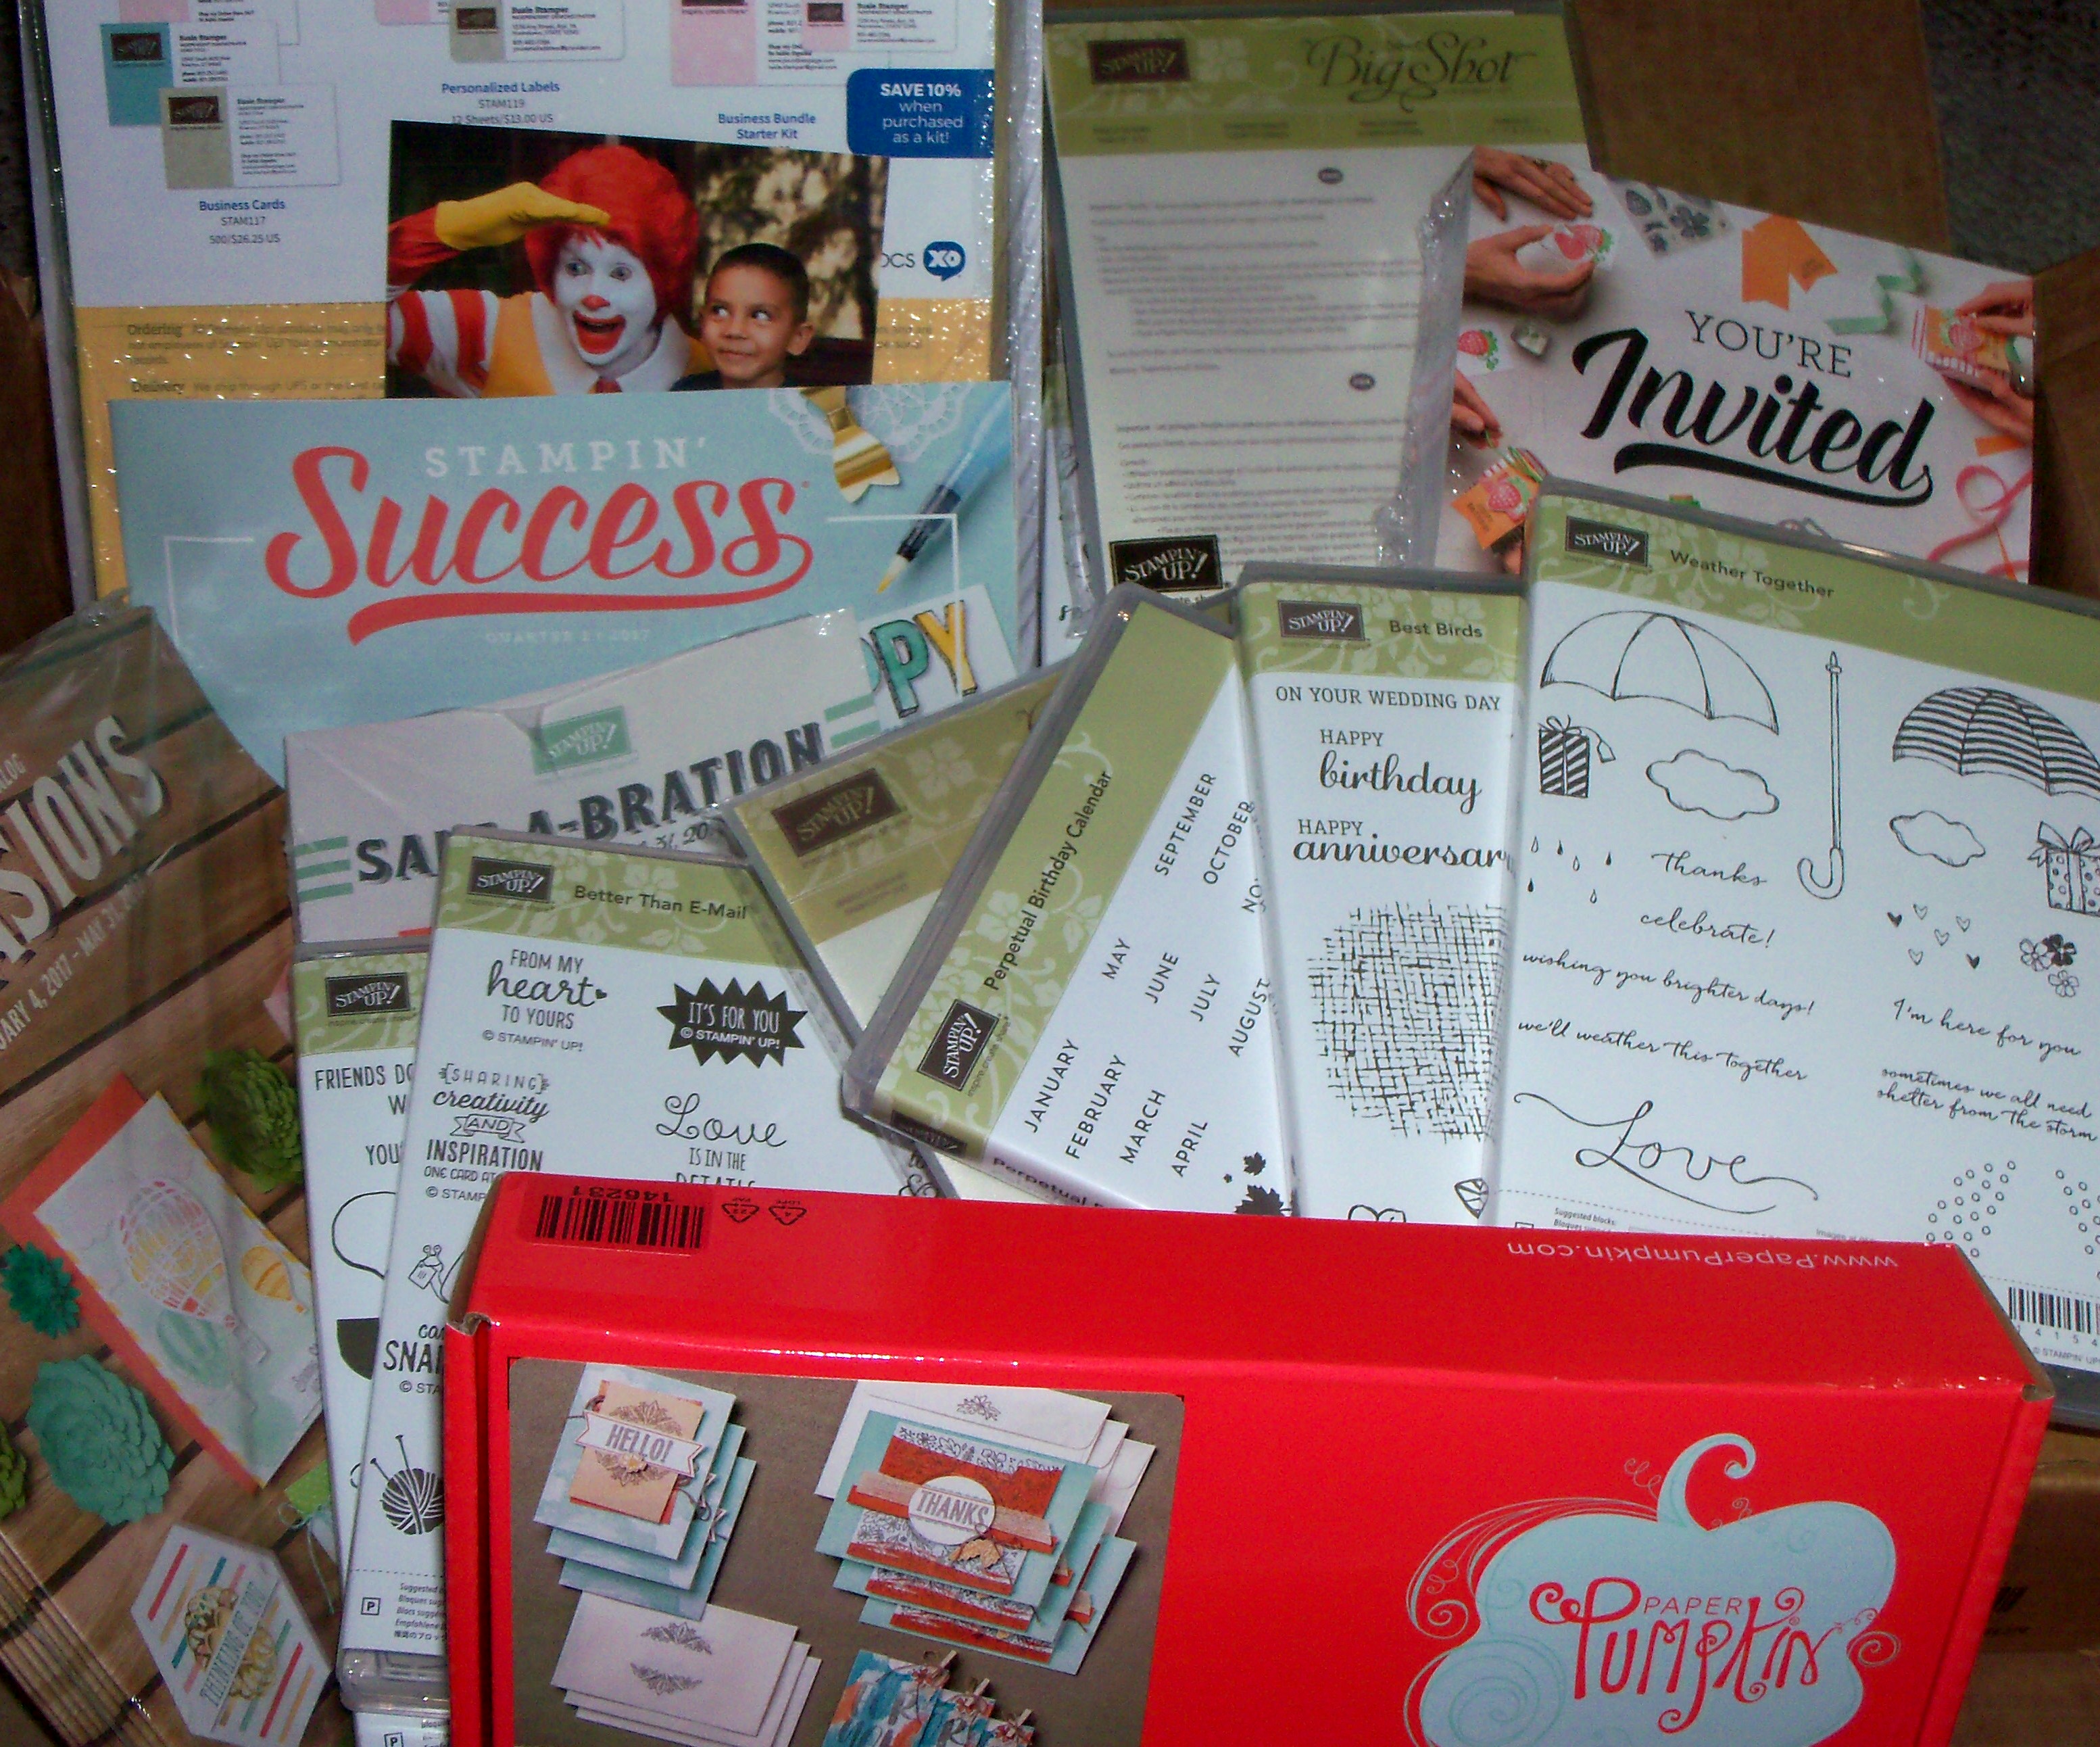
Here are the products I used to make my projects shown today. You can purchase these and other Stampin’ Up! products at my online store by clicking on the links below each products. During Jan. 4-Mar. 31, 2017. All $50 orders receive a free Sale-a-bration reward!