Today I’m just sending out a friendly reminder that there is only a couple of weeks before your favorite stamps sets and accessories are gone for good …
These will be the most “up to date” lists as it is linked directly to Stampin’ Up! so as the items sell out, they will be “X” on the list and you will not be able to order anymore.
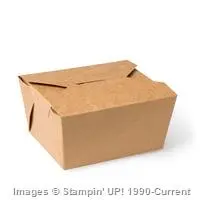
Today I’d like to share with you a quick -n- easy 3-D project … a gift box! You’ll start with one of our Take Out boxes found on page 151 of our current annual catalog. (Our new catalogs are on their way!)
You will also need the “Big News” stamp set … I will have our highlighted products listed below so you can see them.
INSTRUCTIONS
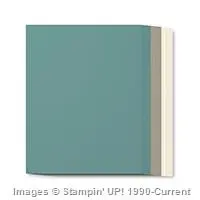
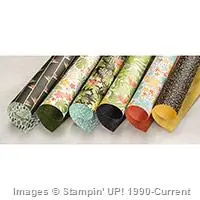
Wrap a piece of Regals Designer Series Paper around the Takeout Box to create a bellyband.
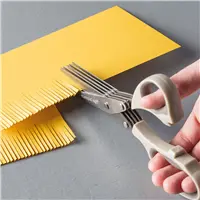
Cut a piece of White Corrugated Paper using the Fringe Scissors. Adhere the paper to the box.
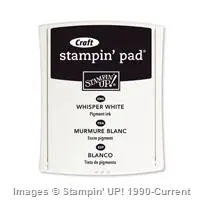
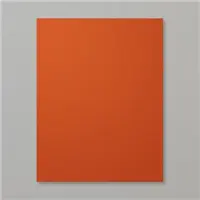
Stamp the sentiment in VersaMark ink on a piece of Tangerine Tango Cardstock. Cover the stamped words with White Stampin’ Emboss Powder, shake off any excess powder, and heat set.
Punch the two sides of the stamped cardstock using the Ornate Tag Topper Punch.
Thread the Gold 1/8” (3.2 mm) Ribbon through the hole in one side of the cardstock and wrap it around the back side of the box and tie in a bow through the hole on the other side of the cardstock.
I think that is such a cute box to give as a gift. Hope you enjoyed it as well.
Thank you for popping in today …
Hope your day is a good one.
TODAY’S HIGHLIGHTED PRODUCTS … Just click on them for more information or to begin shopping.
Today I have a fun card to share with you direct from the Stampin’ Up! files!
For a boy who loves to play, create our Champ card. It can be for anything, really: athletics, academics, music, or an achievement in any of his other interests. Let’s begin with the “Skating By” stamp set …
INSTRUCTIONS
Fold a piece of Basic Gray Cardstock in half to create the card.
Adhere an uneven piece of Cherry on Top Designer Series Paper to the card.
Stamp the boy holding the trophy in Basic Black Archival ink on a piece of Shimmery White Cardstock.
Using the Aqua Painter, color the boy and trophy with Basic Gray, Blushing Bride, Cucumber Crush, Delightful Dijon, Early Espresso, Night of Navy, and Sahara Sand ink.
Adhere the stamped cardstock to the card.
Stamp the sentiment in Basic Gray ink on a separate piece of Shimmery White Cardstock. Cut out the sentiment and attach it to the card using Stampin’ Dimensionals.
Cute right … quick and easy so you can send it off to your little leaguer or soccer star!
Today I’d like to share with you one of the masculine cards that we made at our Spring Stampin’ Retreat. I got the idea from a couple of cards I found on Pinterest and combined them into this card!
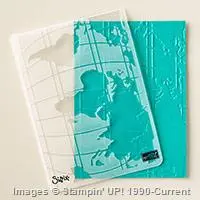
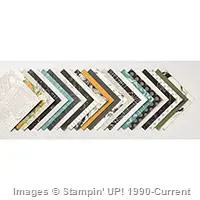
To create the card I used a bit of everything from the “Going Places” product suite. I started with the Going Places cardstock pack and embossed with the World Traveler Embossing Folder.
Once we embossed the cardstock with the World Traveler … we cut it along the equator line to split the cardstock and have our Going Places Designer Paper show through. The embossed cardstock was popped up to create some fun dimension and really highlight the designer paper.
We sponged area’s on the map and compass along with the inside of our card to age it a bit.
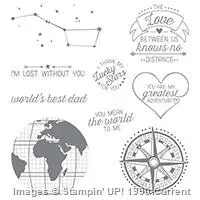
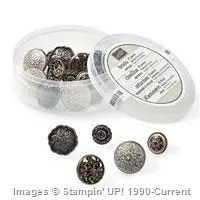
We then stamped our compass with the Going Global stamp set both on the Lost Lagoon and Very Vanilla cardstocks. They were punched out and layered to create even more dimension. We created a focal point by adding the “Antique Brad” into the center.
To complete the card we added our “banner” greeting with the words from the Going Global stamp set and the Banner Punch. It was a big hit at retreat!
Thank you for joining me today …
I hope your day is blessed with kindness and beauty.
Today I have a great “Man Card” for you that comes from Janet Z. and our Spring Stamping Retreats Attendee Swap! You’ve seen a few of the other cards from our swap already.
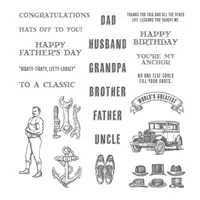
Let’s start with the stamp set “Guy Greetings” found on page 98 of your current Annual Catalog.
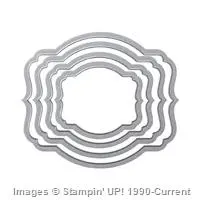
Janet used the antique car and cut and matted it using the “Deco Labels Collection” Framelits … this created a great focal point of the card. The greetings she used all come from the “Guy Greetings” stamp set.
The designer paper really shows off the antique car nicely.
Something Janet did for the swap which I though was genius was to leave the inside of the card “unattached” because she stamped two greeting (one on each side of the cardstock) Happy Birthday and Happy Fathers Day … this way her fellow retreat attendee’s could use the card for the occasion that fit them best. I just love that idea!
This is why I love swapping and stamping with other stampers … we all share so many wonderful ideas!
Thank you Janet for the wonderful card, and thank you for checking out today’s blog post.
Hope this weekend finds in well and feelin’ good! I’m happy to have the day off of work so I can head down into my Stampin’ Studio and create!!
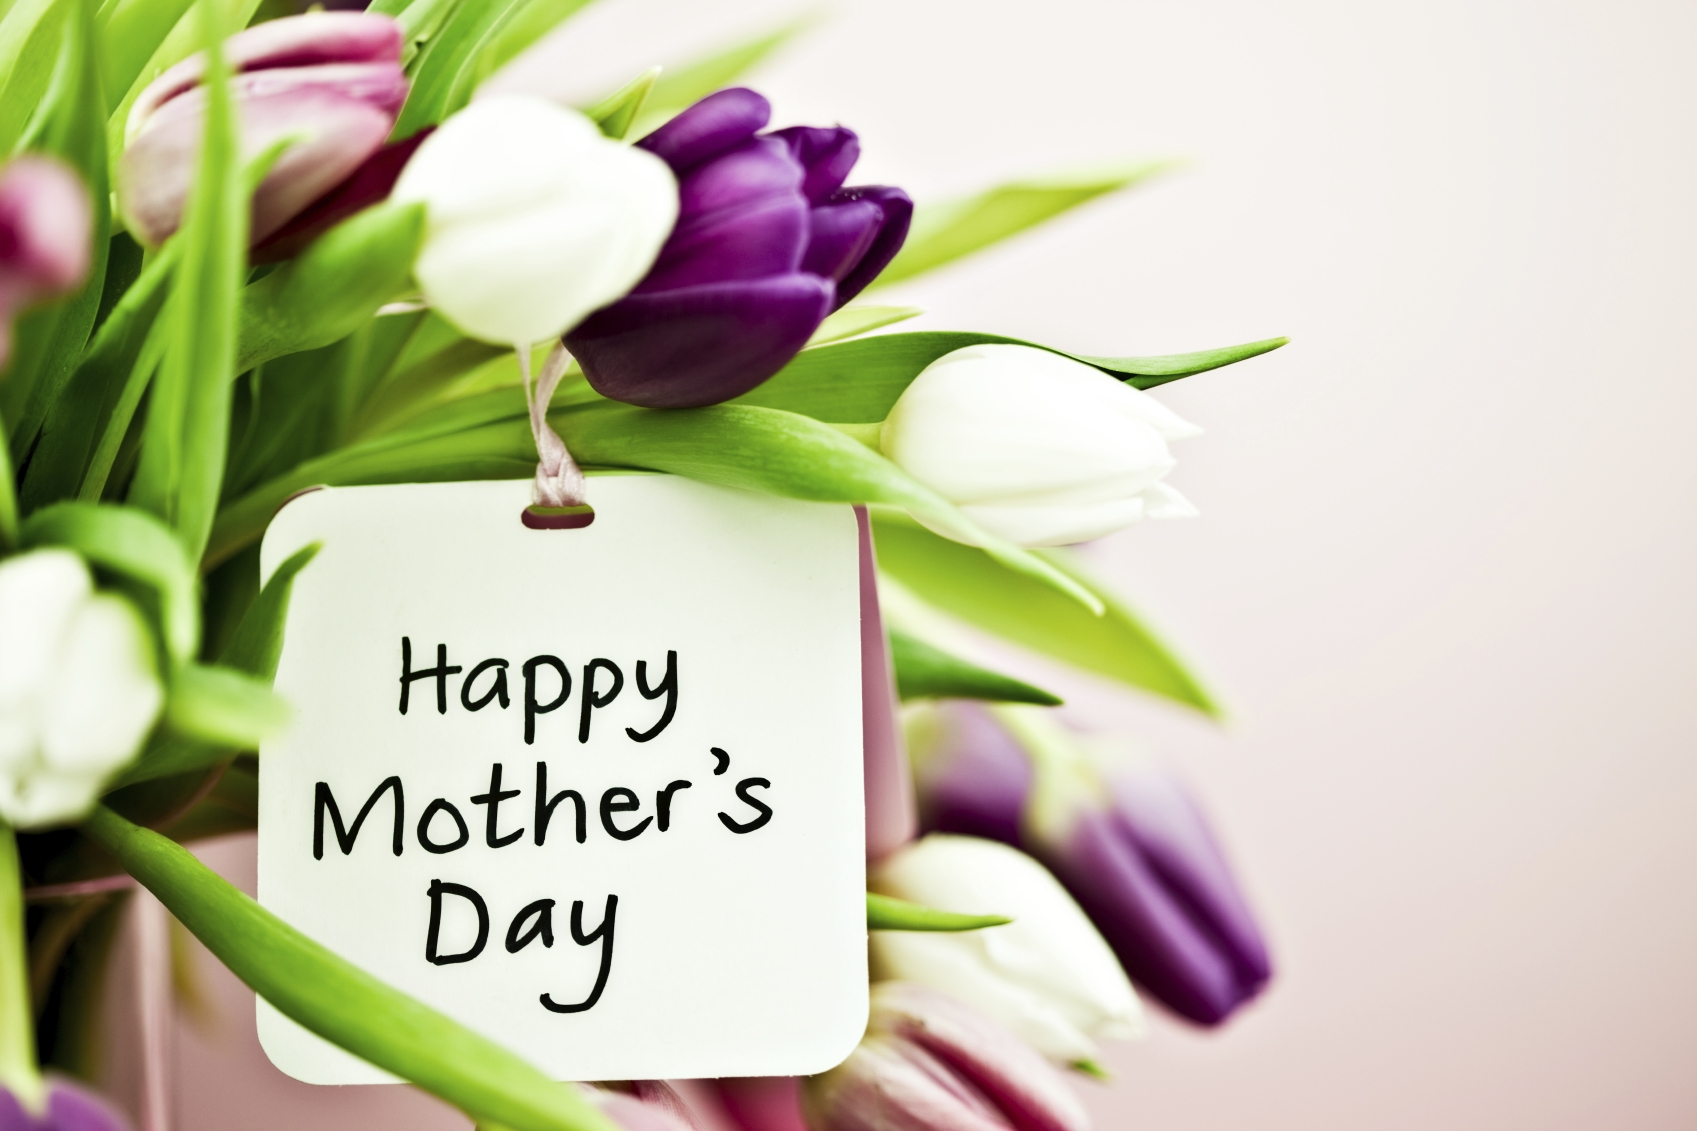
With Mother’s Day upon us, I thought I would share a masculine card and get your thinking about Father’s Day. Masculine cards are one of the most requested classes I get.
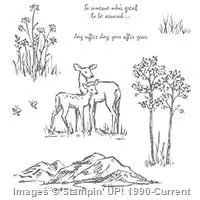
Today we will be using the “In the Meadow” stamp set and the Woodland embossing folder (will be in the upcoming catalog). This fun technique I’m about to share creates awesome dimension on your card with little effort!
Begin with a light background … I used Soft Sky on my card. Then you will ink up your deer image and stamp it directly onto the folder. Yes, directly onto the folder. You are stamping on the area that will show the heads of the deer.
There are two ways to color your tree’s … I love white birch!! I use either the brayer with the White Craft Ink or you can use your Chalk Marker, either one works great. The brayer is faster … however, you may get some white spots on the blue area of the card.
The brown spots on the birch tree were created by using the writing tip of the marker in the recessed areas on the tree (super simple).
I stamped an extra deer and cut out just the fawn … then I colored all the deer and added some color to the grass with a marker. The fawn is then popped up with Stampin’ Dimensionals to give it a 3-D look. The deer on the blue will color differently than the fawn stamped on white cardstock, but I love the way it darkens them and makes it look as if they really are in that forest!!
A simple greeting on a banner created with the banner punch and anchored with one of the beautiful Antique Brads (retiring) and a twist of Linen Thread complete my card.
This is one of the masculine cards that we made at our Spring Stamping Retreat. I like to share different styles, techniques and occasions at the Spring Retreat. For more information about our retreats, click on the tab at the top of my blog.
I’d love to hear what you think about today’s card share.
Thank you for stopping by my blog today, have a wonderful Saturday!
Hope you are having a good day. Sorry for the delay … computer issues last night! Ugh … time to bite the bullet and get a new one!
Today I would like to share with you a beautiful card I received from a wonderful friend as a Thank You for placing an order for her … how sweet is that!
I love when my stampin’ friends send me cards, first … it lets me know they are using the products that they purchase! (I hate to hear when they are still in the bag or in the closet) I use my stamping time as my escape from the harsh realities of life (kind of like that Calgon commercial … some of us will remember) And secondly … because I like to share with everyone how talented you all are with your stamps! Wow 🙂
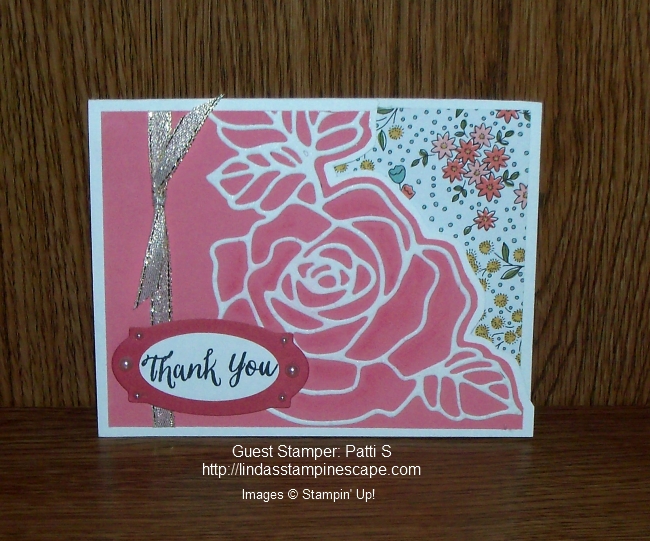
So today’s card share comes from Patti S.
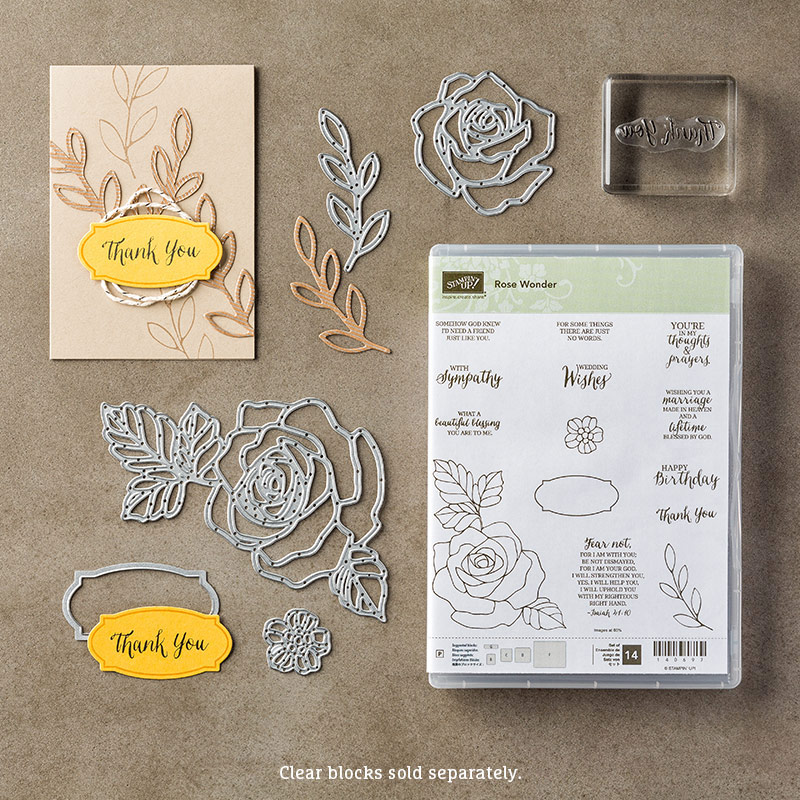
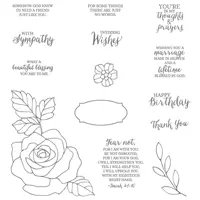
Patti used the beautiful Rose Wonder Stamp Set and Rose Garden Thinlits … This is the set you need for life’s major events—birthdays, weddings, sympathy. And for the everyday—thanks, friendship, encouragement. Make a stack to keep on hand and you’ll never be unprepared.
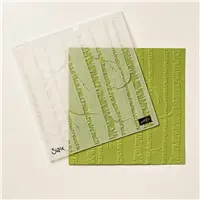
I wanted to show you Patti’s little stampin’ tip … she cut the designer paper on the inside of the card, creating a shadow effect … brilliant! And there’s still plenty of room for you to write your message.
Yes, she hand cut both in designer paper and the section of the front of her card, but as our attendee’s learned at our Spring Stamping Retreat … it really doesn’t take that long and it’s pretty easy to follow that line.
Thank you Patti for sharing your talent and this beautiful card with me, and thank YOU for joining me on my blog today.
It’s a beautiful day here in Wisconsin, hope you all get to enjoy the day, no matter where you are in the world.
Happy Friday ~
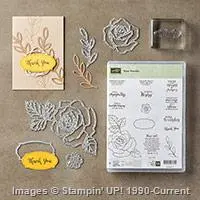
TODAY’S FEATURED PRODUCT:
You can click on the photo for more information or to begin your purchase. Thank you!
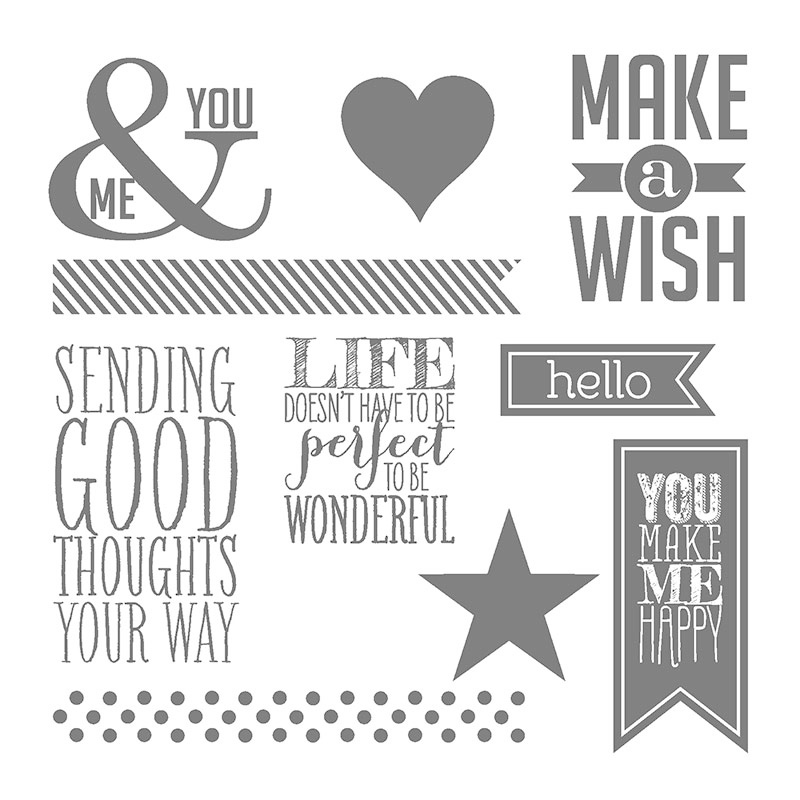
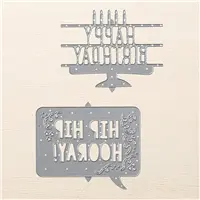
Today I have a quick and easy card for you. This cute card that can be used for almost any occasion and the banners are a hot trend for cards and scrapbooking!
You’ve got options galore! A couple of pennants, basic shapes, sentiments, and even some washi tape-esque designs for fun gifts and packaging.
Perfect Pennants Clear-Mount Stamp Set
133230
Price: $22.00$18.70
This stamp set contains: 10 rubber stamps / Suggested clear blocks (sold separately) are b, and h .
These will be the most “up to date” lists as it is linked directly to Stampin’ Up! so as the items sell out, they will be removed from the list and you will not be able to order anymore.
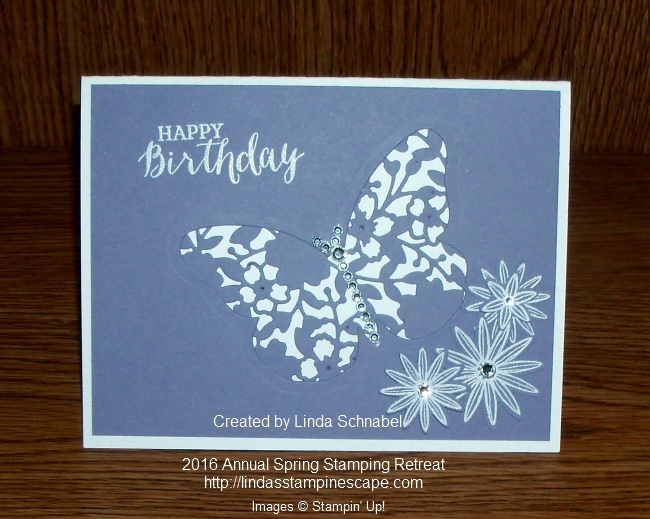
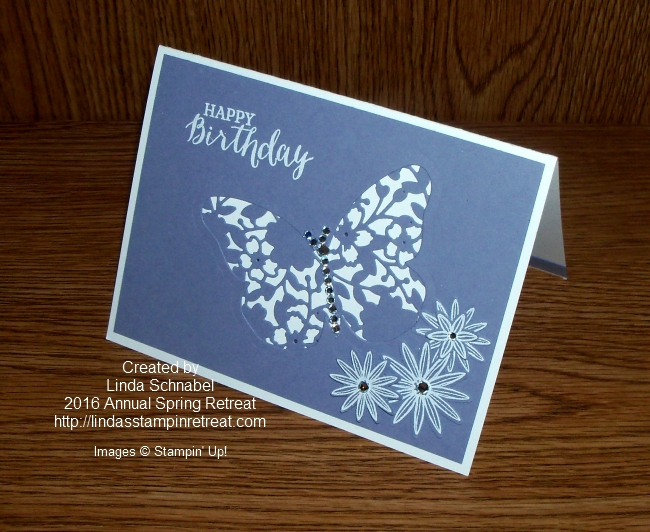
Today I’d like to share one of the cards that our attendee’s made at our 2016 Annual Spring Retreat. My goal for our projects is to share different ways that you can use your stamp sets and accessories so they create a better value for you.
Today’s card truly demonstrates that goal …
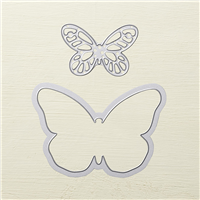
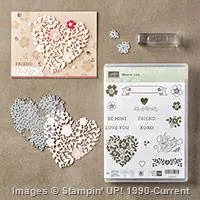
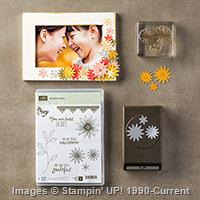
The Bloomin’ Love bundle was one of the stamp sets and accessories that we highlighted at this retreat and we used the Bloomin’ Heart Thinlits Die in a very different way! We used it as a pattern behind our butterfly!
Using the beautiful Wisteria Wonder cardstock for our card front, we cut out our butterfly shape from the Bold Butterfly Framelits, and then tucked the beautiful lace heart behind it.
(Don’t forget what I told you about bundles … current bundles will not be bundled in the upcoming catalog. Save 15% by purchasing your bundles before May 31st) Please use Hostess Code: HEESBTSZ
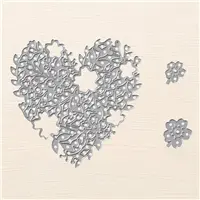
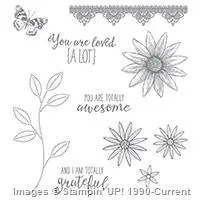
We embossed our birthday greeting from the stunning Rose Wonder stamp set (also has a bundle)
We also embossed the flowers which come from the Grateful Bunch stamp set (another bundle) and added them to our card. The flowers were attached at different heights by popping some up with Stampin’ Dimensionals.
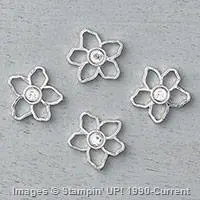
Oh yes we did … we added a strip of the rhinestones to create our butterfly! Each of our flower centers also got a rhinestones! In fact, our attendee’s could add as much as they wanted because they each got a full package of rhinestones included in there projects bag.
So … did we inspire you to become creative with your framelits and thinlits? They are so much fun to play with.
Today I have two beautiful cards created by two of our retreat guests! Each retreat we host a card swap/contest … they make the cards, they vote, and the winner gets a Stampin’ Up! Gift Certificate from me.
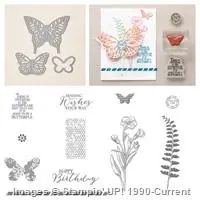
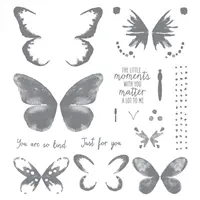
Our two retreat guests featured today, both used the Butterfly Basics stamp set. Let’s begin with Peggy K’s card – This was Peggy’s first Stampin’ Retreat of mine and she came all the way from Oklahoma!
A simply beautiful card … I love the pop of color Peggy used by adding her blue butterfly. I’m not sure if that is Lost Lagoon but I can see she used the Blackberry Bliss and Mossy Meadow. Fabulous color combination!
Did you know that the Butterfly Basic stamp set bundles with the Butterflies Thinlets? Remember, that even though the stamp sets and thinlets will carry over into the new catalog … they will NOT be bundled, so if you like it … purchase it before May 31st.
Our next card comes from Sandy B. and she has attended 6 of our annual retreats; both the Spring and Holiday retreats!
Sandy also used the Butterfly Basics Stamp set and Thinlits Bundle, however her pop of color comes from the Two Step Stampin’ stamp set; Watercolor Wings. This stamp set also coordinates with the Butterfly Thinlits … gotta love the way Stampin’ Up! coordinates several different products to make our purchases a real value!
The black die cut butterfly that tops the “watercolor” butterfly is very striking and really draws the eye to the center of the card.
We love hosting the card swap at our annual retreats … everyone always goes home with extra cards with totally different styles and stamp sets. They are a blast, and if you haven’t tried one yet, you should think about it!!
AMD … said “I can’t believe the projects get better at each retreat! We enjoy meeting all the new people and have so much fun.”
Thanks for sharing a part of your day with me, I hope the ladies cards inspired you as much as they have inspired me! I love my job! It is all about sharing and building relationships.
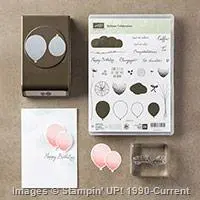
Today I am going to share with you another of our Spring Retreat Cards. It’s a “Card in a Box” created with the It’s My Party Designer Series Paper and Balloon Celebration Bundle.
I’m going to let you in on a money saving tip … Items that are in the Occasions Catalog as bundles may be in the upcoming 2016-17 Annual Catalog – but they will NOT be bundled, so if you like any of the bundles in the catalog … snag them up NOW and save 15%. Again, they will not be bundled, this is the “largest” discount you will get on these items.
There are several different ways and dimensional layouts out there to create the “Card in the Box” however I like to demonstrate and share the easiest way to create projects and cards. Life is just more fun when we aren’t stressing over such things.
We started our project just like you would a 2-4-6-8 box. Once the box was adhered together we used the back as our area for writing our greetings. All other flaps were decorated with the different patterns of designer paper.
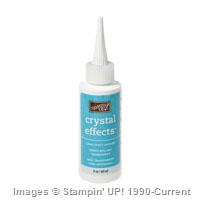
We punched out the balloons with the “Balloon Bouquet Punch”. On this card I stamped the balloons with the dotted balloon image in the stamp set to create more dimension. I also added a white highlight with the chalk marker and then added a light, even coat of Crystal Effects (retiring!) on my balloons. This gave it a nice sheen.
Our birthday greeting was die cut from the “Party Pop-Up” thinlits dies out of the beautiful “Dazzling Diamonds” Glimmer paper! The entire card is quite dramatic and a favorite of my grandchildren!
If you would like the instructions and “a card in the box” … just place an on-line order of $25 or more. I also have a monthly deal that if you order $35 or more, you will receive directions & a minimum of 1 sample from my Monthly Technique Club projects! If you can’t choose between the two … you can get both by placing a $50 or more order in May. Please use Hostess Code: HEESBTSZ
Don’t forget to check out the RETIREMENT LIST located on the right side bar of my blog and get the items you need before they retire on May 31st … especially Bundles and Ink-Refills (the markers and other items are already sold out).
I appreciate you taking time out of your day to visit my blog.
I’m here today with a pretty and simple card that made a big hit at our Annual Spring Stamping Retreat. Sometimes less is more, and still makes a big statement …
Today it’s a Birthday Card, created with the Exclusive Hostess Stamp set; Happy Birthday Everyone. As a hostess stamp set … it will be retiring and gone for good at the end of May. In fact, everything except the Mint Macaroon cardstock and inks are retiring.
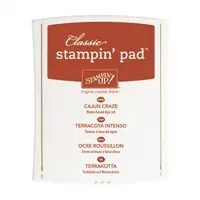
Our greeting is stamped in Mint Macaroon and complimented with Cajun Craze. The colors were picked from the designer paper; Botanical Gardens. Mint Macaroon was also used for the base of our card and a banner along with a Cajun Craze banner.
The banners were spotlighted with the pretty “Botanical Gardens Jewels” … so pretty and really adds a nice touch to the card. The entire greeting was raised with Stampin’ Dimensionals to add a bit of dimension to the card.
Sweet and Simple … this describes our card to a tee!
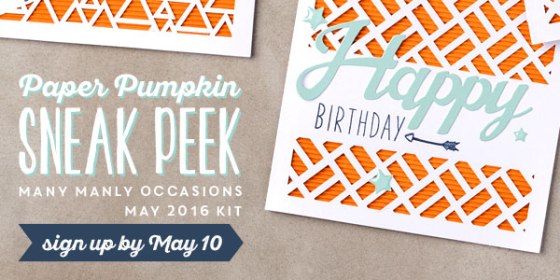
On Thursday I shared some alternative projects from the April Paper Pumpkin kit (Click Here to View) so today I’d like to give you a sneak peek at the May Paper Pumpkin kit!!
You have until May 10 to sign up and get the May kit. The Many Manly Occasions Kit will contain eight cards and envelopes and is perfect to celebrate the men in your life! If you’ve put your Paper Pumpkin on HOLD for a bit … you want to make sure you get this kit sent to you!! Or start today … Click Here.
WHAT IS PAPER PUMPKIN?
It’s fabulous, fun paper crafting product in “kit form” (pre-cut, pre-scored, ready to assemble) wrapped up in pretty, soft blue tissue paper in a bright, red box that gets delivered right to your mailbox each month. And each kit includes a stamp set and ink that you can use again and again even after you’ve created everything within the kit!
Let’s have a little fun with our May Paper Pumpkin …
LET’S PARTY!!
On Wednesday, May 25th / All Paper Pumpkin Pals …. Bring your Paper Pumpkin to my house & we will stamp together! Have some treats too!
All my “Paper Pumpkin Pals” (All who subscribe to Paper Pumpkin through me) will receive an invitation from me stamp with our May Paper Pumpkin kits. I will have two alternative projects and some sweet treats to keep us energized! lol
If you are outside of my area … I will send you directions for the paper pumpkin projects we make and some of those sweet treats! It’s a great bonus to have your demonstrator managing a candy store!
Here’s one last peek at the May Paper Pumpkin …
If you look close at both “sneak peek” photos you will notice two different patterns in the die cut front!! Make sure you sign up before May 10th!! … Click Here.
So … If you want to make amazing projects without the prep work, It time to try Paper Pumpkin—a crafting subscription kit by Stampin’ Up! Every month, you’ll receive all the stamps, ink, and paper you need to make a fun, papercrafting project. Everything is precut and ready!
Please feel free to contact me with any questions you may have, either in the comment box or e-mail me at lindaluvs2stamp@aol.com
Thank you for sharing a part of your Saturday with me!
I know some of you are busy getting your favorite stamp sets and accessories from the catalog before they retire … and that’s a good thing, because once they’re gone … they’re gone!
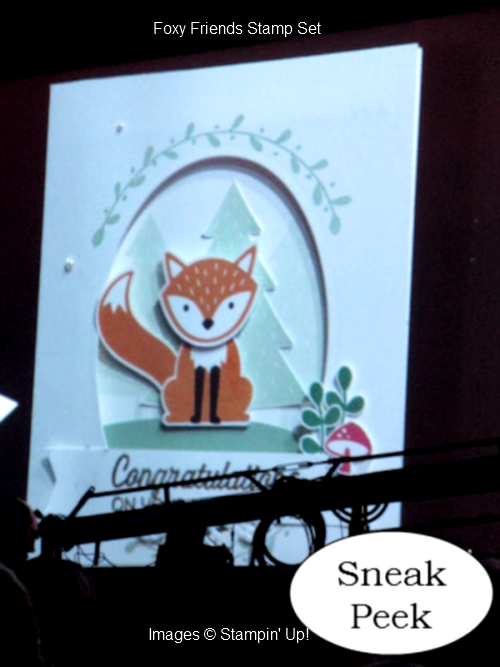
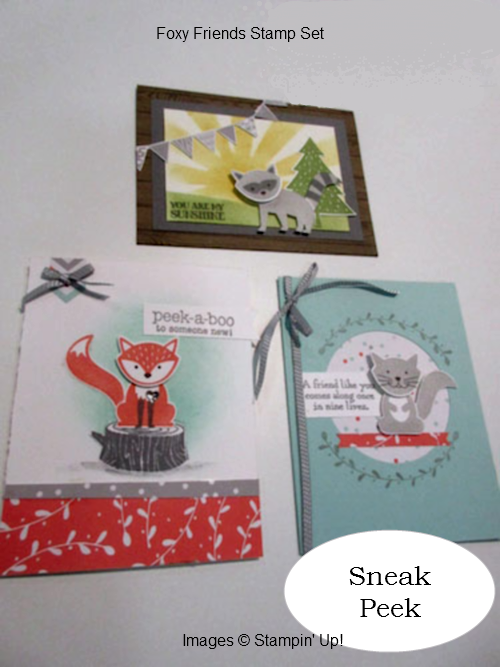
However, I’m here to create a little excitement for the new 2016-2017 upcoming catalog! A few days ago a shared some fun tips … today I’d like to share some images from a new stamp set!
Foxy Friends Stamp Set & Coordinating Punch …
These images / samples are from the 2016 Stampin’ Up! OnStage event!
Well stampers … I think we can have a lot of fun with this stamp set … What do you think?
I can’t wait to get my hands on some of the new stamp sets, accessories and embellishments from the new catalog and show you more!!