Hello Stampin’ Friends ~
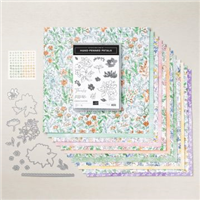
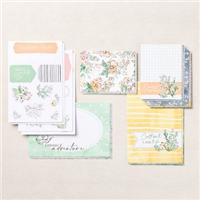
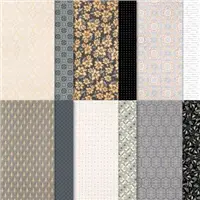
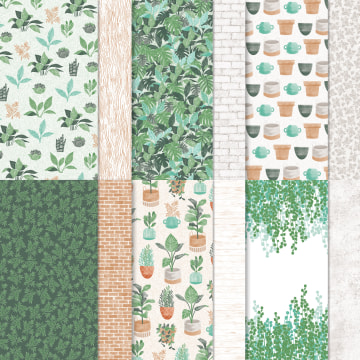
Who said fun folds can’t be easy … Today’s fun fold is not a card fun fold but a Designer Series paper fun fold. You can do this technique with any of our designer papers and it is so beautiful when using the Beauty of the Earth Designer Series paper from Stampin’ Up!
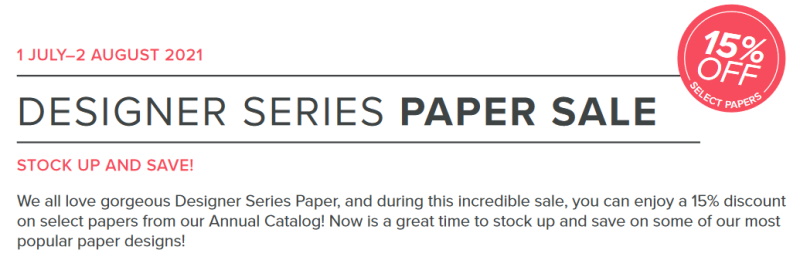
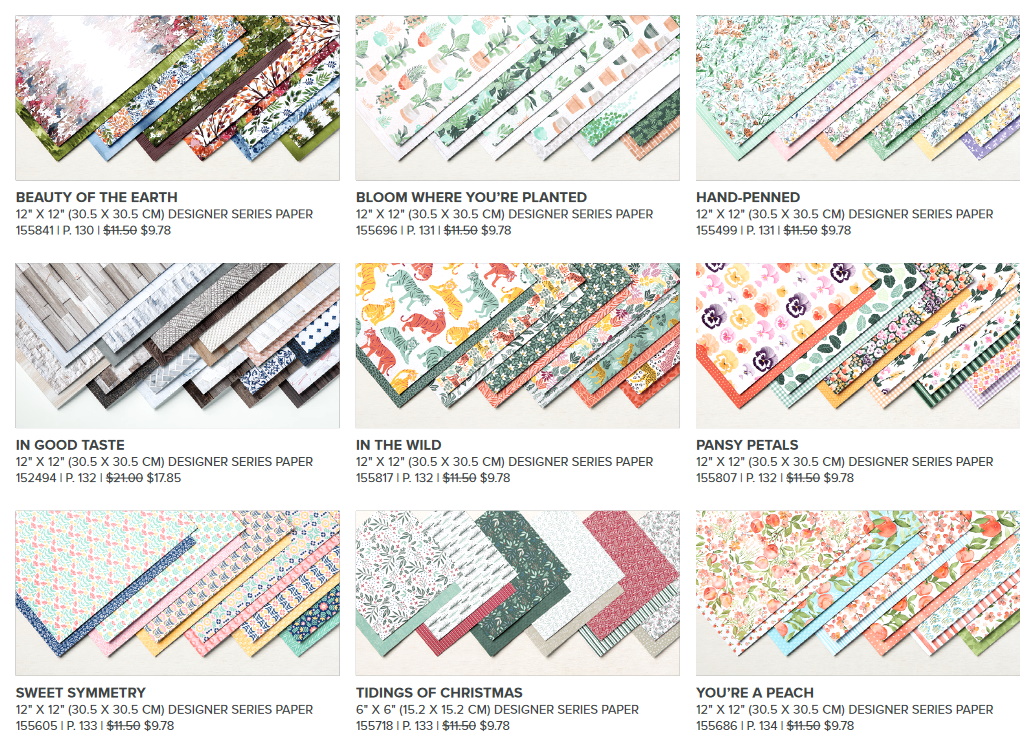
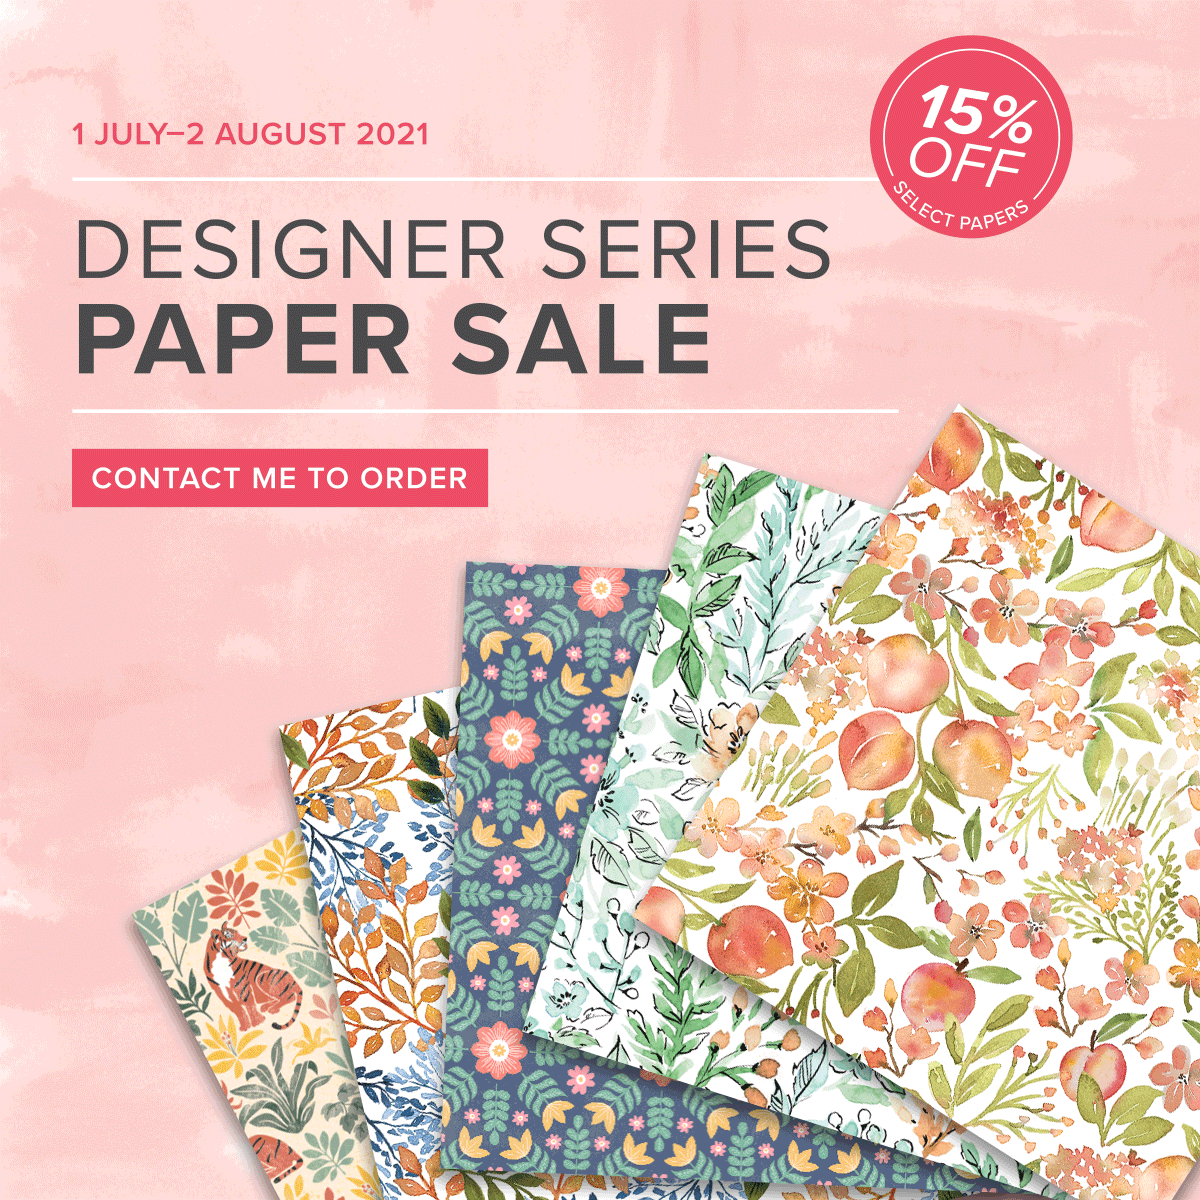
The Beauty of the Earth is part of the Designer Series paper sale in which you can save 15% off select paper packs. This sale ends August 2nd … so only 2 days left to get in on this deal!
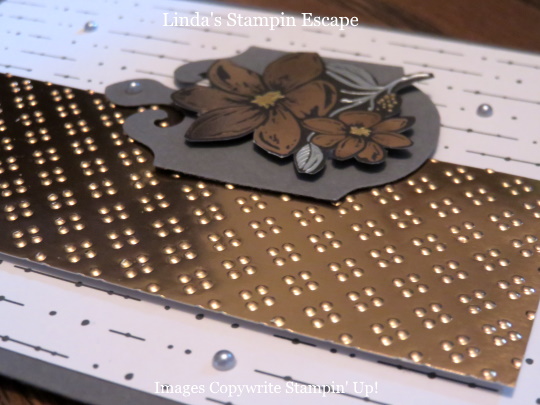
Today’s card showcases the “Peek-a-boo” Fun Fold …
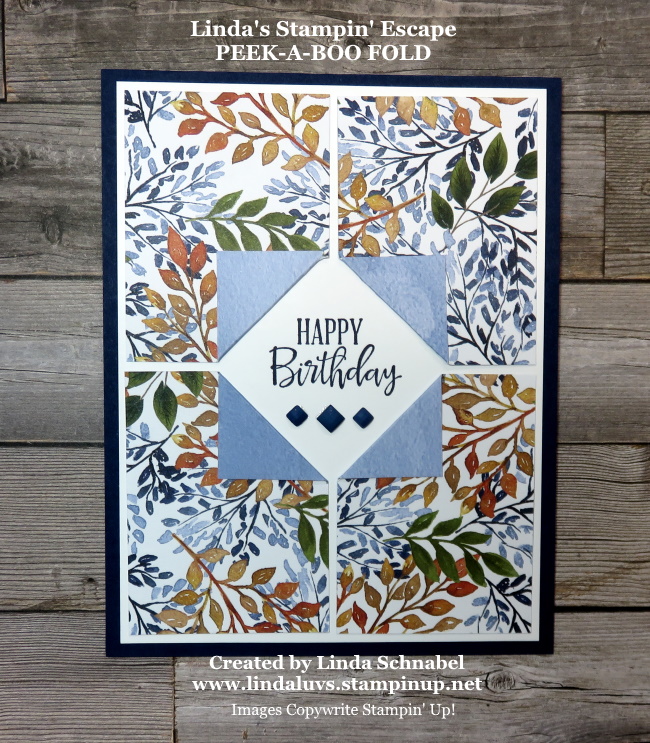
You begin with an easy layout but the fun part is adding the 4 fold backs on the designer paper. The four designer paper pieces all measure 1-7/8″ x 2-1/2″.
Each piece of designer paper will be measured to 1″ from the “corner” that will be folded back, on each side of corner. (See Photo) I put a little “tick” mark at the 1″ point and then score from 1″ tick mark to the other 1″ tick mark. You won’t see the pencil marks because you are folding the corner back, but you can erase it if it bothers you.

Once you have all 4 of your designer paper pieces scored … secure the flap down, and then secure your pieces onto your mat. I used Basic White for my mat and it measures 4″ x 5-1/4″. The white allows me to stamp my greeting in the center and easily seen.
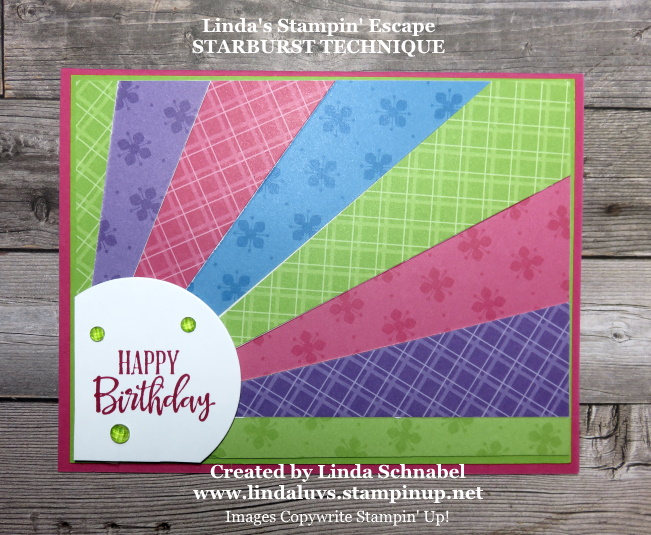
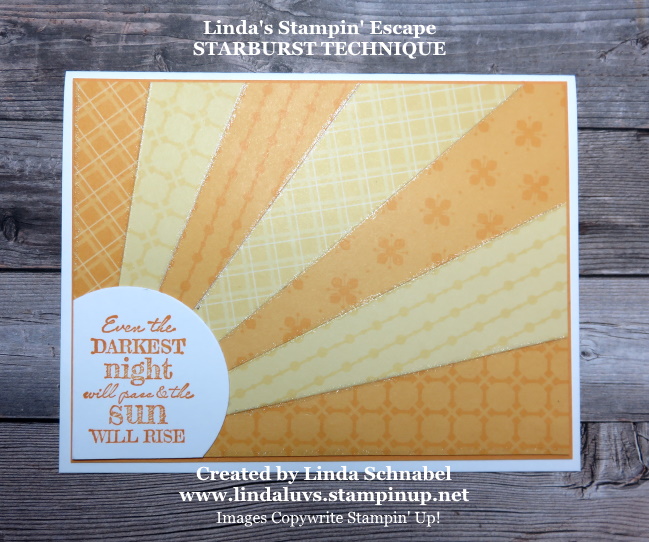
The “Happy Birthday” comes from the Peaceful Moments Stamp set … I actually just used this on my Starburst cards I shared the other day! I wanted to add some texture so I used the new In Color Square Gems in Misty Moonlight.
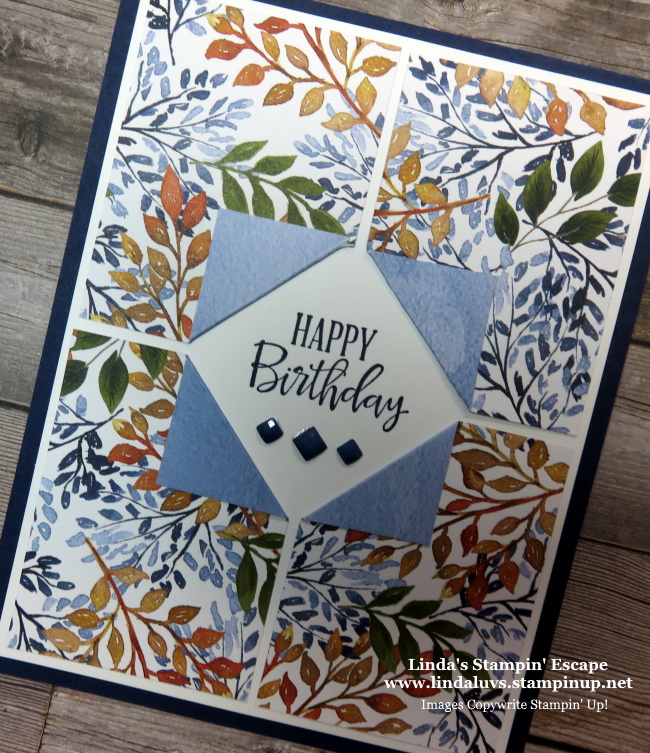
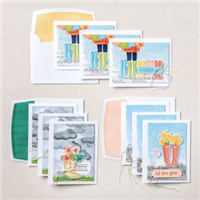
I think the Beauty of the Earth has so many fun patterns that can be used for this technique, and it’s gender neutral!! Yes, this little beauty would work wonderfully for a man or a women. The colors are stunning and the “gems” are not girly at all with the square, or should I say diamond shape!
Here are the Measurements for today’s card:
Card Base Night of Navy: 4 1/4″ X 11″ folded in half
Basic White: 4″ X 5 1/4″
Beauty of the Earth Designer Series paper: (4) 1 7/8″ x 2 1/2″. Score at 1″ and fold as shown above.
Thank you for joining me this Sunday. I hope the rest of your weekend is fun and relaxing. I am off with my daughter to see how much of Door County we can explore in one day!!

TODAY’S STAMPIN’ SUPPLY LIST … If you liked the products used in todays projects, I have links for you below. Just click on the item you would like more information on, or to begin your shopping. It will take you directly to my website. Thank you ♥

Sale: $9.78
Price: $11.50