Hello Stampin’ Friends ~
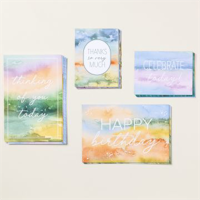
If you’re looking for an easy yet stunning way to elevate your card-making game, the Thoughtful Journey Memories & More card pack from our Annual Stampin’ Up! Catalog is your perfect companion. This collection is part of the Quick & Easy Options, designed to make your crafting sessions delightful and stress-free. Today, we’ll dive into two fabulous card projects that showcase the versatility and beauty of this card pack.
The Memories & More card packs are not just for scrapbooking, you can utilize them in so many ways … Today, cards!
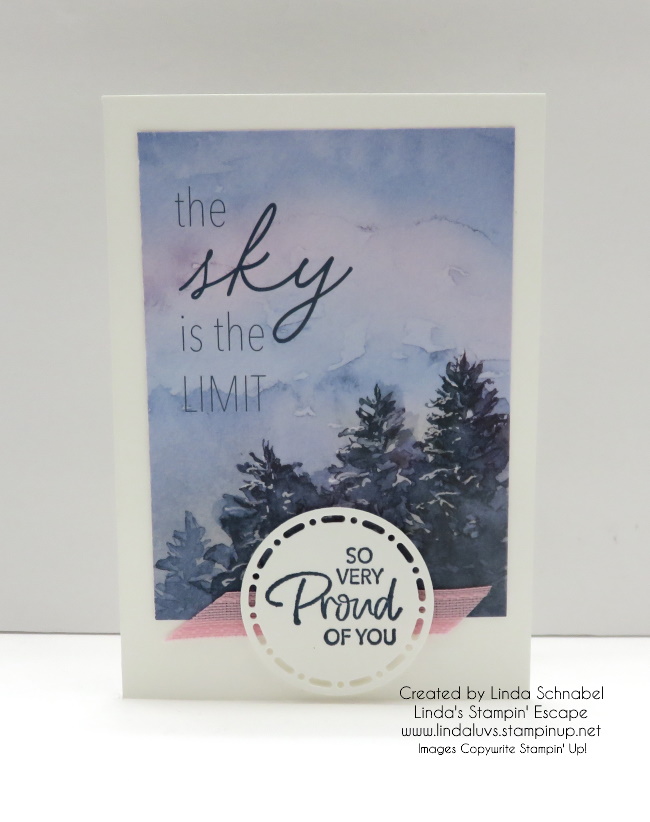
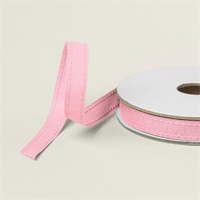
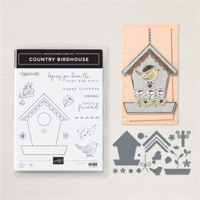
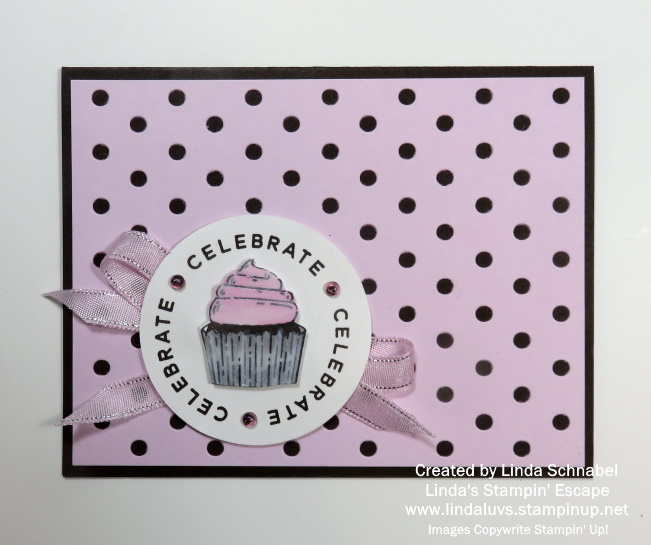
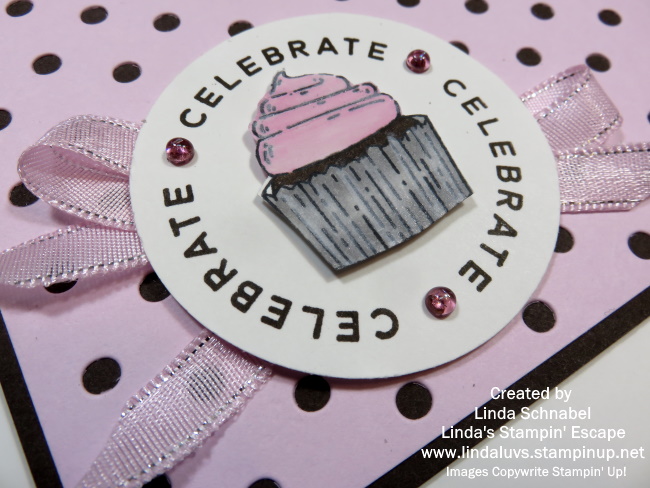
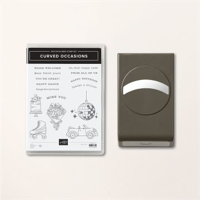
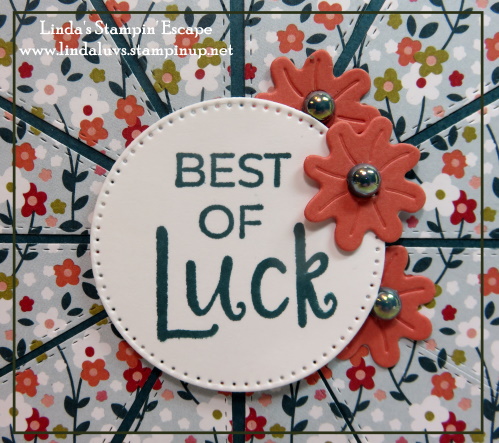
For our first card, simplicity meets elegance. We’re using the Basic White Note Cards and Envelopes as the base, making this an ideal project for beginners and seasoned crafters alike. The greeting is stamped with Misty Moonlight and comes from the So Sincere stamp set … always good to have a great sentiment set! It was then die cut with the circular dies from the Spotlight On Nature bundle. Just a touch of Pretty in Pink ribbon to pull the pink hues from the card.
This card is perfect for my granddaughter in college. She finished her 2nd year, and I love to celebrate the small achievements as a stepping stone to her graduation!
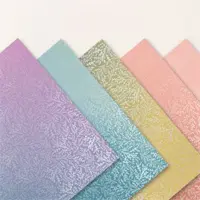
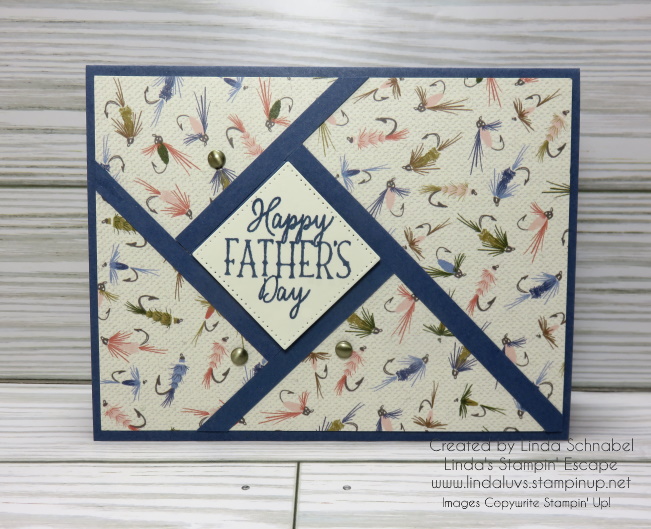
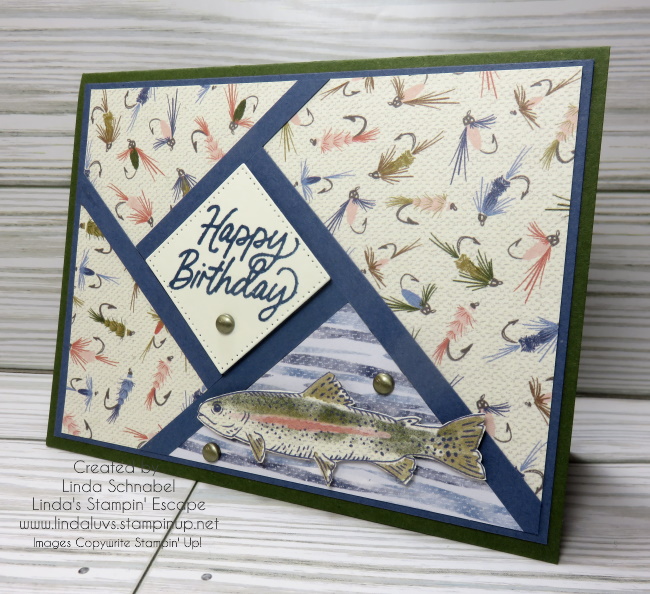
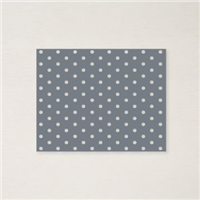
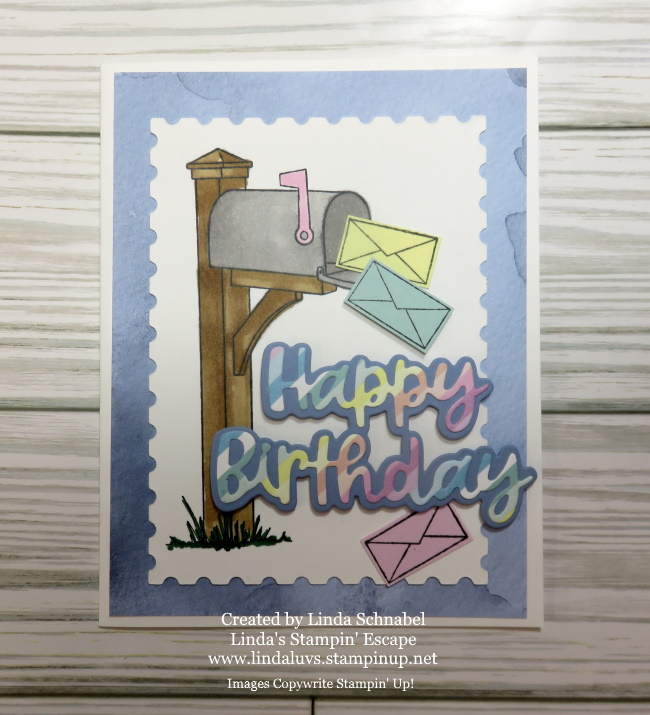
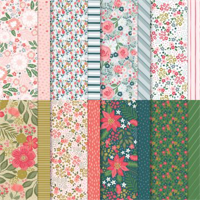
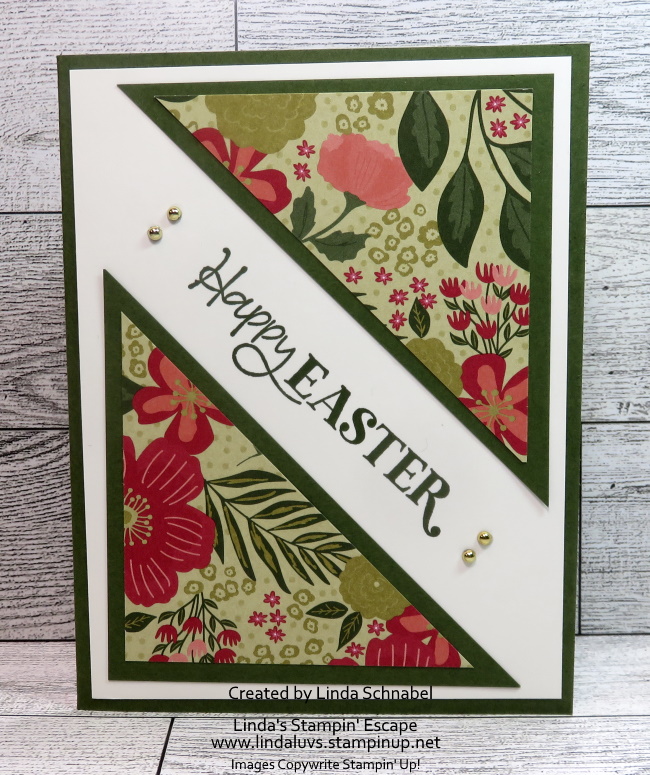
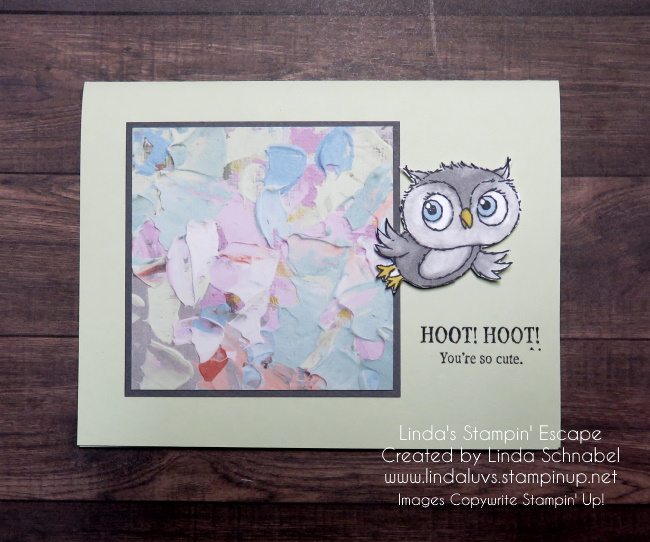
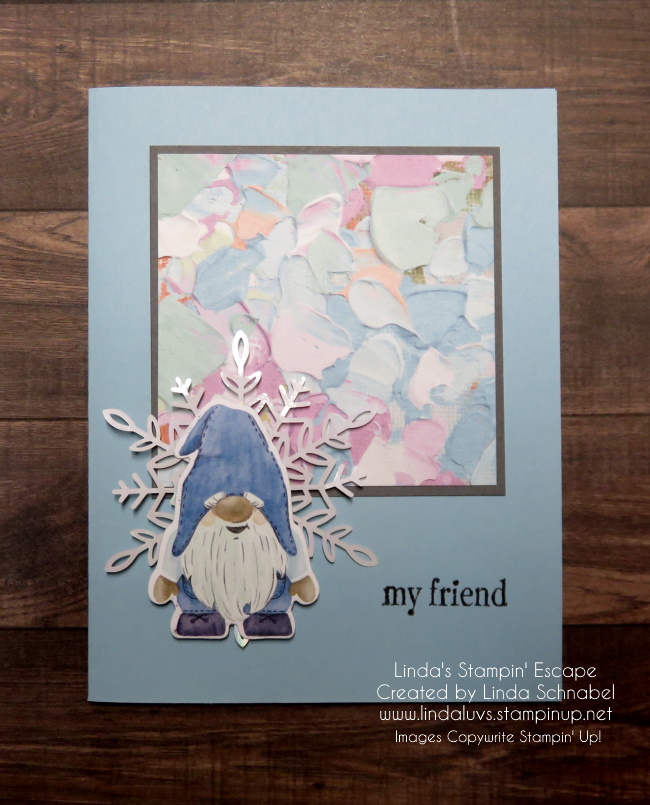
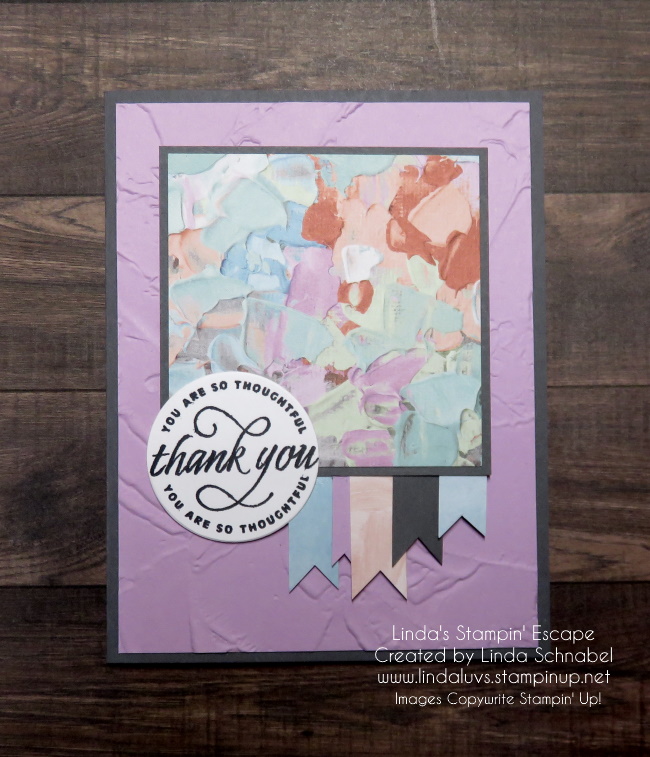
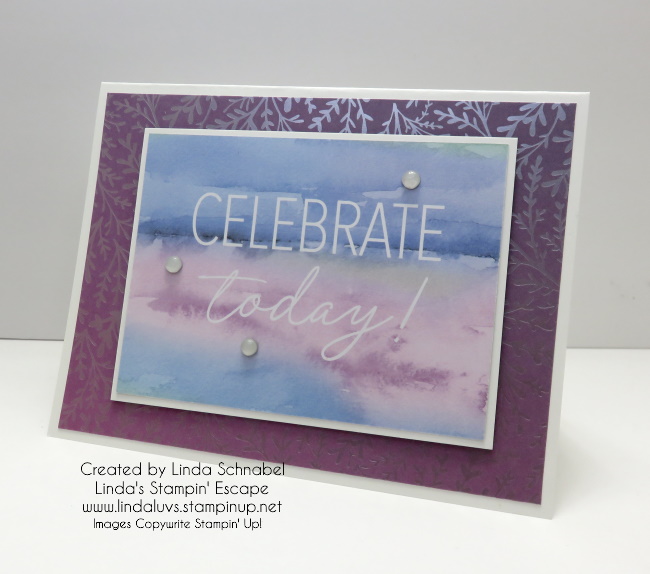
Our second card takes a slightly different approach, showcasing the stunning patterns of the Thoughtful Journey Designs Specialty Paper. By cutting down a 4″ x 6″ card, we expose the beautiful specialty paper, creating a layered, intricate look.
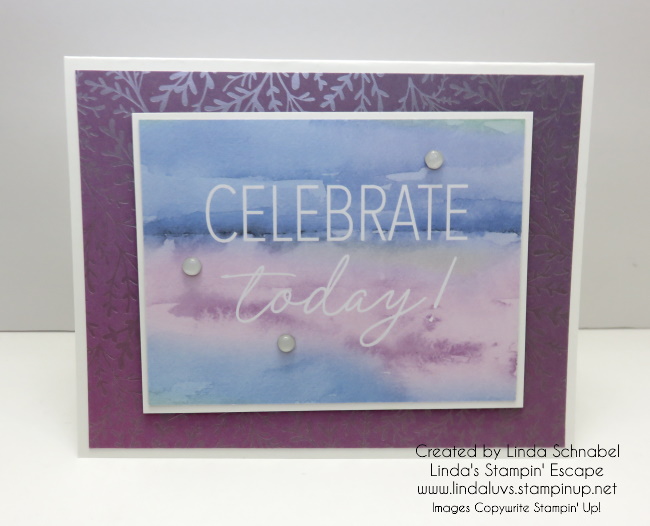
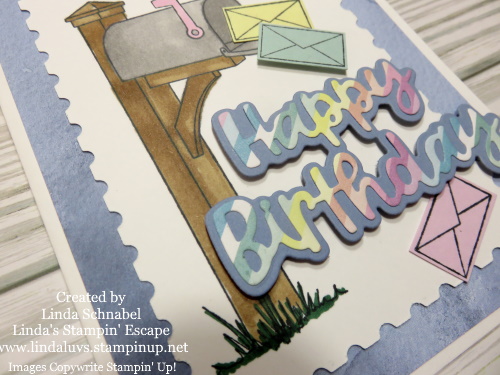
The watercolor look on the card and greeting already done for us worked in perfect harmony with the two-tone colors on the Thoughtful Journey Designs Specialty Paper. I matted the card with Basic White to pull the greeting out and to coordinate with my card base. I used the Adhesive Backed Transparent Dots to pull the entire card together as it brings out the foil on the specialty paper.
This not only showcases the coordination within the Thoughtful Journey Suite but also adds depth and dimension to your card. The result is a stunning, intricate design that’s still incredibly easy to create.
With these two projects, you can see how the Thoughtful Journey Memories & More card pack offers endless possibilities. Whether you prefer quick and easy cards or more elaborate designs, this collection has you covered.
Each card you make is a small piece of art, a reflection of your thoughtfulness, and a joy to both give and receive. It’s time to let your creativity soar and make every card a thoughtful journey of its own.
Thank you for joining me today ~