Hello Stampin’ Friends ~
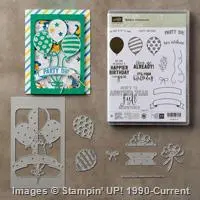
If your feed looks anything like mine, it’s been Black Friday this, Cyber Monday that, and Christmas everywhere you turn! So today, I decided we’re taking a tiny detour from the holiday hustle. My card features the Celebratory Sips Suite, and let me tell you… this adorable POP-UP card is the perfect little getaway. No snowflakes, no sales—just a cute, clever design that will make every fellow sip enthusiast smile. Cheers to a crafty escape! 🍷✨
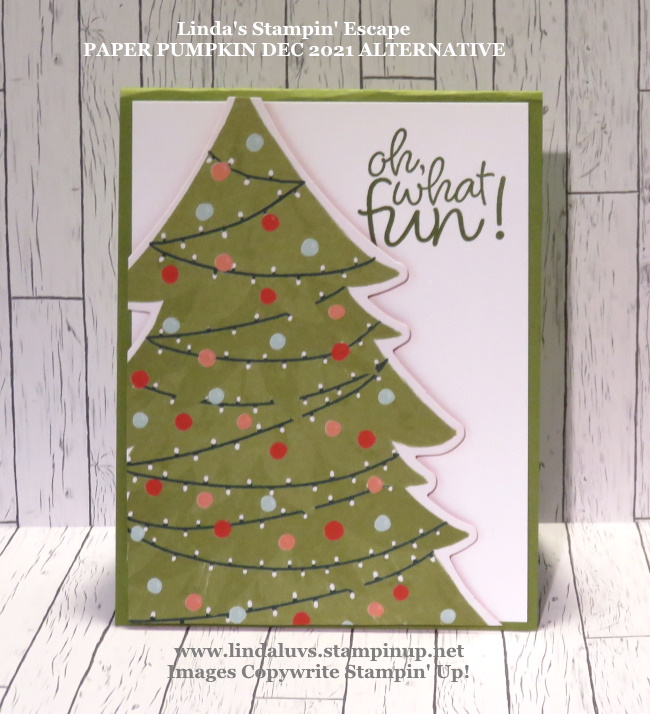
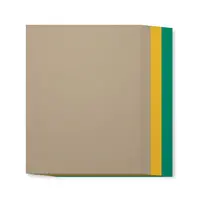
Let’s begin … My cardbase is Basic White and cut 11″ x 4 1/4″ then scored and folded at 5 1/2″. I like using the “tent fold” every now and then – it surprises people! As you see, my card begins with a Bloody Mary (I am from Wisconsin – lol) This simple layout has an embossed background using the Exposed Brick Embossing Folder – I just love the texture you get with this.

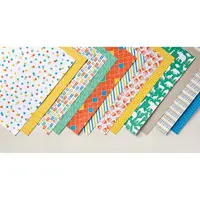
The back drop can be any designer paper you want to use to highlight your images, I went simple with a black and white dots, and a black mat to really draw attention to the focal point – my cocktails. The drinks were die cut with the coordinating dies, however I did fussy cut around the edges of the garnishes.
The greeting was die cut in Old Olive using the Stylish Shapes Dies. The were placed in the opposite corner on the back drop to balance the card and allow you to see the designer paper on your backdrop … subtle, and effective.
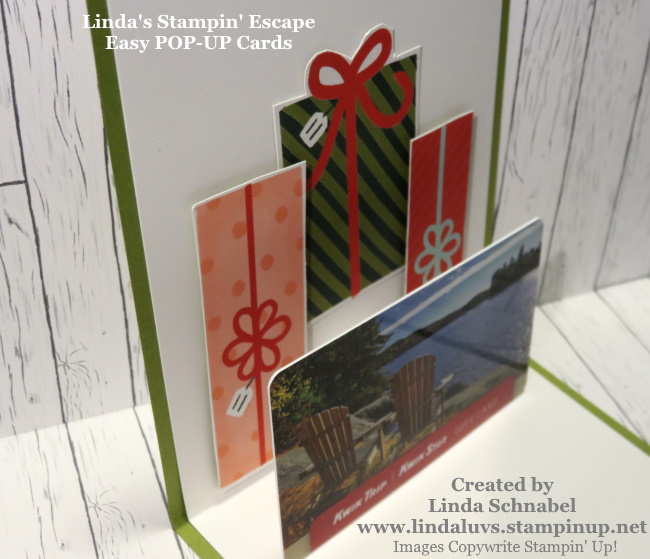
Are you ready for the POP!?

🛠️ How This Pop-Up “Box” Card Is Made
- Start with a 3″ × 3″ square of cardstock. Score it every ¾” — so you’ll have three score lines, dividing the square into four equal ¾” × 3″ panels. When folded, this becomes the “box” or step mechanism that pops up.
- Fold along the score lines to form the little “box.” The two end panels will act as the base tabs. Add adhesive to those end panels. These tabs will be glued over the fold line inside your card, meaning one end will glue to the “floor” of the card and the opposite end will glue to the “back wall” (or top half) of the card when closed.
- With the “box” in place and secured, you now have a raised horizontal shelf inside your card — perfect for attaching your decorative elements (like the bottles, glasses, fruits from your Celebratory Sips Suite paper).
- Make sure your pop-up shelf folds flat when the card closes. Once open — boom — you’ll get that little scene popping forward, giving dimension and surprise.
And there you have it — a cute & sassy card with a little pop-up sip station tucked right inside! It’s bright, it’s fun, and it’s guaranteed to bring a grin to anyone who opens it. Great birthday card for a guy or gal. I mean… who wouldn’t love a surprise cocktail bar popping out at them? 🍹✨ Creating this one reminded me that sometimes we just need a playful escape — a little creativity, a little color, and maybe a little something to sip while we craft. After all… it’s 5 o’clock somewhere, right?
Thanks for stopping in for a sip & a smile today… cheers to more creative moments ahead! 🍹