Hello Stampin’ Friends,
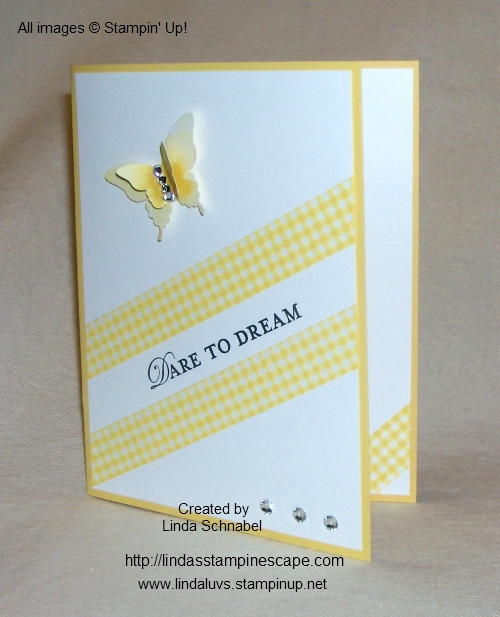
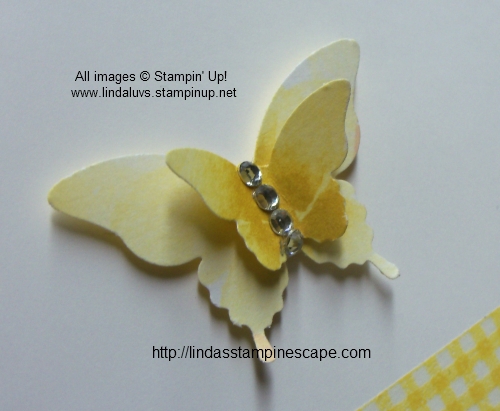
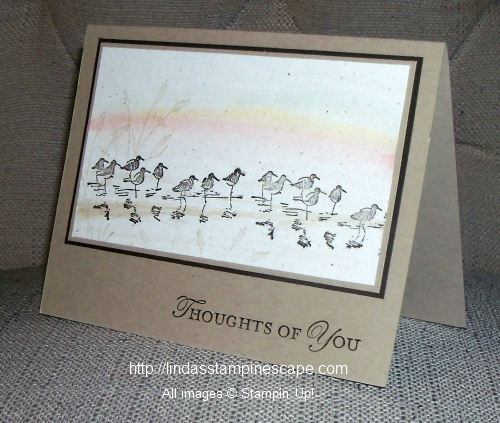
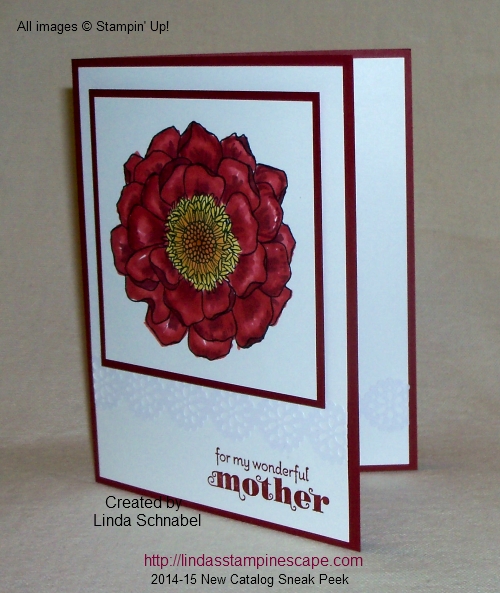
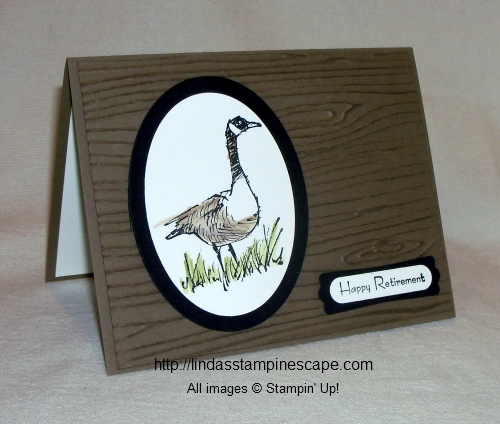
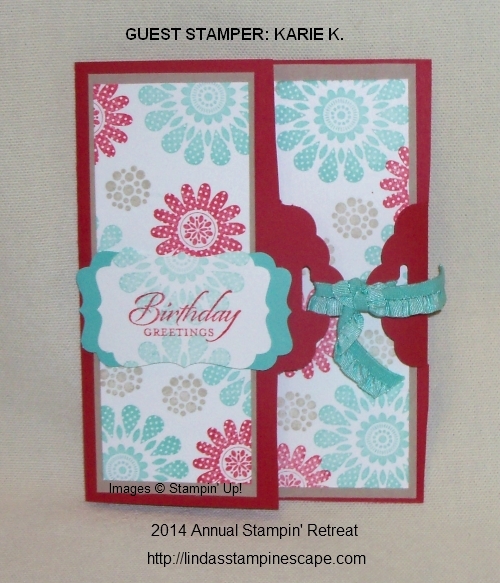
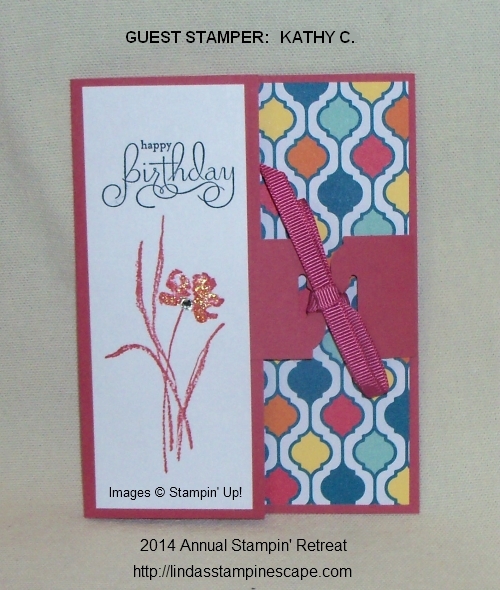
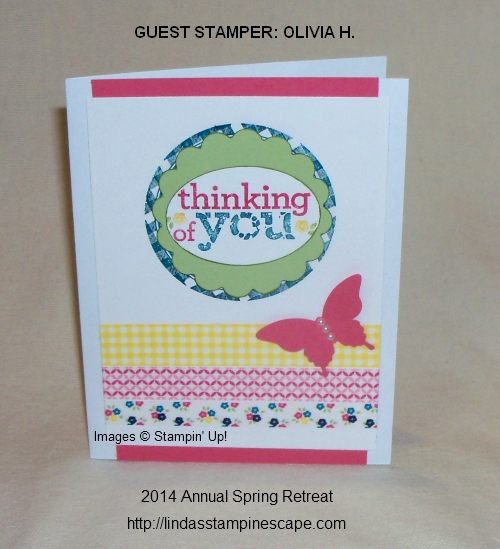
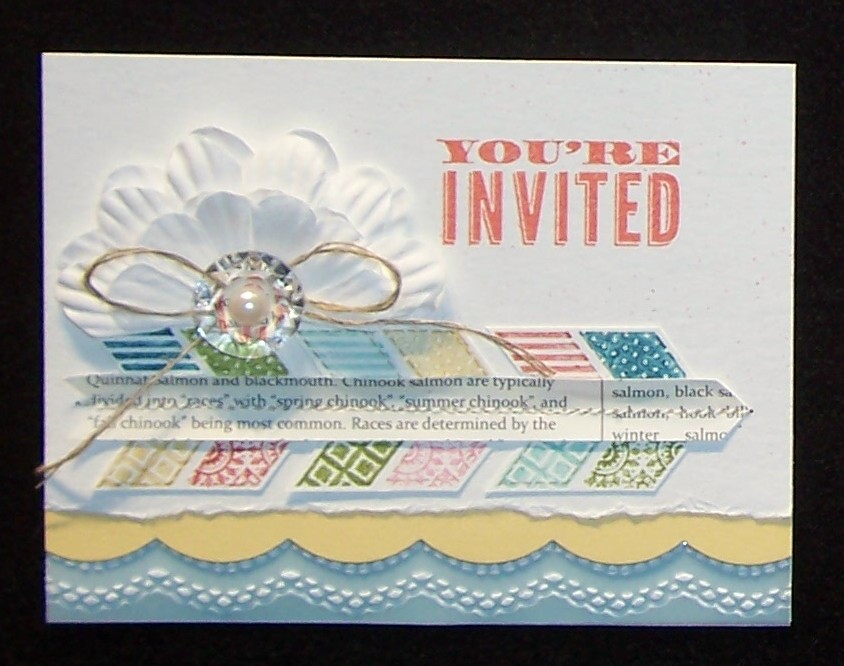
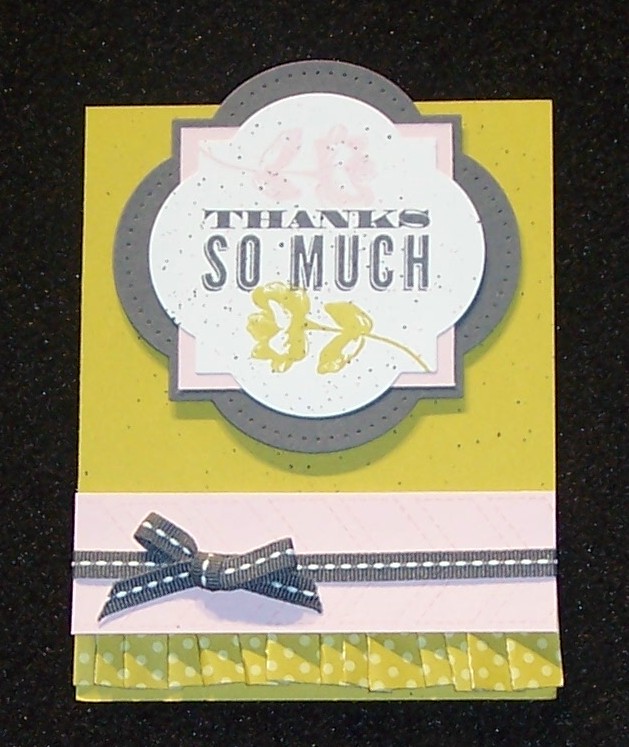
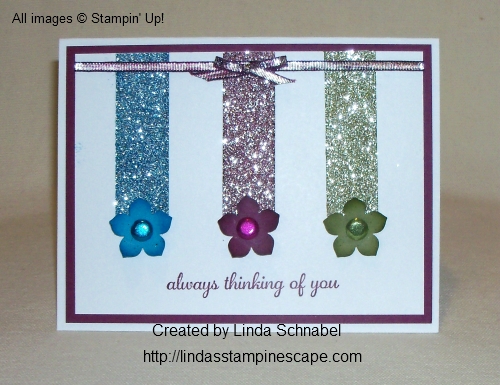
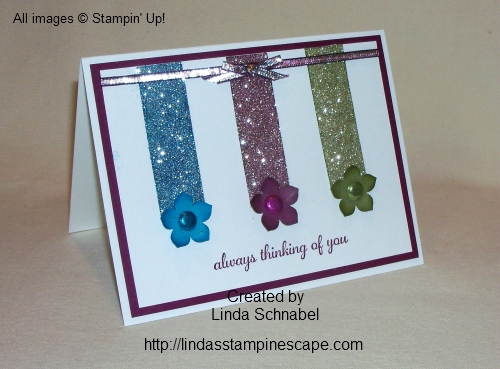
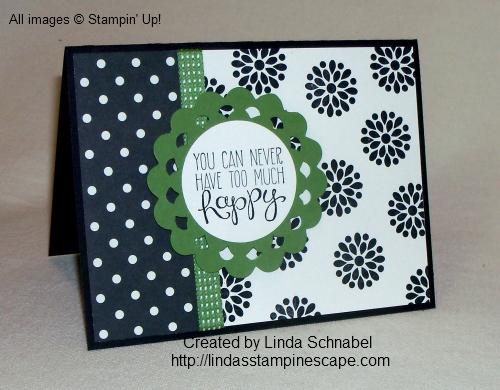
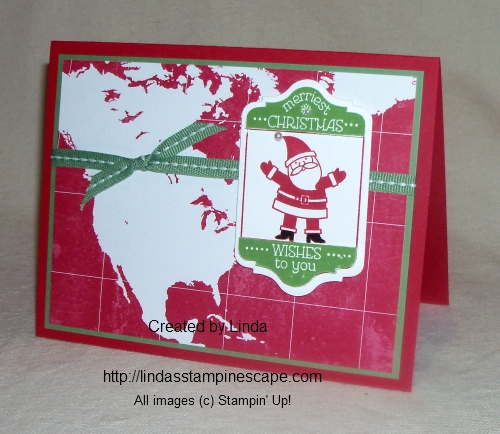
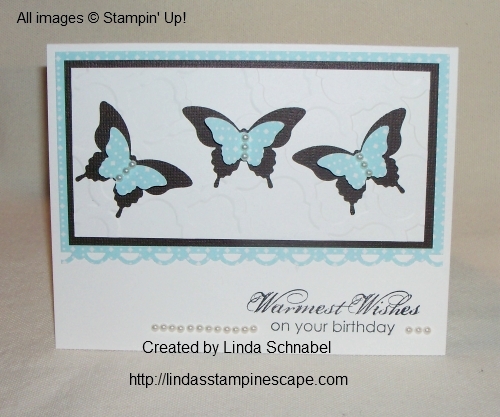
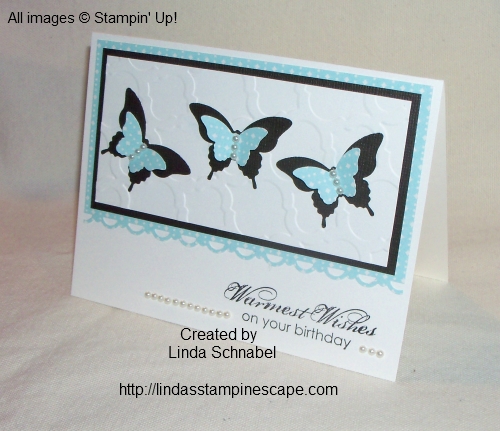
Today I want to share with you some samples that I have gotten a year or so ago when the “Oh Hello” stamp set was introduced. It is now being retired 😦
The samples were shared at the Stampin’ Up! Convention by some very talented fellow demonstrators … I’d love to give recognition to the stamper, but I do not know the creators names.
Enjoy …


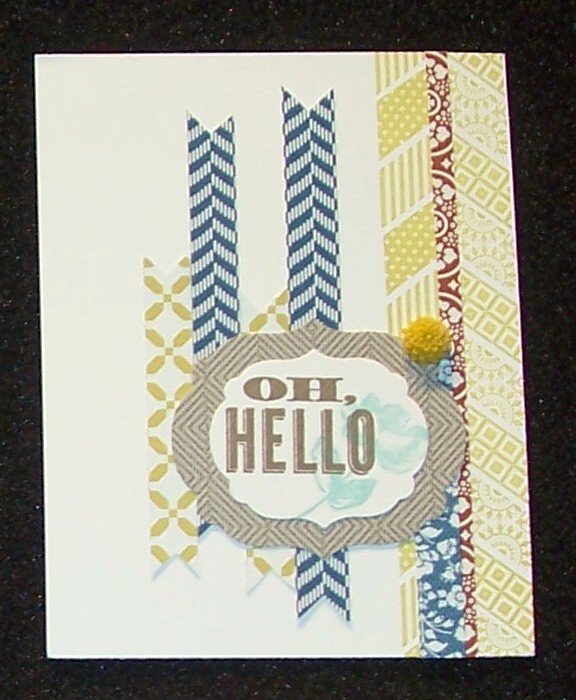
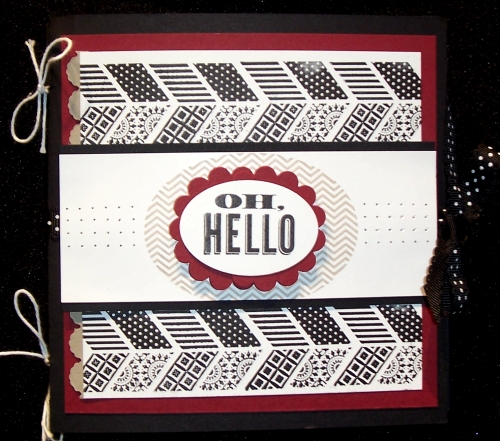
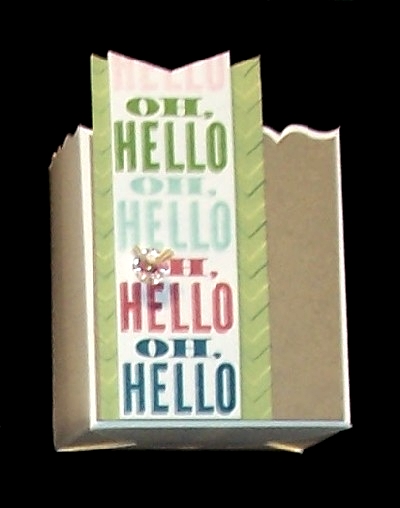
Well I must say, the demonstrators who made these beautiful projects are talented, and we thank them for sharing with all of us! They also showed how versatile this stamp set is. Hope you enjoyed today’s “Throwback”.
I’ve put the link to the “OH HELLO” stamp set at the end of my blog. Here are some of the items that have already “SOLD OUT” … If there are items you want to order … don’t wait. Once they’re gone, they’re gone for good.
Stamp sets already out of stock:
Baby Prints (clear)
Backyard Basics (clear & wood)
Birthday cake
Blast off (clear)
Blessings from heaven (clear & wood)
Create a cupcake (clear)
Creatlive elements (clear)
Delicate Doilies (clear)
Delightful Dozen (clear)
En Francais (wood)
Fabulous Florets (clear)
Fiield Flowers (clear)
Fine Feathers (clear)
Fishin Around
Five Way Flower
Forever with you
Harvest Blessings (clear & wood)
Horse Frontier (clear)
Love & Laughter (clear)
Lovely Little Labels (clear)
Mr & Mrs (wood)
My Friend (clear)
Rev Up The Fun (clear & wood)
Secret Garden (wood)
Simply Stars (clear & wood)
So Sorry (clear & wood)
Storybook friendds (clear & wood)
Sunflower (clear & wood)
Take care (clear)
Tag it (clear)
Woodgrain (clear & wood)
World Treasures (clear)
Zoo Reivew (clear)
Accessories out of stock:
2012-14 In Color Reinkers – All Colors
2012-14 Ink pad/cardstock kit
2012-14 In Color cardstock single and multi packs
2014-14 12 x 12 In Color Cardstock
Thanks so much for stopping by today.

Please feel free to share or save ...