“Stamp Your Passport Before It’s Gone!”

Hello Stampin’ Friends ~

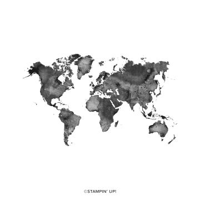
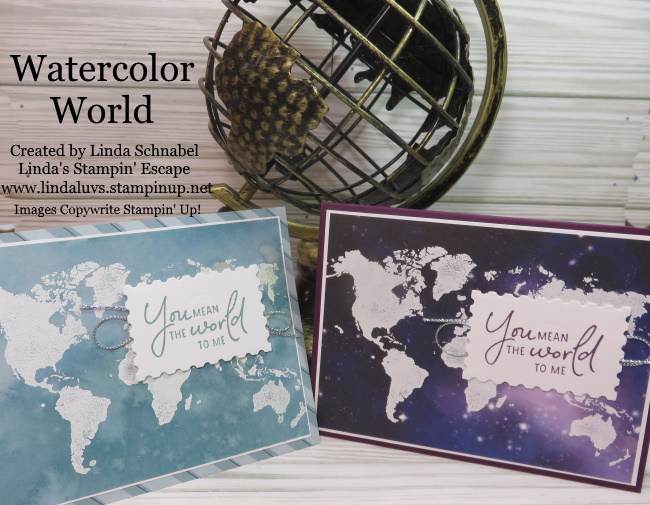
🌎 It’s time to color your world—before this beauty is gone for good! The Watercolor World stamp set is making its final journey, and you do not want to miss the chance to add it to your collection. This large, artistic stamp brings a relaxed watercolor style that looks stunning with just one impression—perfect for beginners and seasoned stampers alike. Whether you’re a globe-trotter at heart or simply love bold backgrounds, you’ll fall in love with how easy it is to create beautiful, meaningful cards in minutes. Let me show you just how magical it can be—watch the video where I walk you through step-by-step techniques using Sponge Daubers, Stampin’ Write Markers, and more!

Grab a coffee, tea or whatever you like and join me for a short video that brings these magical techniques to life. This is a replay of one of my past Facebook LIVE presentations. Just click on the image to view …

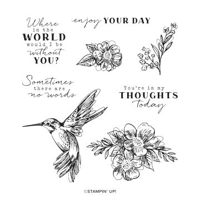
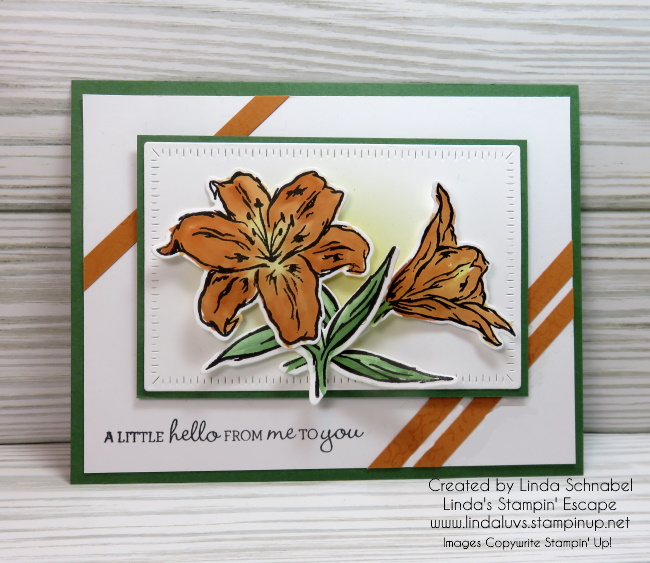
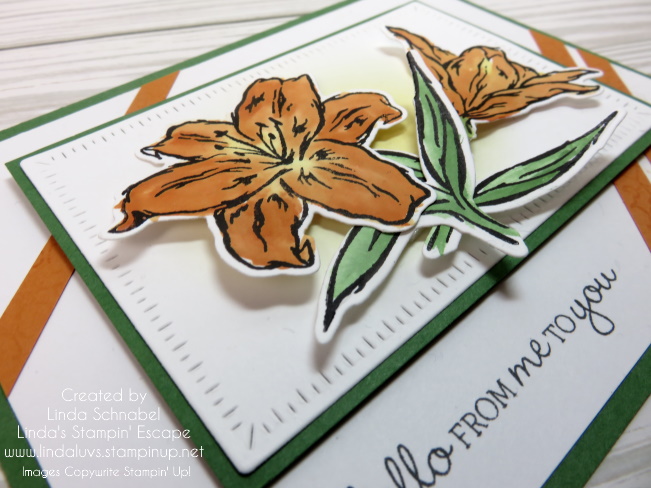
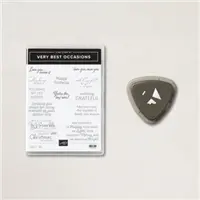
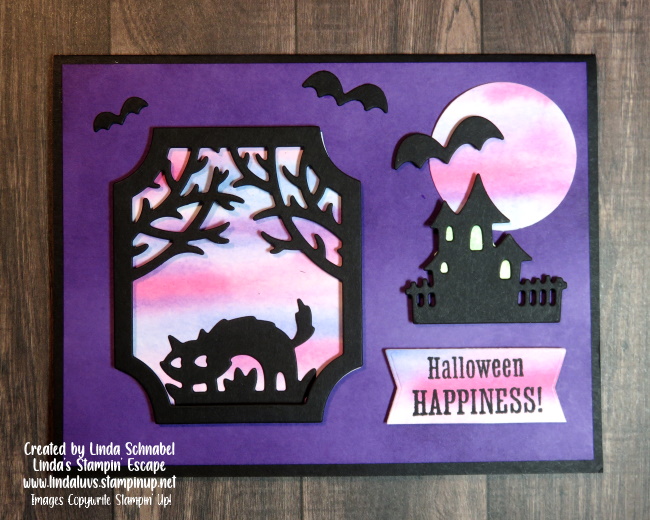
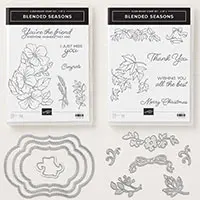
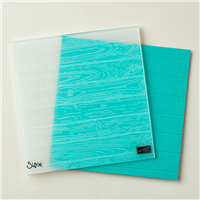
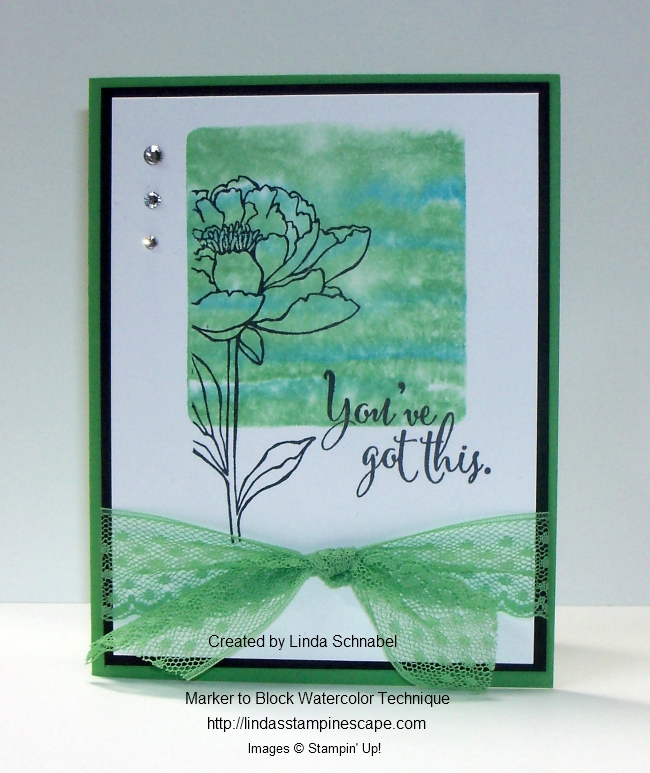
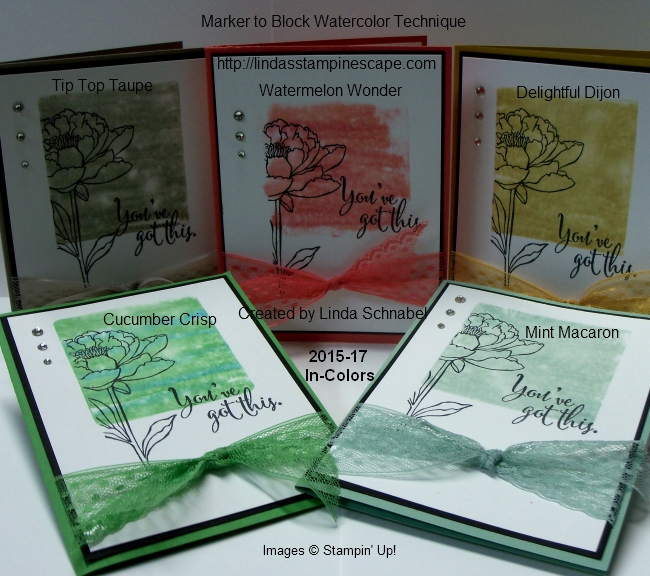
Let’s take a closer look at our cards …. Let’s delve into our basic stamping and embossing, accompanied by the Thoughtful Expressions Bundle. This technique marries simplicity with refinement, as we create timeless masterpieces with ease. Combined with embossing folders, the Watercolor World stamps transform into captivating works of art, ready to adorn any occasion.

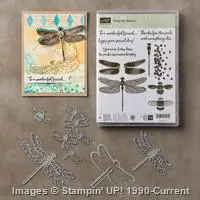
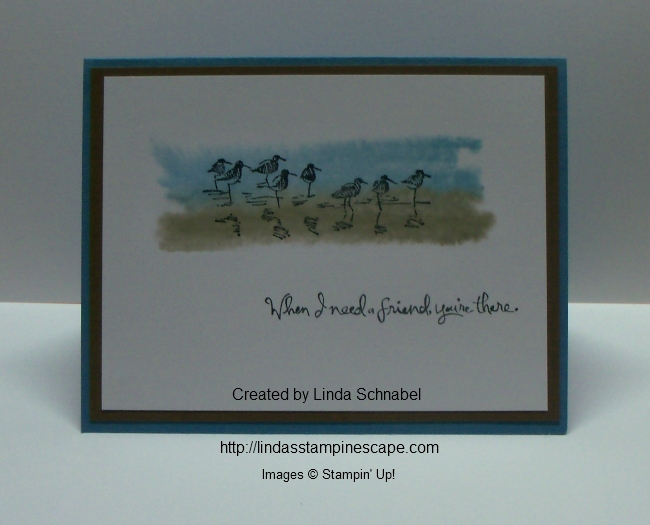
Ready to immerse yourself in the magic of direct-to-rubber stamping technique? Then enhanced by the Sending Smiles stamp set which dances across the continents! This technique introduces a delightful twist to traditional stamping, infusing your creations with a watercolor-inspired allure. The Stitched with Whimsy dies also creates not only texture, but the feeling you are traveling with them.

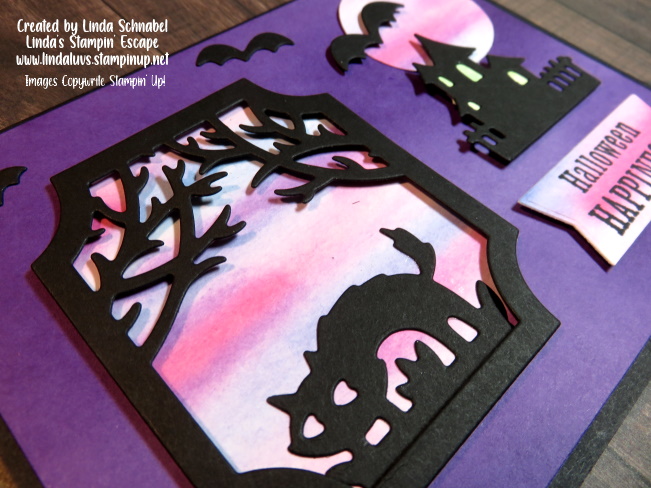
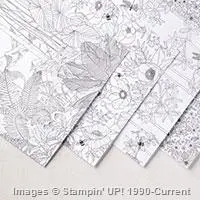
Our third technique, emboss resist, is a testament to the versatility of the Watercolor World stamp set. Paired with the He’s All That stamp set, we embark on a journey of exploration and experimentation. As we apply layers of color over our heat embossing, intricate designs emerge, unveiling a world of possibilities. Witness as the stunning effects of emboss resist unveil intricate patterns (our continents) and textures, captivating the eye and igniting the imagination. So fun and so easy to do.

As we pair these techniques with complementary stamp sets, we unlock new dimensions of inspiration and innovation, transforming simple materials into works of art that delight the senses and nourish the soul. So, gather your supplies, unleash your imagination, and let the Watercolor World stamp set be your guide on a voyage of discovery and delight. 

🌍🎨 Don’t let this global gem slip away! The Watercolor World stamp set is retiring, and once it’s gone, it’s gone. This is your chance to own a truly versatile background stamp that can be as simple or as detailed as you want it to be—your creativity sets the course.

Thanks for joining me today. Click add to cart and let your creativity take flight across the globe. Happy stamping and safe travels through your creative world! ✈️🎨💌

Beautiful Lily Cards are Not Just for Easter …

Hello Stampin’ Friends ~

With the Easter season upon us, it was the perfect time to indulge in a crafting session that evoked the spirit of renewal and celebration. Recently, I had the pleasure of teaching a delightful class centered around the enchanting Easter Lilies stamp set from Stampin’ Up! And let me tell you, it was an experience filled with creativity, camaraderie, and a myriad of coloring techniques.

In this blog post, I’m excited to share one of the four captivating cards we created during the class, each showcasing the beauty of Lilies in unique ways. But before we delve into the details of the card, let’s talk about the techniques we explored to bring these lilies to life. I guided my guests through a diverse array of coloring methods, each lending its own charm to the delicate petals of the Easter Lilies. We experimented with pastels (chalks), daubers, watercoloring, and Stampin’ Blends, discovering the nuances of each technique and the stunning effects they can achieve.

Today I’m sharing the “watercoloring” card ….

One of the most captivating techniques I taught during the class was watercoloring, which lent a mesmerizing effect to the common day lily featured on our card. With vibrant oranges and yellows blending seamlessly across the petals, the lilies seemed to dance with life and energy. To complement this stunning focal point, we incorporated additional elements such as the Radiating Stitches die for a touch of texture and dimension, and the stamped strips of paper to draw your eye to the focal point … our lilies.

The water painters proved to be invaluable tools, allowing us to effortlessly blend and layer colors to achieve the desired intensity and depth.

While Easter Lilies are often associated with springtime and religious celebrations, this card demonstrates that the beauty of the lilies transcends any specific occasion. With its sophisticated design and timeless appeal, it can be sent as a heartfelt greeting for birthdays, anniversaries, weddings, or any moment deserving of a touch of grace and beauty.

For me, the most cherished aspect of the class wasn’t just the techniques we learned or the cards we created—it was the sense of community and connection forged with fellow crafters. Gathering around a shared passion for creativity, we laughed, learned, and inspired each other, making memories that will last long beyond the crafting table.

Thank you for joining me today, and make sure YOU are on my mailing list so you are notified of all classes, and upcoming events.

Have a great day!

No Line Watercolor Technique Card & Video

Hello Stampin’ Friends ~

Ready for Spring? I’m thrilled to revisit the No Line Watercolor Technique with you today. Daffodils always remind me of spring and with the temperature hitting 40 degrees today, it will feel like spring for many of us.

I love this watercoloring technique and it is much easier that you think. It’s not a quick card but it is very relaxing and you will fall in love with the No Line Watercolor technique as well.

I’m using the Daffodil Daydream stamp set, it is such a beautiful flower to illustrate and do this technique with.

I invite you to watch the video along with me … I can’t wait to show you the simple steps it takes to create such a gorgeous card. You are going to fall in love with this technique because it’s going to make you look like a real artist! I’m no paint pro, but I sure like the way this looks.

As simple tip is too keep your darker colors in the recesses of your image. I also kept my water painter on the dryer side … it still has water but it easier to control your color when it’s not over wet, and the results are amazing. The dimensions for this card are also simple; Old Olive Card base is 8-1/2″ x 5-1/2″ … the front is a piece of watercolor paper measuring 4-3/4″ x 3-1/2″. The watercolor piece I stamped on measures 3-1/2″ x 2-1/4″ so my Old Olive mat was 3-3/4″ x 2-1/2″. I just used scrap pieces for my greeting.

The greeting comes from a brand new bundle … the Very Best Occasions Bundle! That is also where the triple edge punch comes from that I decked out my daffodil with. It’s a great addition to my stamp & punch collection – I’ll be using them both many, many times.

I hope you enjoyed this beautiful card, and the video will inspire you to try out this No Line Watercoloring technique.

Have a wonderful day! Thank you

Here is a list of the supplies I used in creating this card …

No Line Watercolor Technique Card & Video

Hello Stampin’ Friends ~

I’m thrilled to share the No Line Watercolor Technique with you today. It was scheduled for my Facebook LIVE yesterday but I had technical difficulties … well, it took me to more chances but I finally got my video!! It is too cool and pretty not to share.

I’m using the Daffodil Daydream stamp set, it is such a beautiful flower to illustrate and do this technique with.

I invite you to watch the video along with me … I can’t wait to show you the simple steps it takes to create such a gorgeous card. You are going to fall in love with this technique because it’s going to make you look like a real artist! I’m no paint pro, but I sure like the way this looks.

As simple tip is too keep your darker colors in the recesses of your image. I also kept my water painter on the dryer side … it still has water but it easier to control your color when it’s not over wet, and the results are amazing. The dimensions for this card are also simple; Old Olive Card base is 8-1/2″ x 5-1/2″ … the front is a piece of watercolor paper measuring 4-3/4″ x 3-1/2″. The watercolor piece I stamped on measures 3-1/2″ x 2-1/4″ so my Old Olive mat was 3-3/4″ x 2-1/2″. I just used scrap pieces for my greeting.

The greeting comes from a brand new bundle … the Very Best Occasions Bundle! That is also where the triple edge punch comes from that I decked out my daffodil with. It’s a great addition to my stamp & punch collection – I’ll be using them both many, many times.

I hope you enjoyed the video, especially those who joined me last night to support me LIVE before the internet went down.

Have a wonderful day! Thank you

Here is a list of the supplies I used in creating this card …

Watercolor Background & Silhouettes

Hello Stampin’ Friends ~

Today I have another card highlighting the multicolored watercolor background I shared with you, but that’s not the best part … I’m going to pair it with a brand new bundle!! It’s also a great way to show you another use for those beautiful watercolor backgrounds you’ll be creating … because once you get started, you are going to create a lot of them because it’s so much fun.

Let’s take a good look at the new Scary Cute bundle and how it allows me to use my background in a new way ….

First, this cute bundle has this fun frame … I chose to “pop it up” with dimensionals. It is an open frame so you can put your scardy cat in it, the cute little house or stamp any one of the kids to fit inside (so many options!). I also have enough of my watercolor background left to die cut a moon and a greeting! Three different ways to use your creation … sweet!

You may also see a bit of tomorrows watercolor paper behind the windows of the house ….

All of these dies (except the moon) come in the bundle … I haven’t even played too much with the stamp set yet, just used it to stamp my greeting today. I hope that you liked the different ways to use your “watercolor background” and the first peek into the Scary Cute bundle. I have more Scary Cute to share with you in future posts.

Thanks so much for joining me today.

Have a great day ~

Autumn Card with Watercolor Pencils …

Hello Stampin’ Friends ~

We are past the halfway point of the week and on the road to the weekend!!  Wooo Hoo! I can’t wait to share this beautiful card with you today … I created this card for my Stars Team meeting this past Saturday to highlight the beautiful Color of Seasons …

Because Stampin’ Up! is also offering a brand new set of Watercolor Pencils as a coordination product with this bundle I just had to play!! Who doesn’t love the ease of the Watercolor pencils when you want several different colors on your Autumn leaves?

Well … let me just show you, a picture is worth a thousand words (or should I say oooooh and aaaaah!!)

I stamped the images with the Momento Ink and began with the Garden Green Watercolor pencil. I used it along the vein in the center of the leaves, then I just colored in some Crushed Curry, then some Cajun Craze and finally a little Cherry Cobbler near the edges.  Each leave was a little different.

Once I was done with the Watercolor Pencils … I used my blender pen to move and blend the color.  Wow … the pencils are definitely artist quality pencils, they blend so easily and looked beautiful in spots where I hardly blended at all!

I did have to fussy cut my leaves out, but I must say that while sitting around the table with a group of friends (my Stars Team members) and just chatting & catching up, before we knew it, they were all cut out!!

After that we added just a touch of the Wink of Stella … and we did that because it really brought together the colored leaves and the die cut leaf. (The die comes with the bundle!)

Our greeting comes from the Blended Seasons Stamp Set (see below) and was punched out using the Pretty Label punch! Popped it up with the Stampin’ Dimensionals and the leaves too. The background was done with the Pinewood Planks Embossing Folder … the autumn leaves look so good against it!!

I can’t stop playing with this bundle … it can be used all year long and for any occasion (Even Weddings – there is a bell with a coordinating die)!! Stampin’ Up!’s® Blended Seasons Stamp Set, coordinating Framelits™ Dies, and Watercolor Pencils are perfect for every season of creating! Plus, save 10% when you buy the stamp set and Framelits in a bundle! But don’t wait—these exclusive products are only available until August 31 while supplies last.

Because the Blended Season Stamp Set and Stitched Season dies are “Limited Time Only” offer … I am hosting classes that will highlight the “Seasons”.  The first class has filled so I am adding another class on Thursday the 9th of August …

Your cards will include the envelopes … All you need to bring is your favorite adhesive.  Three spots have already been reserved so don’t wait / Contact me right away to reserve your spot.  Call 262-334-1009

Thank you so much for sharing a part of your day with me …

Have a wonderful day ~

TODAY’S STAMPIN’ SUPPLY LIST ….


Inside the Lines

Hello Stampin’ Friends ~

Today I have a video for you that highlights the Inside the Lines Specialty Designer Paper that you can get for FREE in our Sale-a-bration catalog.

Stampin’ Up! trainer, Carrie, showcases the versatile Inside the Lines Specialty Designer Series Paper. This exclusive 12″ x 12″ paper is only available when you make a qualifying purchase during Stampin’ Up!’s annual Sale-A-Bration event.

Coloring books are so hot right now and Stampin’ Up! is right in line with that.  But what I love is that this beautiful paper coordinates with the Dragonfly Dreams stamps and Detailed Dragonfly thinlits… Bundle those and save 10%.

Thank you for stopping by and I hope you enjoyed the video.

Have a wonderful day ~

blog-closing-small      starry-purple-background-vector


TODAY’S SUGGESTED PRODUCTS …


Watercolor Technique In Color

Hello Stampin’ Friends ~

Well … we are over the hump and one day closer to the weekend, and a Holiday weekend too! A perfect time to celebrate.

Today I’m celebrating our new In Colors!! I have teamed them up with a great technique that I taught my Technique Club this past June. The Marker to Block Watercolor Technique … so simple but it can make a dramatic impact!

000_2340

We took one of the clear blocks and colored it with our markers, you can add a second color to create a bigger WOW effect. Then simple spritz it with water until it starts to bead up … then press it onto your cardstock. We used the Whisper White … no special cardstock needed!

It’s an amazing site when the colors create the beautiful watercolor look. Let it dry a bit and then you are free to stamp. We masked the left side of the card so our image looks like it is captured in the block. The stamp set we used is the new “You’ve Got This” stamp set.

Here is the card done in each of our new In Colors. I marked them for you. Check out how nicely the ribbon, cardstock and inks coordinate!  Love it!!

000_2344

I hope I inspired you to pull out your makers and spritzer and create some wonderful watercolor cards.

Thank you for joining me today …

Hope your day is full of color… Have fun!!

blog-closing-small

TODAY’S STAMPIN’ SUPPLY LIST …


Simply Sunday: A Watercolor Technique

Hello Stampin’ Friends,

Today I’m going to share with you a card inspired by the technique that I’m doing with my Technique Clubs this month. A simple technique that really has that “WOW” factor. You will need a clear block, some markers and a stamp set of your choice.

On today’s card, I’m using the stamp set “Wetlands” and the sandpipers from that set, block “H”, the “Marina Mist” marker from the Soft Subtles and “Soft Suede” from the Neutrals Collection of markers. I know my club members are going to enjoy this one!

000_2288

I use the lightest of the two colors first, so the Marina Mist is scribbled onto the top half of the block, then the Soft Suede on the bottom half. Fill your Stampin’ Spritzer with water and simple spritz the block until it begins to bead. Then press it onto your cardstock (we used Whisper White). You will actually see the color pull into the cardstock … Hold it down for a bit till the water is absorbed.

000_2293

Let it dry somewhat and then you can stamp your sandpipers onto your watercolor image. You will never get two to look the same, and that is the beauty of this watercolor technique.

My greeting comes from the stamp set “Choose Happiness”.  I like the way the font compliments the line image of the sandpipers. YES … Sometimes less is more. Adding extra embellishments just because you have them, would take away from the simple message of this card.

I’d love to hear your thoughts about the use of embellishments. Don’t get me wrong … I like my bling too! lol

Thank you for joining me today. I have listed the supplies below, just click on them for details about the product or to begin shopping at my online store.

Have a beautiful Sunday ~

blog-closing-small

000_2291

TODAY’S STAMPIN’ SUPPLY LIST …