Holly Jolly Memories

Hello Stampin’ Friends ~

With summers and as we move into the autumn season it’s the time of year is full of memories and traditions, and we want you to do all you can to remember the little things that make this season so special.

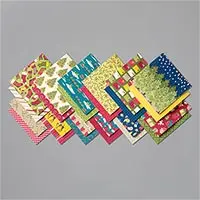
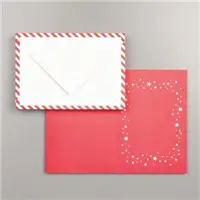
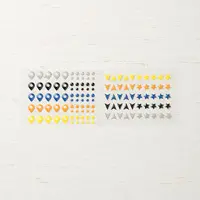
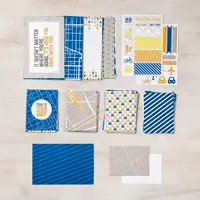
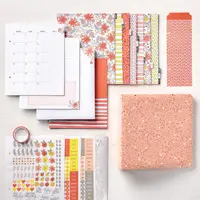
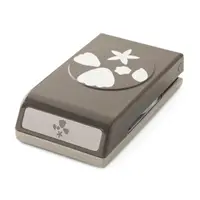
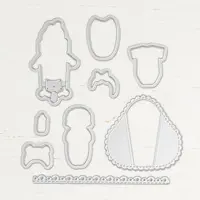
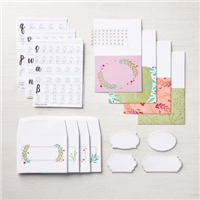
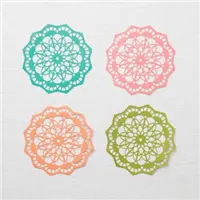
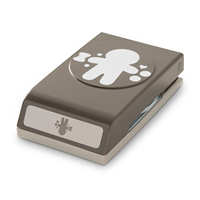
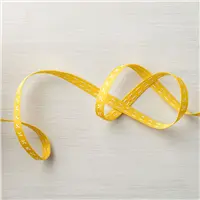
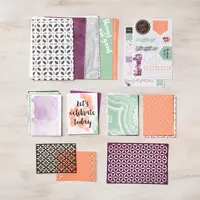
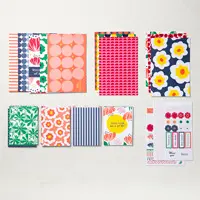
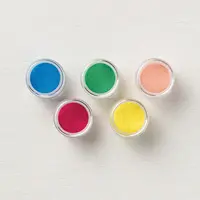
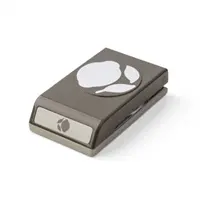
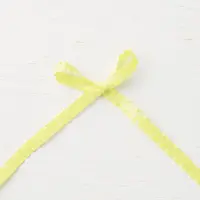
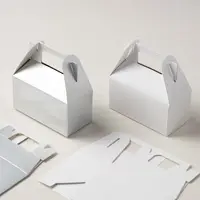
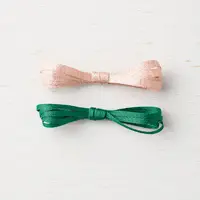
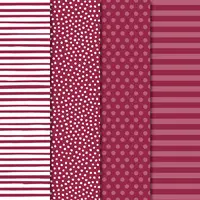
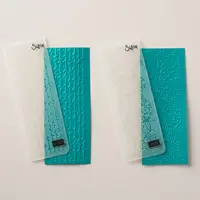
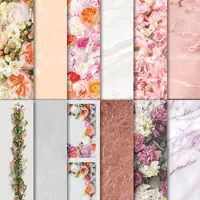
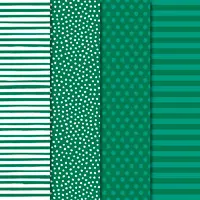
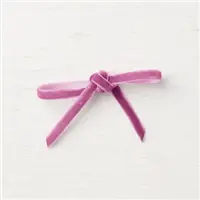
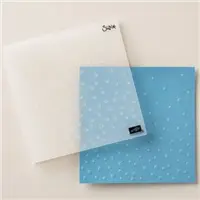
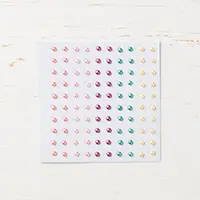
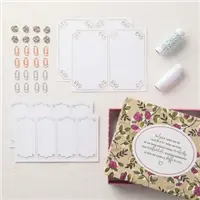
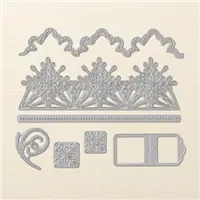
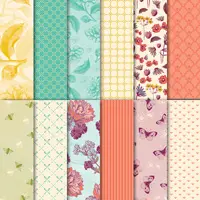
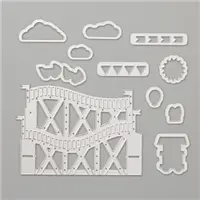
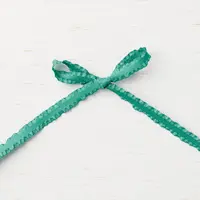
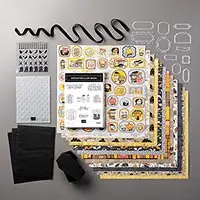
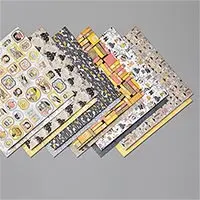
That’s when the Night before Christmas Suite comes in to save the day! Not only do you get the stamps, the paper, the dies, and the ribbon that looks like candy canes (please don’t eat it), but you also get the Night before Christmas Memories & More Card Pack—that’s 54 double-sided cards that you can use all season long!
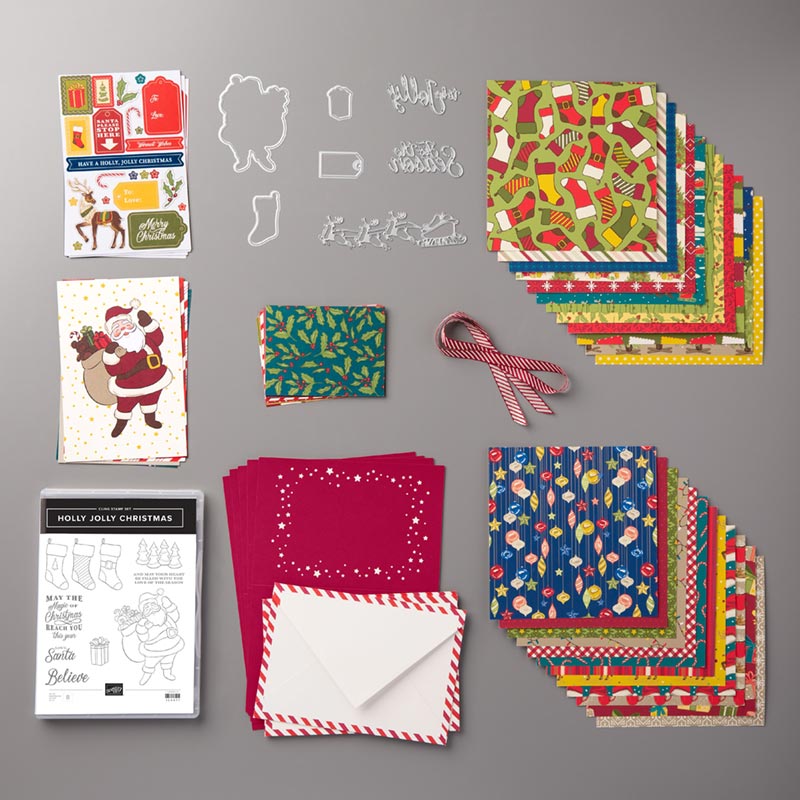
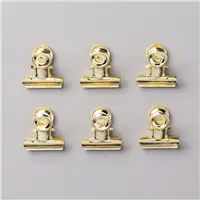
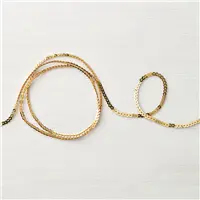
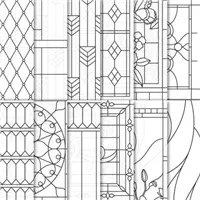
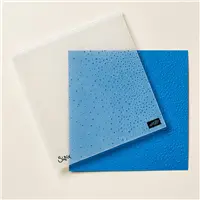
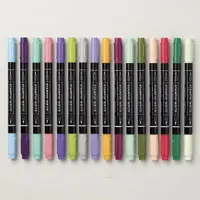
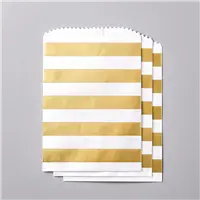
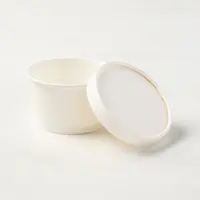
The Night Before Christmas Suite Bundle gives you a coordinating selection of products with one simple purchase. It includes the stamp set and tool bundle at 10% off plus one each of the other items shown above.

Would you be interested in attending a class showing you how to utilize all these wonderful products?

Let me know what you think!  Thanks for checking back in with me.

Have an awesome day!

TODAY’S STAMPING SUPPLY LIST …
 

W-Fold Card: Open If You Dare …

Hello Stampin’ Friends ~

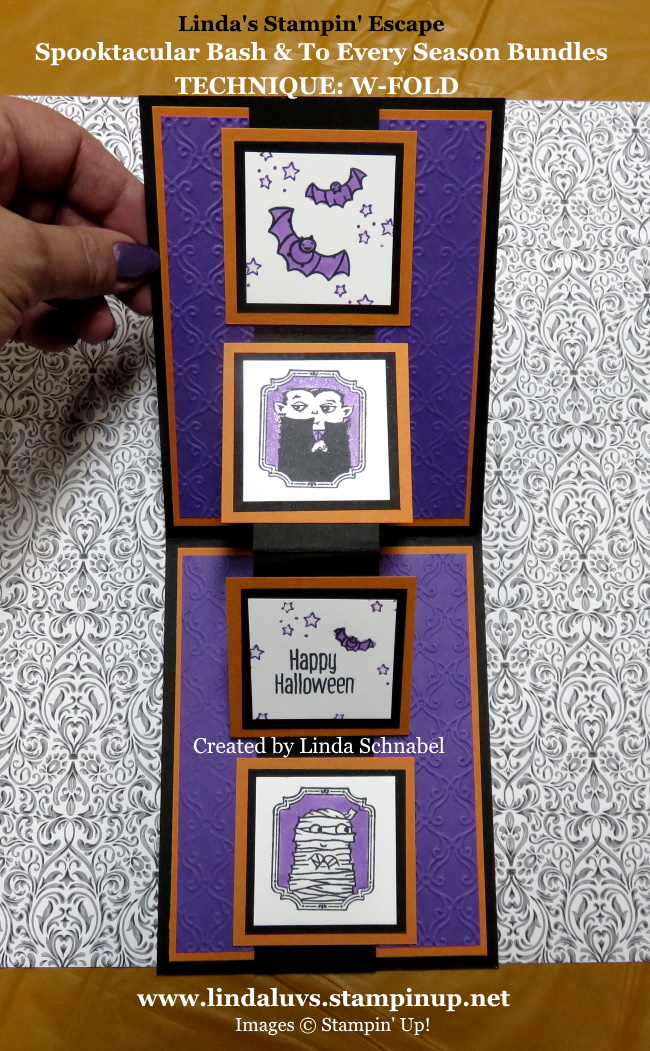
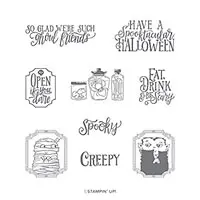
Yesterday I shared the “To Every Season” Bundle with you, today I’m pairing it with the “Spooktacular Bash” Bundle and delivering it to you on a spooky little card featuring the W-Fold!!  Are you ready??  Open if you dare ….

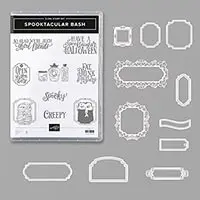
The background is Gorgeous Grape and stamped with Gorgeous Grape using both the “To Every Season” and “Spooktacular Bash” stamp sets, which is then layered over Pumpkin Pie over a Basic Black base.

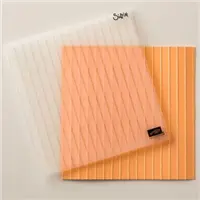
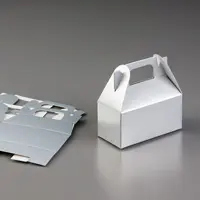
The coffin was cut from a template I made from the cute little Coffin Treat Boxes also found in the Monster Bash product suite. I embossed it with the Stylish Scroll Embossing Folder and with a light dragging of the Celestial Copper Delicata Metallic Ink Pad across the raised image you create some added dimension and sparkle!

The greeting is from the Spooktacular Bash bundle and die cut with the coordinating (and layering) dies… and lets not forget about those cute little bats which were punched from the To Every Season punch pack .  Notice the sparkle … you guessed it, Wink of Stella!!

NOW IT’S TIME TO OPEN …

The “W-Fold” is created to POP out your images! This is the fold that our September Club members learned this month. Can you tell that the center 2 images are popping right out of your card? Keep opening ….

I tucked some fun little creatures inside the card to wish you a Happy Halloween! We layered the inside the same as the outside of the card, but instead of stamping on the grape … we embossed it just like we did to the coffin lid!

Now it’s fully open so you can see how nicely the card lays down. and a better look at our stamped images.  The were all colored in the grape and then Wink of Stella was added over them.  The inside band is what makes the W and our images pop.

I love that I can use the “To Every Season” Bundle with the “Spooktacular Bash” Bundle and then take it onto the next holiday! I’m all about purchasing products that I can use throughout the year … maximizing my money!! If you have to have the products you saw today … just click on the images below and it will take you to my on-line store.

Stop back tomorrow and I will show you how I take both of these bundles onto the next holiday!!

Thank you for checking out my blog … have a wonderful day!!

Today’s stamping supply list … 


To Every Season …

Hello Stampin’ Friends ~

I’m back with a special card direct from Stampin’ Up!  This one little bundle can

To every season . . . there is a time for bats, a time for snow, and a time for love. Combine the greetings and images from the To Every Season Stamp Set for tags, treat packaging, or whatever is in season.

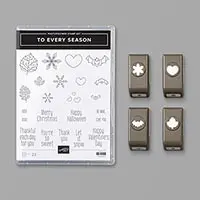
Cut out snowflakes, hearts, bats, and leaves for your projects using the Every Season Punch Pack.You’ll use this multi-occasion punch set again and again.

Punches are a quick and easy way to add die-cut shapes that add interest and depth to your projects. And punches are a great way to cut out stamped images—many of our stamp sets have coordinating punches. Our punches are high quality, affordable, and easy to use.

You’re thankful for friends and family both near and far. When is the last time you told them? This card is the perfect way to share your feelings.

The To Every Season Bundle comes with a stamp set and the Every Season Punch Pack, which is perfect for cutting out those adorable leaves that make this card pop. To get the bundle, click on the images under the “Shopping List”.

Thank you for joining me again today.  I hope you enjoyed today’s bundle … stop back tomorrow and I will show you what I did with this! A fun new fold

Enjoy your day ~

Today’s Stamping Supply List … Just click on an image to learn more or to begin your shopping experience with me.  Thank you.

Not Bones About it … Sharing Bone Appetit

Hello Stampin’ Friends ~

Last night we kicked off our 2019-20 Stamp Clubs.  I’m so excited to gather my group of stampers around the table again. It’s always a good time.  This month we are creating cards featuring the new “W” Fold card.  I’m sorry I can’t share these with you “yet” … I have another Club on Saturday and I want them to be surprised. I promise I will be sharing in the near future.

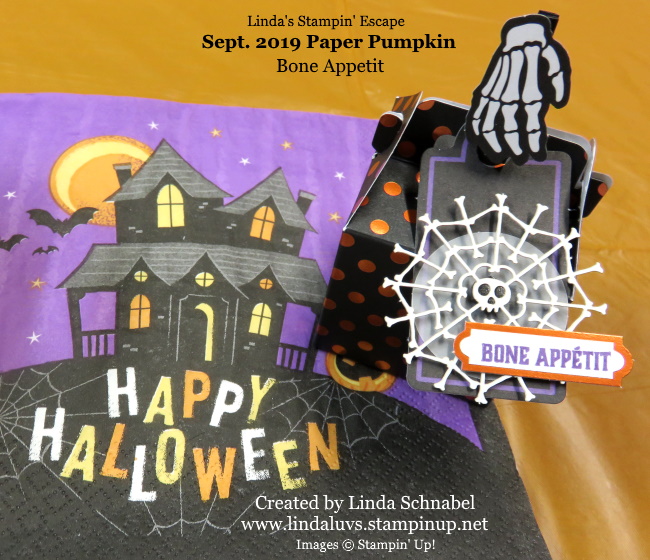
Today I’d like to share the little treat boxes that I have made for each of my club members. It comes from the 2019 September Paper Pumpkin: Bone Appetit.  These little cuties are adorned in black strips or polka dots on a orange foil.

The little tags have cute dancing skeletons (above) or a spider web (below) … just too cute! I feel in love with the skeleton hand that acts as a closure for our box …

These little boxes were quick -n- easy to assemble and decorate… and they are filled with chocolates! Can’t get better than gathering with friends, having fun making cool stuff for Halloween and chocolate!

We have a couple chairs around the table that will be open for non-club members to join us. I will post the dates and the card fold / technique that we will be doing that month, and you can RSVP and join us. Although you will not receive Hostess Benefits like club members, you will still get to create the projects with us!

To sign up for Paper Pumpkin or get more details … click the Paper Pumpkin button on the side bar on my post.

Tomorrow I will share with you a totally cute alternative project I created using my kit.

Thank you so much for joining me today, hope your day is a good one.

PAPER PUMPKIN SUBSCRIPTIONS …


‘Tis the Season for Plaid

Hello Stampin’ Friends ~

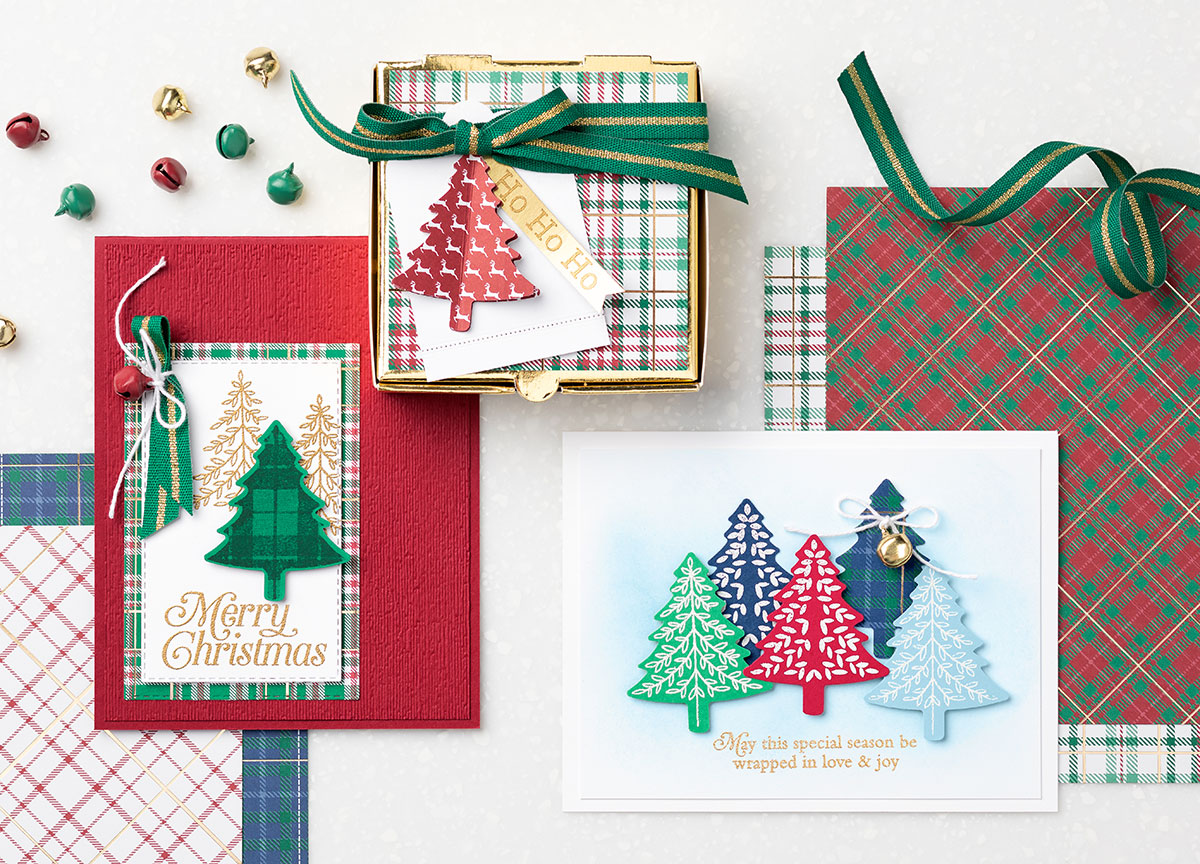
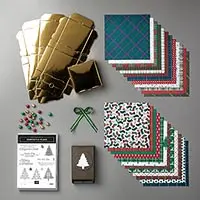
The perfect way to make your Christmas season merry and bright is by adding a little bit of plaid and a whole lot of cheer! You can do both with the Wrapped in Plaid Suite, and you’ll love the amount of charm it can add to your projects.

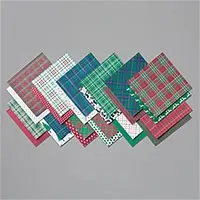
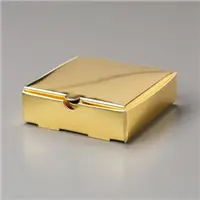
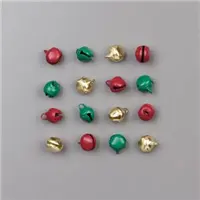
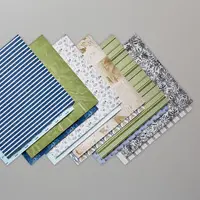
But you get a lot more than plaid in this suite, and all of our samples above feature what comes with it. Whether it’s the cute bell embellishments, or the Gold Mini Pizza Boxes, or even the pages and pages of our specialty designer series paper (which features more patterns than plaid!), you will love everything that makes this suite ready to help you bring in Christmas. And the Pine Tree Punch is perfect for any season, so it’s a must-have for any collection.

Looking for a great deal on your craft supplies or goodies for the stockings?  Our Clearance Rack has just been “plumped” up in time for the holidays … Check it out, there are a lot of great items to choose from!

Christmas is just around the corner, so keep a look out for my upcoming Christmas classes!

Have a wonderful day and thank you for checking out my blog post today!

I have listed some of the items in the Wrapped in Plaid Suite …

Supply List

Here are the Designer papers … Buy 3, Get One FREE ….

Check out the Clearance Rack …

Sale: $2.80

Price: $7.00

Sale: $2.20

Price: $5.50

Sale: $14.80

Price: $37.00

Sale: $10.80

Price: $18.00

Sale: $17.40

Price: $29.00

Sale: $1.80

Price: $4.50

Sale: $10.80

Price: $18.00

Sale: $10.80

Price: $18.00

Sale: $12.00

Price: $20.00

Sale: $2.40

Price: $6.00

Sale: $2.40

Price: $6.00

Sale: $12.00

Price: $20.00

Sale: $10.80

Price: $18.00

Sale: $3.60

Price: $9.00

Sale: $2.40

Price: $4.00

Sale: $19.80

Price: $33.00

Sale: $3.20

Price: $8.00

Sale: $3.60

Price: $9.00

Sale: $3.20

Price: $8.00

Sale: $8.40

Price: $21.00

Sale: $2.20

Price: $5.50

Sale: $3.40

Price: $8.50

Sale: $2.80

Price: $7.00

Sale: $18.00

Price: $30.00


Winter Wonders …

Hello Stampin’ Friends ~

There’s something about the holidays that brings out the crafter in all of us. Even non-crafters like making simple and fun projects to celebrate the season. And since “simple and fun” is Paper Pumpkin’s middle name, you have the perfect way to start your holiday crafting!

October Kit

  • Kit details: Makes 10 cards and envelopes

  • Card size: 4 1/4″ x 5-1/2″ (10.8 x 14 cm)

  • Envelope size: 4-1/2″ x 5-3/4″ (11.4 x 14.6 cm)

  • Coordinating colors: Early Espresso, Pool Party, Poppy Parade, and Shaded Spruce

November Kit

  • Kit details: Makes 24 holiday-themed gift tags of 4 various sizes and designs.

  • Coordinating colors: Early Espresso, Pool Party, Poppy Parade, and Shaded Spruce

  • The October and November kits coordinate; however, each kit is all-inclusive and can stand alone.

If you love holiday papercrafting, Paper Pumpkin has you covered with our October and November Winter Wonders duo. With cards in one kit and tags in the other, you’ll have everything you need for a handmade, heartfelt Christmas. It’s Christmas prep made easy with Paper Pumpkin.

Subscribe now … Just Click Here

Bird Ballad Thanks …

Hello Stampin’ Friends ~

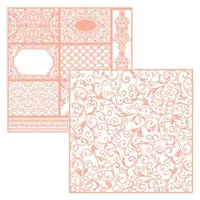
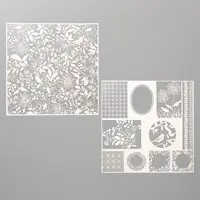
Today I’m sharing another sample created with the Shimmer Detailed Laser-Cut Specialty Paper. Shimmer Detailed Laser-Cut Specialty Paper includes delicately detailed laser-cut sheets with a touch of shimmer. Vanilla on one side, white on the other side. One design is a 12″ x 12″ pattern; the other design has distinct patterns to cut out and use on card fronts.

The laser-cut paper is used over the top of color so it really pops and is framed by using the Layering Squares Dies to create your own frame.

Images in the Bird Ballad Designer Series Paper were hand colored using Stampin’ Blends for a soft, blended look. The birds were cut out of the Bird Ballad Designer Series Paper.  With beautiful birds and colors, you will love this Bird Ballad Designer Series Paper. You can get yours today by clicking the link below.

Lets not forget that our designer papers are on sale right now…

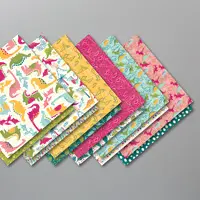
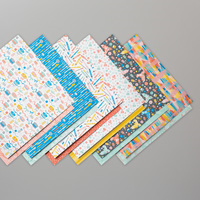
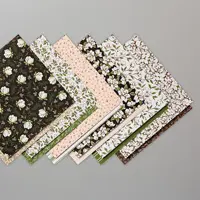
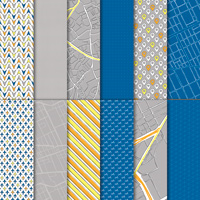
If you scroll back to past posts, you’ll see I have shared many samples from the Bird Ballad, Dinoroar, Magnolia Lane and Come Sail Away Designer Series papers … these are just a few of my favorites.  I have listed the page numbers on the chart above so you can see all the amazing papers.

Let me know if you have any questions about this promotion, todays card or an upcoming class. I’d be happy to answer your questions.

Have a great day and thanks for stopping by.

TODAYS STAMPING SUPPLY LIST …


Simply Sunday: Spooktacular Dracula!

Hello Stampin’ Friends ~

Today I have another card share from the Monster Bash Suite bundle … this includes all of the coordinating products.  This is actually a step up from my usual Simply Sunday as we will be using the beautiful dies that are included in this suite. I try to stay away from die cutting on my Simply Sunday posts but this suite is too cute and easy to play with.

This card was not part of my Halloween Bash class … two of the cards we made included a fun fold and a shaker card!  In fact, I have had additional interest in this class; I will be hosting another ♥ Here is the information …

Today’s card was created by me and my 4 year old Great Grandson … he loves using the Bigshot!!  His GG (me) shows him how to layer and he makes it go. lol  He cut both of the delicate frames out for me.  The large is cut from Lovely Lipstick and the small is cut from Basic Black … both of these ornate frames are included in the die set that comes in the bundle.

We stamped Dracula and also die cut him from a coordinating die. Love how these layer…

We colored the background of Dracula’s picture in Lovely Lipstick and then added Wink of Stella to it. It really adds dimension to the picture.  The frame was colored with Soft Suede and then was layered onto our ornate frame.

Our second ornate frame showcases our greeting which comes from the coordinating stamp set; Spooktacular Bash Cling Stamp Set.  I’ve also added “Wink of Stella” to the frame which coordinates with the background we created behind Dracula.  A touch of ribbon behind our greeting and black enamel dots from the Monster Bash Enamel Shapes.

Junior likes Stampin’ Dimensionals as well so he helped me pop up the greeting and Dracula.  We added a strip of this pretty Monster Bash Designer Series Paper pattern to the inside of the card to coordinate with the front and our card is done!

I hope you enjoyed our card today … Junior and I sure had fun making it!  I might have to invite him over to help me bigshot all the pieces for our upcoming Halloween Bash class.

Thank you for sharing a part of your Sunday with me.

Enjoy your day ~

TODAYS STAMPING SUPPLY LIST …..


Halloween Bash Coffin Treat Boxes …

Hello Stampin’ Friends ~

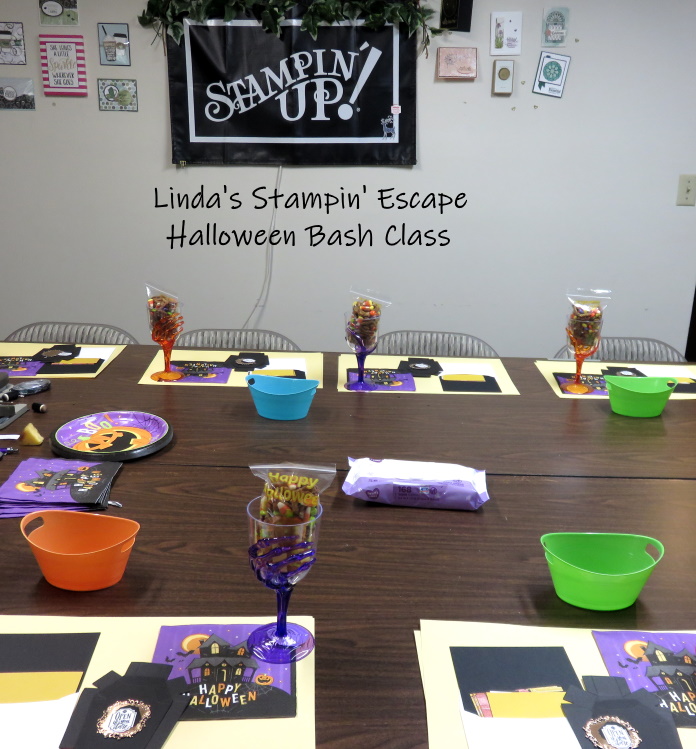
How are you on this beautiful day? Last night I held my Halloween Bash …

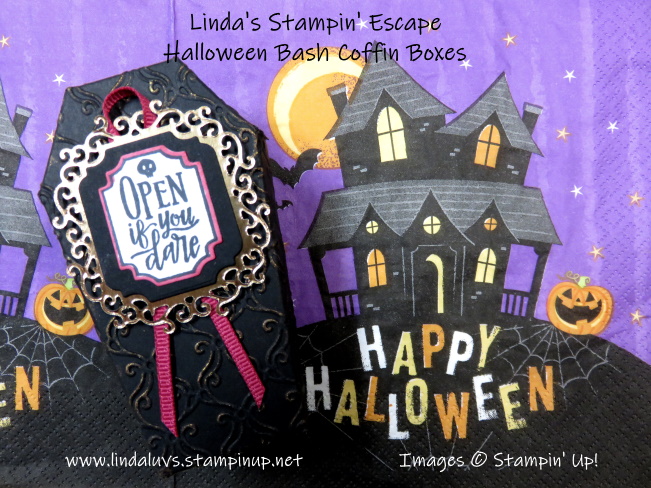
Although I don’t share all our creations, I would like to share one.  It is the Monster Bash Coffin Boxes which make the perfect little treat box for those very special Trick or Treaters in your life.  These would also make good table décor, gift boxes or name place holders, with a treat of course at your Halloween Bash!!

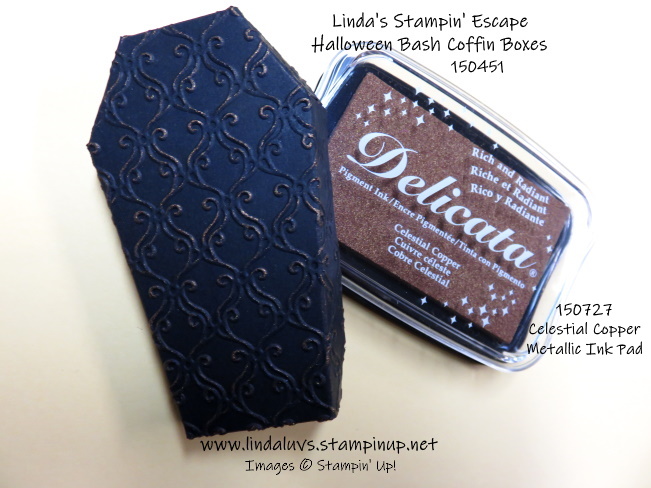
These little beauties come pre-cut and pre-scored in a package of 12 so all you have to do is glue them together.  If you would like to dress them up a bit, you can emboss the lid with the Stylish Scroll Embossing Folder like we did in class.  The we used the new Copper Metallic Ink pad to “age” our coffin a bit.  With a gentle touch, simply drag the ink pad across the raised (embossed) images on the lid.

The cute little greeting, the black mat and the ornate copper background were all cut from the dies included in the Spooktacular Bash Bundle! Love our bundles because you can save 10% and that savings is also included when you purchase the entire product suite as a bundle… Nice!  That is what I did because I had to have it all.  I will share more of the product suite with you this month.

We added a piece of Lovely Lipstick ribbon behind our greeting and then I put a piece of Lovely Lipstick cardstock through my shredder and tucked it into the box to hold my treats.  I like using my cardstock this way because then it coordinates with the colors I use in the rest of my project.

I hope you enjoyed our little treat boxes as much as we did making them. They really are quick -n- easy to do and will add the prefect touch to your Halloween party. Better yet, when you see the excitement in the eyes of your special little trick or treater when you give them this fun Halloween treat.

I have a few people interested in a second class … If you would like to join us, let me know and I will host another.  We had a great time and everyone loved the projects we did!!  email me at lindaluvs2stamp@aol.com or message me below.

Have a wonderful day and thank you for stopping in to see me.

TODAYS HALLOWEEN BASH STAMPING SUPPLY LIST …


Friday the 13th: Monster Bash Cards

Hello Stampin’ Friends ~

For those of you who enjoy staring at the moon… you’re in for a treat this week.  Get ready for the harvest moon effect — when it will seem like five consecutive nights of full moons. And for the first time in 19 years, Wisconsinites will get a full moon on Friday the 13th, and it won’t happen again until August 13, 2049!!

I have a full moon for you …

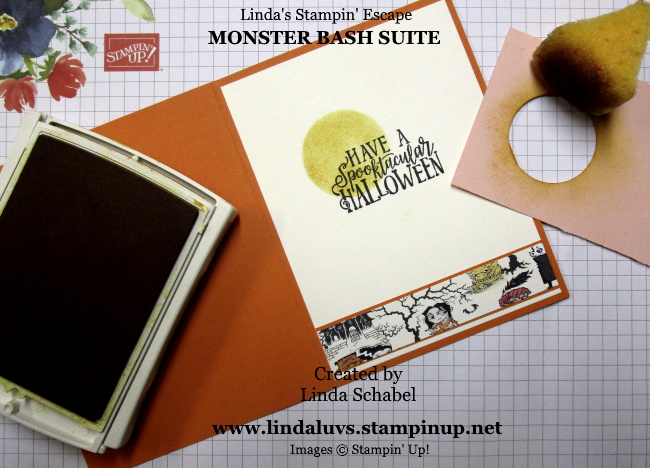
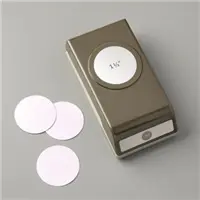
The inside greeting also comes from the “Spooktacular Bash” stamp set and was stamped onto the Very Vanilla cardstock.  I then punched a 1-1/2″ circle from a piece of scrap cardstock and used it as a “mask” so I could sponge a moon onto the card … just to add a little more drama. I used Crushed Curry for my moon, which coordinates with the Monster Bash Designer paper!

There are so many cute patterns in the Monster Bash Designer paper and this is one of my favorites.  I love anything that makes my card making quick and easy! BUT … it has to be cute, handsome or beautiful!! We won’t skimp on looks!

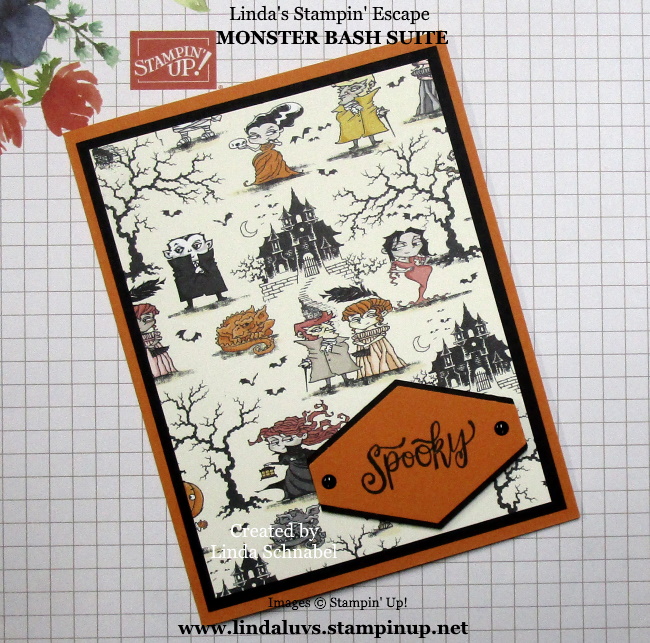
I have another cute card for you, both of these I have shared earlier but I couldn’t resist sharing these on Friday the 13th!!  I have more samples but can’t share them yet, they are for my Halloween Bash Class tonight.  I really like the vintage looking pattern on this card (actually, the background is another pattern/color in the paper pack).

Our handsome couple comes from yet another pattern in the Monster Bash Designer series paper.  The beautiful frame behind the picture comes from the coordinating die set.  This vintage look of this could be used for a “real” anniversary card or anything you choose … just replace our couple with a sentiment or a flower pattern.

Thank you so much for joining me today, I’ll be back tomorrow at my usual time with another great card.

Have a beautiful day.

TODAY’S STAMPIN’ SUPPLY LIST: I have listed the entire Monster Bash Suite (One number and you’ve got it all) and the bundle, along with each product I used seprately. There is a 10% Discount on the Bundle (including when you purchase it in the suite).


More Shimmer Specialty Paper: Brayer Technique

Hello Stampin’ Friends ~

I am happy to see so many of you enjoyed yesterday’s card made with the Shimmer Detailed Laser-Cut Specialty Paper by Stampin’ Up!  They shared several tips with us on how to use and enhance this beautiful specialty paper.

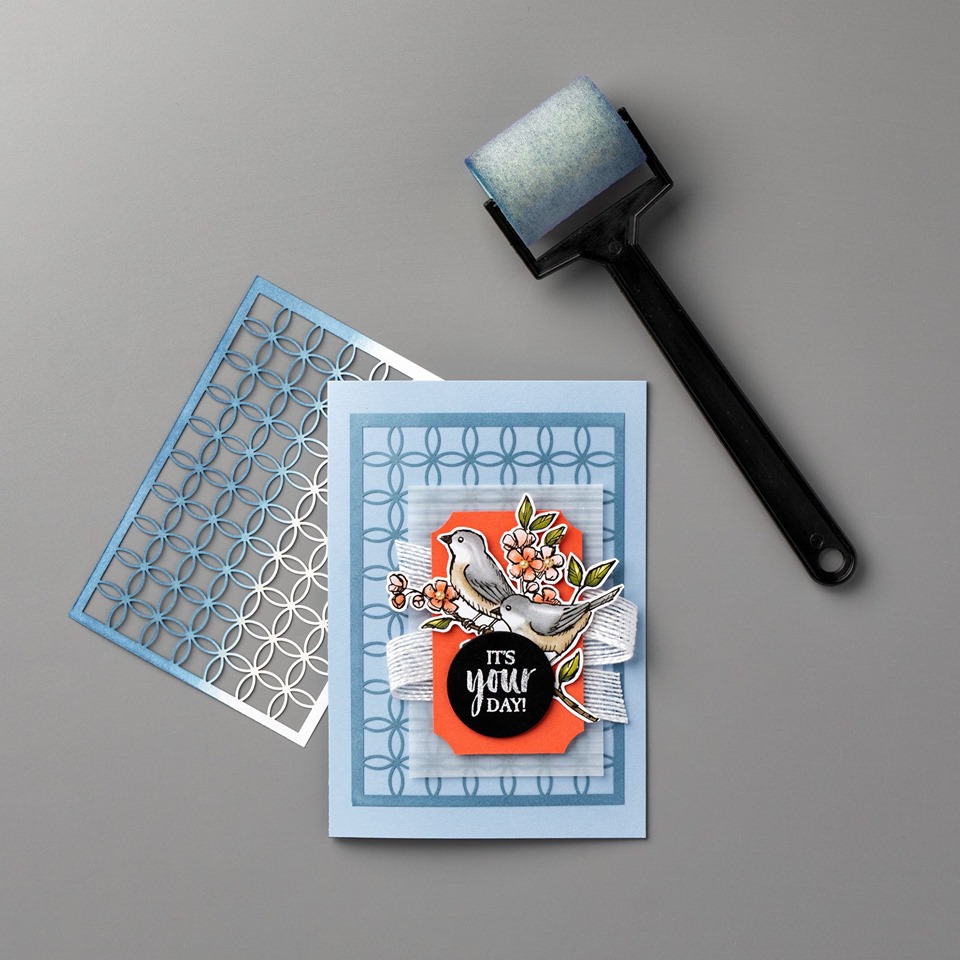
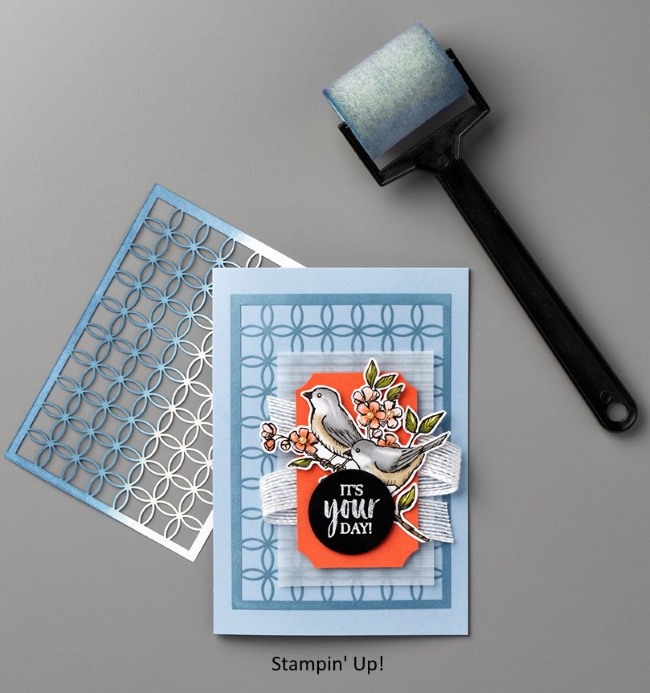
Today I’m going to share another card featuring the Shimmer Detailed Laser-Cut Specialty Paper using a brayer technique and products from the  wonderful Bird Ballad Suite …

It’s your day, but it’s also so easy to make their day by creating a project that looks like you went that extra mile! Sponge Brayers are a great tool for adding custom color to the Shimmer Detailed Laser-Cut Specialty Paper.

You simply roll they sponge brayer over your ink pad to pick up the color and then roll they brayer back and forth over your Shimmer Detailed Laser-Cut Specialty Paper and you’ll have a beautiful shimmery accent in any color you choose.

HERE’S A GREAT TIP: Roll your brayer and specialty paper onto another piece of cardstock and you will have created a designer piece of paper all your own with the reverse image from your Shimmer Detailed Laser-Cut Specialty Paper!  It won’t have that shimmer but you’ll get 2 designs for the work of one!!

Hope you enjoyed the beautiful card, brayer technique and creative tip today …

Thank you so much for stopping in to visit. If you like my blog … please share it with your friends.  The more the merrier.

Have a wonderful day ~

TODAYS STAMPING SUPPLY LIST …. click on any of the images for more details about the product or to begin your shopping experience with me.

A Special Shimmer Card

Hello Stampin’ Friends ~

Looking for a unique yet easy to make card? Your friend is going to think you took so much time making this card—but really it’s so simple. Just add a light touch of color with Sponge Daubers on the Shimmer Detailed Laser-Cut Specialty Paper.

A beautiful layer embossed with the Heirloom Frames Dies and 3D Embossing Folder showcases the delicate flowers cut out from the Shimmer Detailed Laser-Cut Specialty Paper.  Add a touch of designer paper and a greeting and your card really pops!! There you have it! A simple way to show your friend you really care.

Hope you enjoyed todays card that was created by our Stampin’ Up! home office.

Thank you for stopping by my blog, enjoy your day!

TODAY’S STAMPING SUPPLY LIST …
 

Let Hope Be Your Anchor Card with Fun Fold …

Hello Stampin’ Friends ~

Today I’m sharing a masculine card that was created using one of the designer papers that is currently on sale and a fun fold!!  I began with the Sailing Away Bundle and the Come Sail Away designer paper.

The fun fold showcases 2 different patterns from the Come Sail Away Designer paper.  These two patterns together create a wonderful nautical card … great if you need a masculine card. However, the lighthouses and beautiful sailboat could easily be gifted to a girl friend or family member that loves the lakefront and all the beauty it offers.

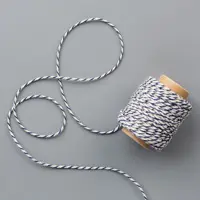
Both the greeting and the sail boat comes from the Sailing Home Stamp set and the cute little anchor and Bakers Twine can be found in the product suite on page 145 of the Annual Catalog. The greeting flips open …

… and it exposes the perfect little spot to write your personal note to friend or family member. The left side also flips open … It’s just a fun way to present your message. Many of my stampin’ friends are looking for something different from the normal type card.

If you need more space for your message, you can always create a larger inner card … I was just showcasing the designer paper. Don’t like to cover it up too much.

Don’t forget that the Come Sail Away Designer Series paper is one of the papers that are currently on sale.

I hope you enjoyed this fun fold and nautical style featuring the Sailing Home Bundle …

Thank you for joining me today…

I hope you have a good one.

TODAY’S STAMPING SUPPLY LIST …


Halloween will soon be creeping upon us … Be Ready!!
Hello Stampin’ Friends,

Hope you all had a wonderful weekend. Are you feeling like I do? That time is going by so fast, summer is officially over. I must admit it though … I love autumn. The cool air, the colors, the smells … yes, I love this time of year.
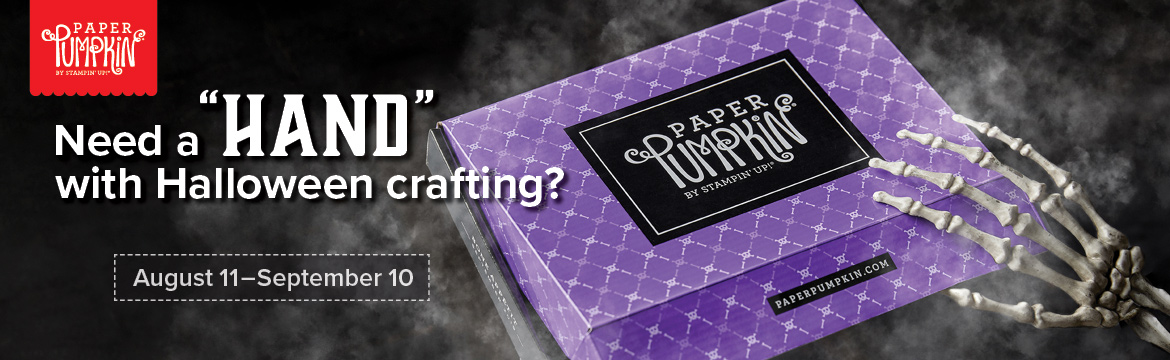
Halloween is nearly here, which means that Paper Pumpkin has been busy, busy, busy.  Stampin’ Up! thought you might like “a hand” with your frightful festivities, so they designed September’s kit, Bone Appétit, with YOU in mind.

This kit includes 20 food-safe treat boxes, a unique and exclusive Halloween stamp set, and a spooky, special-edition box. September’s kit also gives new meaning to the word “handmade.” (Cue the scary laughter!)

So don’t get left in the dark this Halloween. Subscribe at paperpumpkin.com by September 10 to get in on the fun.

…
To get your Halloween Crafting Paper Pumpkin, Sign up before September 10th at Paper Pumpkin

Thank you so much joining me today as I shared our Paper Pumpkin Crafting kits.  Stop back tomorrow as I will have some fun new things to share with you.

Have an awesome day ~

Designer Papers … Buy 3 – Get 1 FREE!

Hello Stampin’ Friends ~

Today I’d like to share with you a closer look at the Designer Papers that are on sale …


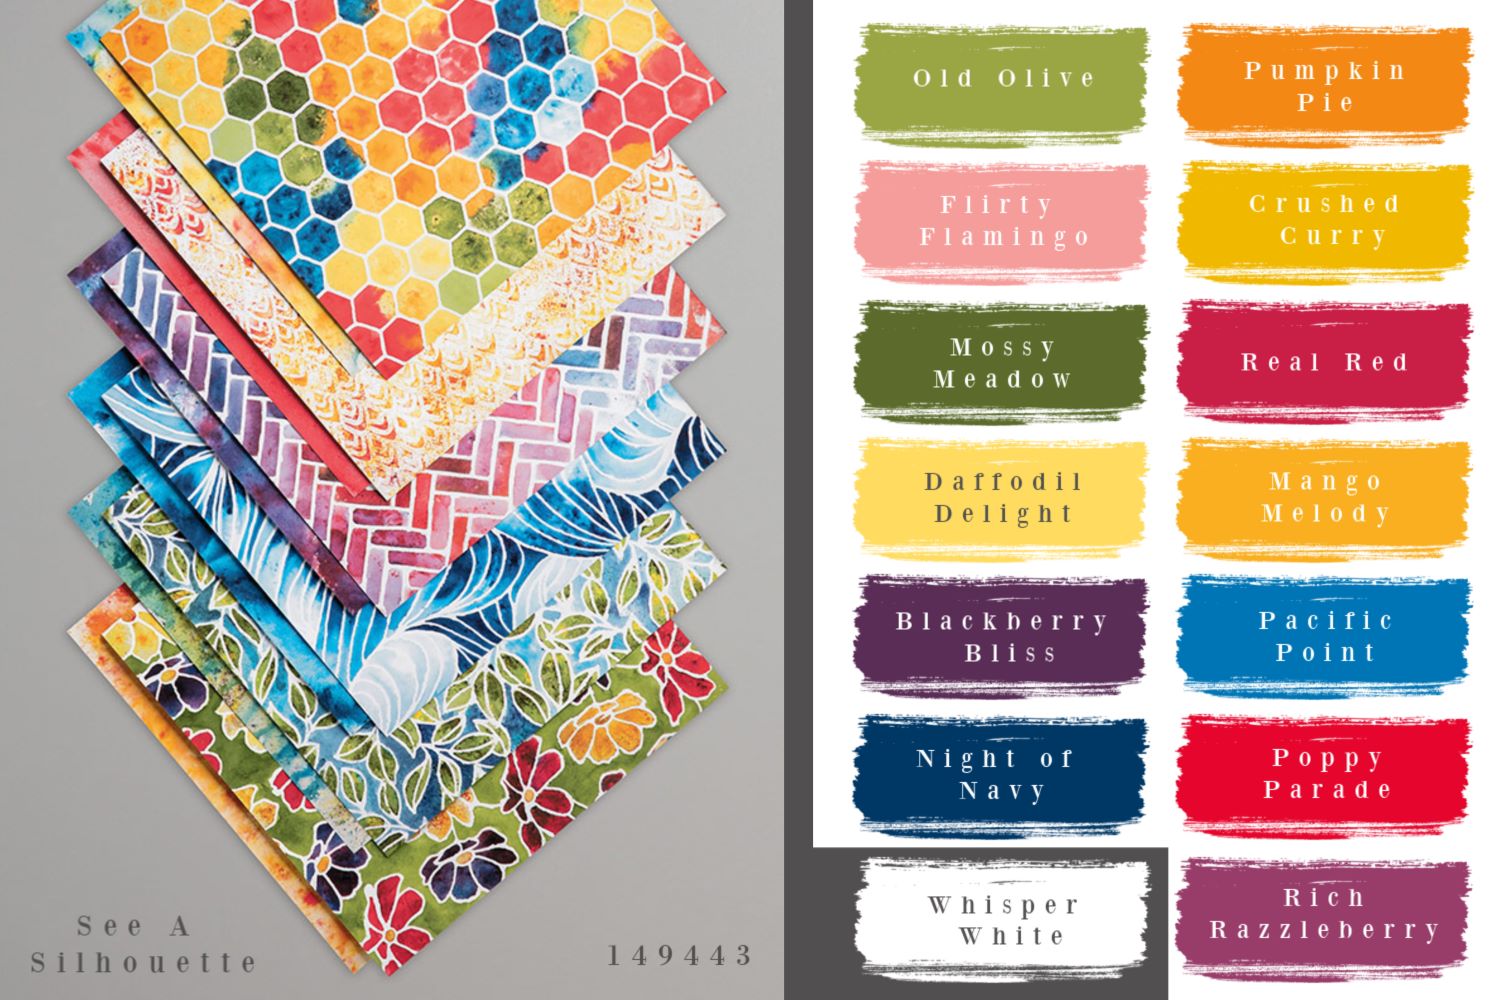
Let’s begin with the Perennial Essence found on page 166 .. Please note the color pallets have been added to the papers.

See A Silhouette …

Come Sail Away …

Magnolia Lane …

Garden Lane …

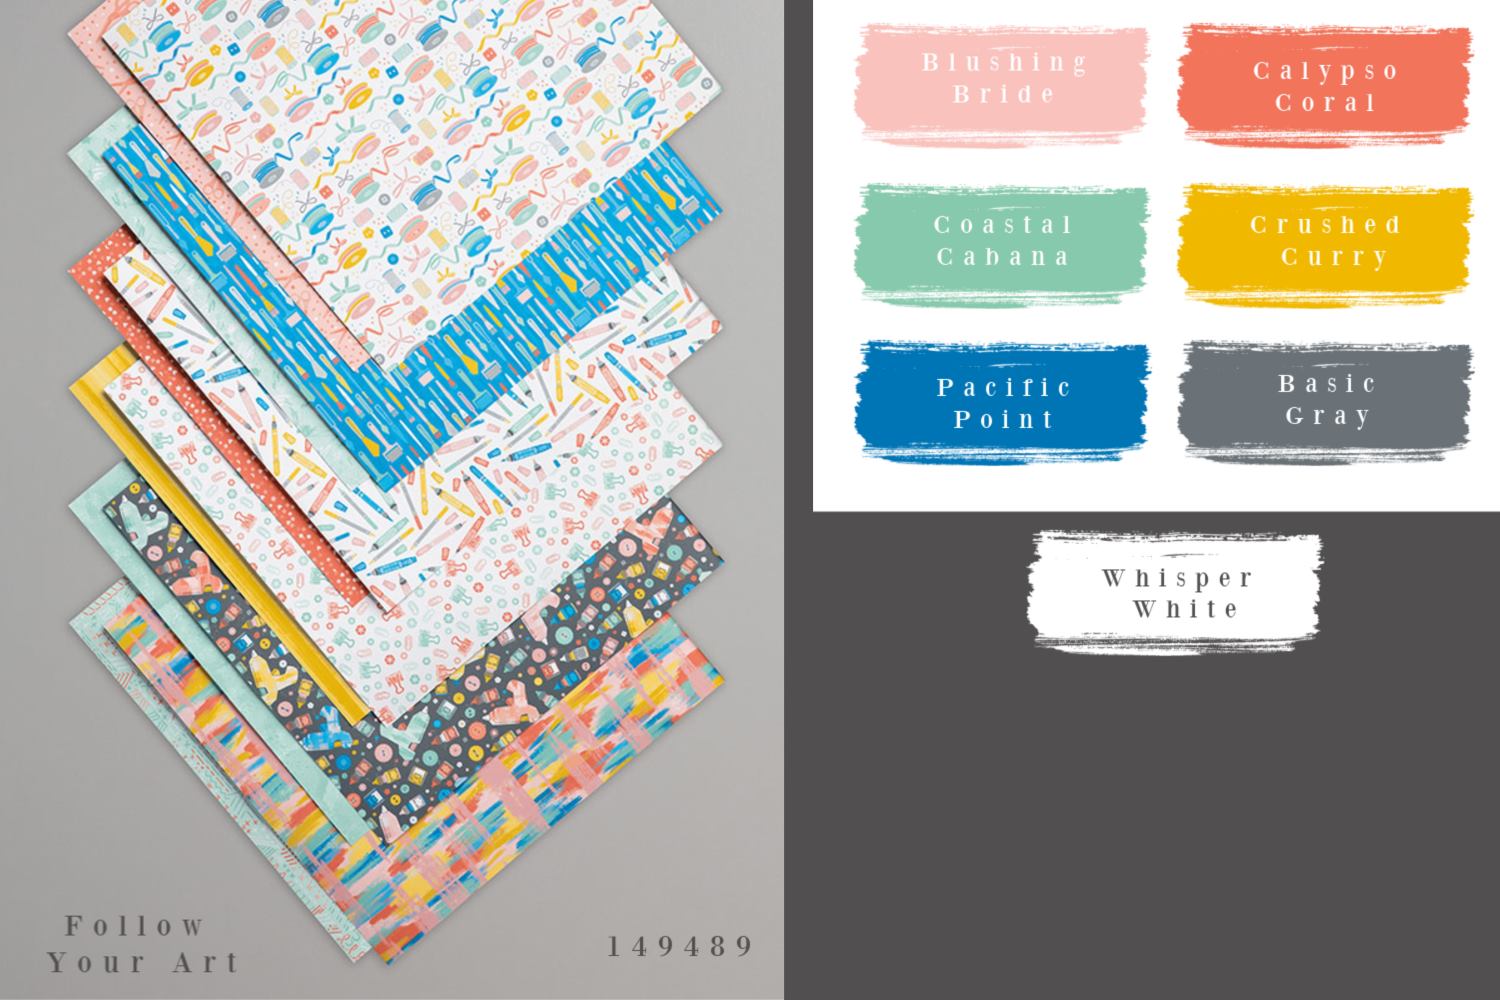
Follow you Art…

Woven Threads …

Dinarour …

Bird Ballad …

Pressed Petals …

Here is a list of all the Designer Papers including the item numbers and cost.  Remember, it is Buy 3 of these delectable designer papers or get one for FREE.

Thank you so much and I’ll see you tomorrow …