Hello Stampin’ Friends ~
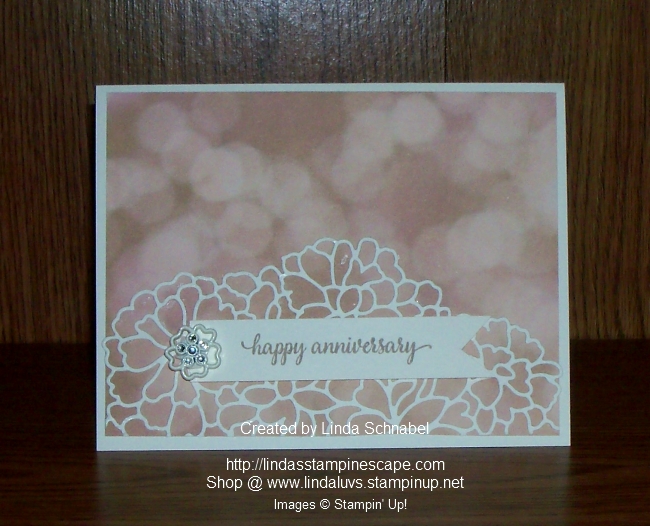
Today I’d like to share with you another one of the cards that we did as a Make -n- Take at Kathie’s party. We learned two different types of embossing, watercoloring, and how fun the BigShot is!!
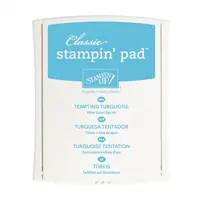
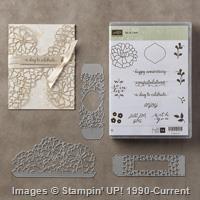
We begin with our color pallet: Whisper White, Tempting Turquoise, and Silver! Sounds like a touch of the Southwest! Our base card is Whisper White and the card front Tempting Turquoise … soon to be embossed with the New “Petal Burst Embossing Folder”. All you need to do is roll it through the BigShot and it comes out beautifully textured.

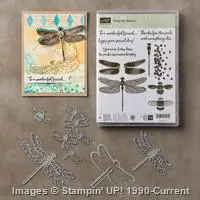
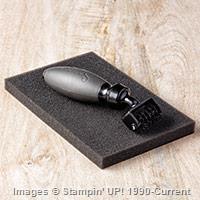
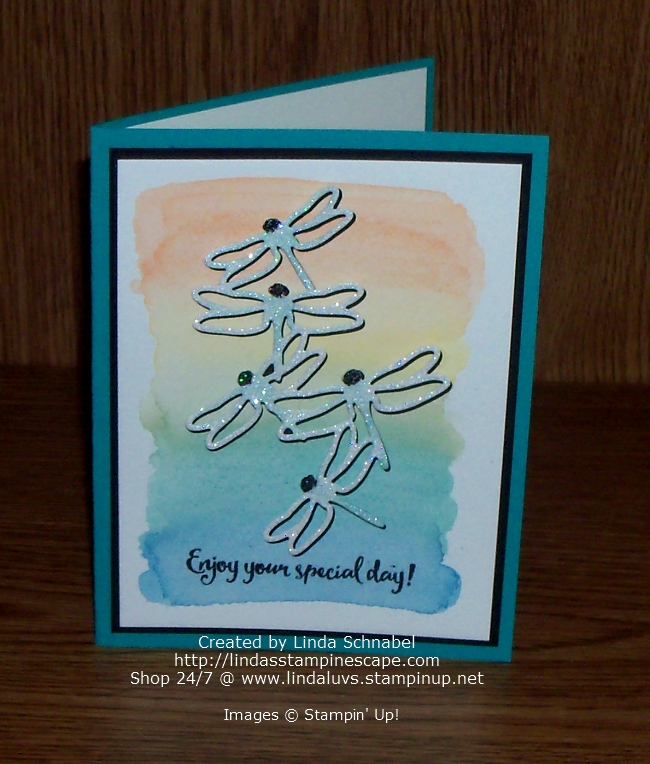
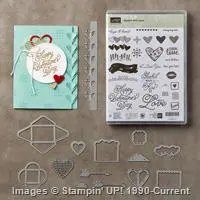
Our next step and second type of embossing is “heat embossing”. You will need the beautiful dragonfly from the “Dragonfly Dreams” bundle. Next you’ll need the VersaMark ink pad, the Silver Embossing Powder and the heat gun.
Stamp dragonfly with VersaMark, sprinkle with embossing powder (shake off excess) and begin to heat. Watch the dull powder turn into a shiny silver raised image!! It’s amazing! Our next step was to take the dragonfly framelit from our bundle, and on a separate piece of turquoise cardstock layer one of the circle dies from the “Stitched Framelits Dies” and cut them out on the BigShot.

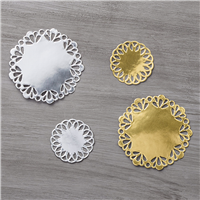
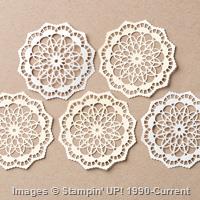
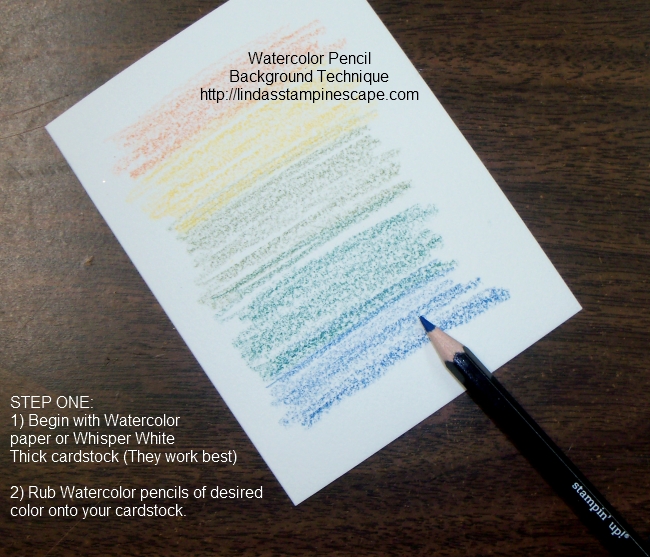
We’re now going to color our dragonfly by pulling some Tempting Turquoise ink from the pad with your Aqua Painter and then gently brush color onto the wings. It’s so easy to do and adds a nice touch of color to our dragonfly. Now we’re going to adhere our layers beginning with the Silver Metallic Doily.
Our greeting comes directly from the stamp set from our “Dragonfly Dreams” bundle. A few rhinestones were added to the card to draw the eye to the dragonfly and to anchor our greeting. Our new stampers were amazed they could make a card with that many techniques … I just reminded them they are just doing 3 simple techniques/steps, and then putting it all together!
I hope you enjoyed our card as much as the rest of us did, and that our hint of the Southwest will bring us some much needed sun and a bit warmer temperature!
Thanks for coming by …
Enjoy your day, and I hope it’s special!


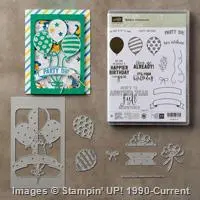
TODAY’S STAMPIN’ SUPPLY LIST …