Hello Stampin’ Friends ~
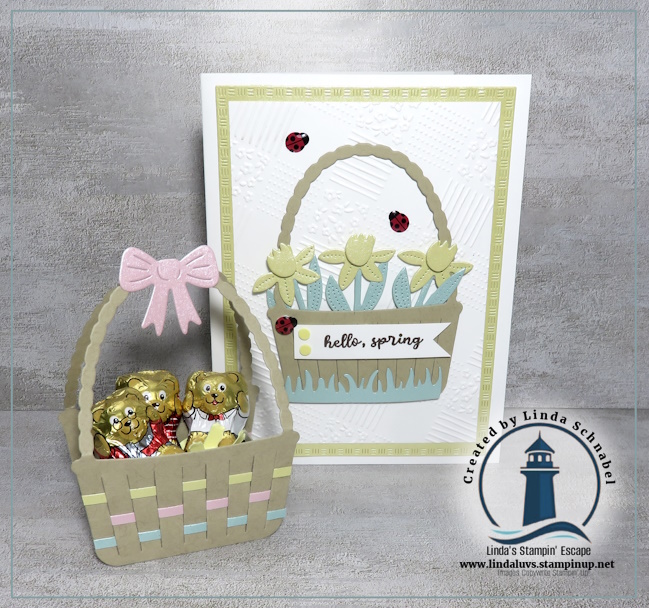
I hope your Easter Sunday is filled with joy, peace, and a little time to enjoy the beauty of the season—whether that’s with family, a quiet moment of reflection, or a bit of creativity in your craft space. Today I’m sharing two sweet projects that celebrate everything we love about spring… soft colors, fresh blooms, and a touch of whimsy.
This card is such a lovely way to welcome the season! While the Easter Basket Dies used here are now retired, the design itself is timeless and easy to recreate with similar shapes and dies you may already have in your collection.
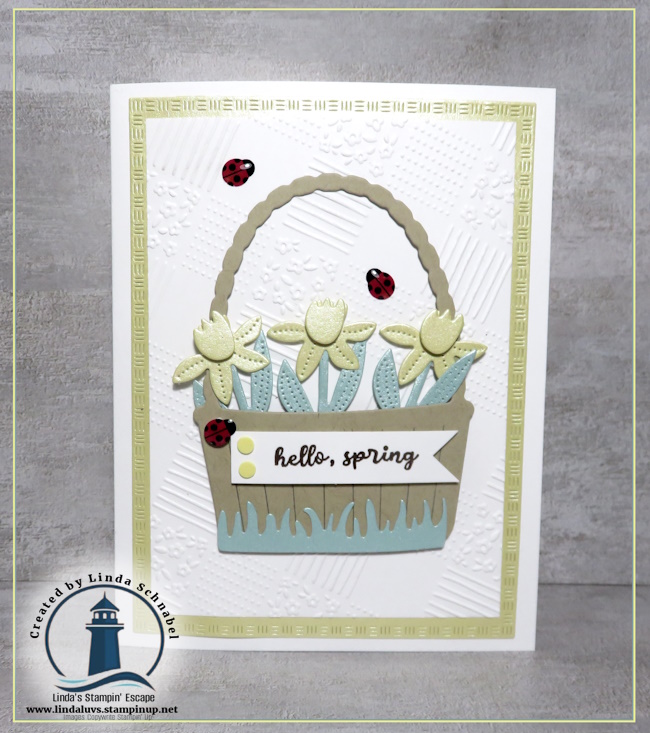
One of my favorite details on this card is the embossed background—instead of running the cardstock straight through the embossing folder, I angled it slightly. This simple little twist creates a completely different look, adding movement and visual interest without any extra supplies. It’s a great reminder that sometimes all it takes is a small change to spark new creativity!
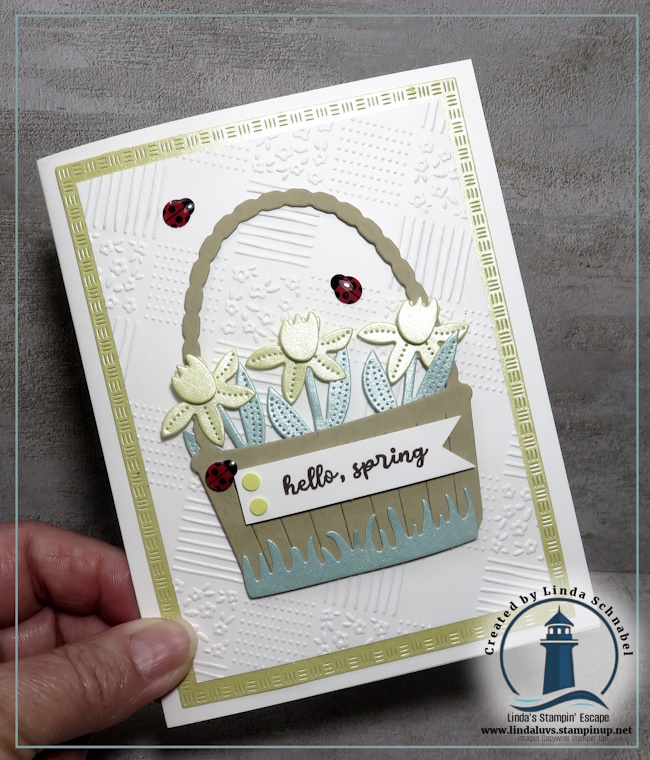
The soft florals (those adorable daffodils and one of the main reasons I purchased this bundle) tucked into the basket, paired with those adorable little ladybugs, bring this card to life in such a cheerful way. It’s the perfect combination of sweet and simple.
Now let’s talk about this little basket… isn’t it just the cutest? This project was created using two basket die cuts, along with a small handmade box tucked inside to hold all the goodies.
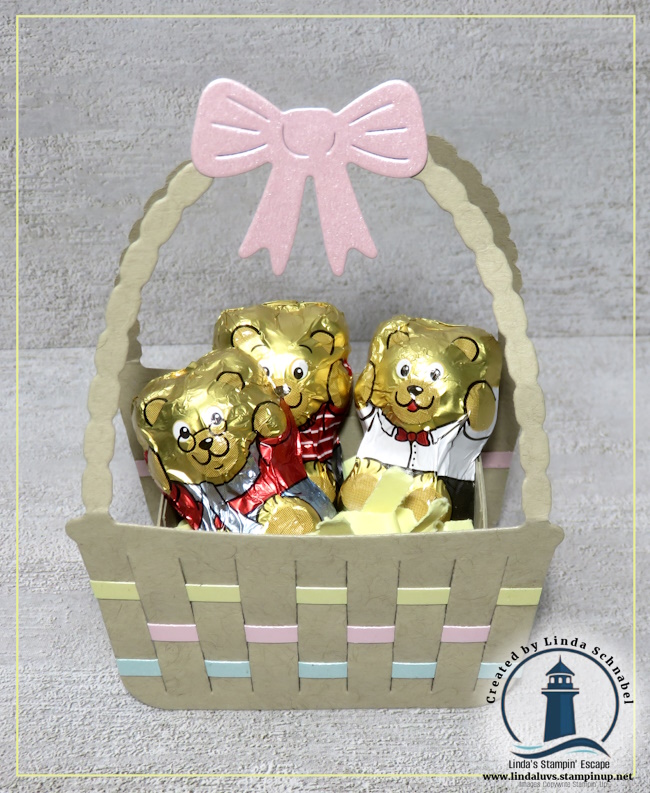
I love how the layered strips give it that woven basket look, and the soft pastel accents make it feel perfectly springy. Add a sweet bow to the handle and fill it with chocolates or small treats, and you’ve got a thoughtful handmade gift that’s sure to bring a smile.
This is a wonderful project for:
- Easter place settings
- Small gifts for friends or grandchildren
- Craft fairs or party favors for Spring!
And the best part? You can easily customize the colors and embellishments to fit any occasion beyond Easter.
As we celebrate today, I just want to take a moment to wish you a beautiful and meaningful Easter. Whether you celebrate the season for its faith, its renewal, or simply the joy of springtime, I hope your day is filled with love, warmth, and inspiration.
Thank you for spending a little time with me today—it truly means so much.
Happy Easter, my friends 💛
Linda 💐