Hello Stampin’ Friends,
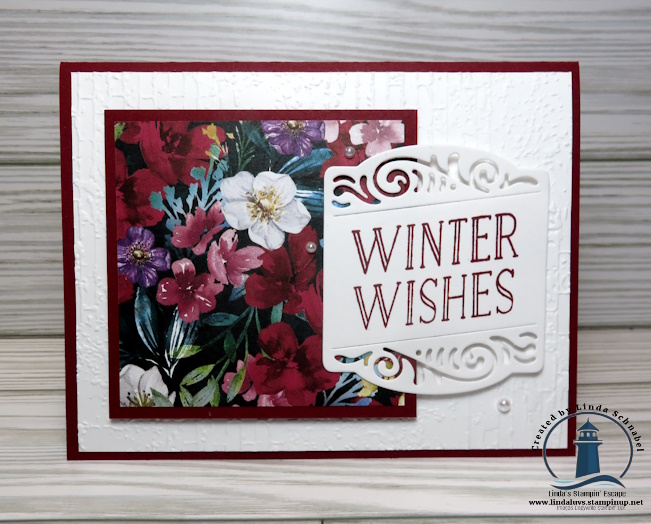
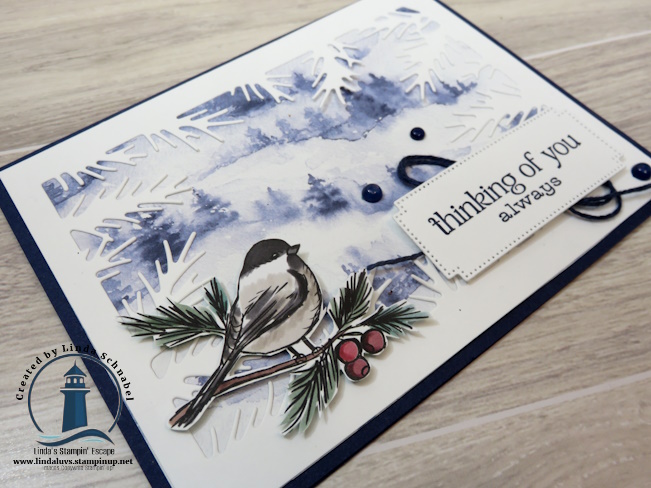
Welcome to a little peek into the joy-filled weekend we shared at our Fall Holiday Stamping Retreat! Last weekend was truly an escape into creativity, connection, and fun—a beautiful retreat filled with laughter, crafting, and the warmth of friendships both new and old. Picture yourself arriving at our charming English Tudor retreat home, welcomed at the door with open arms and a heartfelt greeting. We guide you to your room, where a specially crafted name tag awaits you, made just for you using the delicate Frozen Edges dies. If you take a look at page 50 in the catalog, you’ll spot where this inspiration came from. This was one of the bundles that played a starring role in one of our weekend stamping sessions, and it brought a touch of winter’s elegance to our retreat.

As you settle into your cozy room, you’ll notice a Welcome Gift waiting just for you, a little something special to start the weekend off right. And to aid in your crafting endeavors. It’s an adorable memento of our time together, a token of appreciation to carry home as a reminder of this getaway. This personal touch, just for you, is a cornerstone of what makes these retreats so memorable and meaningful.

As you move into the dining room, the warm glow of the space invites you further in. There, you’ll spot adorable gift boxes set at each place, a touch of holiday charm and creativity wrapped up just for you. The Book Treat Boxes, found on page 27 of the catalog, were assembled and lovingly decorated with the festive Sentimental Christmas Designer Paper. Each box was filled with small surprises, perfect for adding to the retreat’s joy and spirit… and a little inspiration to craft when they get home!

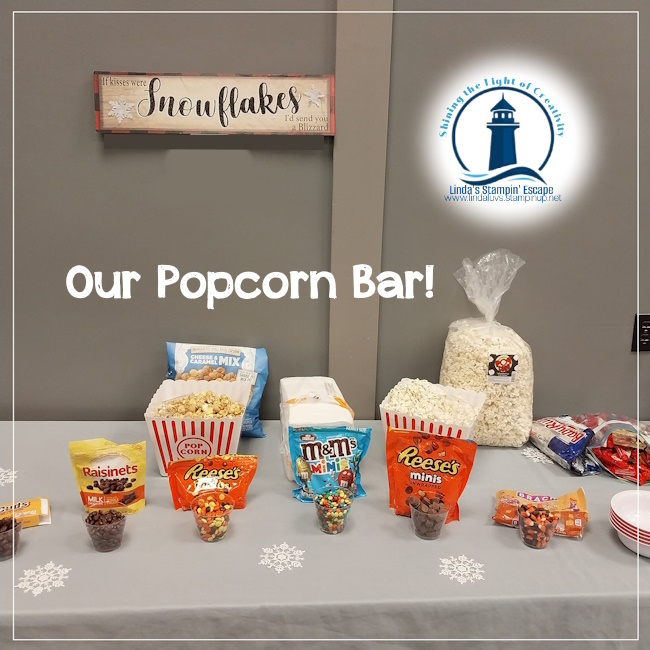
After settling in and enjoying a hearty dinner together, the excitement of our first stamping session begins. As everyone gathers, they’re met with a delightful surprise—a fun and festive Popcorn Bar filled with an assortment of sweet and salty treats! It’s the perfect way to add a little extra joy to the evening, letting everyone nibble as we dive into our creative projects and settle into the cozy atmosphere of the craft room. And speaking of adding … our guests always add to this table (it magically fills us with all sorts of special treats).
This retreat was even more special as I introduced Paper Pumpkin to our stamping session for the very first time. Attendees were thrilled to get hands-on experience with these kits, starting with a chance to capture photos of the original designs. I also shared some of my own alternative techniques and layouts, giving them a fresh perspective on how to get more out of their kits. Watching their excitement as they discovered new ways to craft unique cards was such a joy, and it was just one of the highlights of the retreat.
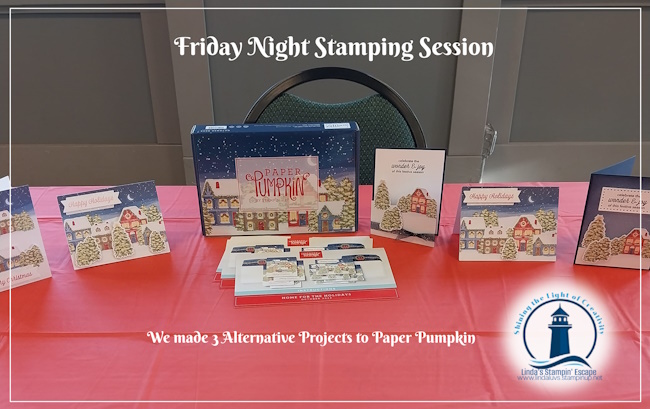
The energy in the room was contagious, and each participant left that evening feeling inspired and ready for more. These sessions are all about learning, sharing, and having fun, and I’m beyond grateful to create these experiences with such a wonderful group. If this sounds like the kind of weekend you’d love, I invite you to join us for our upcoming Spring Stamping Retreat from May 2nd through the 4th. It’s an experience you won’t want to miss—one full of warmth, laughter, and creativity, with friends old and new.
Make sure you get on my mailing list for the invitation!
Here is a comment I received from one of our guests today! Peggy K: Working on Christmas cards for our homebound church members. I got out my Home for the Holidays Paper Pumpkin kit and can get 19 beautiful alternate cards out of it plus the ones we made at retreat. Thanks for the inspiration!
Thanks for joining me, and I will be back to share more.

#stampingretreats #christmascards #papercrafting