Hello Stampin’ Friends ~
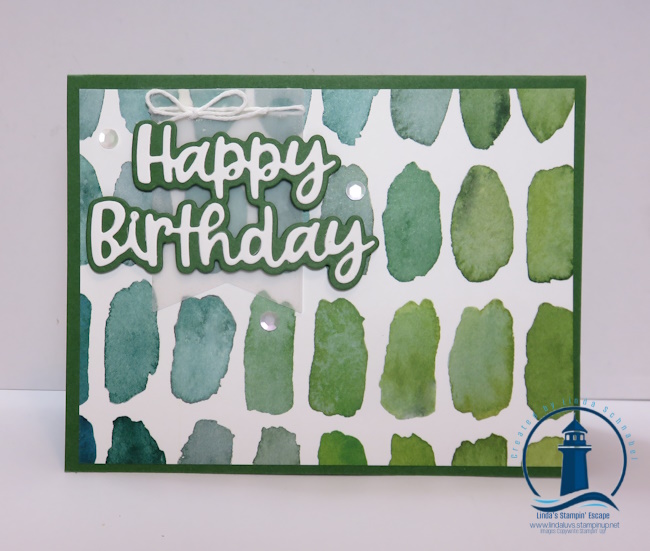
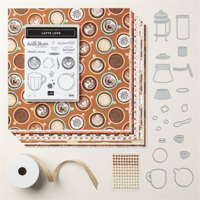
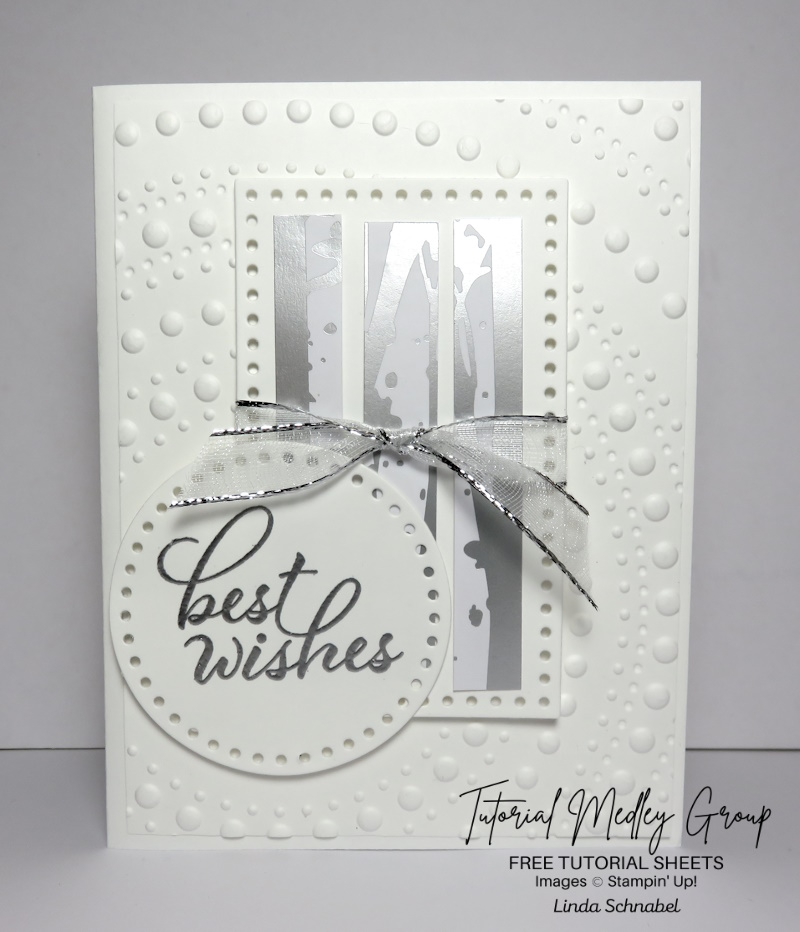
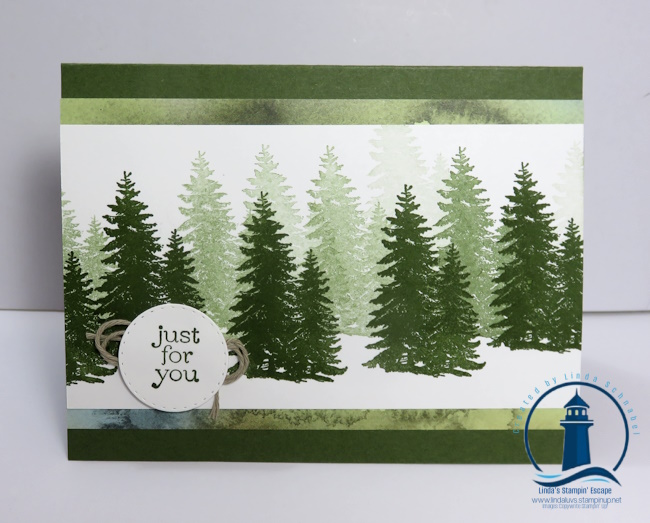
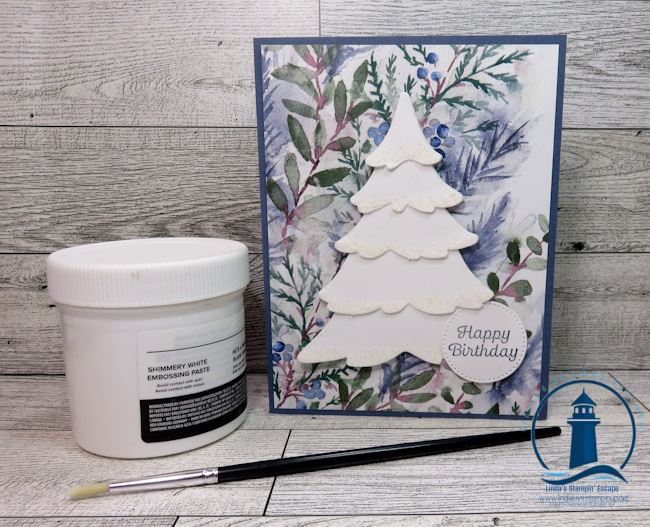
What do you get when you combine the stunning Winter Meadow Designer Paper, the versatile Merriest Tree Dies, and the luxurious Shimmery White Embossing Paste? One breathtakingly beautiful card that’s perfect for the holiday season! Today, I’m thrilled to share my card that highlights these incredible products, showcasing how they work together to create a masterpiece.
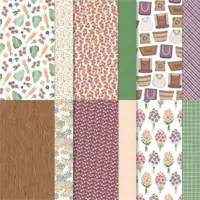
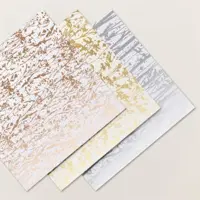
The Winter Meadow Designer Paper is nothing short of a winter wonderland on paper. Its soft, frosty hues and intricate designs instantly transport you to a serene winter landscape. Whether you’re crafting a holiday card, a scrapbook page, or a birthday, this paper is your go-to for adding elegance and charm.

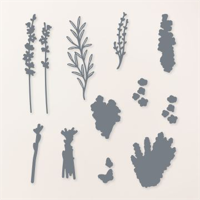
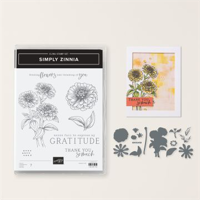
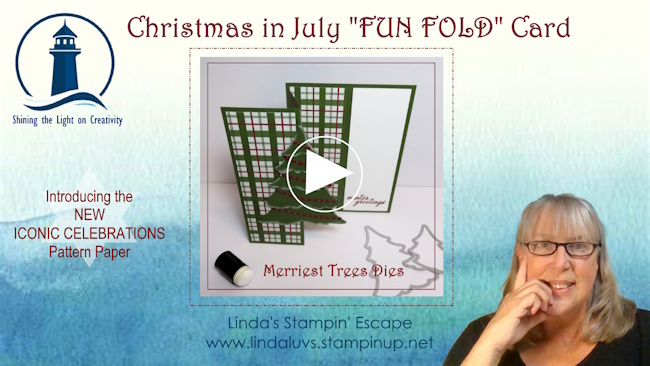
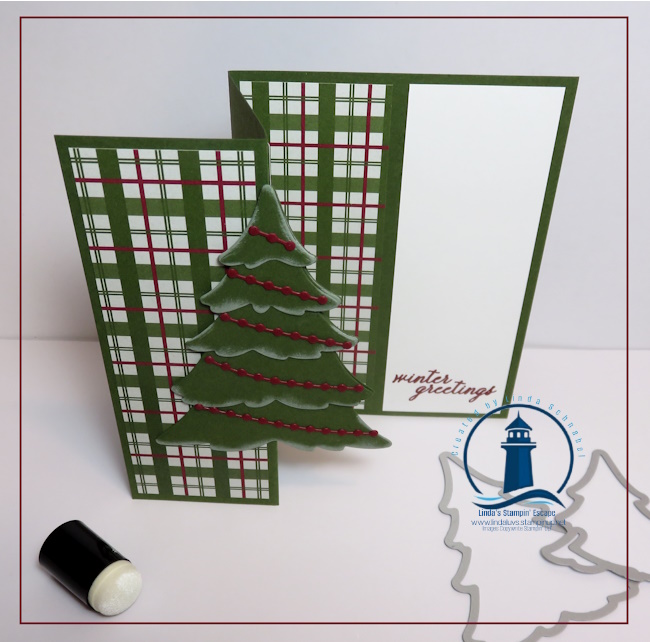
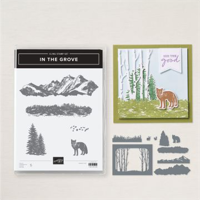
I created an adorable focal point using the Merriest Tree Dies. These dies are designed to create intricate, layered trees that add depth and dimension to your cards. The possibilities are endless—you can mix and match the dies to create trees of various sizes, or layer them for a 3D effect. The trees cut out beautifully, making them a joy to work with, and they pair perfectly with the Winter Meadow Designer Paper.

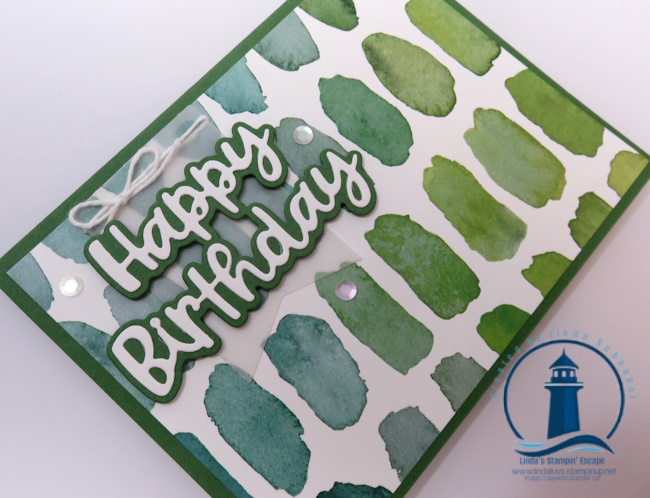
To add that extra touch of luxury and texture, the Shimmery White Embossing Paste is a must-have. This paste was easily applied with a paintbrush and adds a stunning, dimensional shimmer to the card. Whether you’re creating snow-like effects, adding texture to backgrounds, or highlighting specific elements, the Shimmery White Embossing Paste takes your card to the next level. It’s like adding a sprinkle of magic!
This card will be more than just a holiday or birthday greeting—it’s a keepsake that your loved ones will cherish. By combining these three fantastic products, you can create something truly special. The Winter Meadow Designer Paper, Merriest Tree Dies, and Shimmery White Embossing Paste make it easy to create professional-looking cards that are sure to impress.
I hope you’re inspired to pull out your embossing paste and play. Don’t forget, the beautiful Winter Meadow Designer paper is currently on sale! I’ve added the links for you below. Thank you for joining me today.