Hello Stampin’ Friends ~
Hope those of you from the US enjoyed a beautiful Thanksgiving day. Today, I’m excited to share two adorable cards I created using the Snow Day Scrapbook Kit! These kits are packed with coordinating elements that make crafting a breeze. What’s even better is the abundance of leftovers you’ll have after completing the scrapbook pages. With these extras, you can keep the creativity flowing by making additional pages or, like I did today, crafting charming cards!

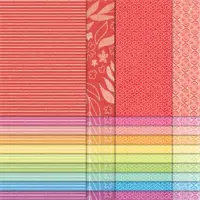
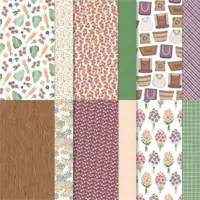
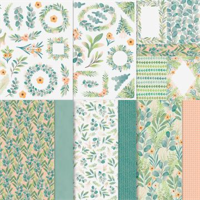
This kit includes supplies to create three predesigned two-page scrapbook spreads. Each page is 12″ x 12″, allowing lots of space for photos and journaling. The whimsical color palette is a fresh take on classic winter patterns. Here is just one pages ….

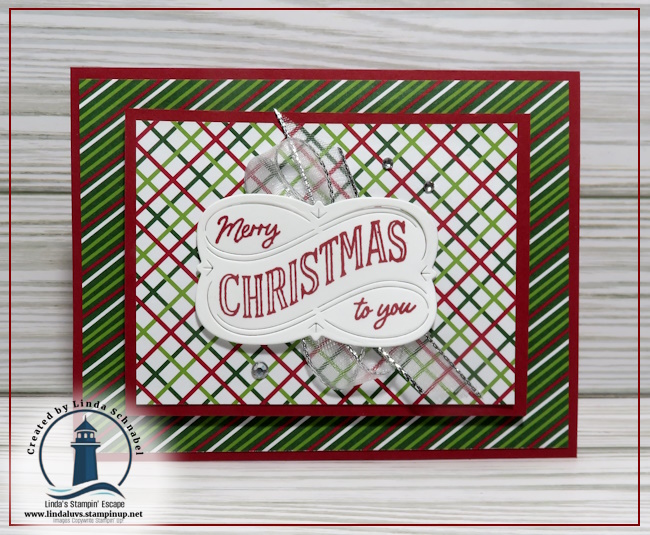
I’ve put together a short video explaining how I created these cards, so be sure to check it out for all the details. Both cards showcase the Spotlight on Nature Dies, which add a unique touch and interest to the designs. Let me walk you through each card:
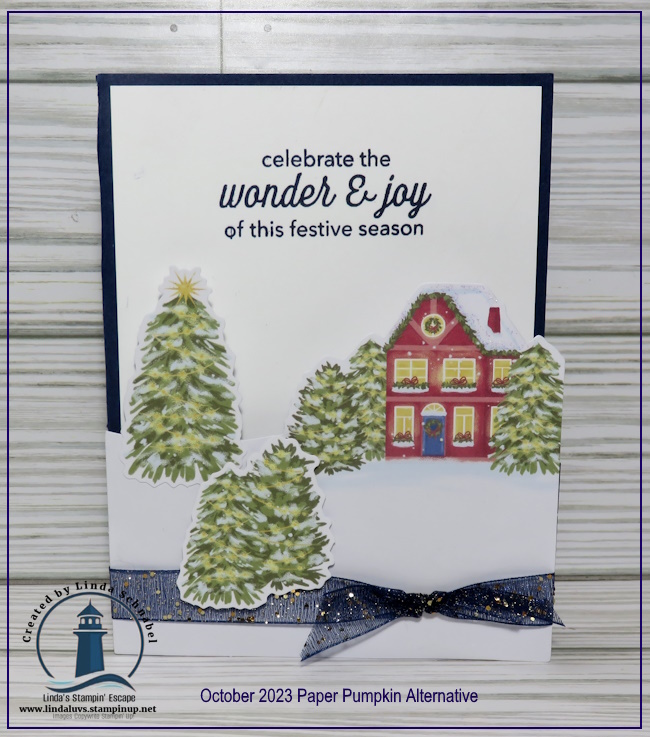
The first card features several die-cut circles, two of which are showcasing the kit’s beautiful patterned paper. I selected a combination of snowflakes and a cozy village scene. The houses became the focal point of the card, creating a warm and inviting winter vibe.

For the second card, I used the dies to expose the snowflake-patterned paper beneath, adding a layered dimension. Then, I fussy cut one of the snow globes from another sheet of the patterned paper to serve as the centerpiece. It was such a quick and easy way to bring the card to life while highlighting the kit’s charming details.

These cards are proof that scrapbook kits aren’t just for memory-keeping—they can be a fantastic resource for card-making, too! I hope these ideas inspire you to think outside the box and maximize your supplies. Don’t forget to watch the video for a closer look at how these cards came together. Just click on the video image below ….

Thank you for joining me on this Friday!! Happy crafting! ✂️


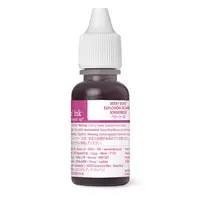
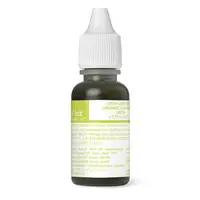
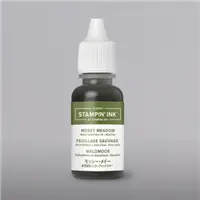
Price: $17.00


Greetings from my home to yours ….