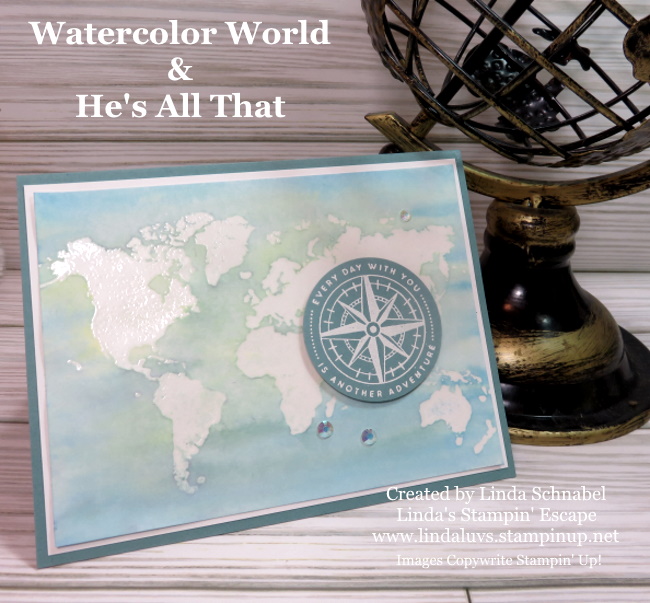
Hello Stampin’ Friends ~
Today, I am thrilled to share the world of fun folds with whimsical designs, featuring the delightful Just Kidding Designer Series Paper from Stampin’ Up! In this blog post, we’ll explore two unique fun fold card designs, each showcasing the playful charm of this paper collection. Sit back and enjoy the video which is a replay of a Facebook LIVE ….
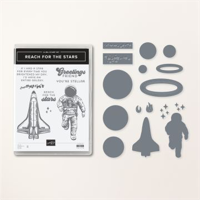
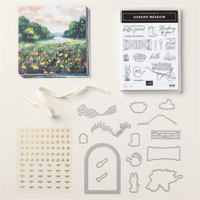
Our first card features the Reach for the Stars stamp set and the coordinating Thoughtful Expressions Dies, along with the vibrant patterns of the Just Kidding Designer Series Paper. This fun fold, known as the Book Binder Fun Fold, adds an interesting element to your card-making repertoire, especially because I have chosen to use the “kids reading books” as my focal point. Oh, card making can be so fun and clever!

The dimensions are posted in the video so if you missed them, grab your pencil and give it another watch. I love the Just Kidding Designer Series Paper, the colorful and whimsical designs will instantly add charm to your project.
Die-cut the greeting from the Reach for the Stars stamp set and our focal point (the children) using the Thoughtful Expressions Dies. This sentiment adds a touch of encouragement and positivity to your card. I embellished my card with Bakers Twine and the Blue Gems from the Tinsel Gems pack, adding a pop of texture and sparkle to your design.
My second card takes inspiration from the Stargazing Designer Series Paper, complemented by the endearing illustrations found in the Just Kidding Designer Series Paper. The focal point of this design is a charming illustration of a young boy in a wheelchair dressed as an astronaut, perfectly coordinated with the theme of exploration and adventure.

I selected a coordinating pattern from the Stargazing Designer Series Paper for the background of the card. The celestial motifs will set the stage for our astronaut-themed focal point. You’ll adhere the Just Kidding Designer Series Paper featuring the boy in the wheelchair onto the faux step … this adds dimension and visual interest to your card.
I also fussy cut out the one wheel and his head to create some fun dimension to our little astronaut! This card creation really is …out of this world.

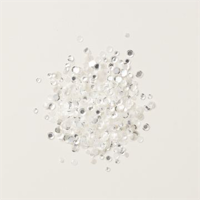
You’ll also notice that I added the Iridescent Foil Gems to my project, which are not in the video. It just added to our celestial look and tied everything together.
The Just Kidding Designer Series Paper offers endless possibilities for creating whimsical and heartfelt cards that bring joy to both you and the recipient. Experiment with fun fold designs and playful patterns to unleash your creativity and spread smiles wherever your cards may go. Happy crafting!
Thanks for joining me today! Until next time …