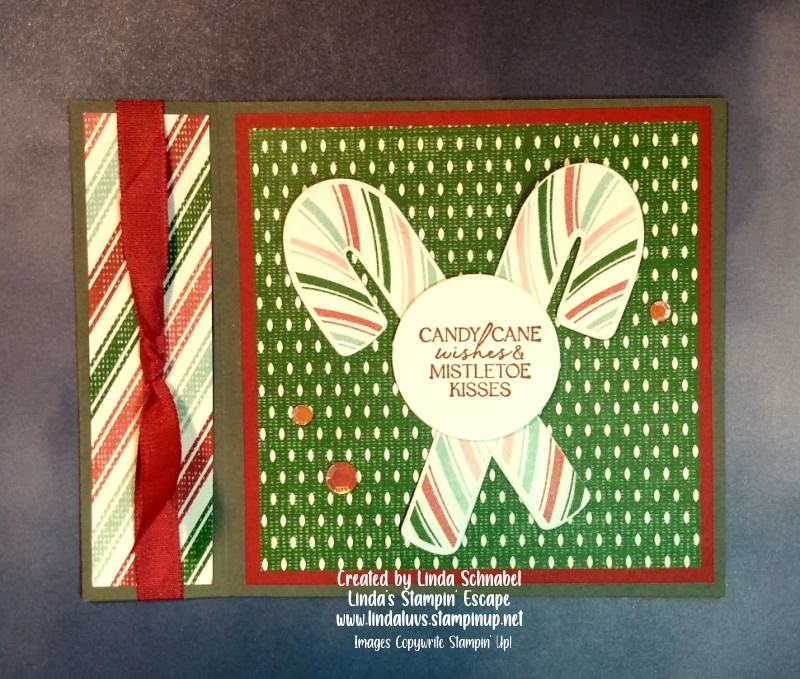
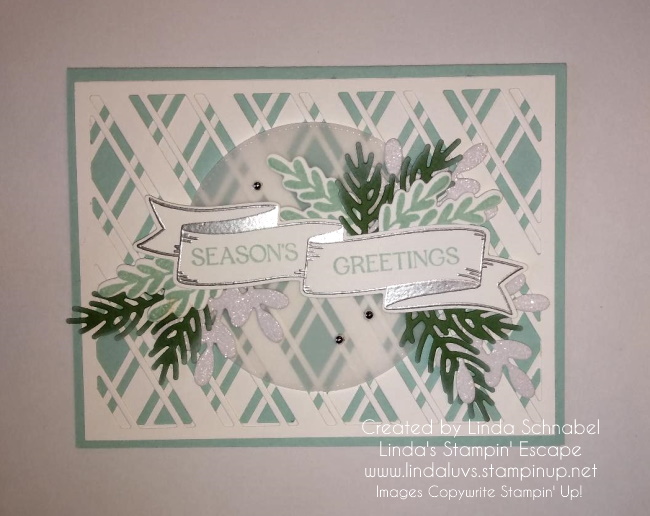
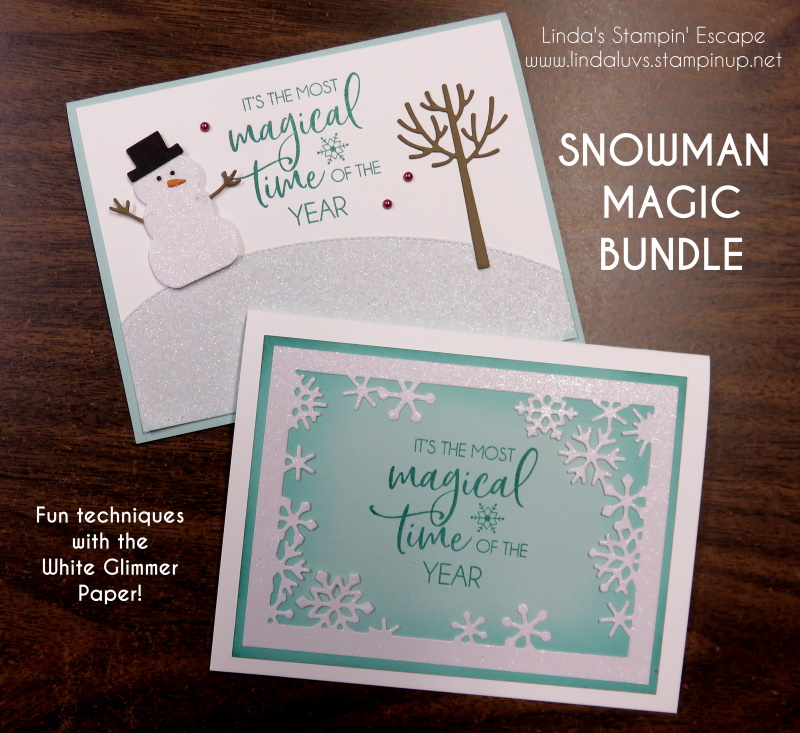
Hello Stampin’ Friends ~
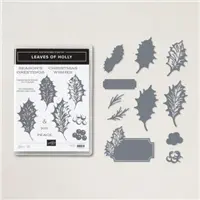
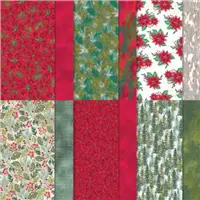
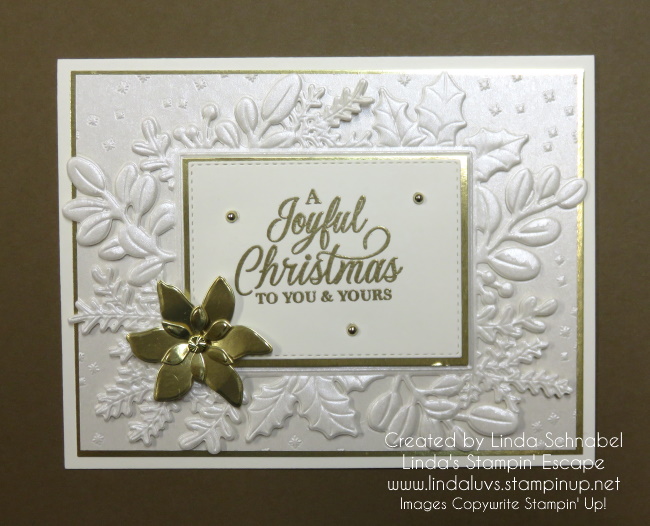
Woot Woot … It’s finally Friday and I have a pretty little card to share with you today. I did a mash-up of a some of my favorite items in the Holiday Mini Catalog … the Boughs of Holly Designer Paper, Holly Berry Dies and the Perched in a Tree Bundle.

My card base is Shaded Spruce and I used Cherry Cobbler to mat the beautiful Boughs of Holly Designer Series paper. I used the Holly Banner from the Holly Berry Dies to highlight my greeting (Old Olive was used behind the leaves to coordinate with the leaves on the designer paper).
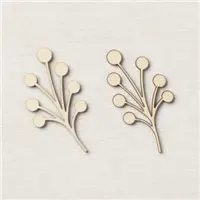
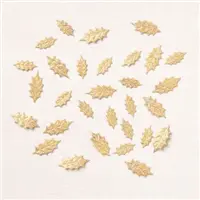
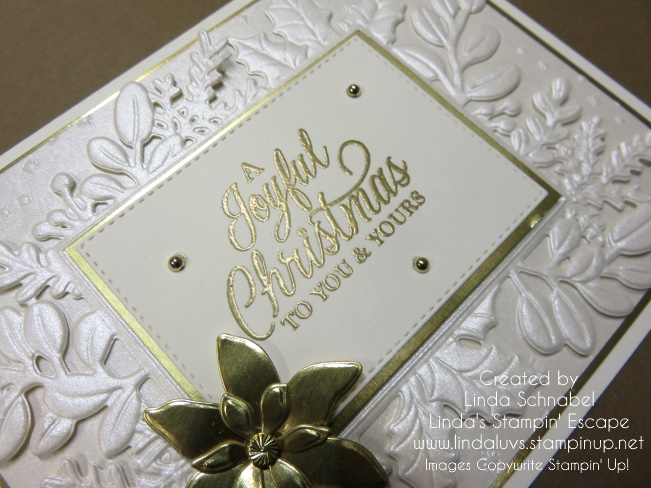
I stamped the bird on Basic White using Momento Ink and then colored it with the Stampin’ Blends, making it easy to create multiple cards. I perched my bird on the “Textural Elements” which are also colored with my Blends!

You can see in this close-up that I added a touch of Wink of Stella on the leaves and the wooden element … who doesn’t like a little sparkle on a Christmas Card.
Thank you for joining me today. I truly appreciate the visit … If you like what you see on my page, please click on the LIKE button. It helps others find my blog ❤
Have an amazing day ~

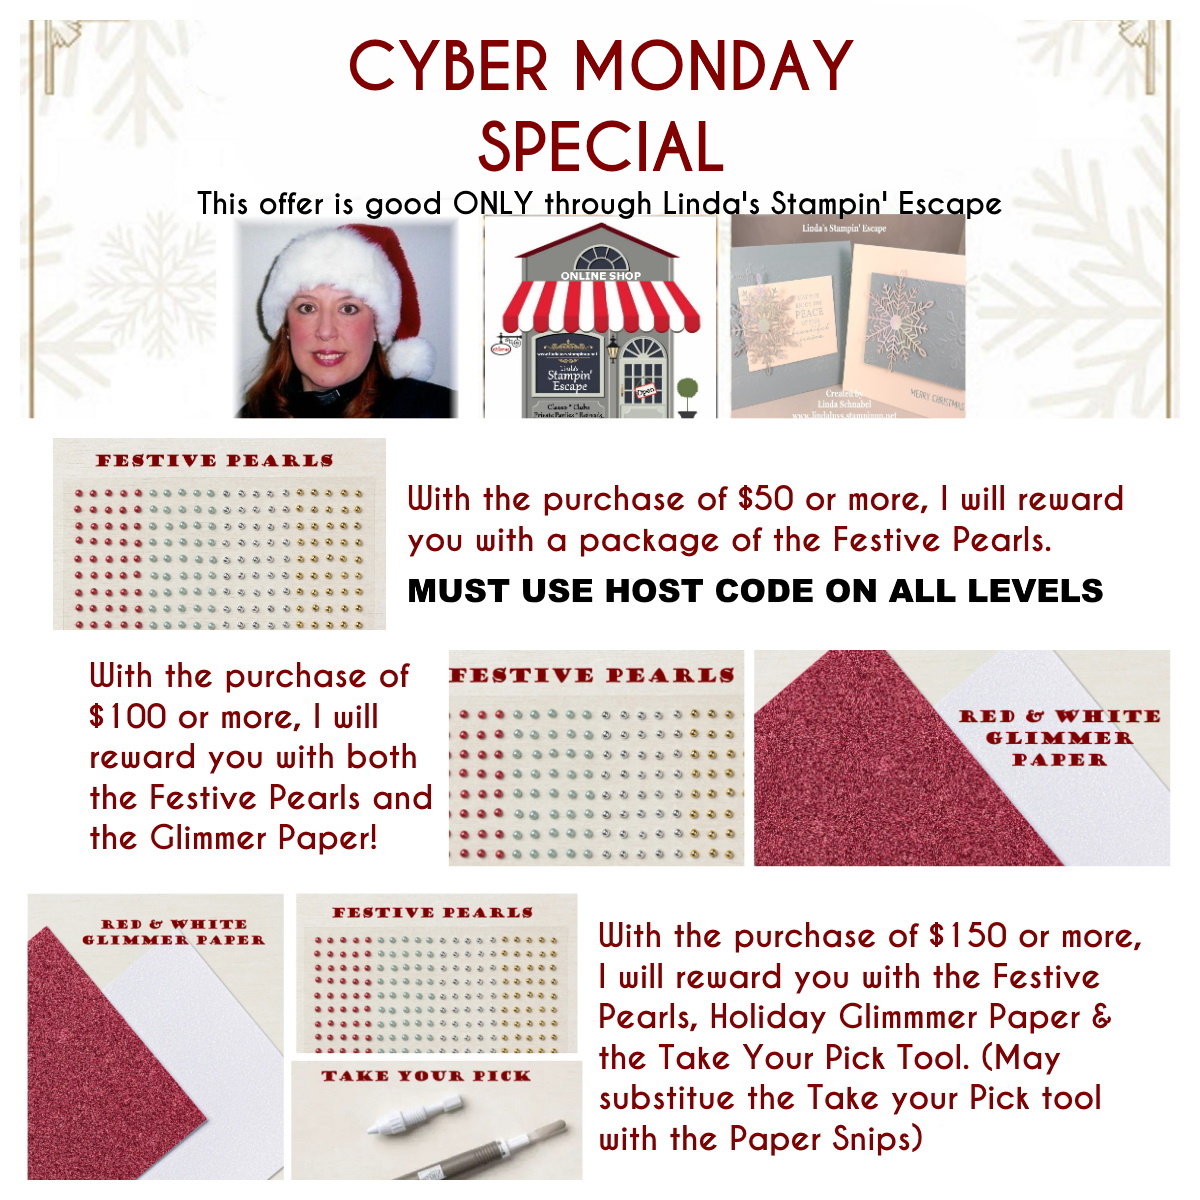
Here are the supplies I used for my card (the ones still available) The last chance list is out so products are selling out fast.