Hello Stampin’ Friends ~
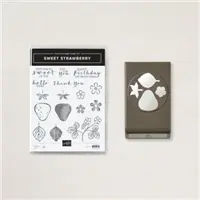
Today I have another cute card from Stampin’ Up! using the Sweet Strawberry Bundle …. I know we are getting our first snowfall, but I think there is something about Strawberries that make them timeless.
You will notice that we are using the “same” supplies as we did yesterday so you can create different looks with your same investment!

Here are the step by step instructions for the card …
1. Create tone on tone background on Poppy Parade card base (8-1/2” x 5-1/2”; 21 x 14.9 cm) by stamping the strawberry outline image in Poppy Parade ink. Randomly fill in some of the strawberries using the two-step stamp image.
2. On the 2″ x 6″ (5.1 x 15.2 cm) Basic White Cardstock, two-step stamp one strawberry in Crumb Cake ink and two strawberries in Poppy Parade ink. Stamp the outline in full saturation of ink and stamp off the filler image to create shading.
3. Stamp the stem images in Mint Macaron ink on the 2-3/4″ x 2″ (7 x 5.1 cm) Basic White Cardstock. Stamp three stems.
4. Punch out the berry and stem images using the Strawberry Builder Punch.
5. Stamp the greeting in Crumb Cake ink on the 2-1/2″ x 3-1/2″ (5.7 x 8.9 cm) Basic White Cardstock. Adhere to your card base.
6. Adhere the strawberries to the card base using Stampin’ Dimensionals, arranging them to overlap slightly. Adhere the stems to the strawberries.
7. Add Gilded Gems
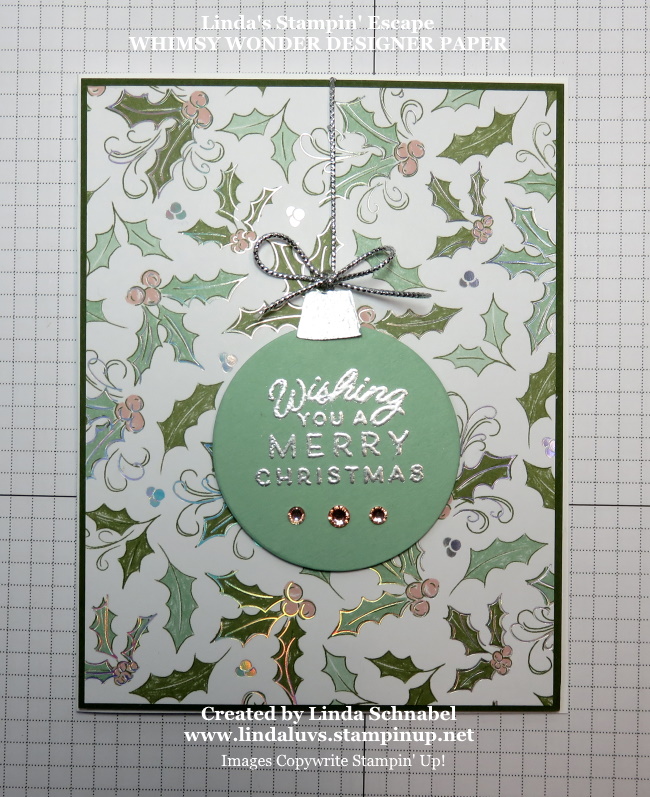
How cute and simple is this card. So easy to recreate and you are using the same supplies as you did on the card showcased yesterday. Both cards are great to send to your friends.
Thank you for joining me on this Sunday.
Have a good day ~

TODAY’S STAMPIN’ SUPPLY LIST … If you liked the products used in today’s projects, I have links for you below. Just click on the item you would like more information on, or to begin your shopping. It will take you directly to my website. Thank you ♥


")
")
")
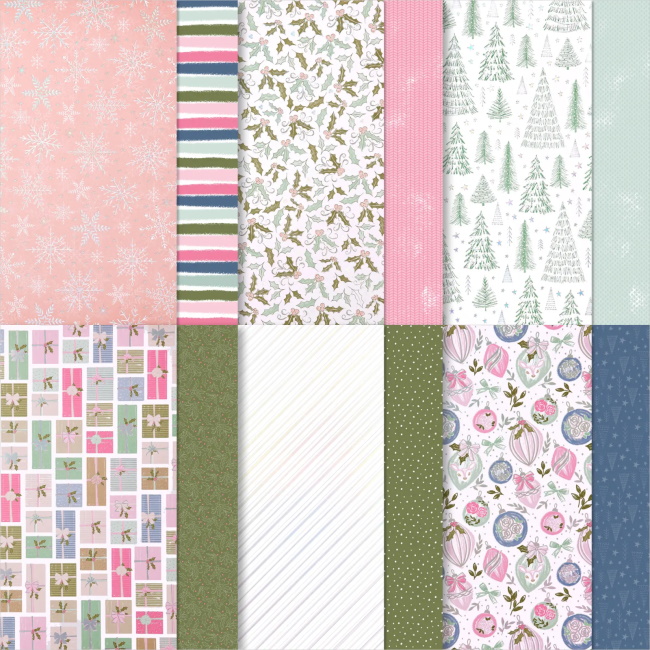
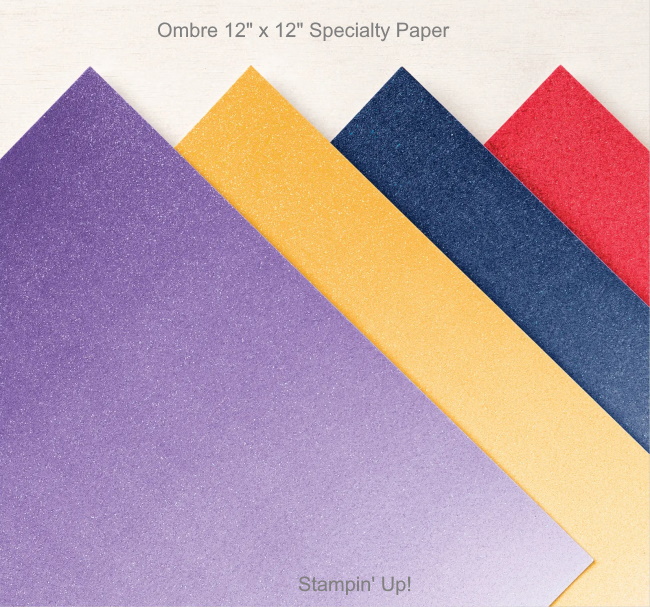
 Specialty Designer Series Paper")


 Specialty Pack")

 Glittered Organdy Ribbon")
 Velvet Sheets")