Hello Stampin’ Friends ~
Imagine the magic of bokeh light, fluttering butterfly wings, and soft, dreamy colors coming together to elevate your paper crafting projects. The Beautiful Bokeh Suite Collection is a stunning new addition that’s perfect for creating gratitude, birthday, and all-occasion cards, scrapbook pages, gift tags, and more. If you’re looking to take your crafting from ordinary to extraordinary, this suite is exactly what you need—and I’ve got a video to prove it!

This collection features the Beautiful Butterfly Bundle, which includes a gorgeous stamp set, coordinating dies, and the game-changing Beautiful Butterfly Hybrid Embossing Folder. The hybrid folder embosses while cutting intricate butterfly designs, giving you stunning textured details with minimal effort. The suite also includes the Beautiful Bokeh Designer Paper—a 6″ x 6″ collection of dreamy patterns in a soft color palette of Balmy Blue, Berry Burst, Calypso Coral, Daffodil Delight, and Fresh Freesia. And let’s not forget the Itty Bitty Bokeh Mix! These adorable embellishments add the perfect finishing touch, with their light-catching sparkle and playful variety.
In my latest video, I share three unique card designs that showcase the versatility of this suite. Whether you’re new to stamping or a seasoned crafter, you’ll find inspiration in these projects. Each card highlights a different way to use the products:
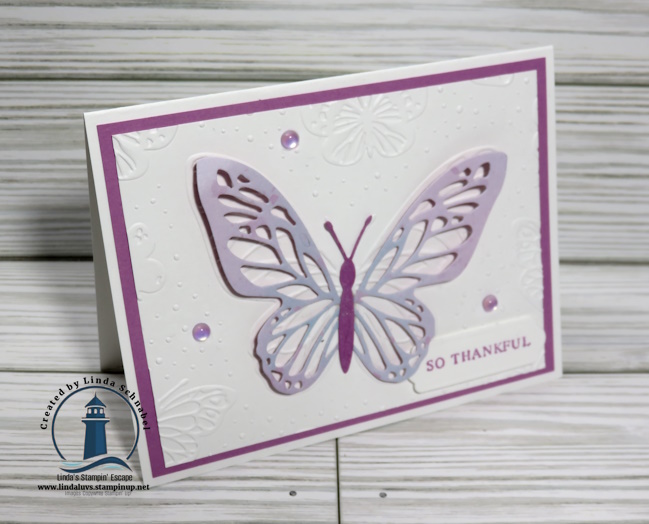
Card 1: A clean and simple design that lets the butterflies shine as the focal point, using the detailed butterfly die. The hybrid folder creates breathtaking dimensional accents, perfect for expressing my gratitude. The half dome elements in the Itty Bitty Bokeh mix match perfectly with the Fresh Freesia Bokeh paper and mat.

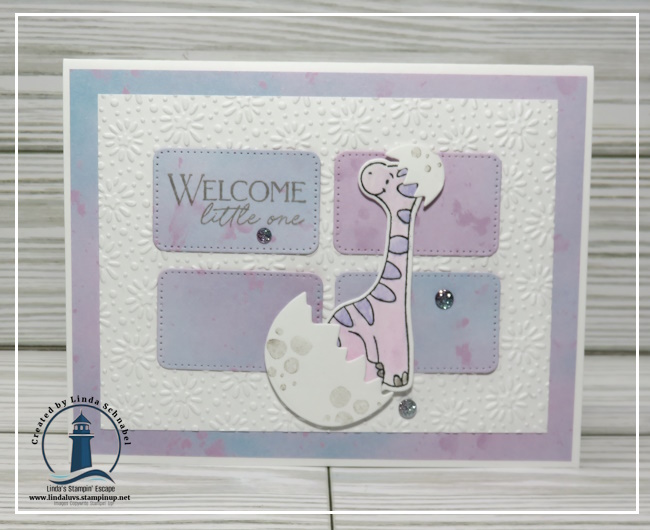
Card 2: A layered card that incorporates the soft, bokeh-patterned paper and vibrant embellishments to add depth and interest. I used the die in combination with the Embossing Folder to expose the Bokeh paper and the detailed butterfly shines adding texture and dimension!

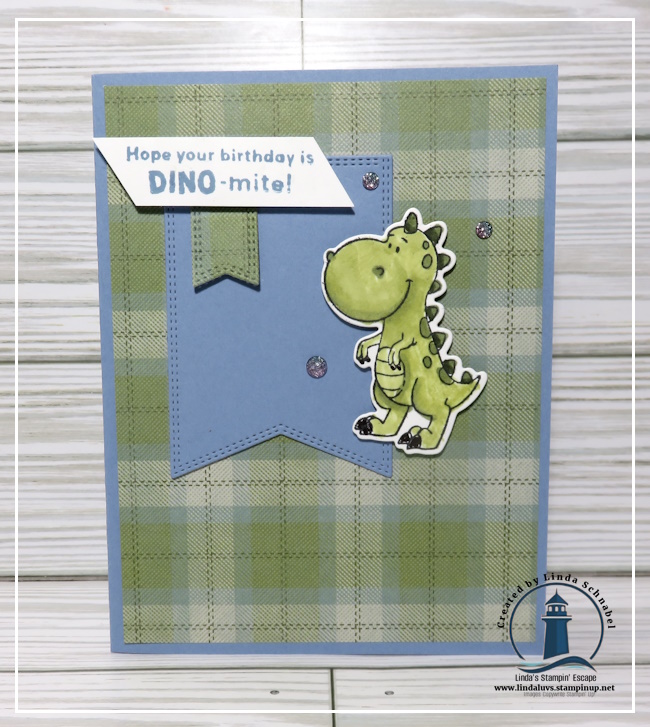
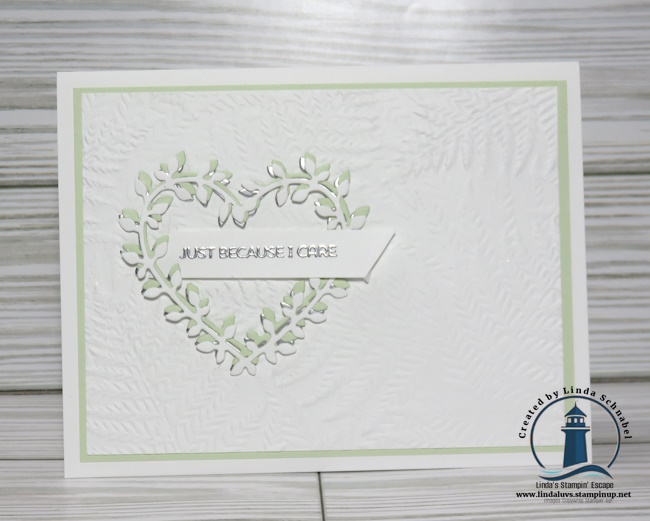
Card 3: Simple elegance, layered white on white and the butterfly cut from our card shown above, was used to added dimension to our card … just a little hello!

These projects demonstrate just how versatile and captivating the Beautiful Bokeh Suite is. You’ll love how effortlessly the elements coordinate, giving you polished, professional results every time.
Ready to bring the magic of butterflies and bokeh into your crafting? If you’d like to purchase the Beautiful Bokeh Suite or any individual items, click the links below or visit my shop today. The Beautiful Bokeh Suite Collection is your ultimate tool for creating elegant, light-filled designs that will leave a lasting impression on any project!
Thank you for joining me today… and join me LIVE tomorrow on my Facebook page where I will show you another stunning card (and the magic of the Hybrid folder). CLICK HERE!