Hello Stampin’ Friends,
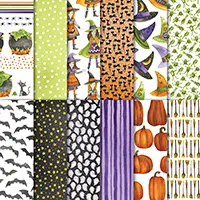
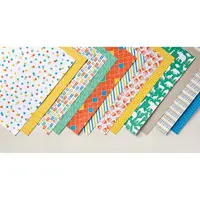
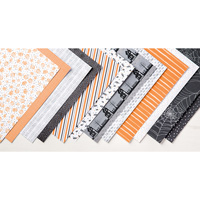
If you love cards that make you smile the moment you see them, today’s project is going to feel like a breath of fresh air. Before you scroll any further, take a moment to imagine sitting at your craft table, surrounded by cheerful colors and playful patterns, creating something that feels lighthearted and happy. That’s exactly the feeling behind today’s card, featuring the absolutely adorable Cute as a Bug Designer Series Paper—and trust me, it truly is buzzing with charm.
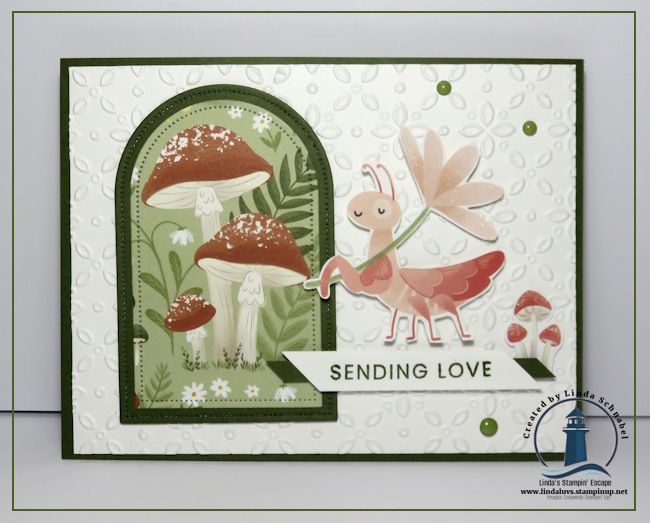
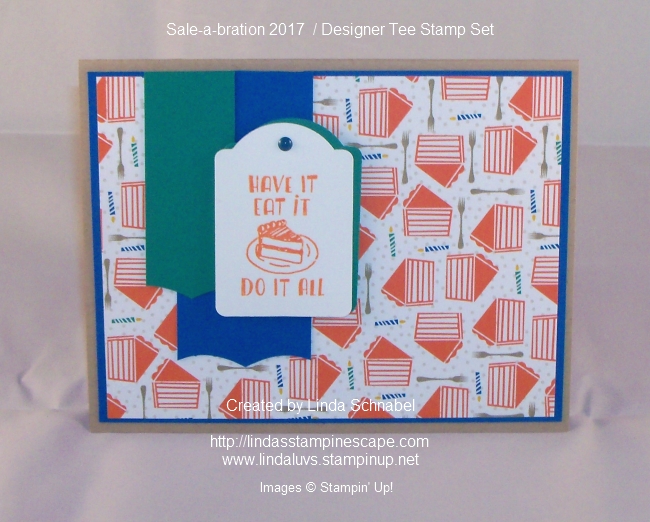
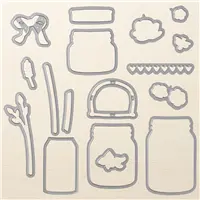
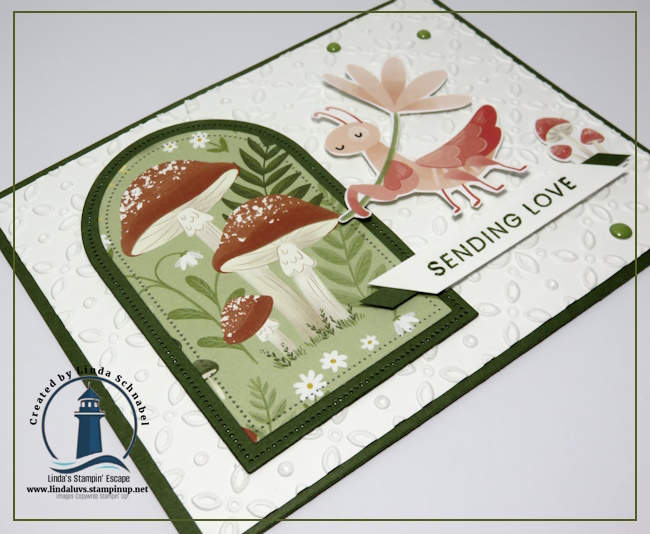
This card brings together two different patterns from the Cute as a Bug paper pack in the sweetest way. The mushroom scene immediately caught my eye, and I knew it would make the perfect focal point. I die cut it using the Everyday Arches Dies, which frames them beautifully and gives it a soft, storybook feel. There’s something about that arched shape paired with the woodland mushrooms that feels both cozy and whimsical, making it a wonderful foundation for the rest of the design.
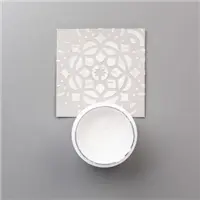
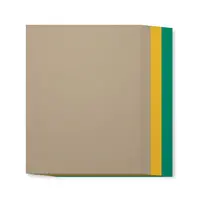
The card base is a classic A2 size, created with Mossy Meadow cardstock (8 1/2″ x 5 1/2″, scored and folded at 4 1/4″). This rich green color grounds the design and ties in perfectly with the foliage in the designer paper. For the card front, I added a layer of Basic White cardstock, cut to 4″ x 5 1/4″ and embossed with the Eyelet 3-D Embossing Folder. The embossed background adds texture without overpowering the focal images, and the whimsical pattern pairs beautifully with the playful theme of the card.

Now let’s talk about that sweet little bug, because she truly steals the show. She was fussy cut from a second pattern in the Cute as a Bug Designer Series Paper, and I couldn’t resist placing her right beside the mushroom arch. With her daisy held high, I can’t help but wonder—do you think she’s using it as an umbrella? That tiny detail adds so much personality and makes the card feel like it’s telling a story rather than just displaying images.
To tie everything together, I also fussy cut a few small mushroom clusters from the same designer paper and tucked them around the card front and on the inside! These little accents help balance the design and bring the mushroom pattern back into the layout without overwhelming the focal point. It’s a simple detail, but one that really helps the card feel cohesive.
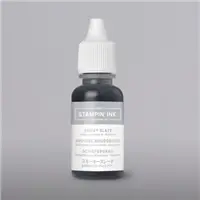
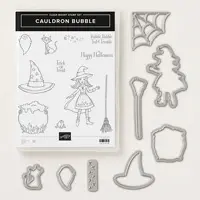
The greeting comes from the Prayers & Promises Stamp Set and was stamped in Mossy Meadow, keeping the sentiment soft and coordinated with the rest of the card. I love how this sentiment complements the gentle, caring feel of the design without distracting from the artwork.
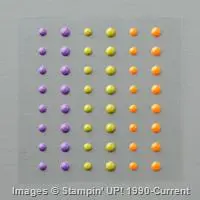
To finish the card, I added a few Moody Palette Glossy Dots for just the right touch of shine. They add subtle interest and draw the eye around the card front, proving once again that a few well-placed embellishments can make all the difference.
This card is such a fun reminder of how playful designer paper can transform a simple layout into something truly special. Mixing patterns, adding texture, and fussy cutting a few charming elements creates a card that feels joyful and full of personality. If this project made you smile, I hope it inspires you to pull out your Cute as a Bug Designer Series Paper and start creating your own buzz-worthy cards. Be sure to let me know what your favorite detail is—and if you think that daisy is an umbrella too!
Thanks so much for stopping by today! I hope this sweet little card brought a smile to your face and sparked a bit of creative inspiration. Until next time, happy stampin’ and enjoy every crafty moment!