Hello Stampin’ Friends,
Today I would like to share with you, three more cards that we made at our Star’s Christmas Party. We did what we call a “shoebox swap” … each participant designs a card and then cuts, and brings everything needed to make that card, then everyone at the event gets to make each others cards … it’s fun!
Would you be interested in joining in on a shoebox swap? Let me know, I’d love to host it.
I thought I would start with Connie’s card ….
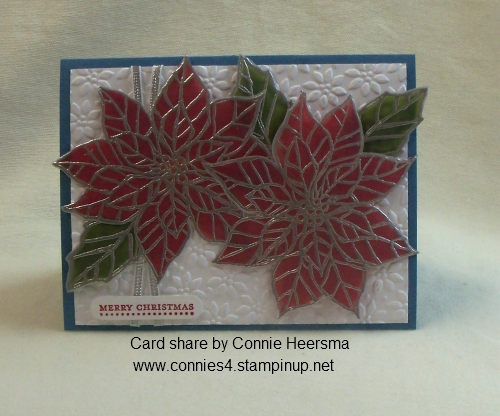
My technique groups should recognize this, we just did the “Stained Glass” technique. Here is another wonderful card idea for you.
Connie used the “Joyful Christmas” stamp set from the Holiday Catalog (good through January 3rd) and the “Silver 1/8″ Ribbon“. I love that Connie did her card with Silver embossing, we did ours in gold …. such a small change can make the entire card look different, and both cards are beautiful.
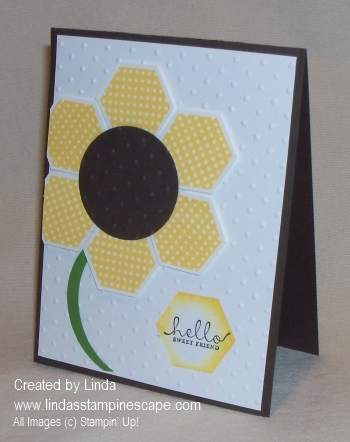
Next, is Ren’s card. Ren is Connie’s daughter and has been stamping with us for quite a while.

Don’t you just love it! We all love a good “punch” card and this one is so cute! Ren had all the pieces cut so we didn’t even have to cut the door … we just embossed it with the new “Stylish Stripes” embossing folder.
For the wreath, we used the 2-3/8″ Scallop Circle Punch and the 1-3/4″ Circle Punch. The trick here is to punch out the circle first … then center the scallop punch over the circle to create the perfect wreath! The punches along with the adorable “Glimmer Brad – Brights Collection ” are found in our main Idea Book & Catalog.
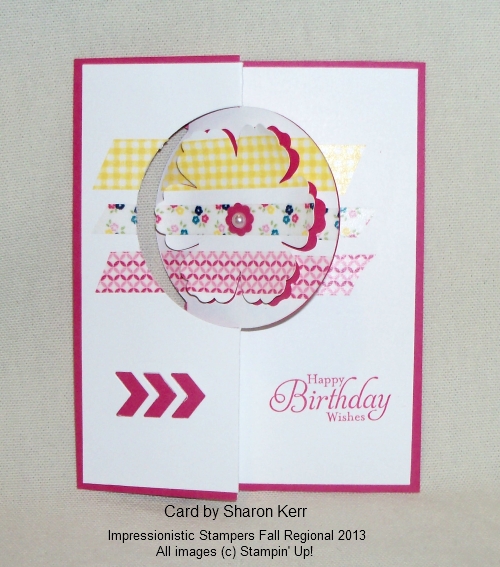
Now I’d like to share with you, Susan’s card… a Tri-fold Easel Card!
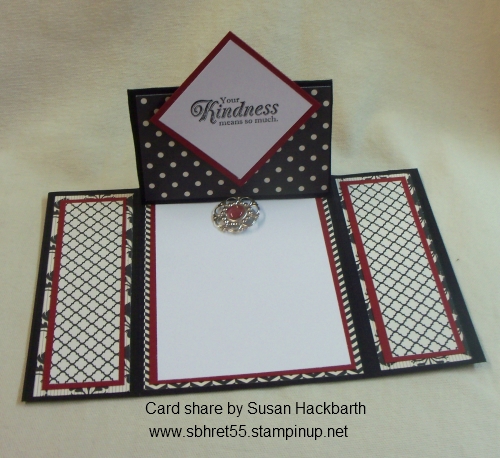
If you’re looking to impress someone, this will do it! This beautiful card showcases the “Modern Medley” Designer Series Paper. Anyone who knows me, knows this is one of my favorite Designer Papers in the catalog …. I find it so versatile.
The greeting “Your Kindness means so much” comes from the stamp set “From My Heart” … also found in the main catalog.
I hope you enjoyed today’s card share … I loved making these beautiful cards with these wonderful ladies. I can’t think of a better day, than stamping with my friends.
If you are interested in any of the items listed to make these cards, you can just click on the link (words highlighted in pink) to view or purchase.
Have an awesome day!